

Zinnias in Containers: Are you dreaming of vibrant blooms bursting with color, but limited by space? Don’t let a small balcony or patio hold you back! I’m here to tell you that you can absolutely cultivate a stunning zinnia garden, even without a traditional backyard. This DIY guide is packed with insider secrets to growing thriving zinnias in containers, transforming your outdoor space into a dazzling floral paradise.
Zinnias, with their cheerful daisy-like faces, have a rich history. Originating in Mexico, these beauties were initially considered rather unattractive weeds by European botanists! Thankfully, tastes changed, and zinnias have since become a beloved staple in gardens worldwide, symbolizing remembrance and lasting affection. Their vibrant hues and easy-going nature make them perfect for both seasoned gardeners and beginners alike.
But why choose containers? Well, container gardening offers incredible flexibility. You can easily move your zinnias to follow the sun, protect them from harsh weather, or simply rearrange your display for a fresh look. Plus, it’s a fantastic option for those with poor soil quality or limited mobility. This DIY article will provide you with all the essential tips and tricks, from selecting the right container and soil to mastering watering and fertilization techniques. I’ll even share some clever hacks to keep pests at bay and encourage continuous blooming. Get ready to unleash your inner gardener and create a breathtaking display of zinnias in containers that will be the envy of the neighborhood!
Growing Gorgeous Zinnias in Containers: A DIY Guide
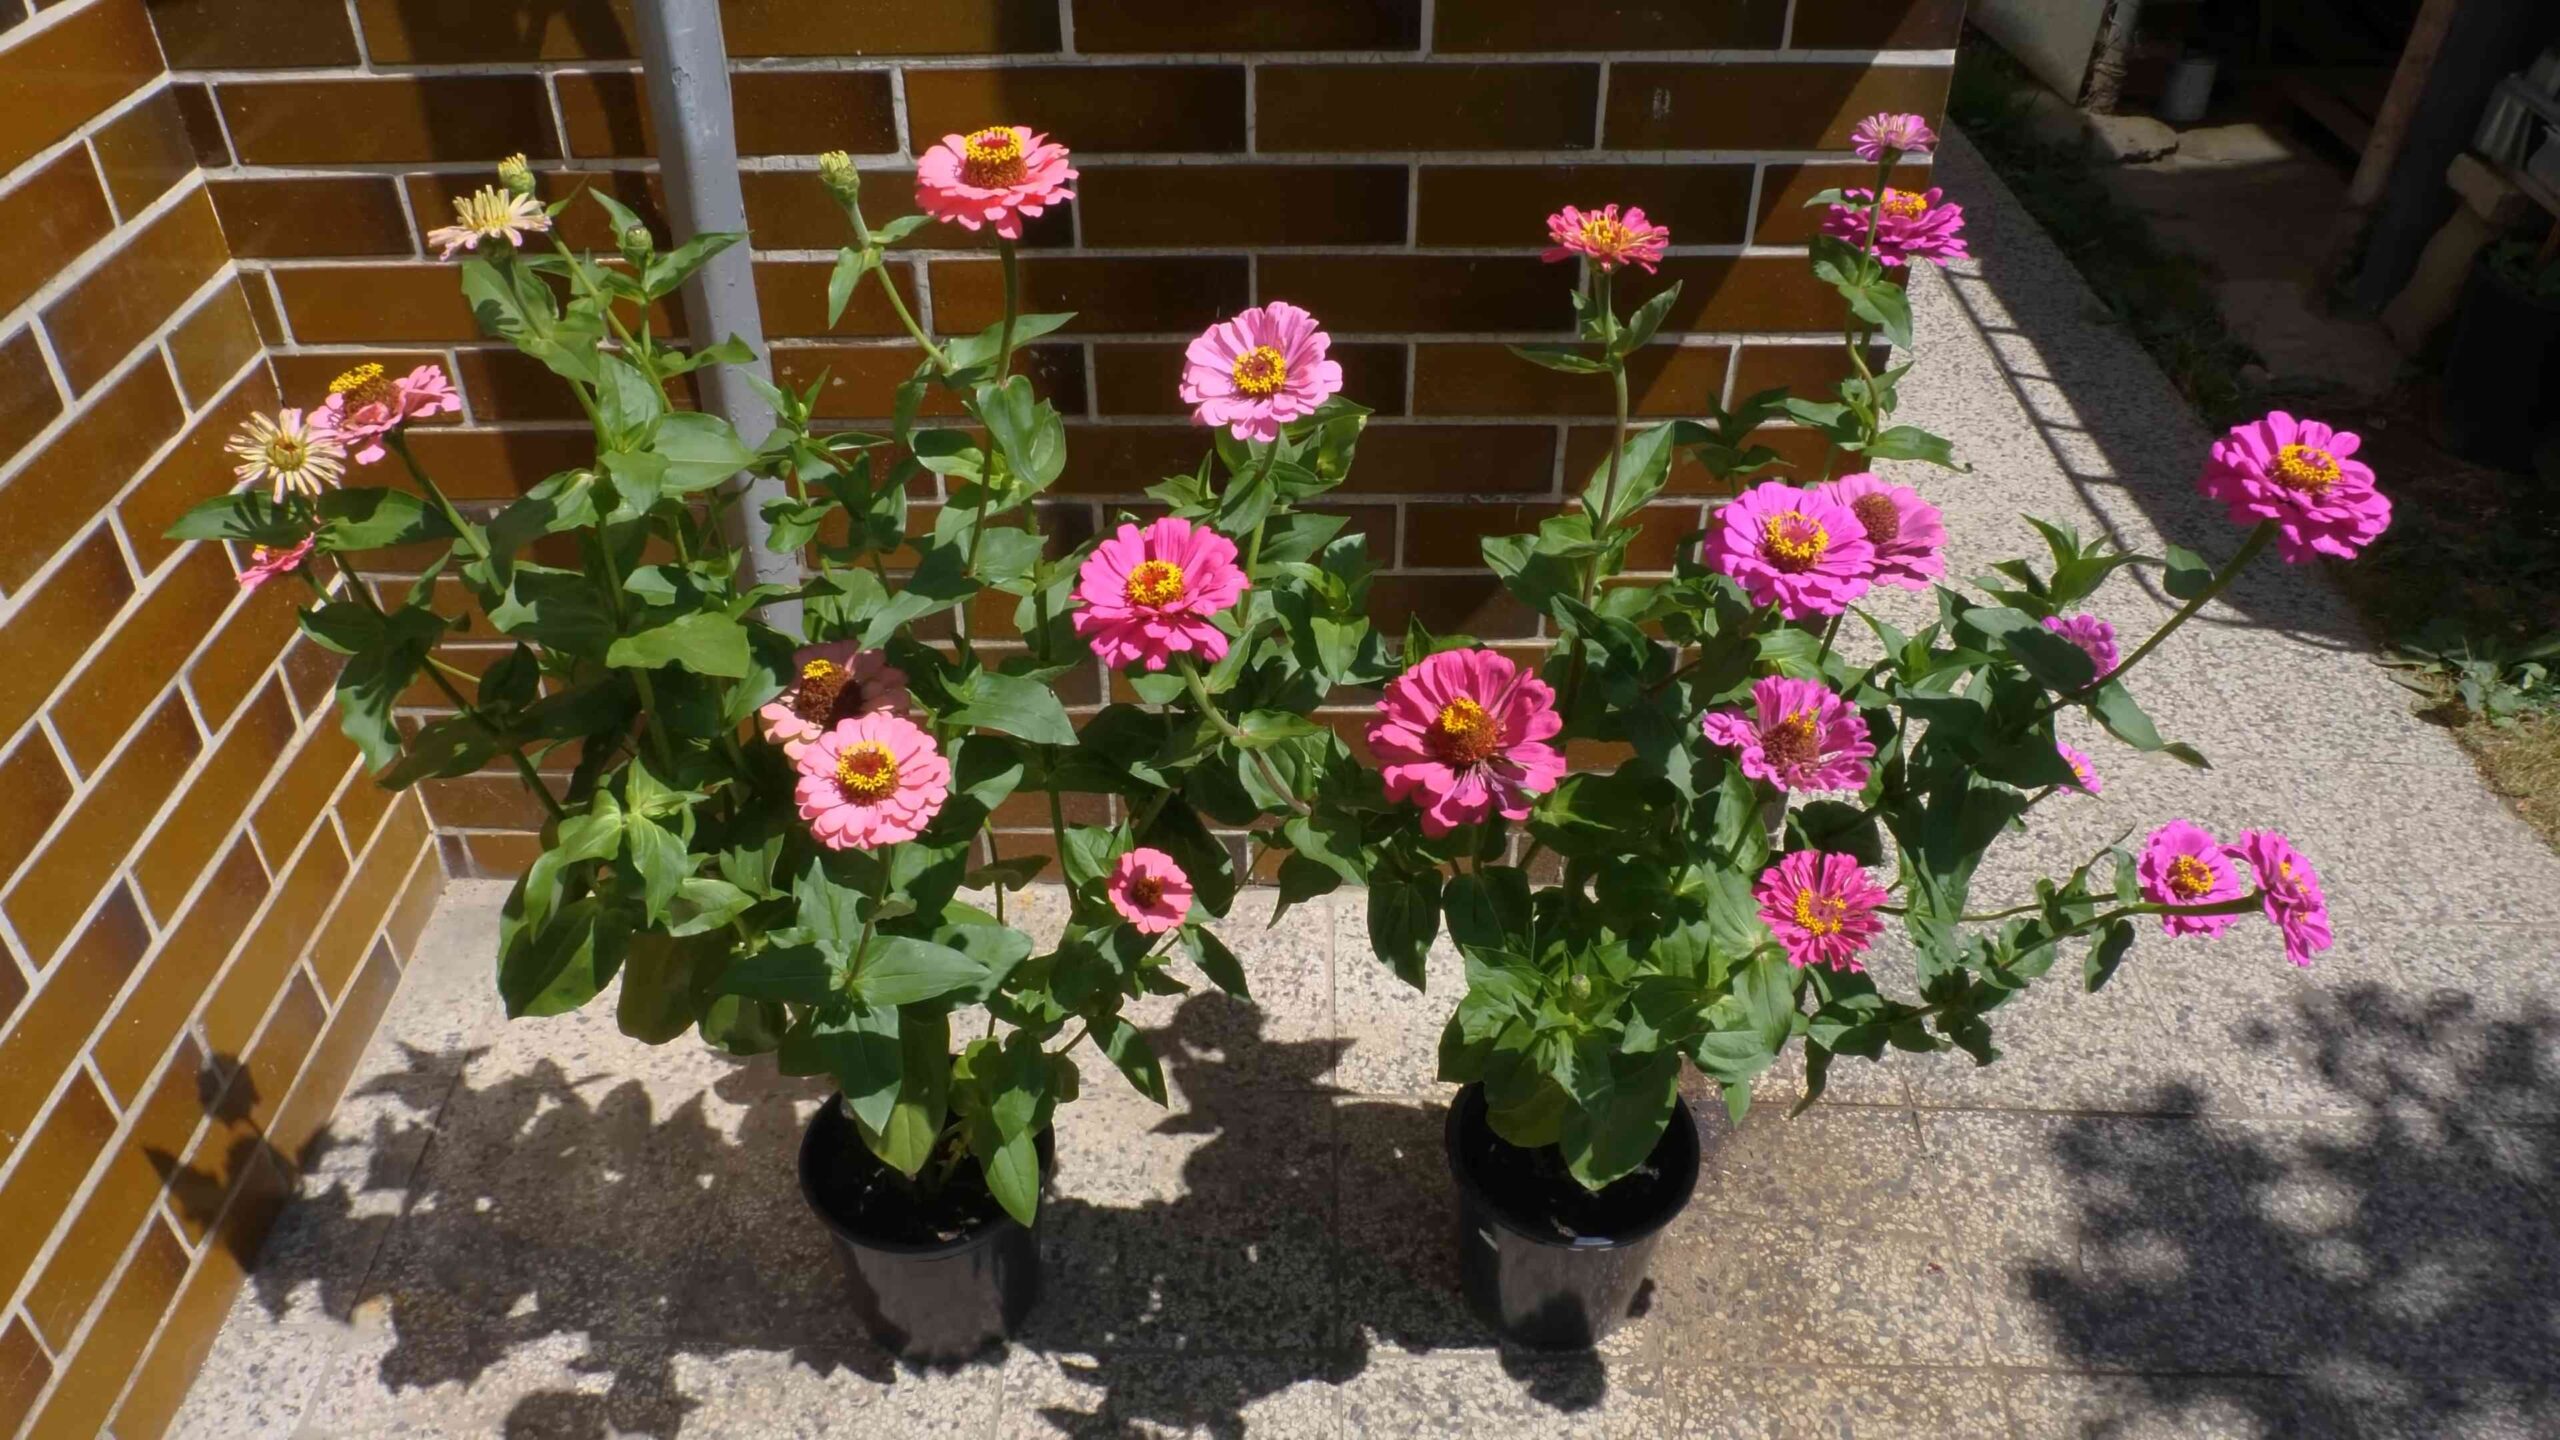
Hey there, fellow flower enthusiasts! Zinnias are my absolute favorite for adding a burst of color and cheer to any space. And the best part? You don’t need a sprawling garden to enjoy them. Growing zinnias in containers is super easy and rewarding. I’m going to walk you through everything you need to know to create a vibrant zinnia display right on your patio, balcony, or even windowsill!
Choosing the Right Container and Soil
First things first, let’s talk about the foundation of our zinnia garden: the container and the soil.
* Container Size: Zinnias need room to grow, so don’t skimp on the container size. I recommend a pot that’s at least 12 inches in diameter and 12 inches deep for smaller zinnia varieties. For larger, dahlia-flowered zinnias, go even bigger – 18 inches or more is ideal. The bigger the pot, the more room for the roots to spread, and the happier your zinnias will be.
* Drainage: This is crucial! Zinnias hate sitting in soggy soil. Make sure your container has plenty of drainage holes. If you’re using a container without drainage, you can drill some holes yourself. You can also add a layer of gravel or pebbles at the bottom of the pot to improve drainage, but honestly, good drainage holes are the most important thing.
* Container Material: The material of your container is mostly a matter of personal preference. Terracotta pots are classic and allow the soil to breathe, but they can dry out quickly. Plastic pots are lightweight and retain moisture better, but they can overheat in direct sunlight. Resin pots are a good compromise, offering durability and decent moisture retention.
* Soil: Forget garden soil! It’s too heavy and doesn’t drain well in containers. You need a good quality potting mix. Look for a mix that’s lightweight and contains ingredients like peat moss, perlite, or vermiculite. These ingredients help with drainage and aeration, which are essential for healthy zinnia growth. I often amend my potting mix with a bit of compost for added nutrients.
Planting Your Zinnia Seeds or Seedlings
Now for the fun part – getting those zinnias into their new home!
1. Prepare the Container: Fill your chosen container with the potting mix, leaving about an inch or two of space at the top. Gently pat down the soil to remove any large air pockets.
2. Starting from Seed: If you’re starting from seed (which I highly recommend – it’s so satisfying!), sprinkle the seeds evenly over the surface of the soil. Cover them with a thin layer of potting mix, about ¼ inch deep. Gently water the soil using a spray bottle or watering can with a gentle rose attachment. You want to moisten the soil without disturbing the seeds.
3. Transplanting Seedlings: If you’re using seedlings, gently remove them from their nursery pots. Loosen the roots a bit with your fingers before planting. Dig a small hole in the potting mix that’s large enough to accommodate the root ball. Place the seedling in the hole and backfill with potting mix, gently firming the soil around the base of the plant. Space the seedlings according to the instructions on the seed packet or plant label. Generally, allow about 6-12 inches between plants, depending on the variety.
4. Water Thoroughly: After planting, water the container thoroughly until water drains out of the drainage holes. This helps settle the soil and ensures that the roots are well-hydrated.
Caring for Your Container Zinnias
Once your zinnias are planted, it’s time to provide them with the care they need to thrive.
* Sunlight: Zinnias are sun-worshippers! They need at least 6-8 hours of direct sunlight per day to bloom their best. Place your container in a sunny location where it will receive plenty of light. If you’re growing zinnias indoors, you may need to supplement with grow lights.
* Watering: Water your zinnias regularly, especially during hot, dry weather. The soil should be kept consistently moist, but not soggy. Check the soil moisture by sticking your finger into the soil. If the top inch feels dry, it’s time to water. Avoid overhead watering, as this can lead to fungal diseases. Water at the base of the plant instead.
* Fertilizing: Zinnias are heavy feeders, so regular fertilization is important. Use a balanced liquid fertilizer, such as a 10-10-10 formula, every 2-3 weeks. Follow the instructions on the fertilizer label. You can also use a slow-release fertilizer at planting time.
* Deadheading: This is the secret to continuous blooms! Deadheading means removing spent flowers. When a flower starts to fade, cut it off just below the flower head, above a set of leaves. This encourages the plant to produce more flowers instead of putting energy into seed production.
* Pest and Disease Control: Zinnias are generally pest-resistant, but they can sometimes be affected by aphids, spider mites, or powdery mildew. Check your plants regularly for signs of pests or diseases. If you spot any problems, treat them promptly with an appropriate insecticide or fungicide. I prefer to use organic options whenever possible. Neem oil is a great all-purpose solution for many common garden pests and diseases.
* Support: Taller zinnia varieties may need support to prevent them from flopping over. You can use stakes, trellises, or cages to provide support. Insert the supports into the container before the plants get too large.
Choosing the Right Zinnia Variety
There are so many zinnia varieties to choose from, it can be overwhelming! Here are a few of my favorites for containers:
* ‘Profusion’ Series: These are compact, disease-resistant zinnias that come in a wide range of colors. They’re perfect for containers and bloom continuously throughout the summer.
* ‘Zahara’ Series: Similar to the ‘Profusion’ series, ‘Zahara’ zinnias are also compact and disease-resistant. They have a slightly different flower shape and come in a variety of vibrant colors.
* ‘Thumbelina’ Mix: These are dwarf zinnias that grow only 6-8 inches tall. They’re ideal for small containers and window boxes.
* ‘Magellan’ Series: These are larger, dahlia-flowered zinnias that come in a variety of colors. They’re a bit more prone to powdery mildew than the ‘Profusion’ and ‘Zahara’ series, but they’re still a great choice for containers if you provide good air circulation.
* ‘Benary’s Giant’ Series: If you want really big, showy zinnias, this is the series for you! These zinnias can grow up to 4 feet tall and produce huge, dahlia-like flowers. They’ll need a large container and plenty of support.
Troubleshooting Common Zinnia Problems
Even with the best care, you might encounter a few problems along the way. Here are some common issues and how to fix them:
* Yellowing Leaves: This can be caused by overwatering, underwatering, or nutrient deficiencies. Check the soil moisture and adjust your watering accordingly. If the soil is consistently moist, you may be overwatering. If the soil is dry, you may be underwatering. If the leaves are yellowing all over, it could be a sign of a nutrient deficiency. Fertilize your zinnias with a balanced fertilizer.
* Powdery Mildew: This is a fungal disease that causes a white, powdery coating on the leaves. It’s more common in humid conditions. To prevent powdery mildew, provide good air circulation around your plants. You can also treat powdery mildew with a fungicide.
* Aphids: These tiny insects suck the sap from plants, causing them to weaken and distort. You can control aphids by spraying them with a strong stream of water or by using an insecticidal soap.
* Spider Mites: These tiny pests are difficult to see, but they can cause significant damage to plants. They suck the sap from leaves, causing them to become stippled and yellow. You can control spider mites by spraying them with a strong stream of water or by using an insecticidal soap.
Getting Creative with Your Container Zinnia Display
Once you’ve mastered the basics of growing zinnias in containers, you can start getting creative with your displays!
* Mix and Match Colors: Plant zinnias in a variety of colors to create a vibrant and eye-catching display.
* Combine with Other Plants: Zinnias look great when combined with other plants in containers. Try pairing them with complementary colors and textures. Some good companion plants for zinnias include petunias, marigolds, and verbena.
* Create a Vertical Garden: Use a trellis or other support to create a vertical zinnia garden. This is a great way to add interest to a small space.
* Use Different Container Sizes and Shapes: Experiment
Conclusion
So, there you have it! Transforming your outdoor space with vibrant zinnias in containers is not only achievable but surprisingly simple. This DIY approach offers a fantastic way to personalize your garden, balcony, or patio with a burst of color and charm. We’ve walked through the essential steps, from selecting the right container and soil to nurturing your zinnias for a season-long display of blooms.
But why is this DIY trick a must-try? Beyond the obvious aesthetic appeal, growing zinnias in containers provides unparalleled flexibility. You can easily move your floral arrangements to follow the sun, protect them from harsh weather, or simply rearrange your outdoor space to suit your mood. This is especially beneficial for those with limited garden space or renters who want to add a touch of nature without permanent landscaping.
Furthermore, cultivating your own zinnias fosters a deeper connection with nature. There’s a unique satisfaction in watching tiny seeds sprout and blossom into vibrant flowers, knowing you played a direct role in their growth. It’s a rewarding experience that can bring joy and a sense of accomplishment.
Don’t be afraid to experiment with variations! Consider mixing different zinnia varieties in a single container for a kaleidoscope of colors and textures. Try pairing zinnias with complementary plants like petunias, marigolds, or even herbs for added visual interest and functionality. You can also explore different container styles, from rustic terracotta pots to modern, minimalist planters, to match your personal aesthetic. For a truly unique touch, consider upcycling old buckets, baskets, or even tires into charming zinnia containers.
Remember, the key to success lies in providing your zinnias with ample sunlight, well-draining soil, and consistent watering. Don’t overwater, and be sure to fertilize regularly to encourage abundant blooms. With a little care and attention, your container zinnias will thrive and reward you with a stunning display of color throughout the summer and into the fall.
We wholeheartedly encourage you to try this DIY trick and experience the joy of growing your own zinnias in containers. It’s a simple, affordable, and incredibly rewarding project that will transform your outdoor space into a vibrant oasis. Once you’ve created your own zinnia container garden, we’d love to see your creations! Share your photos and experiences with us on social media using #ZinniaContainerGarden and let us know what tips and tricks worked best for you. Your insights could inspire others to embark on their own zinnia-growing journey! Happy gardening!
Frequently Asked Questions (FAQ)
What is the best type of container for growing zinnias?
The ideal container for zinnias should be at least 12 inches in diameter and depth to provide ample space for root growth. Terracotta pots, plastic containers, and even repurposed items like buckets or baskets can work well, as long as they have adequate drainage holes. Ensure the container is sturdy enough to support the weight of the soil and mature plants. Consider the overall aesthetic you’re aiming for when choosing a container to complement your outdoor space.
What kind of soil should I use for zinnias in containers?
Zinnias thrive in well-draining soil that is rich in organic matter. A good potting mix specifically formulated for containers is ideal. Avoid using garden soil, as it can become compacted in containers and hinder drainage. You can also amend your potting mix with compost or other organic materials to improve its fertility and water retention. A slightly acidic to neutral pH (around 6.0 to 7.0) is optimal for zinnia growth.
How much sunlight do zinnias need?
Zinnias are sun-loving plants and require at least 6-8 hours of direct sunlight per day to thrive. Choose a location for your container zinnias that receives plenty of sunlight throughout the day. If you live in a particularly hot climate, some afternoon shade may be beneficial to prevent the plants from overheating. Insufficient sunlight can lead to leggy growth and reduced flowering.
How often should I water my zinnias in containers?
Water your zinnias regularly, especially during hot and dry weather. The frequency of watering will depend on factors such as the size of the container, the type of soil, and the weather conditions. Check the soil moisture regularly by sticking your finger about an inch into the soil. If the soil feels dry to the touch, it’s time to water. Avoid overwatering, as this can lead to root rot. Water deeply, allowing the water to drain out of the drainage holes.
Do zinnias in containers need fertilizer?
Yes, zinnias benefit from regular fertilization to promote healthy growth and abundant blooms. Use a balanced, water-soluble fertilizer diluted to half strength every 2-3 weeks during the growing season. Alternatively, you can use a slow-release fertilizer incorporated into the soil at planting time. Avoid over-fertilizing, as this can lead to excessive foliage growth at the expense of flowers.
How do I deadhead zinnias in containers?
Deadheading is the process of removing spent or faded flowers to encourage the plant to produce more blooms. To deadhead zinnias, simply pinch or cut off the flower head just below the spent bloom, at the point where it meets the stem. Regular deadheading will keep your zinnias looking their best and prolong their flowering period.
Are zinnias susceptible to any pests or diseases?
Zinnias are generally relatively pest-resistant, but they can occasionally be affected by aphids, spider mites, or powdery mildew. Inspect your plants regularly for signs of pests or diseases. If you notice any problems, treat them promptly with an appropriate insecticide or fungicide. Good air circulation and proper watering practices can help prevent many common zinnia problems.
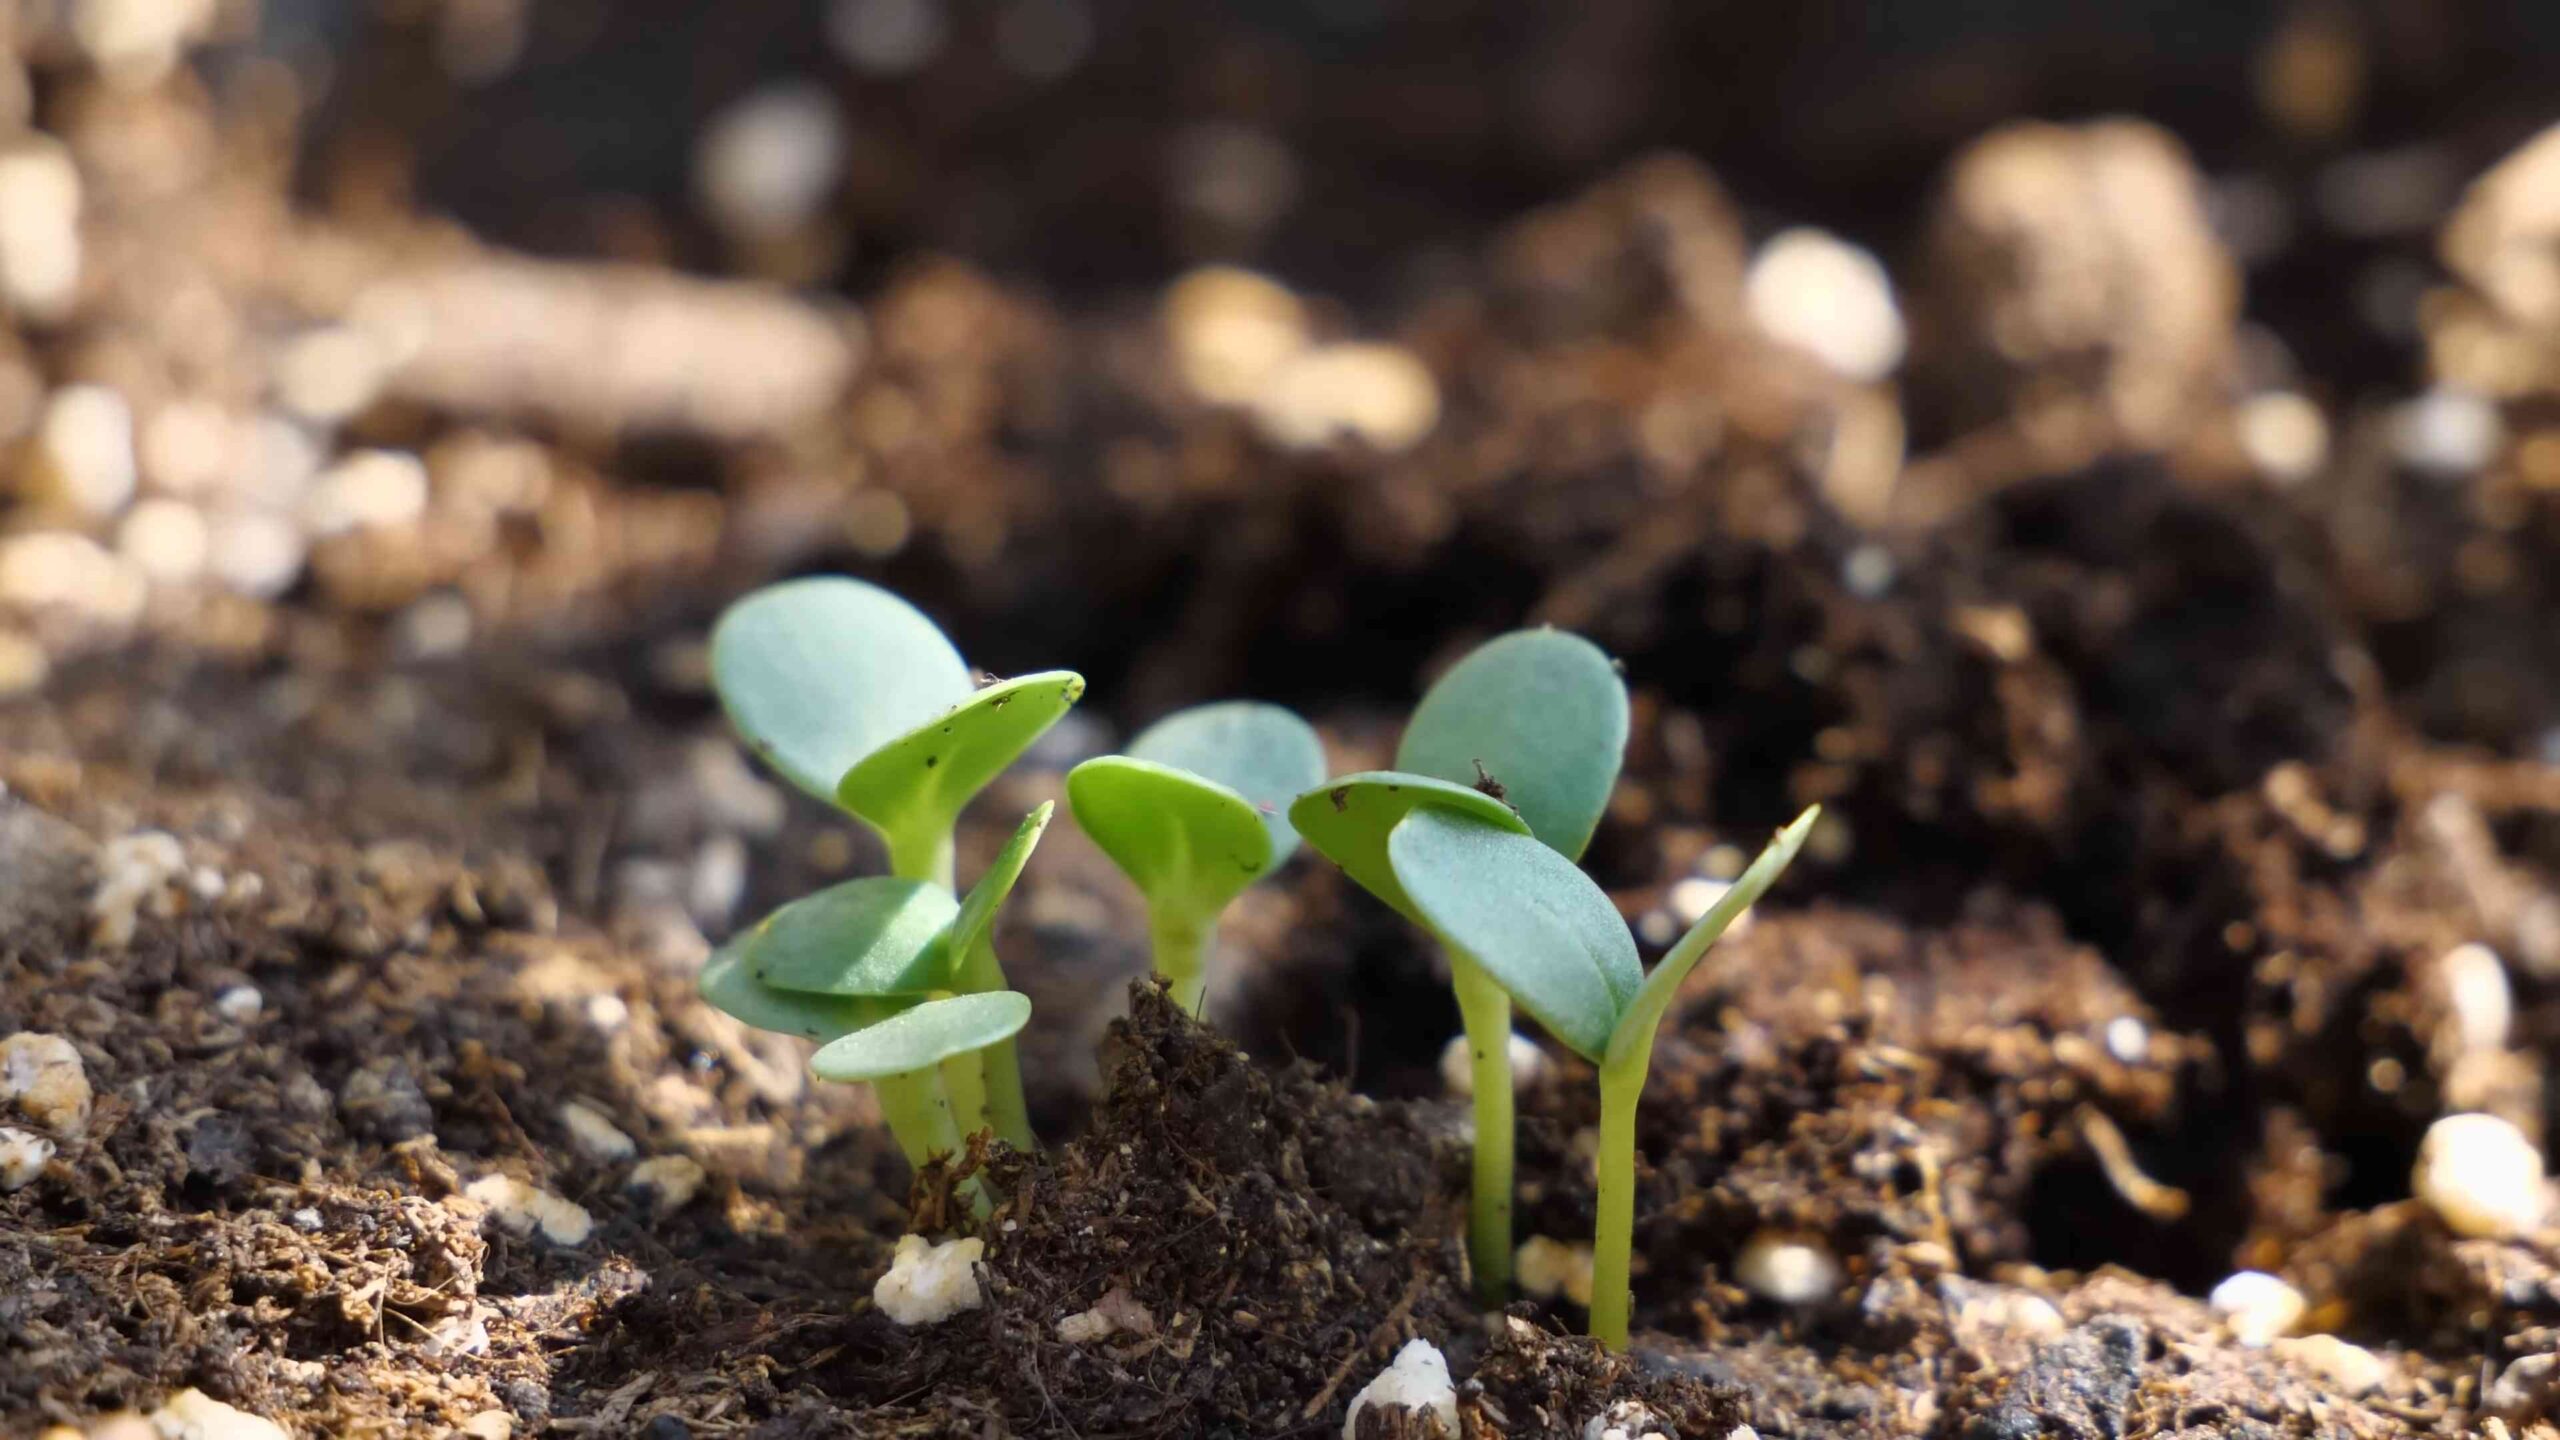
Can I grow zinnias from seed directly in containers?
Yes, you can directly sow zinnia seeds in containers. Sow the seeds about ¼ inch deep and keep the soil moist until they germinate. Germination typically occurs within 7-10 days. Once the seedlings emerge, thin them out to ensure adequate spacing between plants. Starting zinnias from seed is a cost-effective way to grow a large number of plants.
What are some good companion plants for zinnias in containers?
Zinnias pair well with a variety of other plants in containers. Some good companion plants include marigolds, petunias, salvia, and herbs like basil and oregano. These plants can help attract pollinators, deter pests, and add visual interest to your container garden. Choose plants that have similar sunlight and watering requirements as zinnias.
How long do zinnias bloom in containers?
Zinnias typically bloom from summer to fall, providing a long-lasting display of color. The exact duration of the blooming period will depend on factors such as the variety of zinnia, the weather conditions, and the level of care provided. Regular deadheading and fertilization can help prolong the blooming period. With proper care, your container zinnias can provide months of vibrant color.
Leave a Comment