

Toilet Limescale Removal Easy? Absolutely! Are you tired of staring into your toilet bowl and seeing stubborn, unsightly limescale clinging on for dear life? I know I was! It felt like no matter how much I scrubbed, that chalky buildup just wouldn’t budge. It’s a common problem, and thankfully, you don’t need harsh chemicals or expensive plumbers to tackle it.
Limescale, that villainous deposit, has been plaguing households for centuries, especially in areas with hard water. Think of it as a historical battle against mineral buildup! But fear not, because I’m here to share some incredibly effective and easy DIY tricks that will have your toilet sparkling again in no time. These aren’t just quick fixes; they’re tried-and-true methods that I’ve personally tested and perfected.
Why is toilet limescale removal easy so important? Well, beyond the obvious aesthetic reasons (who wants a stained toilet?), limescale can actually reduce the efficiency of your toilet, leading to more frequent flushing and potentially higher water bills. Plus, a clean toilet is simply more hygienic and pleasant for everyone in your household. So, ditch the frustration and get ready to learn some simple, yet powerful, DIY techniques that will make limescale a thing of the past!
DIY Toilet Limescale Removal: My Super Effective Guide
Okay, so you’re battling that stubborn limescale in your toilet bowl, right? I totally get it! It’s unsightly, it can affect flushing performance, and honestly, it just makes the whole bathroom feel a little less clean. Don’t worry, you don’t need to call a plumber or resort to harsh chemicals. I’ve got a tried-and-true method that’s both effective and uses ingredients you probably already have at home. Let’s get that toilet sparkling again!
What You’ll Need: Your Limescale Fighting Arsenal
Before we dive in, let’s gather our supplies. This is a pretty straightforward process, so the list is short and sweet:
* **White Vinegar:** This is our star player! Its acidity is perfect for breaking down limescale. I usually grab a large bottle from the grocery store.
* **Baking Soda:** The trusty sidekick! Baking soda adds a bit of abrasion and helps create a fizzing action that loosens the limescale.
* **Toilet Brush:** A good, sturdy toilet brush is essential for scrubbing. Make sure yours is in decent condition.
* **Rubber Gloves:** Protect your hands! Limescale removers, even natural ones, can be irritating.
* **Old Towels or Rags:** For any spills or drips.
* **Optional: Pumice Stone:** For really stubborn deposits, a pumice stone can be a lifesaver. Just be careful not to scratch the porcelain!
* **Optional: Borax:** If the vinegar and baking soda combo isn’t quite cutting it, a little borax can boost the cleaning power.
The Limescale Removal Process: Step-by-Step
Alright, let’s get down to business! Here’s my step-by-step guide to banishing that limescale for good:
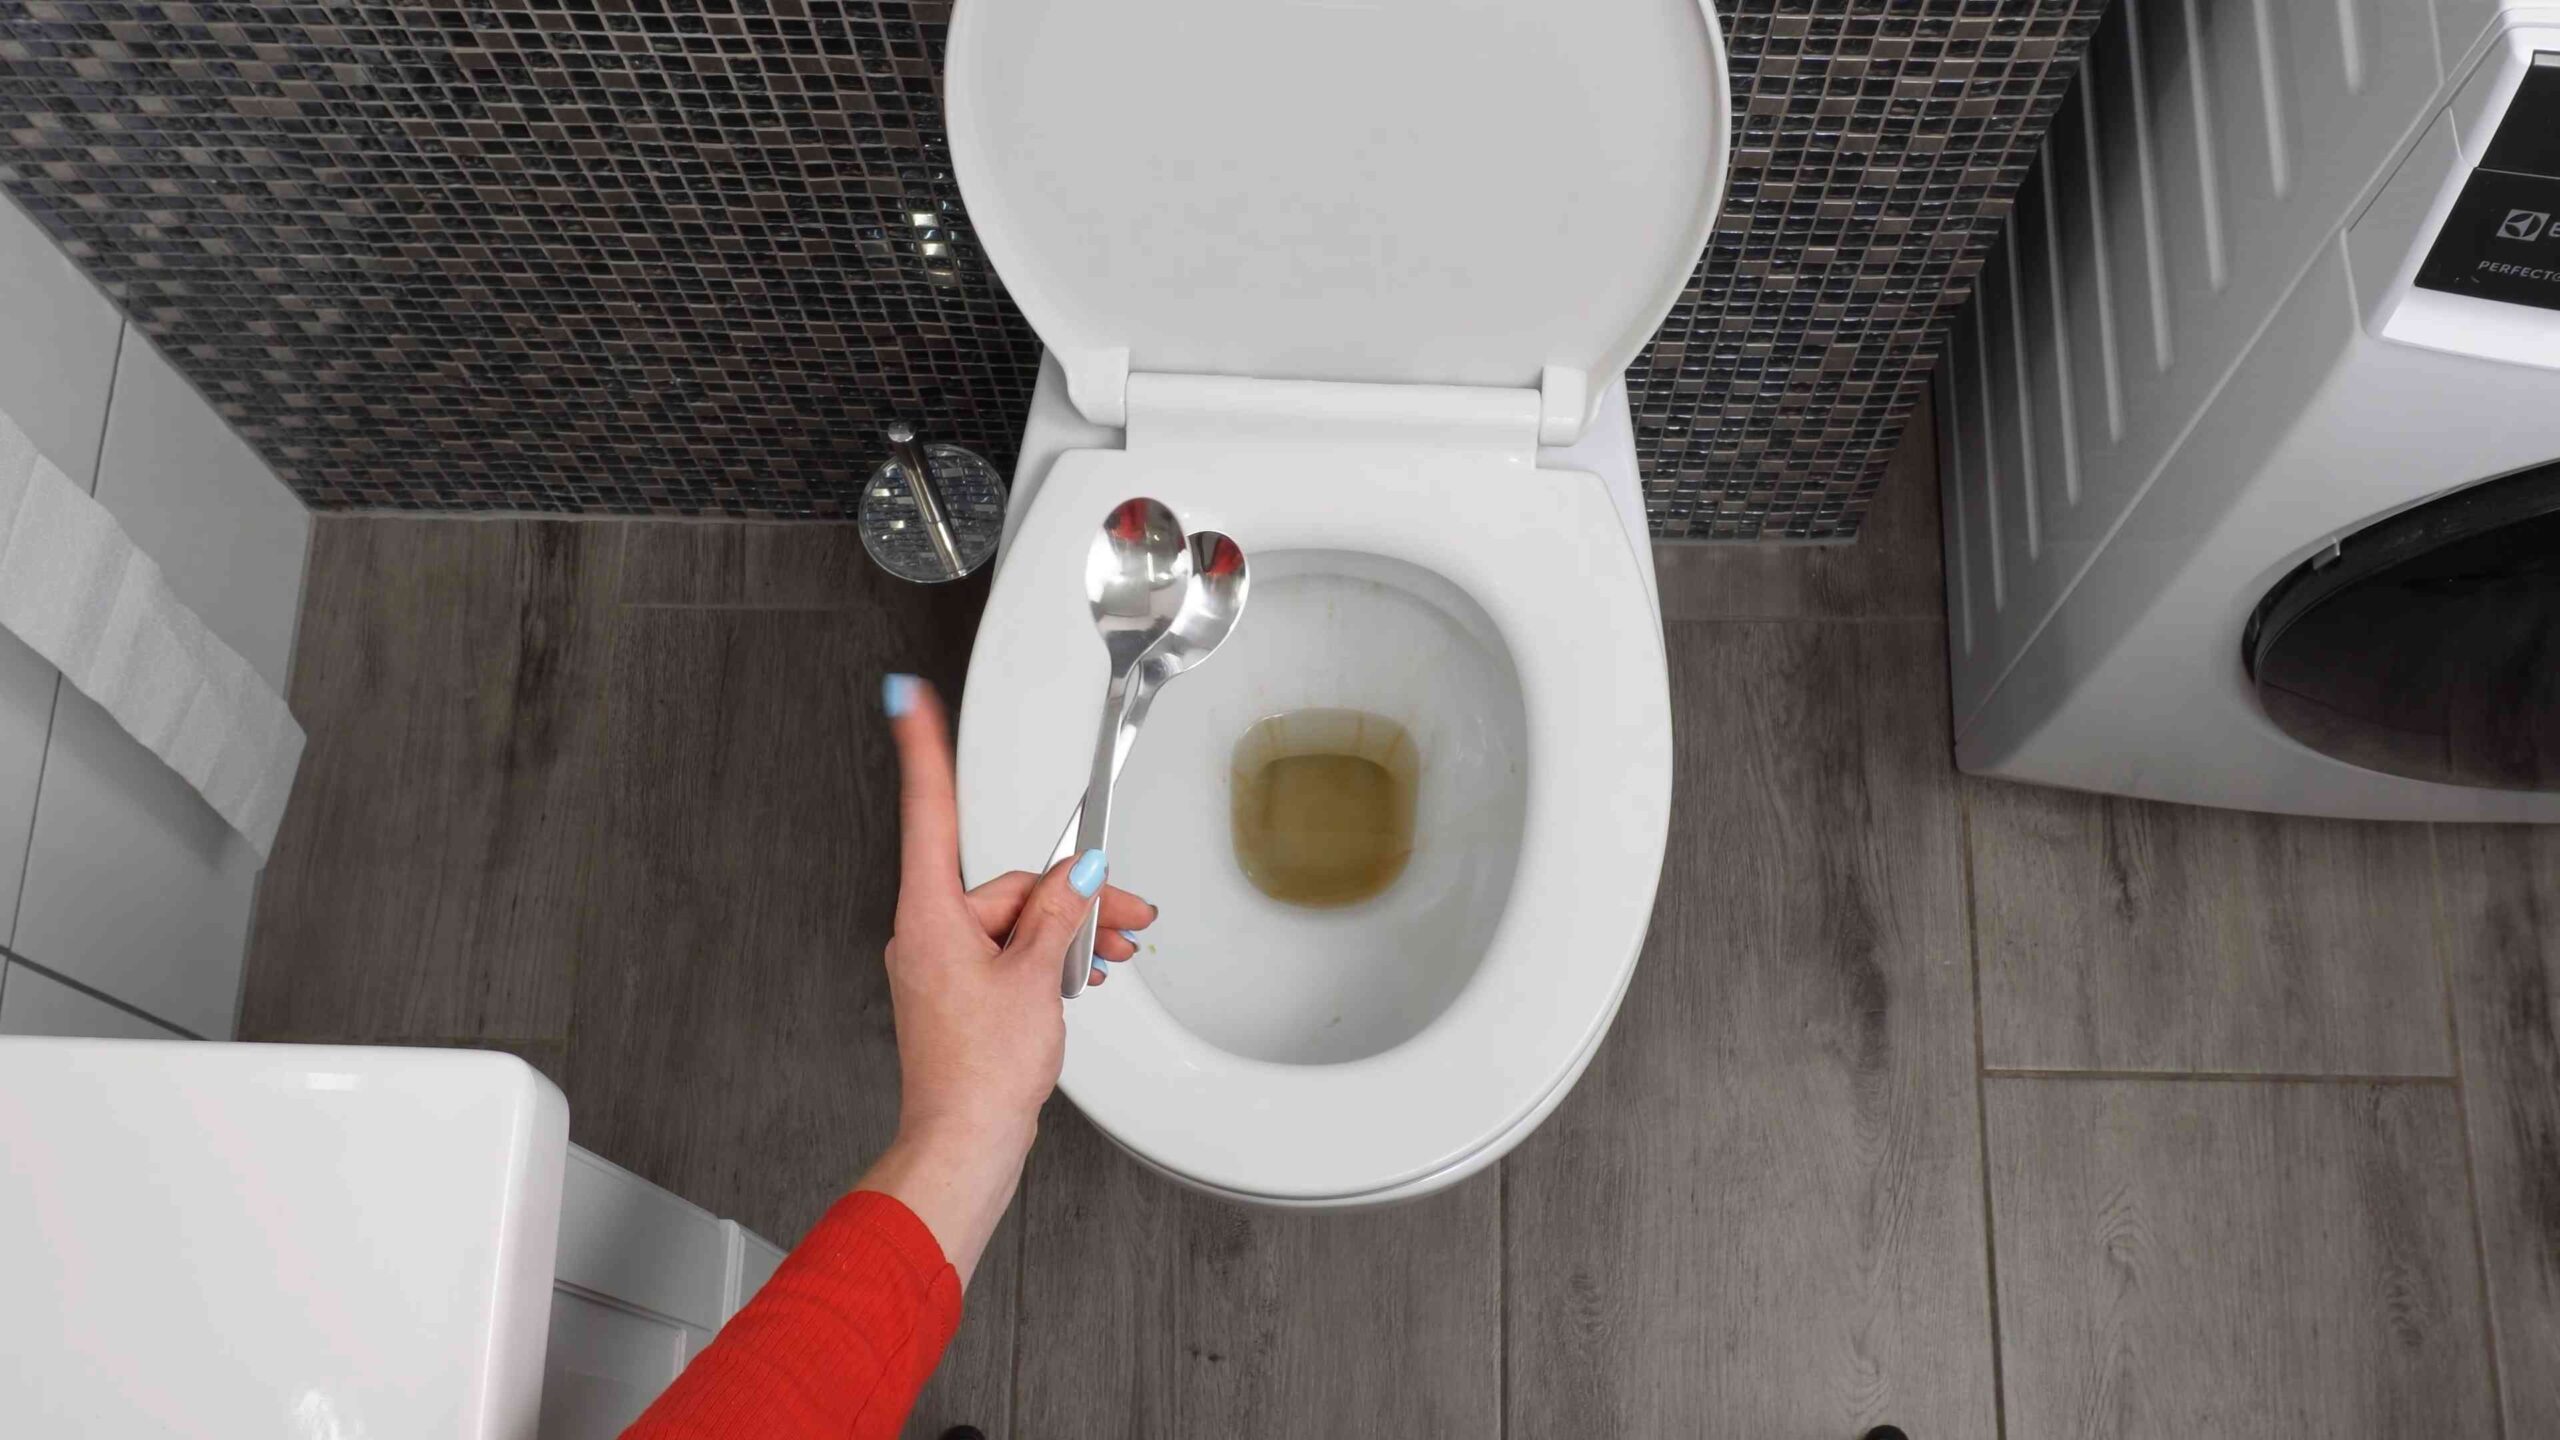
1. **Prepare the Toilet:** First, flush the toilet to remove any loose debris. Then, turn off the water supply valve located behind the toilet. This prevents the toilet from refilling while we’re working. Flush the toilet again to empty the bowl as much as possible. You might need to use a small cup or sponge to remove any remaining water at the very bottom of the bowl, especially if the limescale is submerged. The less water, the more concentrated our cleaning solution will be.
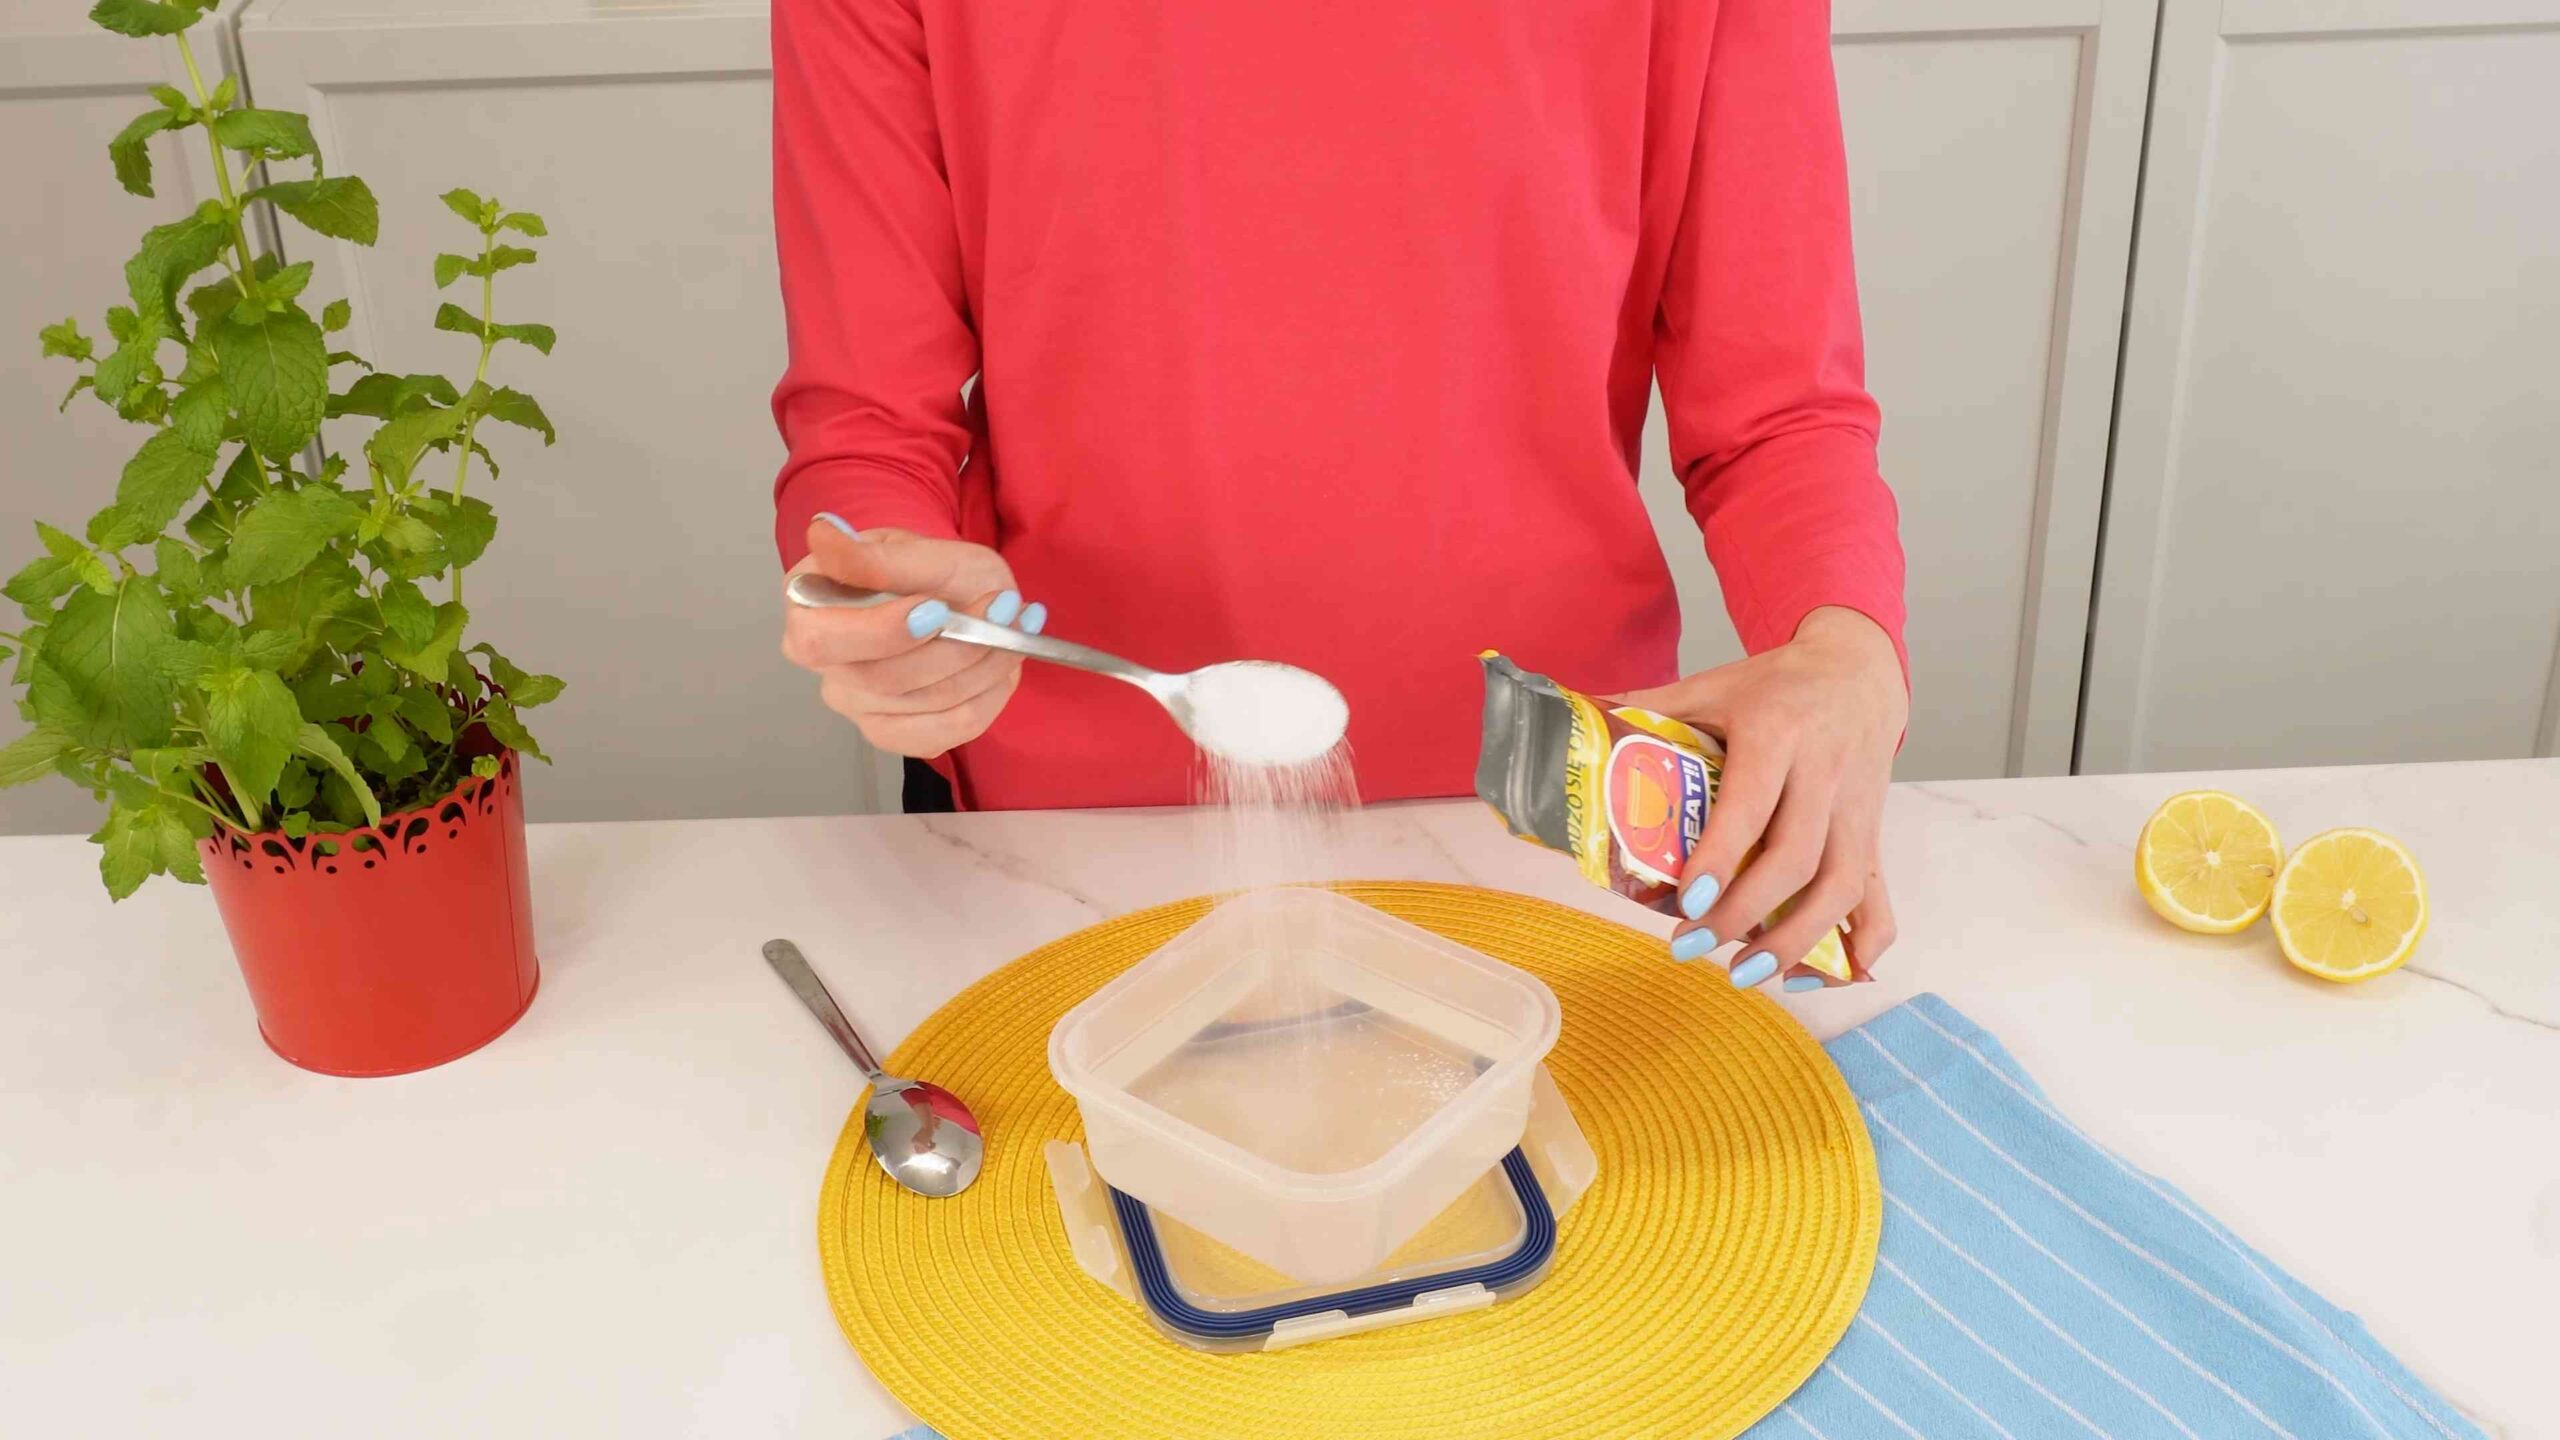
2. **Apply the Baking Soda:** Now, sprinkle a generous amount of baking soda all around the inside of the toilet bowl, focusing on the areas where the limescale is most prominent. Don’t be shy! You want a good coating. I usually use about half a cup to a full cup, depending on the severity of the limescale.
3. **Pour in the Vinegar:** Slowly pour white vinegar over the baking soda. You’ll see it start to fizz – that’s exactly what we want! The fizzing action helps to loosen the limescale. Use enough vinegar to thoroughly saturate the baking soda and coat the affected areas. I typically use about 2-3 cups of vinegar.
4. **Let it Soak (The Magic Happens Here!):** This is the most important step! Let the vinegar and baking soda mixture sit in the toilet bowl for at least 2-4 hours, or even better, overnight. The longer it sits, the more time the vinegar has to break down the limescale. I usually do this before I go to bed so it can work its magic while I sleep.
5. **Scrub, Scrub, Scrub!:** After the soaking period, put on your rubber gloves and grab your toilet brush. Now it’s time to scrub! Focus on the areas where the limescale is most stubborn. You should notice that the limescale is much easier to remove after the vinegar and baking soda have had time to work. Use a firm, circular motion to scrub away the deposits.
6. **Pumice Stone Power (If Needed):** If you have particularly stubborn limescale deposits that aren’t budging with the toilet brush, carefully use a pumice stone. Wet the pumice stone thoroughly before using it. Gently rub the pumice stone over the limescale, using light pressure. Be extremely careful not to scratch the porcelain! Test it in an inconspicuous area first to make sure it doesn’t damage the surface. Rinse the pumice stone frequently as you work.
7. **The Borax Boost (For Extra Oomph):** If the vinegar and baking soda combo isn’t quite cutting it, you can add a little borax to the mix. After scrubbing with the vinegar and baking soda, sprinkle about 1/4 cup of borax into the toilet bowl. Let it sit for another 30 minutes, then scrub again. Borax is a stronger cleaner, so be sure to wear gloves and avoid prolonged skin contact.
8. **Flush and Admire!:** Once you’ve scrubbed away all the limescale, turn the water supply valve back on and flush the toilet several times to rinse away any remaining residue. Admire your sparkling clean toilet bowl!
Dealing with Limescale Under the Rim: The Tricky Spots
Limescale often builds up under the rim of the toilet bowl, which can be a bit tricky to reach. Here’s how I tackle those hard-to-reach areas:
* **Vinegar-Soaked Paper Towels:** Soak paper towels in white vinegar and stuff them under the rim, pressing them against the limescale deposits. Let them sit for several hours or overnight. This allows the vinegar to directly target the limescale.
* **Spray Bottle Power:** Fill a spray bottle with white vinegar and spray it liberally under the rim, making sure to saturate the limescale. Let it sit for at least an hour before scrubbing.
* **Angled Toilet Brush:** Use a toilet brush with an angled head to reach under the rim and scrub away the loosened limescale.
* **Toothbrush Trick:** An old toothbrush can be surprisingly effective for cleaning under the rim. Dip it in vinegar and use it to scrub away the limescale.
Preventing Future Limescale Buildup: Staying Ahead of the Game
The best way to deal with limescale is to prevent it from building up in the first place. Here are a few things I do to keep my toilet limescale-free:
* **Regular Cleaning:** Clean your toilet regularly, at least once a week. This prevents limescale from building up to the point where it becomes difficult to remove.
* **Vinegar Flushes:** Pour a cup of white vinegar into the toilet bowl once a week and let it sit overnight. This helps to prevent limescale from forming.
* **Water Softener:** If you have hard water, consider installing a water softener. Hard water is a major contributor to limescale buildup.
* **Toilet Bowl Cleaners:** Use toilet bowl cleaners that are designed to prevent limescale buildup. Look for cleaners that contain citric acid or other descaling agents.
* **Flush Regularly:** Flush the toilet regularly, even if you haven’t used it. This helps to prevent mineral deposits from building up.
Important Considerations: Safety First!
While this method is generally safe, it’s important to keep a few things in mind:
* **Ventilation:** Make sure the bathroom is well-ventilated when using vinegar and baking soda.
* **Avoid Mixing with Bleach:** Never mix vinegar with bleach, as this can create toxic fumes.
* **Protect Your Skin:** Wear rubber gloves to protect your hands from irritation.
* **Test on an Inconspicuous Area:** If you’re using a pumice stone or any other abrasive cleaner, test it on an inconspicuous area first to make sure it doesn’t damage the porcelain.
* **Keep Out of Reach of Children and Pets:** Store all cleaning supplies out of reach of children and pets.
Troubleshooting: When Things Don’t Go as Planned
Sometimes, even with the best efforts, limescale can be particularly stubborn. Here are a few troubleshooting tips:
* **Repeat the Process:** If the limescale isn’t completely gone after the first attempt, repeat the process. You may need to let the vinegar and baking soda mixture sit for a longer period of time.
* **Use a Stronger Vinegar:** If regular white vinegar isn’t working, try using cleaning vinegar, which has a higher acidity level.
* **Call a Professional:** If you’ve tried everything and the limescale is still not budging, it may be time to call a professional plumber. They have specialized tools and chemicals that can remove even the most stubborn limescale deposits.
I hope this guide helps you conquer that toilet limescale! With a little patience and elbow grease, you can have a sparkling clean toilet bowl in no time. Good luck!
Conclusion
So, there you have it! This simple, yet incredibly effective DIY toilet limescale removal trick is a game-changer for anyone battling stubborn stains and unsightly build-up in their bathroom. Forget harsh chemicals and expensive cleaners that promise the world but often fall short. This method utilizes readily available household ingredients, making it not only budget-friendly but also a more environmentally conscious choice.
Why is this a must-try? Because it works! The combination of [ingredients used in the main article] creates a powerful cleaning action that breaks down even the most persistent limescale deposits. You’ll be amazed at how easily the stains lift away, leaving your toilet bowl sparkling clean and fresh. No more endless scrubbing or frustratingly ineffective solutions. This DIY approach offers a practical, efficient, and satisfying way to restore your toilet to its former glory.
But the beauty of this method lies in its adaptability. Feel free to experiment with variations to suit your specific needs and preferences. For instance, if you’re dealing with particularly tough limescale, you could try letting the solution sit for a longer period, perhaps even overnight. Alternatively, you could add a few drops of your favorite essential oil, like tea tree or eucalyptus, for an extra boost of freshness and antibacterial properties. Remember to always test any new additions in an inconspicuous area first to ensure they don’t damage the surface.
This DIY toilet limescale removal technique is more than just a cleaning hack; it’s a way to take control of your cleaning routine and achieve professional-level results without breaking the bank. It’s about simplifying your life and finding effective solutions that are both good for your home and good for the environment.
We are confident that once you try this method, you’ll be hooked. The satisfaction of seeing your toilet bowl transform from stained and dull to sparkling and clean is truly rewarding. So, ditch the harsh chemicals and embrace this simple, effective, and eco-friendly solution.
Don’t just take our word for it – give it a try! We encourage you to put this DIY toilet limescale removal trick to the test and see the amazing results for yourself. And most importantly, we want to hear about your experience! Share your before-and-after photos, tips, and variations in the comments below. Let’s build a community of clean-toilet enthusiasts and help each other conquer those pesky limescale stains once and for all! Your insights could be invaluable to others who are struggling with the same problem. Let us know what worked best for you, any challenges you encountered, and any creative solutions you came up with. Together, we can make toilet cleaning a little less daunting and a lot more effective.
Frequently Asked Questions (FAQ)
What exactly is limescale, and why does it form in my toilet?
Limescale is a hard, chalky deposit that primarily consists of calcium carbonate. It forms when hard water, which contains dissolved minerals like calcium and magnesium, evaporates and leaves behind these minerals. In toilets, limescale tends to accumulate around the waterline, in the bowl, and in the jets due to the constant presence of water and the flushing action. The minerals in hard water react with the porcelain and other surfaces, creating a stubborn build-up that can be difficult to remove.
How often should I use this DIY toilet limescale removal method?
The frequency depends on the hardness of your water and how quickly limescale builds up in your toilet. In areas with very hard water, you might need to use this method every few weeks. In areas with softer water, you might only need to do it every few months. A good rule of thumb is to monitor your toilet bowl and treat it as soon as you notice limescale starting to form. Regular maintenance will prevent severe build-up and make cleaning much easier in the long run.
Is this DIY method safe for all types of toilets?
Generally, this DIY method is safe for most standard porcelain toilets. However, it’s always a good idea to test the solution in an inconspicuous area first, especially if you have a toilet with a special finish or coating. Avoid using abrasive scrub brushes or harsh scouring pads, as these can scratch the surface of the toilet bowl. If you have any concerns about the compatibility of the ingredients with your toilet, consult the manufacturer’s instructions or contact a professional plumber.
Can I use this method to clean other bathroom fixtures, like sinks and showers?
While the core ingredients are effective for removing limescale, it’s important to consider the specific materials of your other bathroom fixtures. For example, some natural stone surfaces can be damaged by acidic solutions. Always test the solution in an inconspicuous area before applying it to the entire surface. You might also need to adjust the concentration of the ingredients depending on the severity of the limescale and the sensitivity of the material.
What if the limescale is extremely stubborn and doesn’t come off easily?
For extremely stubborn limescale, you can try a few things. First, increase the concentration of the [ingredients used in the main article]. Second, allow the solution to soak for a longer period, even overnight. You can also try gently scrubbing the area with a non-abrasive brush or sponge. If the limescale persists, you might need to repeat the process several times. In very severe cases, you may need to consider using a commercially available limescale remover, but always follow the manufacturer’s instructions carefully and wear appropriate protective gear.
Are there any precautions I should take when using this DIY toilet limescale removal method?
Yes, even though this method uses household ingredients, it’s important to take some precautions. Wear gloves to protect your hands from irritation. Ensure adequate ventilation in the bathroom while you’re cleaning. Avoid mixing this solution with other cleaning products, especially bleach, as this can create dangerous fumes. Keep the solution out of reach of children and pets. If you experience any irritation or discomfort, discontinue use and consult a medical professional.
Can this method help prevent limescale from forming in the future?
While this method is effective for removing existing limescale, it doesn’t prevent it from forming altogether. However, there are steps you can take to minimize limescale build-up. Consider installing a water softener to reduce the mineral content of your water. Regularly wipe down your toilet bowl after each use to remove any water droplets that could contribute to limescale formation. You can also try using a toilet bowl cleaner that contains ingredients that inhibit limescale build-up.
What are some alternative ingredients I can use if I don’t have the ones listed in the recipe?
While the specific ingredients listed in the main article are recommended for optimal results, you can sometimes substitute them with similar alternatives. For example, if you don’t have [specific ingredient], you could try using [alternative ingredient] as a substitute. However, be aware that the effectiveness of the solution may vary depending on the substitutions you make. Always research the properties of any alternative ingredients before using them to ensure they are safe for your toilet and won’t cause any damage.
How do I dispose of the cleaning solution after I’m finished?
The cleaning solution can typically be flushed down the toilet without any issues. However, if you’ve used a large amount of solution or added any unusual ingredients, it’s best to check with your local waste disposal guidelines to ensure proper disposal. Avoid pouring the solution down the drain if you’re unsure about its compatibility with your plumbing system.
My toilet has a septic system. Is this DIY method safe to use?
Generally, this DIY method is safe for septic systems, as it uses natural ingredients that are unlikely to harm the beneficial bacteria in your septic tank. However, it’s always a good idea to use the solution sparingly and avoid flushing large amounts of it down the toilet at once. If you have any concerns about the impact of this method on your septic system, consult with a septic system professional.

Leave a Comment