

Toilet cleaning hacks – let’s be honest, nobody *loves* talking about it, but everyone appreciates a sparkling clean bathroom! Are you tired of spending hours scrubbing away at stubborn stains and lingering odors? I know I am! For generations, keeping our toilets clean has been a constant battle, from using harsh chemicals to relying on elbow grease. But what if I told you there’s a better way?
This article is your ultimate guide to simple, effective, and often surprising toilet cleaning hacks that will transform your cleaning routine. We’ll delve into DIY solutions using ingredients you probably already have in your pantry, saving you time, money, and a whole lot of frustration.
Think about it: a clean toilet isn’t just about aesthetics; it’s about hygiene and creating a welcoming space for yourself and your guests. These hacks are essential because they offer practical, eco-friendly alternatives to harsh chemicals, protecting your health and the environment. Plus, who doesn’t love a good shortcut that delivers amazing results? Get ready to say goodbye to endless scrubbing and hello to a sparkling clean toilet with minimal effort!

DIY Toilet Cleaning Power-Ups: From Grime to Gleam!
Okay, let’s face it, cleaning the toilet isn’t exactly anyone’s favorite chore. But a sparkling clean toilet bowl is a must-have for a fresh and hygienic bathroom. So, I’m going to share some of my favorite DIY toilet cleaning hacks that are not only effective but also use ingredients you probably already have in your pantry! Get ready to say goodbye to stubborn stains and hello to a gleaming throne!
Hack 1: The Fizzing Power of Baking Soda and Vinegar
This is my go-to for general cleaning and deodorizing. It’s simple, safe, and surprisingly effective. The baking soda acts as a mild abrasive, while the vinegar provides the fizzing action that helps loosen grime and kill bacteria.
What You’ll Need:
* 1 cup baking soda
* 2 cups white vinegar
* Toilet brush
* Spray bottle (optional, for extra cleaning power)
Step-by-Step Instructions:
1. Prepare the Bowl: First, flush the toilet to wet the bowl. This helps the baking soda stick better.
2. Sprinkle the Baking Soda: Pour the baking soda directly into the toilet bowl, making sure to coat the entire surface, especially under the rim.
3. Add the Vinegar: Slowly pour the white vinegar over the baking soda. Get ready for the fizz! This is the magic happening.
4. Let it Fizz and Sit: Allow the mixture to fizz and sit for at least 30 minutes. For tougher stains, I sometimes let it sit overnight. The longer it sits, the better it works!
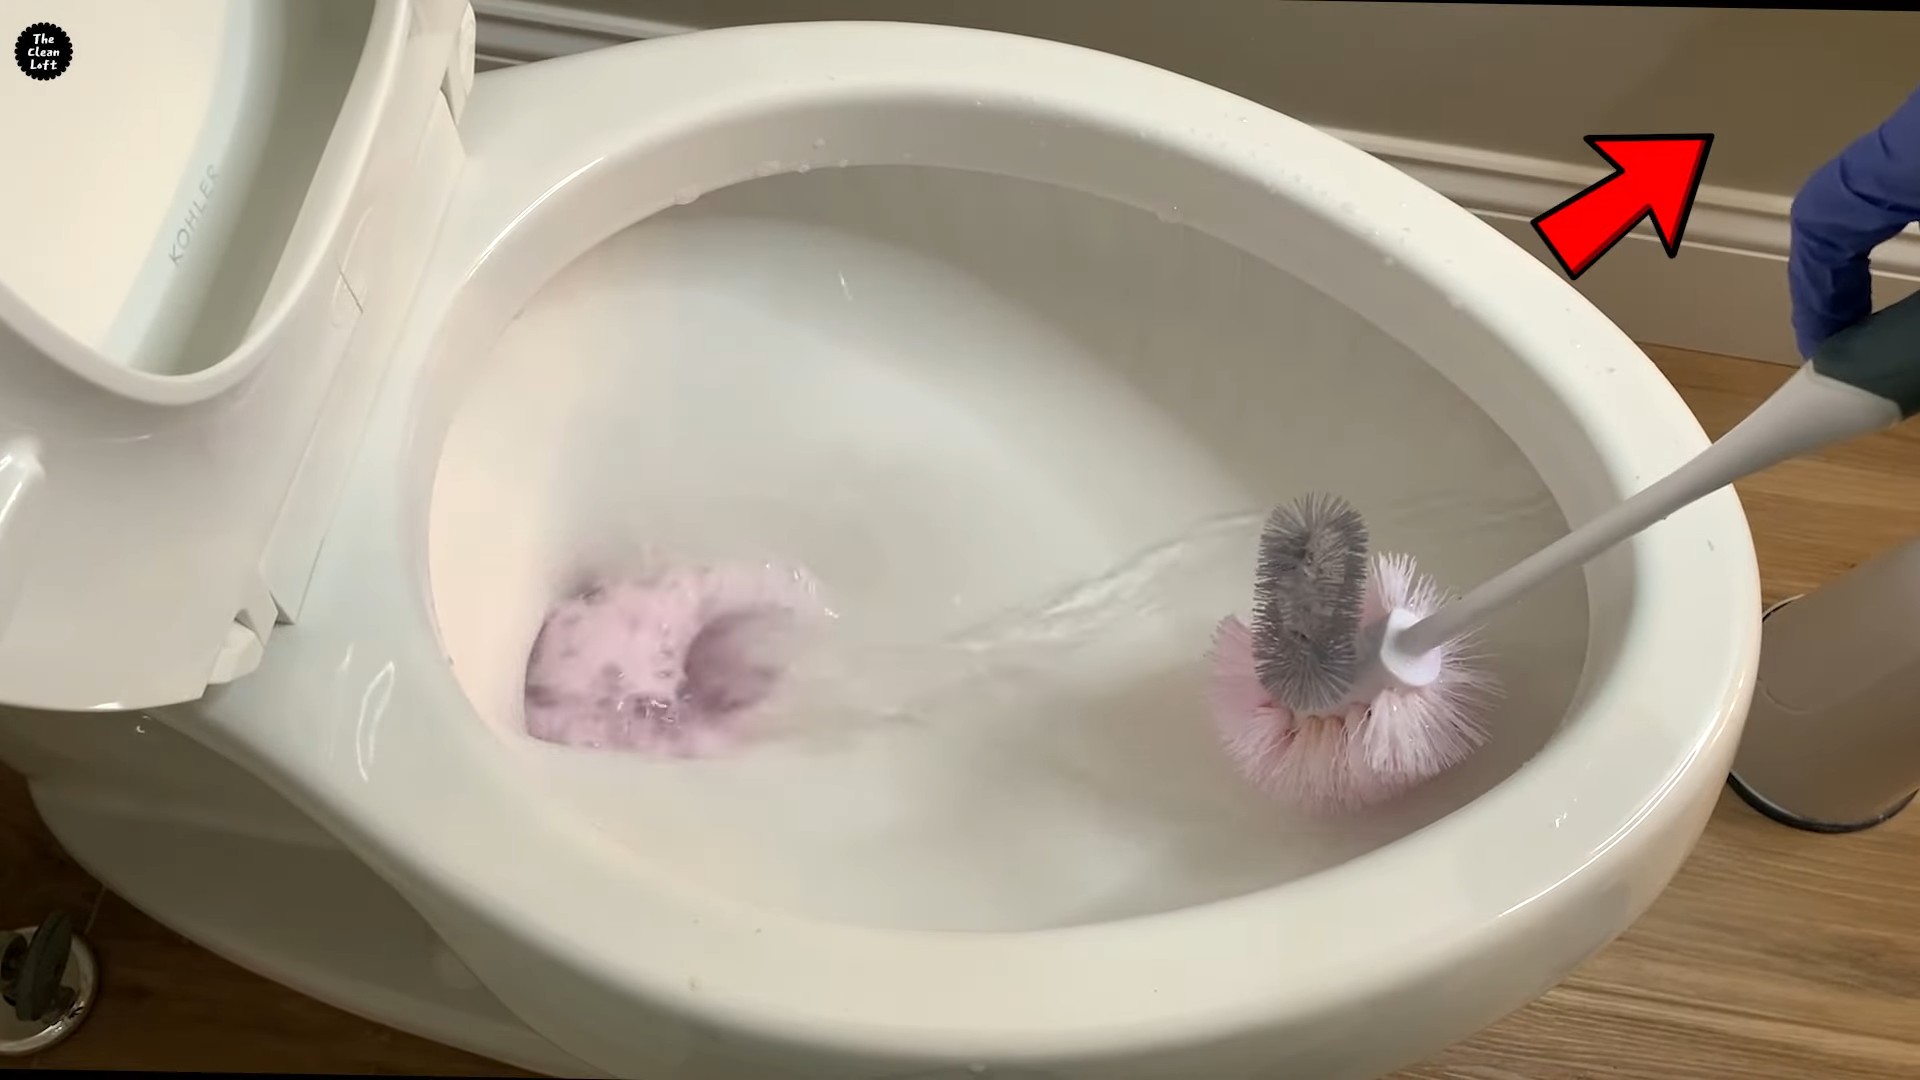
5. Scrub-a-dub-dub: After the soaking time, grab your toilet brush and give the bowl a good scrub. Pay extra attention to any stained areas or under the rim.
6. Flush it Away: Flush the toilet to rinse away the baking soda and vinegar mixture. Admire your sparkling clean toilet!
7. Optional Boost: For extra cleaning power, before adding the baking soda, spray the inside of the bowl with white vinegar. This will help loosen any stubborn grime before you even start.
Hack 2: The Lemon Juice Brightener
Lemon juice is a natural disinfectant and deodorizer, and it leaves your toilet smelling fresh and clean. This hack is perfect for maintaining a clean toilet and preventing stains from setting in.
What You’ll Need:
* 1 cup lemon juice (freshly squeezed or bottled)
* Toilet brush
Step-by-Step Instructions:
1. Pour in the Lemon Juice: Pour the lemon juice directly into the toilet bowl, making sure to coat the entire surface.
2. Let it Sit: Allow the lemon juice to sit for at least one hour, or even better, overnight. The acidity of the lemon juice will help break down stains and kill bacteria.
3. Scrub and Flush: After the soaking time, scrub the toilet bowl with your toilet brush and flush. Enjoy the fresh, citrusy scent!
4. Regular Maintenance: I like to use this hack once a week to keep my toilet bowl looking its best.
Hack 3: The Borax Stain Remover
Borax is a natural mineral that’s a powerful cleaner and disinfectant. It’s especially effective at removing hard water stains and mineral deposits.
What You’ll Need:
* 1/2 cup borax
* Toilet brush
* Water
Step-by-Step Instructions:
1. Sprinkle the Borax: Sprinkle the borax directly into the toilet bowl, making sure to coat the entire surface, especially around the water line.
2. Let it Sit: Allow the borax to sit for at least one hour, or preferably overnight. This gives the borax time to work its magic on the stains.
3. Scrub and Flush: After the soaking time, scrub the toilet bowl thoroughly with your toilet brush. You should see the stains starting to lift.
4. Flush it Away: Flush the toilet to rinse away the borax and the loosened stains.
5. Tough Stain Treatment: For really stubborn stains, you can make a paste of borax and water and apply it directly to the stain. Let it sit for a few hours before scrubbing and flushing.
Hack 4: The Cola Cleaning Conundrum
Yes, you read that right! Cola, like Coca-Cola or Pepsi, can actually help clean your toilet bowl. The phosphoric acid in cola helps break down stains and mineral deposits.
What You’ll Need:
* 1 can (12 oz) cola (any brand)
* Toilet brush
Step-by-Step Instructions:
1. Pour in the Cola: Pour the entire can of cola into the toilet bowl, making sure to coat the entire surface, especially under the rim.
2. Let it Sit: Allow the cola to sit for at least one hour, or even better, overnight. The longer it sits, the more effective it will be.
3. Scrub and Flush: After the soaking time, scrub the toilet bowl with your toilet brush and flush. You should see the stains starting to disappear.
4. Repeat if Necessary: For really tough stains, you may need to repeat the process.
Hack 5: The Denture Tablet Deep Clean
Denture tablets aren’t just for dentures! They contain cleaning agents that can help remove stains and freshen up your toilet bowl.
What You’ll Need:
* 2-3 denture cleaning tablets
* Toilet brush
Step-by-Step Instructions:
1. Drop in the Tablets: Drop the denture cleaning tablets into the toilet bowl.
2. Let them Fizz: Allow the tablets to fizz and dissolve completely. This usually takes about 20-30 minutes.
3. Scrub and Flush: After the tablets have dissolved, scrub the toilet bowl with your toilet brush and flush.
4. Overnight Power: For a deeper clean, drop the tablets in before you go to bed and let them work their magic overnight.
Hack 6: The Pumice Stone Power Scrub
This is my secret weapon for tackling those stubborn hard water rings that just won’t budge. A pumice stone is a natural abrasive that can gently scrub away stains without scratching the porcelain.
What You’ll Need:
* Pumice stone (available at most hardware stores or online)
* Gloves
* Water
Step-by-Step Instructions:
1. Wet the Pumice Stone: Before you start, thoroughly wet the pumice stone. This will help prevent scratching.
2. Wet the Toilet Bowl: Make sure the area you’re cleaning in the toilet bowl is also wet.
3. Gently Scrub: Gently rub the pumice stone over the hard water ring or stain. Use light pressure and avoid scrubbing too hard, as this could scratch the porcelain.
4. Rinse Frequently: Rinse the pumice stone frequently to remove any debris.
5. Flush Away Debris: Flush the toilet to rinse away any loosened debris.
6. Be Patient: It may take some time and effort to remove the stain completely, but be patient and keep scrubbing gently.
7. Important Note: Always test the pumice stone in an inconspicuous area first to make sure it doesn’t scratch your toilet bowl. And always wear gloves to protect your hands.
Hack 7: The Essential Oil Freshener
This isn’t a cleaning hack per se, but it’s a great way to keep your toilet smelling fresh and clean between cleanings.
What You’ll Need:
* Essential oil (tea tree, eucalyptus, lavender, or lemon are good choices)
* Toilet paper roll
Step-by-Step Instructions:
1. Apply the Oil: Place a few drops of your favorite essential oil onto the inside of the toilet paper roll.
2. Enjoy the Fresh Scent: Every time you use the toilet paper, the essential oil will release a pleasant scent, keeping your bathroom smelling fresh.
3. Reapply as Needed: Reapply the essential oil every few days, or as needed, to maintain the scent.
Important Considerations for all Hacks:
* Always test in an inconspicuous area first: Before using any of these hacks, especially the pumice stone, test them in a small, hidden area of your toilet bowl to make sure they don’t damage the porcelain.
* Wear gloves: Protect your hands by wearing gloves when cleaning the toilet.
* Ventilation: Make sure your bathroom is well-ventilated when using any cleaning products.
* Don’t mix chemicals: Never mix different cleaning products together, as this can create dangerous fumes.
* Regular Cleaning is Key: These hacks are most effective when used as part of
Conclusion
So, there you have it! This DIY toilet cleaning bomb trick isn’t just another cleaning fad; it’s a game-changer for maintaining a sparkling clean and fresh-smelling bathroom with minimal effort. We’ve walked you through a simple, cost-effective method that utilizes ingredients you likely already have in your pantry. Forget those harsh chemical cleaners that burn your nostrils and potentially harm the environment. This homemade solution is a powerful, natural alternative that delivers impressive results.
Why is this a must-try? Because it simplifies your cleaning routine, saves you money, and is better for your health and the planet. Imagine effortlessly dropping a fizzing bomb into your toilet bowl and watching it work its magic, dissolving stains, eliminating odors, and leaving behind a refreshing scent. No more scrubbing until your arms ache! This DIY toilet cleaning bomb is your secret weapon for a consistently clean toilet.
But the beauty of this trick lies in its adaptability. Feel free to experiment with different essential oils to create your signature scent. Lavender, tea tree, eucalyptus, and lemon are all excellent choices, each offering unique antibacterial and aromatic properties. You could even add a touch of color with a few drops of food coloring, just for fun! For a more powerful cleaning boost, consider adding a tablespoon of borax to the mixture. Borax is a natural mineral that acts as a disinfectant and deodorizer. If you’re dealing with particularly stubborn stains, pre-treat the area with a paste of baking soda and water before dropping in the bomb.
Don’t be afraid to get creative and customize this recipe to suit your specific needs and preferences. The possibilities are endless!
We are confident that once you try this DIY toilet cleaning bomb, you’ll be hooked. It’s a simple, effective, and satisfying way to keep your toilet clean and fresh. So, ditch the expensive store-bought cleaners and embrace this natural, budget-friendly alternative.
We encourage you to give this DIY toilet cleaning bomb a try and share your experience with us! Let us know what variations you tried, what scents you loved, and how well it worked for you. Your feedback is invaluable and helps us refine and improve our recipes. Share your photos and tips in the comments section below. We can’t wait to hear from you! Let’s revolutionize toilet cleaning together, one fizzing bomb at a time!
Frequently Asked Questions (FAQs)
What exactly are the benefits of using DIY toilet cleaning bombs compared to commercial cleaners?
DIY toilet cleaning bombs offer a multitude of advantages over conventional commercial cleaners. Firstly, they are significantly more cost-effective. The ingredients required are typically inexpensive and readily available in most households, such as baking soda, citric acid, and essential oils. This translates to substantial savings in the long run. Secondly, DIY bombs are environmentally friendly. Commercial cleaners often contain harsh chemicals that can pollute waterways and harm aquatic life. By using natural ingredients, you minimize your environmental impact. Thirdly, you have complete control over the ingredients. This is particularly beneficial for individuals with sensitivities or allergies to certain chemicals commonly found in commercial cleaners. You can tailor the recipe to suit your specific needs and preferences. Finally, the satisfaction of creating something yourself and knowing exactly what’s going into your cleaning products is an added bonus!
Are these toilet cleaning bombs safe for septic systems?
Yes, generally speaking, these DIY toilet cleaning bombs are safe for septic systems. The primary ingredients, baking soda and citric acid, are both naturally occurring substances that are biodegradable and won’t harm the beneficial bacteria in your septic tank. However, it’s crucial to avoid adding excessive amounts of any ingredient, especially borax, as high concentrations could potentially disrupt the balance of your septic system. Stick to the recommended quantities in the recipe, and if you have any concerns, consult with a septic system professional.
How often should I use these toilet cleaning bombs?
The frequency of use depends on your individual needs and how often you typically clean your toilet. For general maintenance and odor control, using a bomb once or twice a week is usually sufficient. If you have hard water stains or more frequent build-up, you may need to use them more often. Observe your toilet and adjust the frequency accordingly. Remember, these bombs are designed to supplement your regular cleaning routine, not replace it entirely.
Can I use different essential oils? Which ones are best?
Absolutely! Experimenting with different essential oils is one of the most enjoyable aspects of making these DIY toilet cleaning bombs. The best essential oils for cleaning are those with antibacterial, antifungal, and antiviral properties. Some popular choices include:
* **Tea Tree Oil:** Known for its powerful antiseptic and antifungal properties.
* **Lavender Oil:** Offers a calming scent and has antibacterial benefits.
* **Lemon Oil:** A natural degreaser and disinfectant with a refreshing citrus aroma.
* **Eucalyptus Oil:** Provides a strong, clean scent and has antibacterial and antiviral properties.
* **Peppermint Oil:** Offers a refreshing scent and can help deter pests.
Feel free to mix and match different essential oils to create your own unique blend. Start with a few drops of each oil and adjust the quantities to achieve your desired scent.
How long do these toilet cleaning bombs last? How should I store them?
The shelf life of these toilet cleaning bombs depends on how well they are stored. To maximize their longevity, store them in an airtight container in a cool, dry place. Moisture is the enemy, as it can cause the bombs to prematurely fizz and lose their effectiveness. A glass jar or a plastic container with a tight-fitting lid works well. When stored properly, these bombs can last for several months. However, it’s best to use them within a few months of making them to ensure optimal fizzing power.
What if the toilet cleaning bomb doesn’t fizz?
If your toilet cleaning bomb doesn’t fizz, it’s likely due to moisture exposure. Either the ingredients absorbed moisture during the mixing process, or the bombs were not stored properly. To prevent this, ensure that all your ingredients are completely dry before mixing. You can even dry the baking soda and citric acid in a low oven (around 200°F) for a short period to remove any excess moisture. Also, make sure to store the bombs in an airtight container. If your bombs still don’t fizz, they may have lost their potency. You can still use them, but they may not be as effective at cleaning and deodorizing.
Can I use this recipe to make bath bombs?
While the basic ingredients are similar, this recipe is specifically formulated for toilet cleaning. Bath bombs typically contain additional ingredients like Epsom salts, oils, and colorants to create a more luxurious and skin-soothing experience. Using this toilet cleaning bomb recipe in your bath could be irritating to the skin due to the higher concentration of citric acid and the potential for essential oils that are not skin-safe. It’s best to find a recipe specifically designed for bath bombs.
What if I don’t have citric acid? Can I substitute it with something else?
Citric acid is a crucial ingredient for the fizzing action of these bombs. While there isn’t a perfect substitute, you could try using cream of tartar as a replacement. However, the fizzing effect will be less pronounced. You may also need to adjust the ratio of baking soda to cream of tartar. Experiment with different ratios to find what works best for you. Keep in mind that the results may not be as effective as using citric acid.
Are there any safety precautions I should take when making these bombs?
While the ingredients are generally safe, it’s always a good idea to take a few precautions. Wear gloves to protect your hands from any potential irritation, especially if you have sensitive skin. Avoid getting the mixture in your eyes. If contact occurs, rinse thoroughly with water. Keep the ingredients and finished bombs out of reach of children and pets. And as with any cleaning product, do not ingest the bombs.
Can I add color to the toilet cleaning bombs?
Yes, you can add color to your toilet cleaning bombs using food coloring or natural colorants like beet powder or turmeric. Add a few drops of liquid food coloring to the wet ingredients (water or essential oil mixture) before combining them with the dry ingredients. Be careful not to add too much liquid, as this can cause the bombs to fizz prematurely. If using powder colorants, mix them with the dry ingredients before adding the wet ingredients. Keep in mind that some colorants may stain your toilet bowl, so test them in an inconspicuous area first.
Leave a Comment