

Tennis ball scuff mark removal – sounds like a chore, right? I get it! Those pesky marks seem to appear out of nowhere, turning your walls into a canvas of unwanted yellow fuzz. But don’t despair! Before you reach for the paint can or resign yourself to a life of scuffed walls, let me tell you about some incredibly easy and effective DIY tricks that will have your home looking spotless in minutes.
Think of it this way: for generations, homeowners have battled the bane of scuff marks. From the days of horse-drawn carriages leaving their mark on plaster walls to today’s energetic kids and their sports equipment, keeping walls clean has always been a challenge. While modern cleaning products offer solutions, sometimes the simplest, most readily available items are the most effective. That’s where these DIY hacks come in!
Why do you need these tricks? Because life’s too short to spend hours scrubbing! Plus, constantly repainting or using harsh chemicals can be costly and time-consuming. These tennis ball scuff mark removal methods are gentle on your walls, easy on your wallet, and incredibly satisfying to use. I’m going to share some secrets that will empower you to tackle those unsightly marks with confidence, leaving you with walls that look fresh and clean, without the hassle. Let’s get started!
DIY Tennis Ball Scuff Mark Removal: A Comprehensive Guide
Hey there! Are you tired of those unsightly tennis ball scuff marks decorating your walls and floors? As a homeowner, I know the struggle is real. Those fuzzy green projectiles can leave their mark, and sometimes, a simple wipe-down just doesn’t cut it. But don’t worry, I’ve got you covered! I’ve compiled a comprehensive guide to help you banish those scuff marks for good. Let’s dive in!
Understanding the Enemy: What are Tennis Ball Scuff Marks?
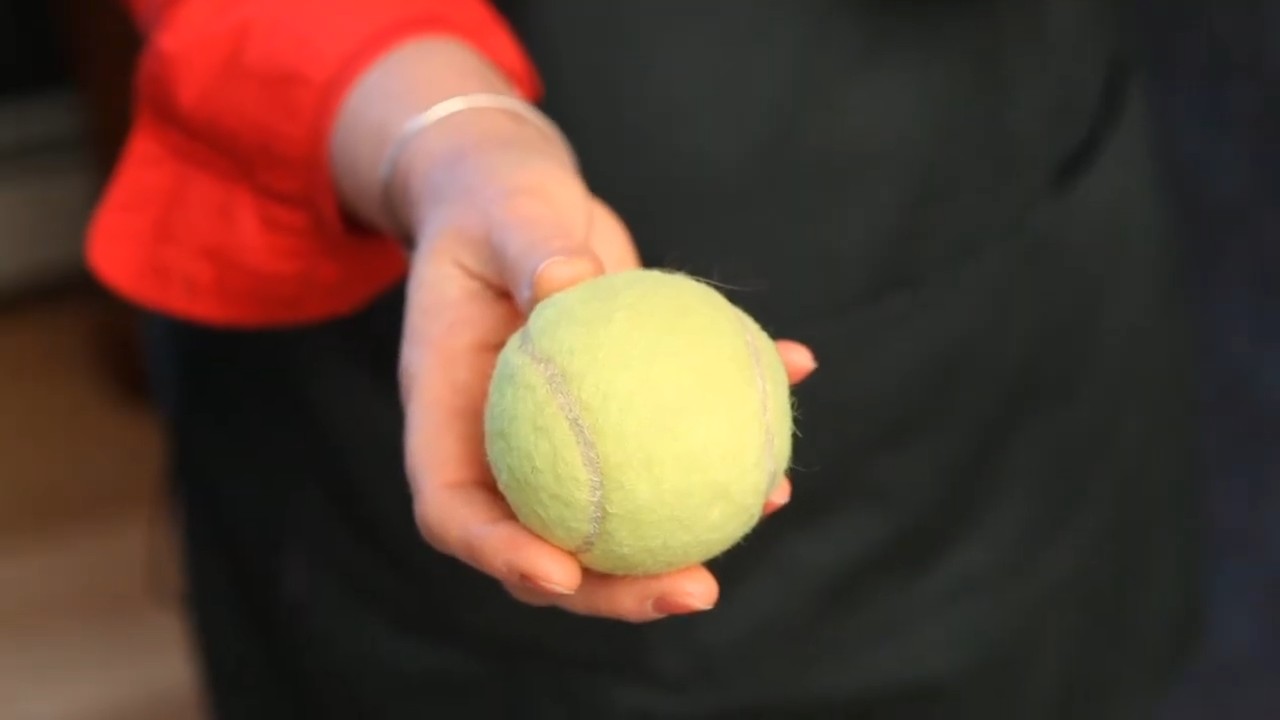
Before we jump into the solutions, let’s understand what we’re dealing with. Tennis ball scuff marks are essentially rubber residue left behind when the ball rubs against a surface. The felt on the ball can also contribute to the mark, especially if the ball is dirty. The key to removing them is to gently lift this residue without damaging the underlying surface.
Tools of the Trade: Gathering Your Supplies
The good news is that you probably already have most of the supplies you’ll need right at home. Here’s a list of essentials:
* Microfiber cloths: These are your best friends for gentle cleaning. Avoid abrasive materials that could scratch your surfaces.
* Soft sponges: Another gentle option for applying cleaning solutions.
* Warm water: A basic but essential ingredient for many cleaning solutions.
* Mild dish soap: A gentle degreaser that’s safe for most surfaces.
* Baking soda: A mild abrasive that can help lift stubborn scuff marks.
* Pencil eraser (the pink kind): Surprisingly effective for small, light scuff marks.
* Magic Eraser: A slightly more abrasive option for tougher marks (use with caution!).
* White vinegar: A natural cleaning agent that can help dissolve grime.
* Rubbing alcohol (isopropyl alcohol): A solvent that can help remove stubborn residue.
* Hair dryer (optional): Can help soften stubborn scuff marks.
* Protective gloves: To protect your hands from cleaning solutions.
* Eye protection (optional): To protect your eyes from splashes.
Testing, Testing, 1, 2, 3: The Importance of a Spot Test
Before you apply any cleaning solution to a large area, it’s crucial to perform a spot test. Choose an inconspicuous area, like behind a piece of furniture or in a corner, and apply a small amount of the solution. Wait a few minutes, then wipe it off and check for any damage or discoloration. If everything looks good, you can proceed with cleaning the scuff marks.
The Battle Plan: Step-by-Step Scuff Mark Removal
Now for the main event! Here’s a breakdown of different methods you can use to remove tennis ball scuff marks, starting with the gentlest options and moving towards more aggressive ones if needed.
Method 1: Warm Water and Dish Soap
This is always my first go-to method because it’s gentle and effective for most fresh scuff marks.
1. Prepare your solution: Mix a few drops of mild dish soap into a bowl of warm water.
2. Dampen your cloth: Dip a microfiber cloth into the soapy water and wring it out thoroughly. You want the cloth to be damp, not soaking wet.
3. Gently wipe the scuff mark: Use gentle, circular motions to wipe the scuff mark. Avoid scrubbing too hard, as this could damage the surface.
4. Rinse with clean water: Dampen a clean microfiber cloth with plain water and wipe away any soap residue.
5. Dry the area: Use a dry microfiber cloth to dry the area completely.
Method 2: Baking Soda Paste
For slightly more stubborn scuff marks, baking soda can work wonders.
1. Create a paste: Mix baking soda with a small amount of water to form a thick paste.
2. Apply the paste: Apply the paste to the scuff mark using a clean microfiber cloth or sponge.
3. Gently rub: Gently rub the paste into the scuff mark using circular motions. Be careful not to scrub too hard, especially on delicate surfaces.
4. Let it sit (optional): For really stubborn marks, you can let the paste sit for a few minutes before wiping it away.
5. Rinse with clean water: Use a damp microfiber cloth to rinse away the baking soda paste.
6. Dry the area: Dry the area completely with a clean, dry microfiber cloth.
Method 3: The Magic of the Pencil Eraser
This might sound strange, but a simple pink pencil eraser can be surprisingly effective for removing light scuff marks, especially on painted walls.
1. Grab your eraser: Make sure you’re using a clean, pink pencil eraser.
2. Gently rub the scuff mark: Gently rub the eraser over the scuff mark, applying light pressure.
3. Wipe away eraser shavings: Use a clean, dry microfiber cloth to wipe away any eraser shavings.
4. Repeat if necessary: Repeat the process until the scuff mark is gone.
Method 4: The Magic Eraser (Use with Caution!)
Magic Erasers are great, but they are slightly abrasive, so use them sparingly and always test in an inconspicuous area first.
1. Dampen the Magic Eraser: Lightly dampen the Magic Eraser with water.
2. Gently rub the scuff mark: Gently rub the Magic Eraser over the scuff mark, using light pressure. Avoid scrubbing too hard.
3. Rinse with clean water: Use a damp microfiber cloth to rinse away any residue.
4. Dry the area: Dry the area completely with a clean, dry microfiber cloth.
Method 5: White Vinegar Solution
White vinegar is a natural cleaning agent that can help dissolve grime and lift scuff marks.
1. Prepare your solution: Mix equal parts white vinegar and water in a spray bottle or bowl.
2. Apply the solution: Spray the solution onto the scuff mark or dampen a microfiber cloth with the solution.
3. Let it sit for a few minutes: Allow the solution to sit on the scuff mark for a few minutes to help loosen the residue.
4. Gently wipe the scuff mark: Use a clean microfiber cloth to gently wipe away the scuff mark.
5. Rinse with clean water: Use a damp microfiber cloth to rinse away any vinegar residue.
6. Dry the area: Dry the area completely with a clean, dry microfiber cloth.
Method 6: Rubbing Alcohol (For Stubborn Marks)
Rubbing alcohol is a strong solvent, so use it as a last resort and always test in an inconspicuous area first.
1. Dampen a cloth with rubbing alcohol: Dampen a clean microfiber cloth with rubbing alcohol.
2. Gently rub the scuff mark: Gently rub the scuff mark with the damp cloth.
3. Wipe away residue: Use a clean, dry microfiber cloth to wipe away any residue.
4. Ventilate the area: Make sure the area is well-ventilated while using rubbing alcohol.
5. Dry the area: Dry the area completely with a clean, dry microfiber cloth.
Method 7: Hair Dryer Trick (For Softening Stubborn Marks)
This method works by gently heating the scuff mark, making it easier to remove.
1. Heat the scuff mark: Use a hair dryer on a low setting to gently heat the scuff mark for a few seconds.
2. Wipe with a damp cloth: Immediately wipe the heated scuff mark with a damp microfiber cloth.
3. Repeat if necessary: Repeat the process until the scuff mark is gone.
4. Dry the area: Dry the area completely with a clean, dry microfiber cloth.
Important Considerations for Different Surfaces
The best method for removing scuff marks will depend on the type of surface you’re cleaning. Here’s a quick guide:
* Painted Walls: Start with warm water and dish soap, then try the pencil eraser or baking soda paste. Use Magic Erasers and rubbing alcohol with extreme caution.
* Hardwood Floors: Warm water and dish soap are usually sufficient. Avoid using too much water, as it can damage the wood. Baking soda paste can be used for stubborn marks, but test in an inconspicuous area first.
* Tile Floors: Most of the methods listed above are safe for tile floors.
* Vinyl Floors: Warm water and dish soap, baking soda paste, or white vinegar solution are all good options. Avoid using abrasive cleaners.
* Baseboards: Treat baseboards like painted walls.
Prevention is Key: Minimizing Future Scuff Marks
Of course, the best way to deal
Conclusion
So, there you have it! No more unsightly tennis ball scuff marks plaguing your pristine walls and floors. This simple, yet incredibly effective, DIY trick is a game-changer for anyone battling the persistent aftermath of energetic games or accidental bumps. We’ve shown you how to banish those blemishes with minimal effort and maximum impact, saving you time, money, and the frustration of resorting to harsh chemicals or expensive professional cleaning services.
Why is this a must-try? Because it’s easy, affordable, and uses readily available materials. You likely already have everything you need in your home right now! More importantly, it’s gentle on your surfaces, preventing damage while effectively removing the scuff marks. Think of the peace of mind knowing you can quickly and easily restore your walls and floors to their former glory.
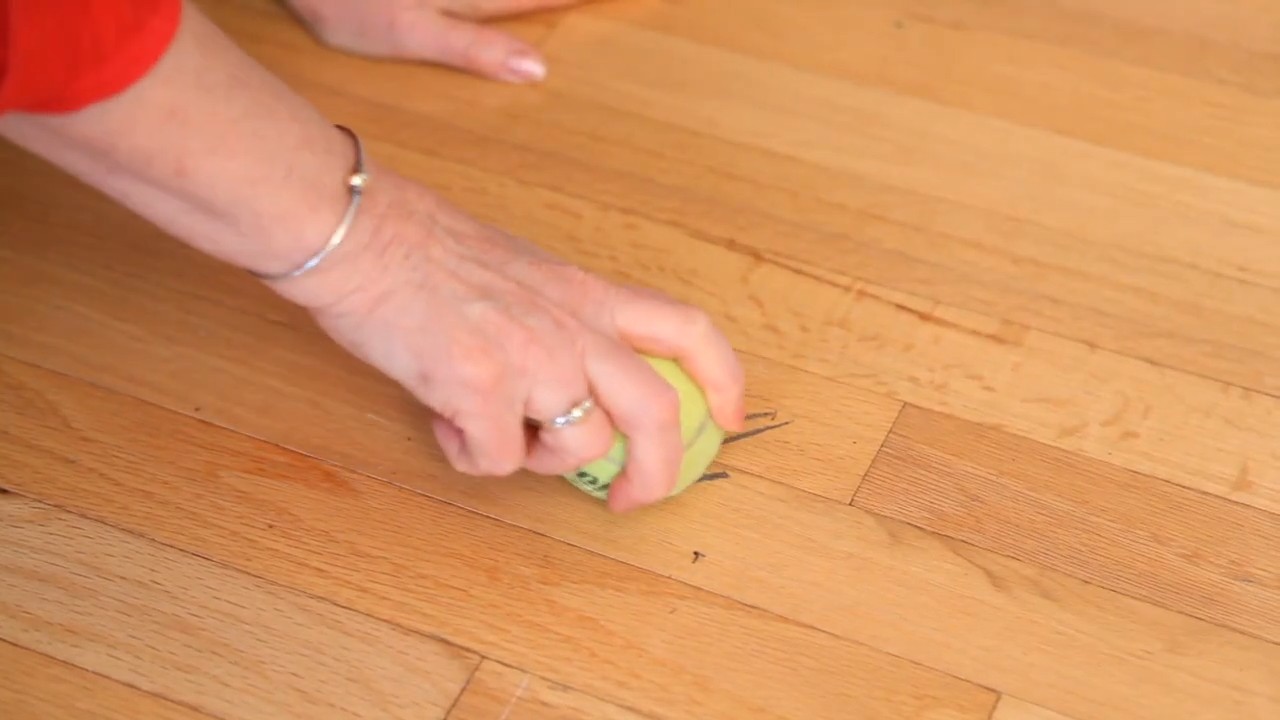
But don’t stop there! Feel free to experiment with variations. For particularly stubborn marks, try slightly dampening the tennis ball before rubbing. You could also explore using a magic eraser in conjunction with the tennis ball for an extra boost of cleaning power. Remember to always test in an inconspicuous area first to ensure compatibility with your surface.
Beyond walls and floors, this technique can also be surprisingly effective on other surfaces prone to scuff marks, such as baseboards, furniture legs, and even some types of shoes. Just be sure to adjust your pressure accordingly and always prioritize gentle application.
We’re confident that this tennis ball scuff mark removal method will become your go-to solution for keeping your home looking its best. It’s a practical, eco-friendly, and budget-friendly alternative to commercial cleaning products.
Now, it’s your turn! We wholeheartedly encourage you to give this DIY trick a try. We’re eager to hear about your experiences and see the amazing results you achieve. Share your before-and-after photos and tips in the comments below. Let’s build a community of clean-home enthusiasts who are armed with the knowledge to tackle any scuff mark challenge! Your insights could help others discover the magic of this simple solution. So, grab a tennis ball, get scrubbing, and let us know how it goes! We can’t wait to hear from you.
Frequently Asked Questions (FAQs)
Q: Will this trick work on all types of scuff marks?
A: This DIY trick is most effective on scuff marks caused by materials like rubber, plastic, or other soft substances – precisely the kind left by tennis balls. It works by gently lifting the scuff mark material from the surface. However, for deep scratches or marks caused by harder materials, you might need a more specialized cleaning solution or repair method. Always test in an inconspicuous area first to ensure the tennis ball doesn’t damage the surface.
Q: What if I don’t have a tennis ball? Can I use something else?
A: While a tennis ball is ideal due to its texture and gentle abrasiveness, you can try alternatives like a clean, dry eraser (the kind used for pencils) or a microfiber cloth. However, be aware that these alternatives might not be as effective, and you’ll need to apply more pressure. A magic eraser can also work, but use it sparingly as it can be abrasive and potentially damage some surfaces. The key is to find something with a slightly abrasive surface that won’t scratch the underlying material.
Q: Will this damage my paint or flooring?
A: When used correctly, this method is generally safe for most painted walls and flooring. However, it’s crucial to test in an inconspicuous area first, especially if you have delicate paint or a sensitive flooring material. Avoid applying excessive pressure, and always use a clean tennis ball to prevent transferring dirt or debris onto the surface. If you notice any paint transfer or damage, stop immediately and consider a different cleaning method. For delicate surfaces, consider dampening the tennis ball slightly, as this can reduce friction.
Q: How much pressure should I apply when rubbing the tennis ball?
A: Start with light pressure and gradually increase it as needed. The goal is to gently lift the scuff mark without damaging the underlying surface. Avoid scrubbing aggressively, as this can cause scratches or remove paint. If the scuff mark is particularly stubborn, try dampening the tennis ball slightly or using a circular motion. Remember, patience is key!
Q: Can I use this trick on textured walls?
A: Yes, you can use this trick on textured walls, but you’ll need to be extra careful. The texture can make it more difficult to remove the scuff mark, and you might need to use a slightly damp tennis ball to help loosen the debris. Be sure to test in an inconspicuous area first to ensure the tennis ball doesn’t damage the texture. Avoid applying excessive pressure, and use a gentle, circular motion to avoid flattening the texture.
Q: What if the scuff mark is still there after trying this method?
A: If the scuff mark persists, try these troubleshooting tips:
* **Dampen the tennis ball:** A slightly damp tennis ball can sometimes be more effective at lifting stubborn scuff marks.
* **Use a magic eraser:** Gently rub the scuff mark with a magic eraser after using the tennis ball. Be careful, as magic erasers can be abrasive.
* **Try a mild cleaning solution:** Mix a small amount of dish soap with water and gently dab the scuff mark with a clean cloth. Then, try the tennis ball method again.
* **Consider touching up the paint:** If all else fails, you might need to touch up the paint on the wall or floor.
Q: Is this method safe for all types of paint finishes (e.g., matte, satin, gloss)?
A: While generally safe, different paint finishes react differently. Matte finishes are more porous and can be more susceptible to damage. Gloss finishes are more durable and easier to clean. Always test in an inconspicuous area, regardless of the finish. Be extra gentle with matte finishes and avoid excessive pressure. If you’re unsure about your paint finish, consult the paint manufacturer’s recommendations.
Q: How often can I use this method without damaging my walls or floors?
A: You can use this method as often as needed, as long as you’re gentle and avoid excessive pressure. Regular maintenance can prevent scuff marks from becoming deeply embedded and more difficult to remove. However, excessive rubbing, even with a tennis ball, can eventually wear down the surface. So, use it judiciously and always prioritize gentle application.
Q: Does the type of tennis ball matter?
A: While any standard tennis ball will work, a newer tennis ball with a cleaner surface is preferable. An old, dirty tennis ball could potentially transfer dirt or debris onto the surface you’re trying to clean. If your tennis ball is dirty, clean it with a damp cloth before using it. Also, avoid using tennis balls that are heavily worn or have lost their fuzz, as they might be more abrasive.
Q: Can this method be used on car interiors?
A: Yes, this method can be used on some car interior surfaces, particularly plastic or vinyl door panels and dashboards that may have scuff marks. However, it’s crucial to test in an inconspicuous area first, as some car interior materials are more delicate than others. Use a clean tennis ball and apply very light pressure. Avoid using this method on leather or fabric surfaces, as it could damage them. For car interiors, a dedicated automotive cleaning product might be a better option.
Leave a Comment