

Tamarind tree care might seem daunting, especially if you’re new to the world of home gardening. But trust me, growing your own tamarind tree can be an incredibly rewarding experience! Imagine plucking fresh, tangy tamarind pods right from your backyard – the possibilities are endless, from adding a zesty kick to your favorite dishes to creating refreshing beverages.
For centuries, the tamarind tree has held a special place in cultures around the globe, particularly in South Asia and Africa, where it’s revered for its medicinal properties and culinary versatility. It’s more than just a fruit-bearing tree; it’s a symbol of resilience and resourcefulness.
Now, you might be thinking, “I don’t have a green thumb!” That’s perfectly okay! This DIY guide is designed for everyone, regardless of their gardening experience. We’ll break down the essential tamarind tree care tips and tricks into easy-to-follow steps, ensuring your tree thrives. From choosing the right location and soil to mastering watering and fertilization techniques, we’ve got you covered. Why spend money on store-bought tamarind when you can cultivate your own supply? Let’s embark on this exciting gardening adventure together and unlock the secrets to a flourishing tamarind tree!
Growing Your Own Tamarind Tree: A DIY Guide
Okay, so you want to grow your own tamarind tree? Awesome! It’s a rewarding experience, and you’ll eventually have a source of delicious, tangy tamarind right in your backyard. It’s not the easiest project, especially if you live in a cooler climate, but with a little patience and the right know-how, you can definitely make it happen. I’m going to walk you through everything you need to know, from starting with seeds to caring for your mature tree.
Choosing Your Starting Point: Seed vs. Sapling
Before we dive into the nitty-gritty, let’s talk about how you want to start your tamarind journey. You have two main options: growing from seed or buying a sapling.
* **Seeds:** Growing from seed is cheaper and can be really satisfying. However, it takes longer (usually 5-7 years) for the tree to mature and produce fruit. Plus, the fruit quality might not be exactly what you expect from the parent tree.
* **Sapling:** Buying a sapling is more expensive upfront, but you’ll get fruit much sooner (usually 3-4 years). You also know exactly what kind of fruit you’re getting.
For this guide, I’m going to focus on growing from seed, because that’s the most common and budget-friendly approach. But if you’re impatient, feel free to skip ahead to the “Caring for Your Tamarind Sapling” section once you’ve purchased one.
Getting Started: Germinating Tamarind Seeds
Okay, so you’ve decided to go the seed route. Here’s how to get those little guys sprouting:
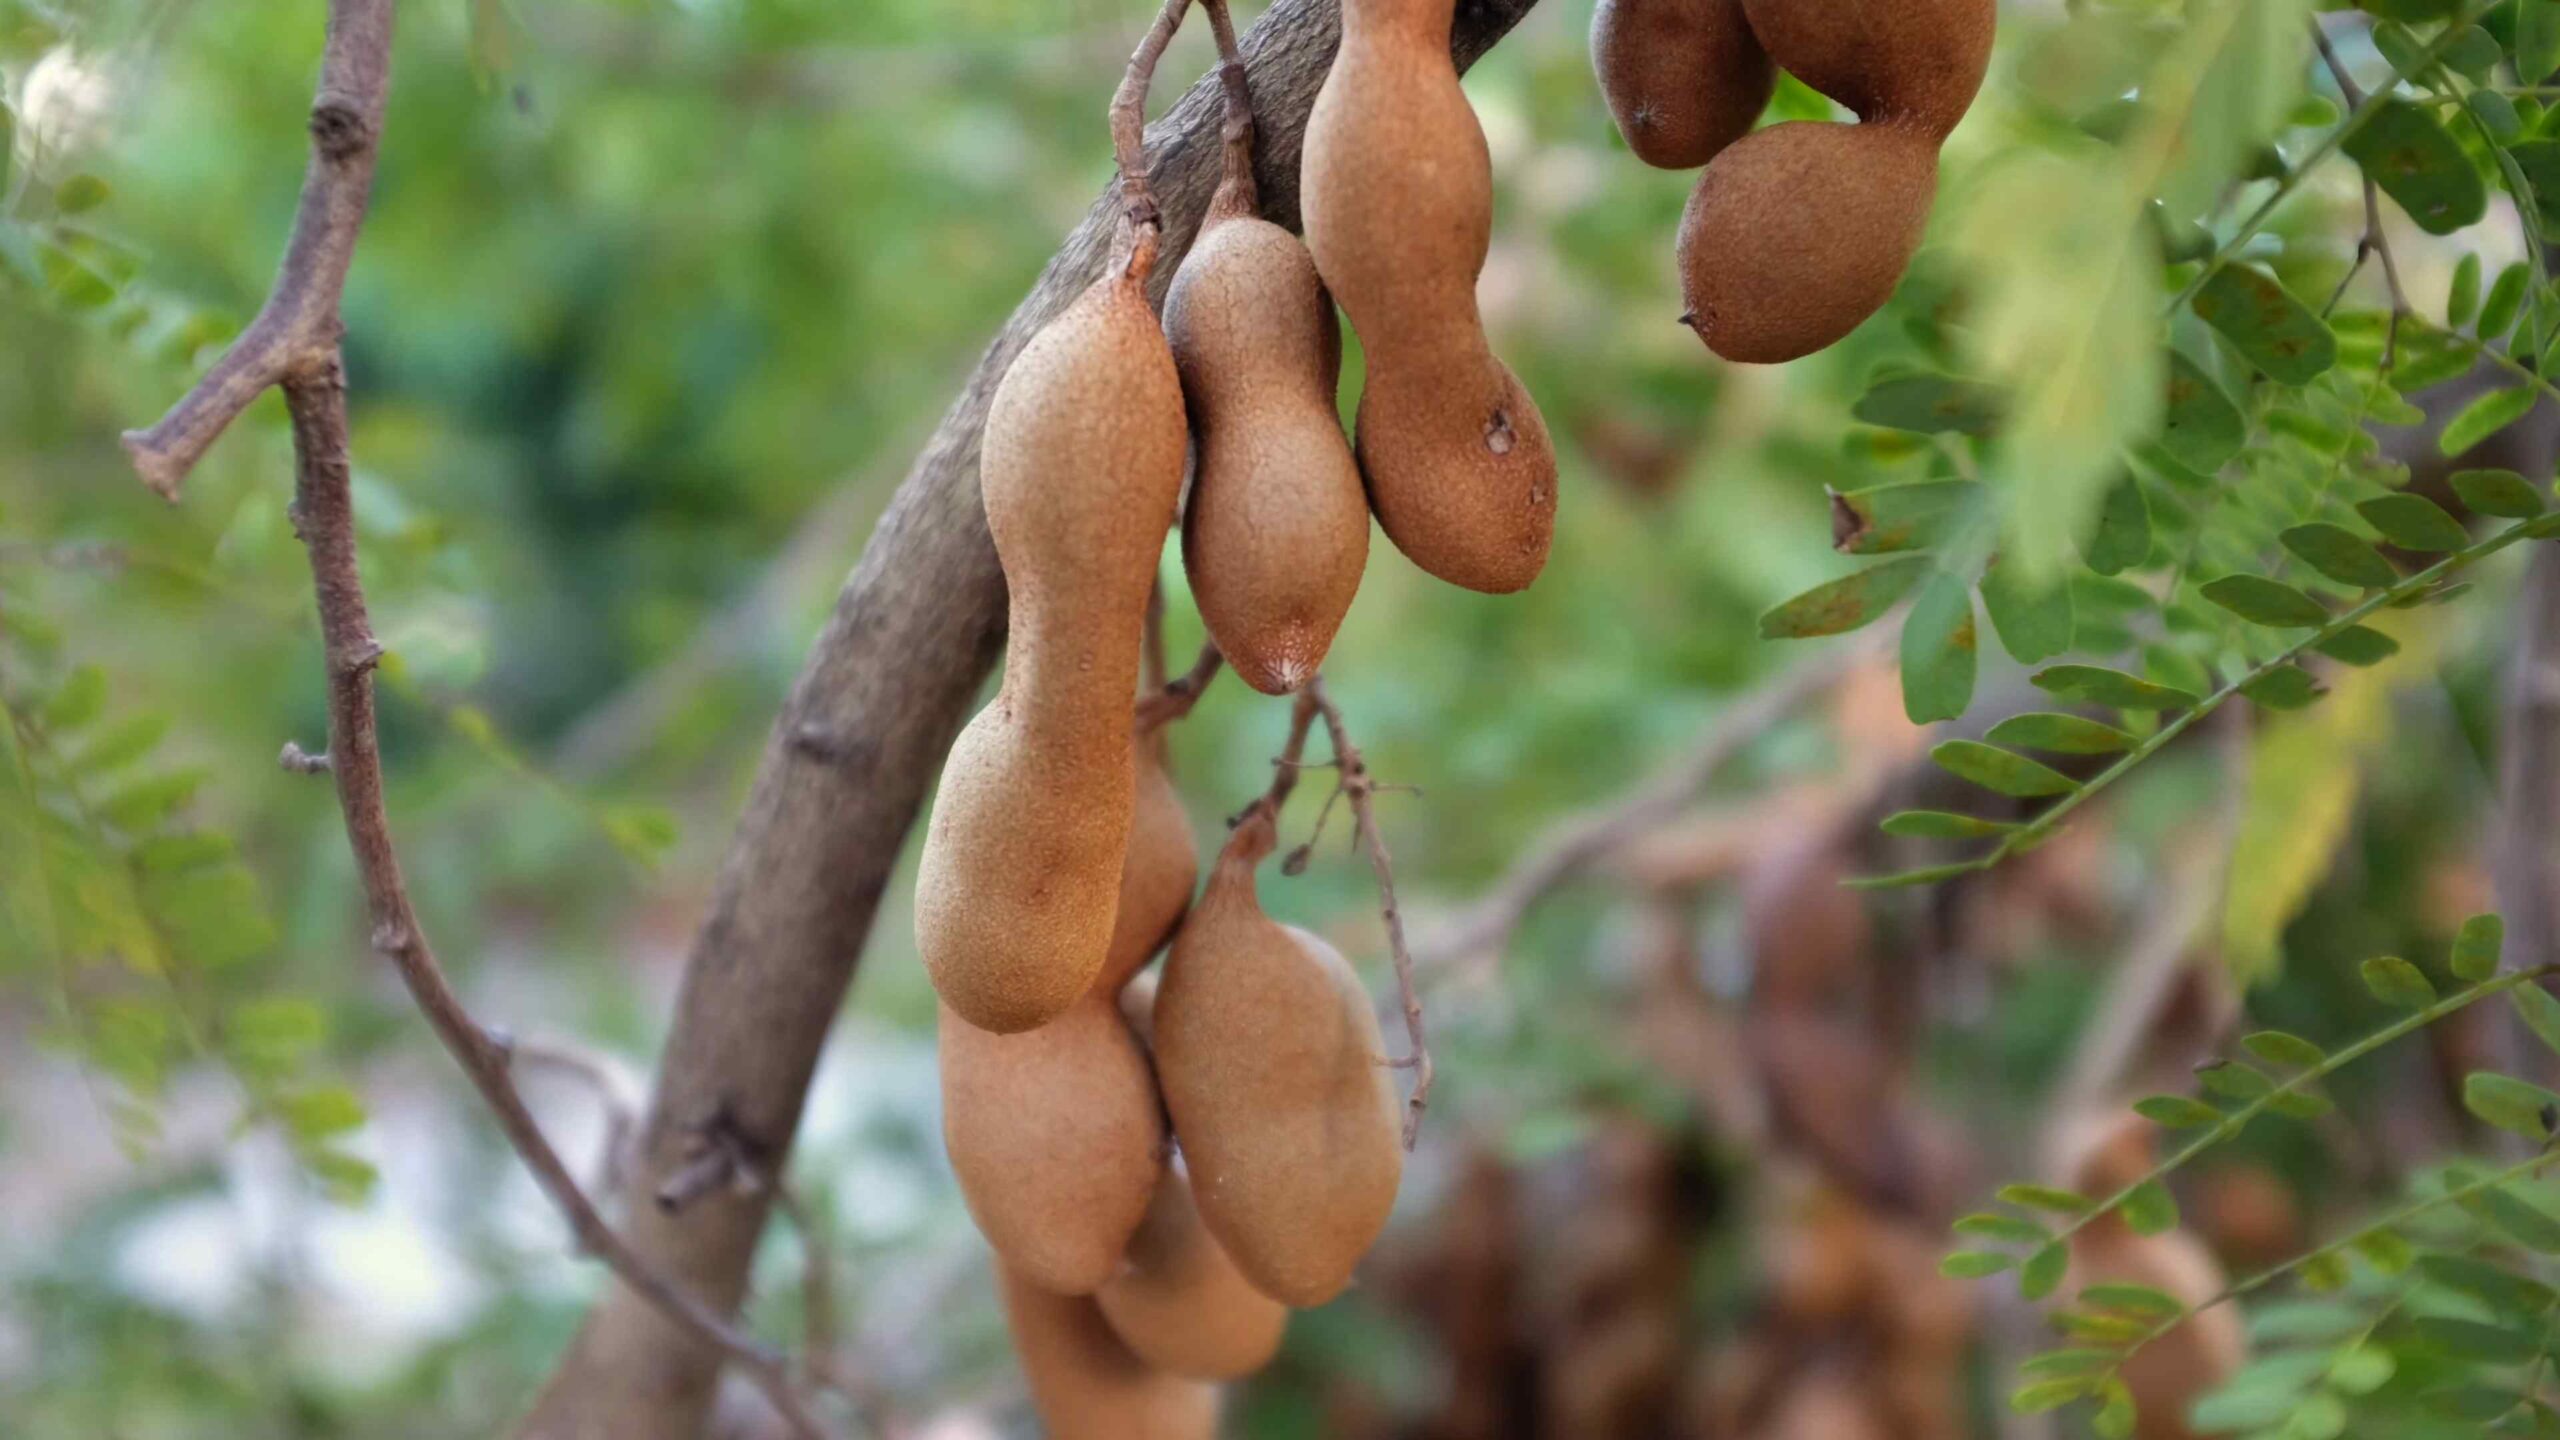
1. **Sourcing Your Seeds:** You can buy tamarind seeds online or, even better, get them from fresh tamarind pods. If you’re using pods, choose ones that are plump and brown. Extract the seeds and wash off any pulp.
2. **Scarification (Important!):** Tamarind seeds have a hard outer coating that can make it difficult for them to germinate. We need to scarify them, which basically means gently scratching the surface. You can do this in a few ways:
* **Sandpaper:** Gently rub the seeds against a piece of sandpaper (medium grit) until you see a slight change in color. Be careful not to damage the seed inside.
* **Nail File:** A nail file works similarly to sandpaper.
* **Knife (Carefully!):** Use a sharp knife to make a tiny nick in the seed coat. This is the riskiest method, so be extra careful not to cut too deep.
3. **Soaking:** After scarification, soak the seeds in warm water for 24-48 hours. This helps to soften the seed coat further and encourages germination. You’ll probably notice the seeds swelling up – that’s a good sign!
4. **Planting:** Now it’s time to plant! Use a well-draining potting mix. I like to use a mix of equal parts potting soil, perlite, and vermiculite. Fill small pots (about 4 inches in diameter) with the mix.
5. **Sowing:** Plant the seeds about 1 inch deep in the soil. Water gently until the soil is moist but not soggy.
6. **Creating a Humid Environment:** Tamarind seeds germinate best in a warm, humid environment. You can create this by covering the pots with plastic wrap or placing them in a propagator.
7. **Location:** Place the pots in a warm spot with indirect sunlight. Avoid direct sunlight, which can overheat the seeds.
8. **Patience is Key:** Germination can take anywhere from a week to a month, so be patient! Keep the soil consistently moist, but not waterlogged. Check the pots regularly for sprouts.
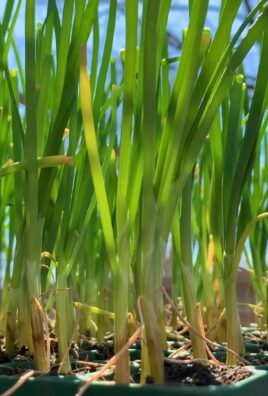
Nurturing Your Seedlings
Once your tamarind seeds have sprouted, it’s time to give them some extra TLC.
1. **Removing the Cover:** Once the seedlings emerge, remove the plastic wrap or propagator cover.
2. **Light:** Provide your seedlings with plenty of bright, indirect sunlight. A south-facing window is ideal. If you don’t have enough natural light, you can supplement with a grow light.
3. **Watering:** Water regularly, allowing the top inch of soil to dry out between waterings. Overwatering can lead to root rot, so be careful!
4. **Fertilizing:** Start fertilizing your seedlings with a balanced liquid fertilizer (like 20-20-20) diluted to half strength every two weeks.
5. **Repotting:** As your seedlings grow, they’ll need to be repotted into larger containers. Repot them when they become root-bound, which means the roots are circling around the bottom of the pot. Choose a pot that’s a few inches larger in diameter than the previous one.
Choosing the Right Location for Your Tamarind Tree
Tamarind trees thrive in warm climates, so location is crucial.
1. **Climate:** Tamarind trees are tropical and subtropical plants. They need warm temperatures year-round and can’t tolerate frost. If you live in a colder climate, you’ll need to grow your tamarind tree in a container and bring it indoors during the winter.
2. **Sunlight:** Tamarind trees need at least 6-8 hours of direct sunlight per day. Choose a location that gets plenty of sun.
3. **Soil:** Tamarind trees prefer well-draining soil. Avoid heavy clay soils, which can become waterlogged. If your soil is poor, amend it with compost or other organic matter.
4. **Space:** Tamarind trees can grow quite large (up to 60 feet tall!), so make sure you have enough space. If you’re growing your tree in a container, choose a large pot (at least 20 gallons) to accommodate its growth.
5. **Wind Protection:** While tamarind trees are relatively wind-tolerant, it’s best to protect them from strong winds, especially when they’re young.
Planting Your Tamarind Tree (In-Ground)
If you live in a warm climate and have chosen a suitable location, you can plant your tamarind tree in the ground.
1. **Digging the Hole:** Dig a hole that’s twice as wide and as deep as the root ball of your tree.
2. **Amending the Soil:** Mix the soil you removed from the hole with compost or other organic matter.
3. **Planting the Tree:** Carefully remove the tree from its container and gently loosen the roots. Place the tree in the hole, making sure the top of the root ball is level with the ground.
4. **Backfilling:** Backfill the hole with the amended soil, tamping it down gently.
5. **Watering:** Water the tree thoroughly after planting.
6. **Mulching:** Apply a layer of mulch around the base of the tree to help retain moisture and suppress weeds.
Caring for Your Tamarind Sapling (Whether Seed-Grown or Purchased)
Okay, whether you’ve grown your tree from seed or bought a sapling, the care is pretty much the same from this point on.
1. **Watering:** Water your tamarind tree regularly, especially during dry periods. Allow the top inch of soil to dry out between waterings.
2. **Fertilizing:** Fertilize your tamarind tree with a balanced fertilizer (like 10-10-10) every few months during the growing season (spring and summer). Follow the instructions on the fertilizer label.
3. **Pruning:** Prune your tamarind tree to maintain its shape and remove any dead or diseased branches. The best time to prune is in late winter or early spring.
4. **Pest and Disease Control:** Tamarind trees are generally resistant to pests and diseases, but they can be susceptible to certain problems, such as scale insects and fungal diseases. Inspect your tree regularly for any signs of trouble and take action promptly. You can use insecticidal soap or neem oil to control pests, and fungicides to treat fungal diseases.
5. **Winter Protection (If Necessary):** If you live in a climate with occasional frosts, you’ll need to protect your tamarind tree during the winter. You can wrap the trunk with burlap or move the tree indoors if it’s in a container.
Growing Tamarind in Containers
If you live in a cooler climate, growing your tamarind tree in a container is the best option.
1. **Choosing a Container:** Choose a large container (at least 20 gallons) with drainage holes.
2. **Potting Mix:** Use a well-draining potting mix.
3. **Planting:** Plant your tamarind tree in the container, following the same steps as for planting in the ground.
4. **Location:** Place the container in a sunny location.
5. **Watering and Fertilizing:** Water and fertilize your tamarind tree regularly, as described above.
6. **Moving Indoors:** When temperatures drop below freezing, move your tamarind tree indoors to a
Conclusion
So, there you have it! Mastering tamarind tree care doesn’t require a green thumb blessed by the gardening gods. It’s about understanding the tree’s needs and providing the right environment. This DIY approach, focusing on simple yet effective techniques, empowers you to cultivate a thriving tamarind tree, even if you’re a beginner.
Why is this DIY approach a must-try? Because it’s practical, cost-effective, and tailored to the specific needs of your tamarind tree. Forget expensive fertilizers and complicated regimens. We’re talking about harnessing the power of observation, understanding your local climate, and using readily available resources to create the perfect growing conditions. This method emphasizes a holistic approach, promoting long-term health and resilience in your tree.
Consider these variations to further personalize your tamarind tree care routine:
* Soil Amendments: Experiment with different organic matter additions to your soil mix. Compost, well-rotted manure, or even leaf mold can significantly improve drainage and nutrient availability. Observe how your tree responds to each amendment and adjust accordingly.
* Watering Techniques: Adapt your watering schedule based on the season and rainfall. During the dry season, deep watering is crucial, but avoid overwatering during the rainy season. Mulching around the base of the tree helps retain moisture and suppress weeds.
* Pruning Styles: Explore different pruning techniques to shape your tree and encourage fruit production. Regular pruning helps maintain a healthy canopy and allows sunlight to penetrate, promoting flowering and fruiting.
* Pest Control: While the DIY methods mentioned are effective, you can also introduce beneficial insects like ladybugs to control aphids and other pests naturally. Neem oil is another excellent organic option for pest control.
Ultimately, the best way to learn is by doing. Don’t be afraid to experiment and adapt these techniques to suit your specific environment and the unique needs of your tamarind tree. Remember, consistent observation is key. Pay attention to the leaves, branches, and overall health of your tree, and you’ll be able to identify any issues early on and address them effectively.
We’re confident that by implementing these DIY tamarind tree care strategies, you’ll be well on your way to enjoying a bountiful harvest of delicious tamarind fruit. So, grab your gardening gloves, get your hands dirty, and embark on this rewarding journey.
We’d love to hear about your experiences! Share your successes, challenges, and any unique tips you’ve discovered along the way. Let’s create a community of tamarind tree enthusiasts who are passionate about cultivating these magnificent trees. Share your photos and stories on our social media channels using #TamarindTreeCareDIY. Let’s grow together!
Frequently Asked Questions (FAQ)
What is the ideal soil pH for a tamarind tree?
Tamarind trees thrive in slightly acidic to neutral soil, with a pH range of 6.0 to 7.5 being optimal. You can test your soil pH using a readily available soil testing kit from your local garden center. If your soil is too alkaline, you can amend it with sulfur or peat moss to lower the pH. If it’s too acidic, lime can be added to raise the pH. Regular soil testing is recommended to maintain the ideal pH level for healthy growth.
How often should I fertilize my tamarind tree?
Mature tamarind trees generally benefit from fertilization two to three times a year, typically during the growing season (spring and summer). Young trees may require more frequent fertilization. Use a balanced fertilizer with a ratio of 10-10-10 or 14-14-14, following the manufacturer’s instructions. Avoid over-fertilizing, as this can damage the tree. Organic fertilizers, such as compost or well-rotted manure, are also excellent options for providing essential nutrients. Always water thoroughly after fertilizing.
How do I protect my tamarind tree from frost?
Tamarind trees are sensitive to frost and can be damaged by freezing temperatures. If you live in an area with occasional frost, take precautions to protect your tree. Wrap the trunk with burlap or blankets to insulate it. You can also cover the entire tree with a frost cloth or sheet. For young trees, consider moving them indoors or to a sheltered location during periods of extreme cold. Mulching around the base of the tree helps insulate the roots and retain heat.
What are common pests and diseases that affect tamarind trees?
Common pests that can affect tamarind trees include aphids, scale insects, mealybugs, and fruit borers. Diseases include leaf spot, powdery mildew, and root rot. Regularly inspect your tree for signs of pests or diseases. Treat infestations with insecticidal soap, neem oil, or other appropriate organic pesticides. Ensure good air circulation around the tree to prevent fungal diseases. Proper watering and drainage are essential to prevent root rot.
How long does it take for a tamarind tree to bear fruit?
Tamarind trees typically take 5 to 7 years to bear fruit when grown from seed. Grafted trees, however, can start producing fruit in as little as 3 to 4 years. The time it takes to bear fruit also depends on the variety of tamarind, the growing conditions, and the overall health of the tree. Providing optimal care, including proper watering, fertilization, and pruning, can help accelerate fruit production.
How do I prune my tamarind tree?
Pruning is essential for maintaining the health and shape of your tamarind tree. Prune during the dormant season (late winter or early spring) before new growth begins. Remove any dead, damaged, or diseased branches. Thin out the canopy to improve air circulation and sunlight penetration. Prune to shape the tree and encourage fruit production. Avoid over-pruning, as this can stress the tree. Use sharp, clean pruning tools to prevent the spread of diseases.
Can I grow a tamarind tree in a container?
Yes, you can grow a tamarind tree in a container, especially if you live in a colder climate where it needs to be moved indoors during the winter. Choose a large container with good drainage. Use a well-draining potting mix. Water regularly and fertilize during the growing season. Prune the roots periodically to prevent the tree from becoming root-bound. Container-grown tamarind trees may not grow as large as those planted in the ground, but they can still produce fruit.
How much sunlight does a tamarind tree need?
Tamarind trees require at least 6 to 8 hours of direct sunlight per day to thrive. Choose a location that receives plenty of sunlight. If you are growing your tree in a container, make sure to place it in a sunny spot. Insufficient sunlight can lead to stunted growth, reduced fruit production, and increased susceptibility to pests and diseases.
What are the signs of overwatering or underwatering a tamarind tree?
Signs of overwatering include yellowing leaves, wilting, and root rot. The soil will be constantly wet and may have a foul odor. Signs of underwatering include dry, brittle leaves, stunted growth, and leaf drop. The soil will be dry to the touch. Adjust your watering schedule based on the weather conditions and the moisture level of the soil.
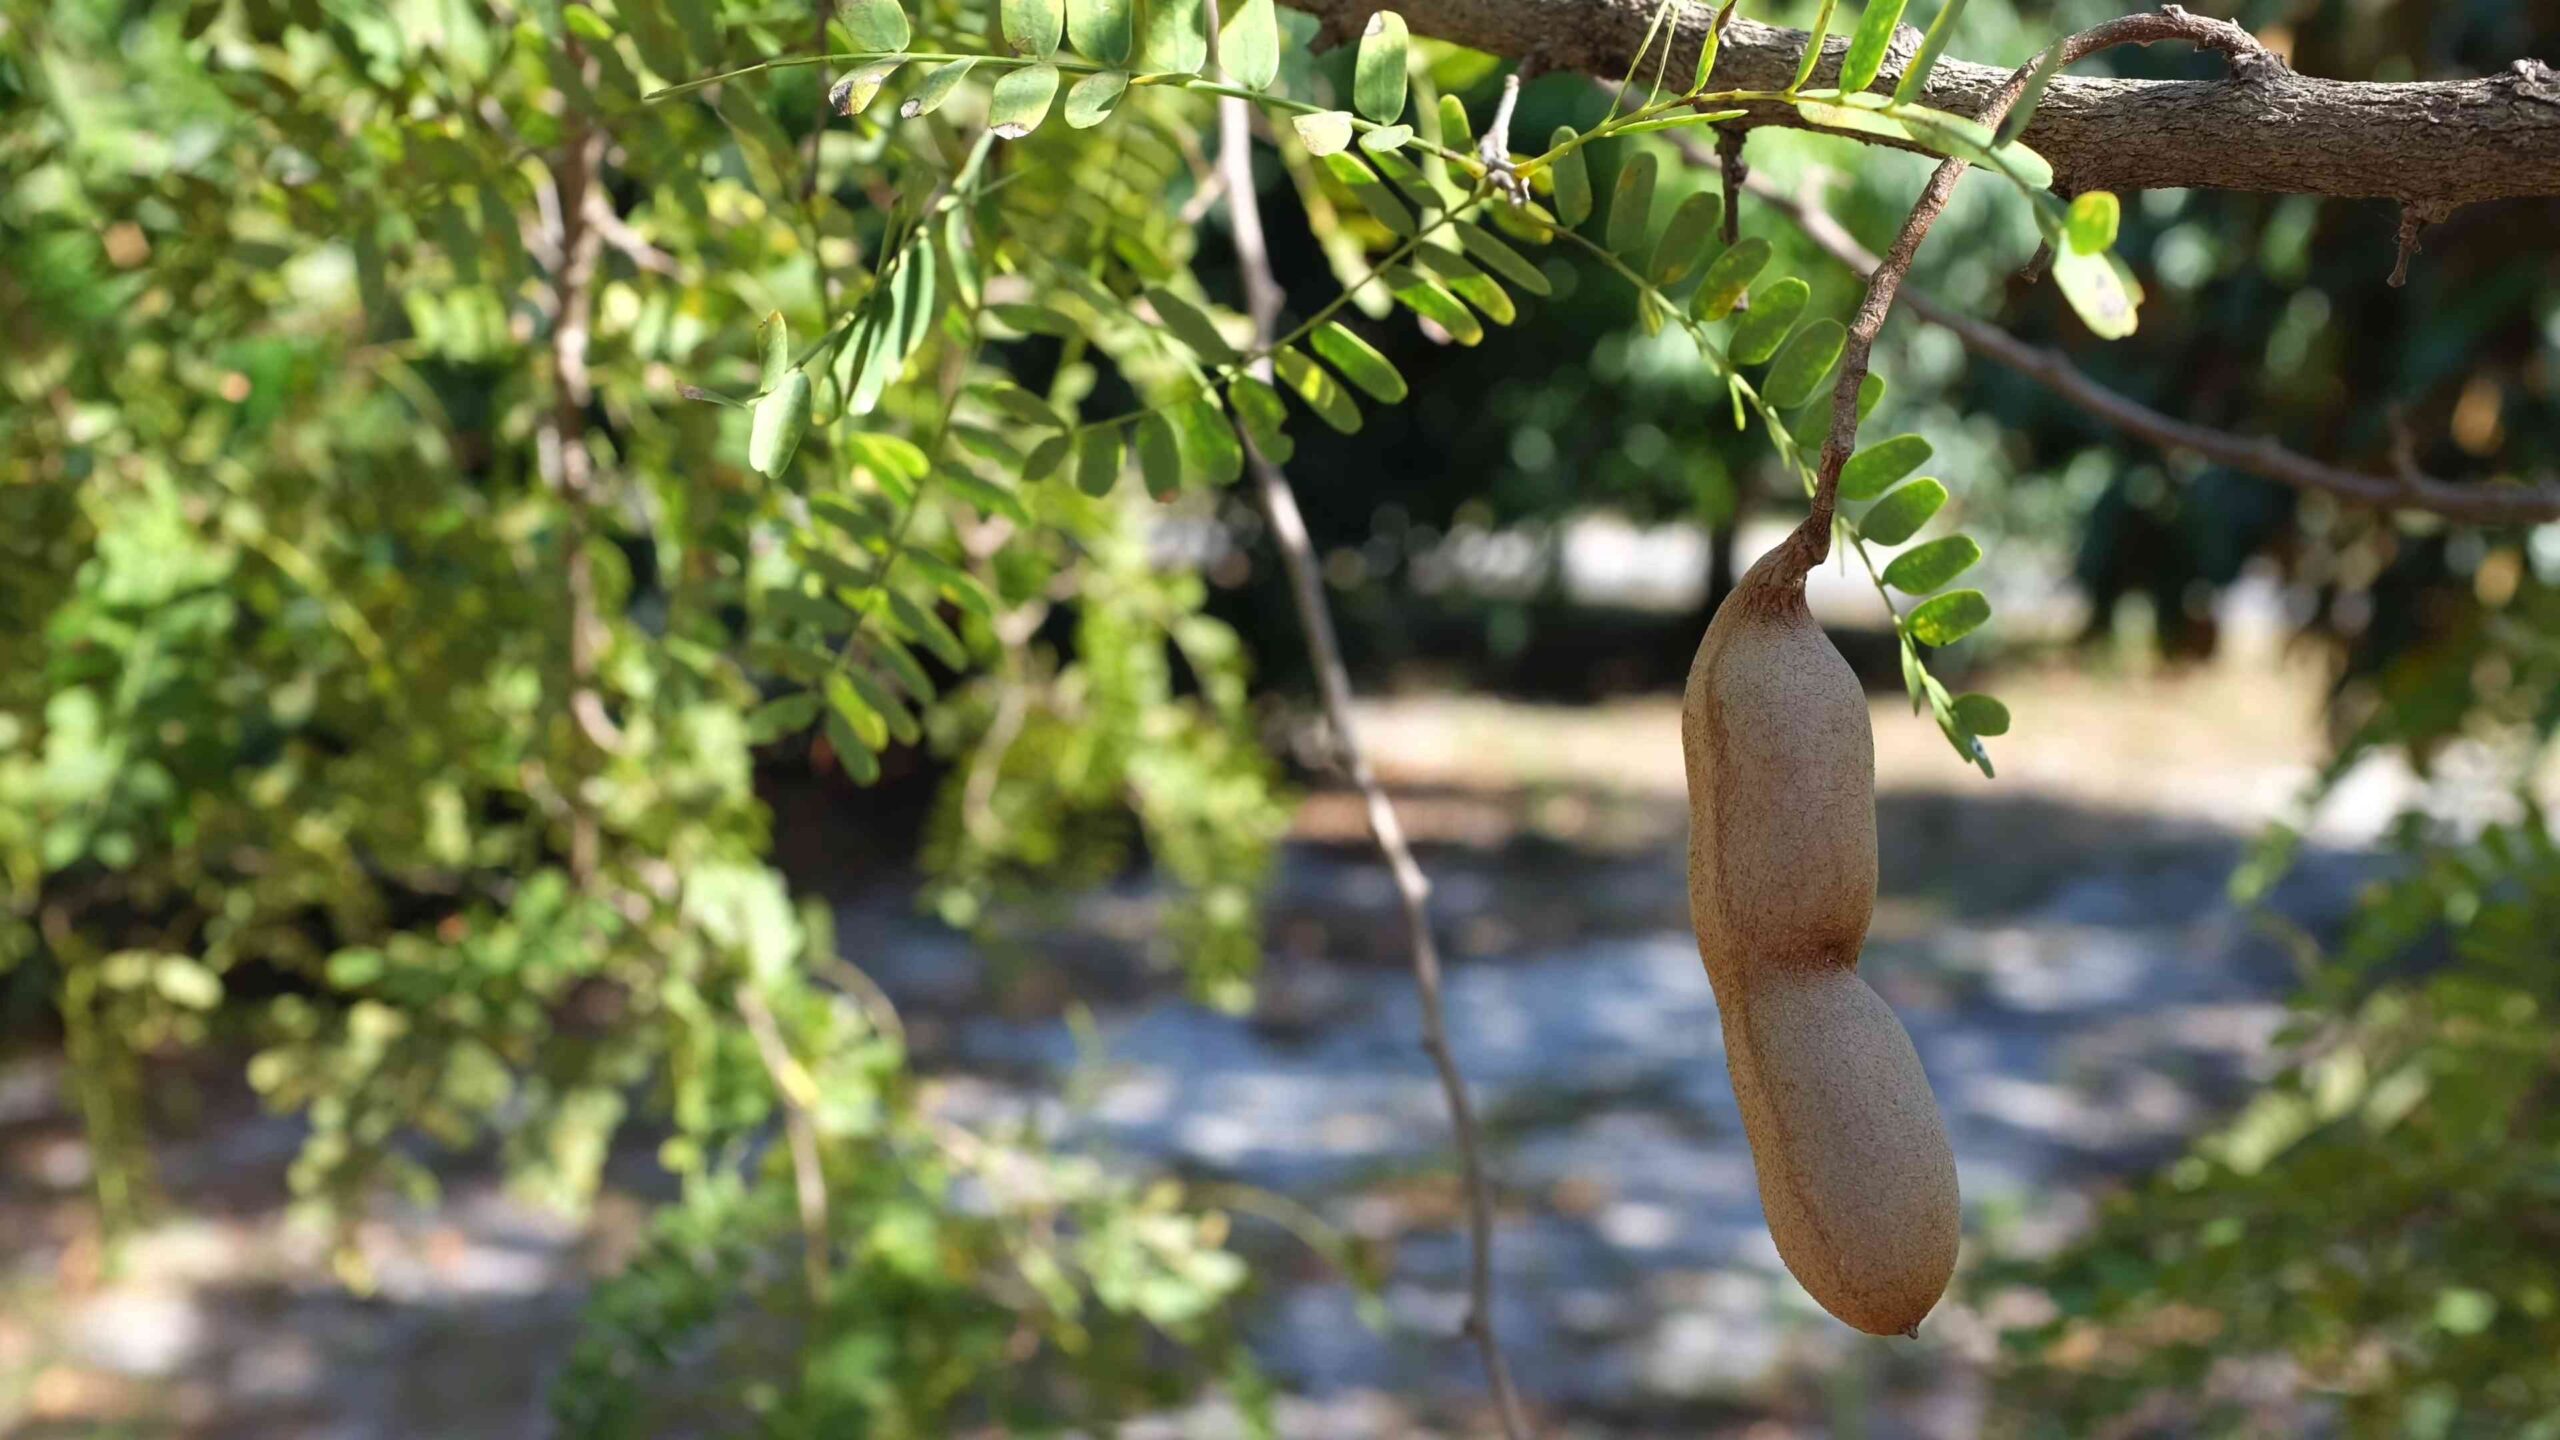
How do I know when tamarind fruit is ripe?
Tamarind fruit is typically ripe when the pods turn brown and become brittle. The pulp inside the pods should be soft and easily separated from the seeds. You can also taste a small piece of the pulp to check for ripeness. Ripe tamarind fruit has a sweet and sour flavor. Harvest the fruit by gently twisting or cutting the pods from the tree.
Leave a Comment