

Summer herbs to grow can transform your garden into a fragrant oasis and elevate your culinary creations! Have you ever dreamed of stepping outside your back door to snip fresh basil for your pasta or pluck vibrant mint for a refreshing summer drink? Well, dream no more! This DIY guide is your passport to a thriving herb garden, bursting with flavor and aroma.
For centuries, herbs have been cherished not only for their culinary uses but also for their medicinal and aromatic properties. From ancient Egyptians using herbs in embalming rituals to medieval monks cultivating them in monastery gardens, herbs have played a vital role in human history. Growing your own summer herbs to grow connects you to this rich heritage, allowing you to experience the same joy and benefits that generations before us have enjoyed.
In today’s fast-paced world, it’s easy to rely on store-bought ingredients, but there’s something incredibly rewarding about nurturing your own plants and harvesting fresh herbs. Plus, let’s be honest, the flavor of homegrown herbs is simply unmatched! This DIY article will equip you with simple yet effective tricks and hacks to cultivate a flourishing herb garden, even if you have limited space or gardening experience. I’m excited to share my favorite tips and help you create a garden that’s both beautiful and bountiful. Let’s get started!
Grow Your Own Herb Garden This Summer!
Hey there, fellow plant enthusiasts! I’m so excited to share my guide to growing your own herb garden this summer. There’s nothing quite like stepping outside and snipping fresh herbs to add a burst of flavor to your cooking. Plus, it’s incredibly rewarding to nurture something from seed to table. Let’s dive in!
Choosing Your Herbs
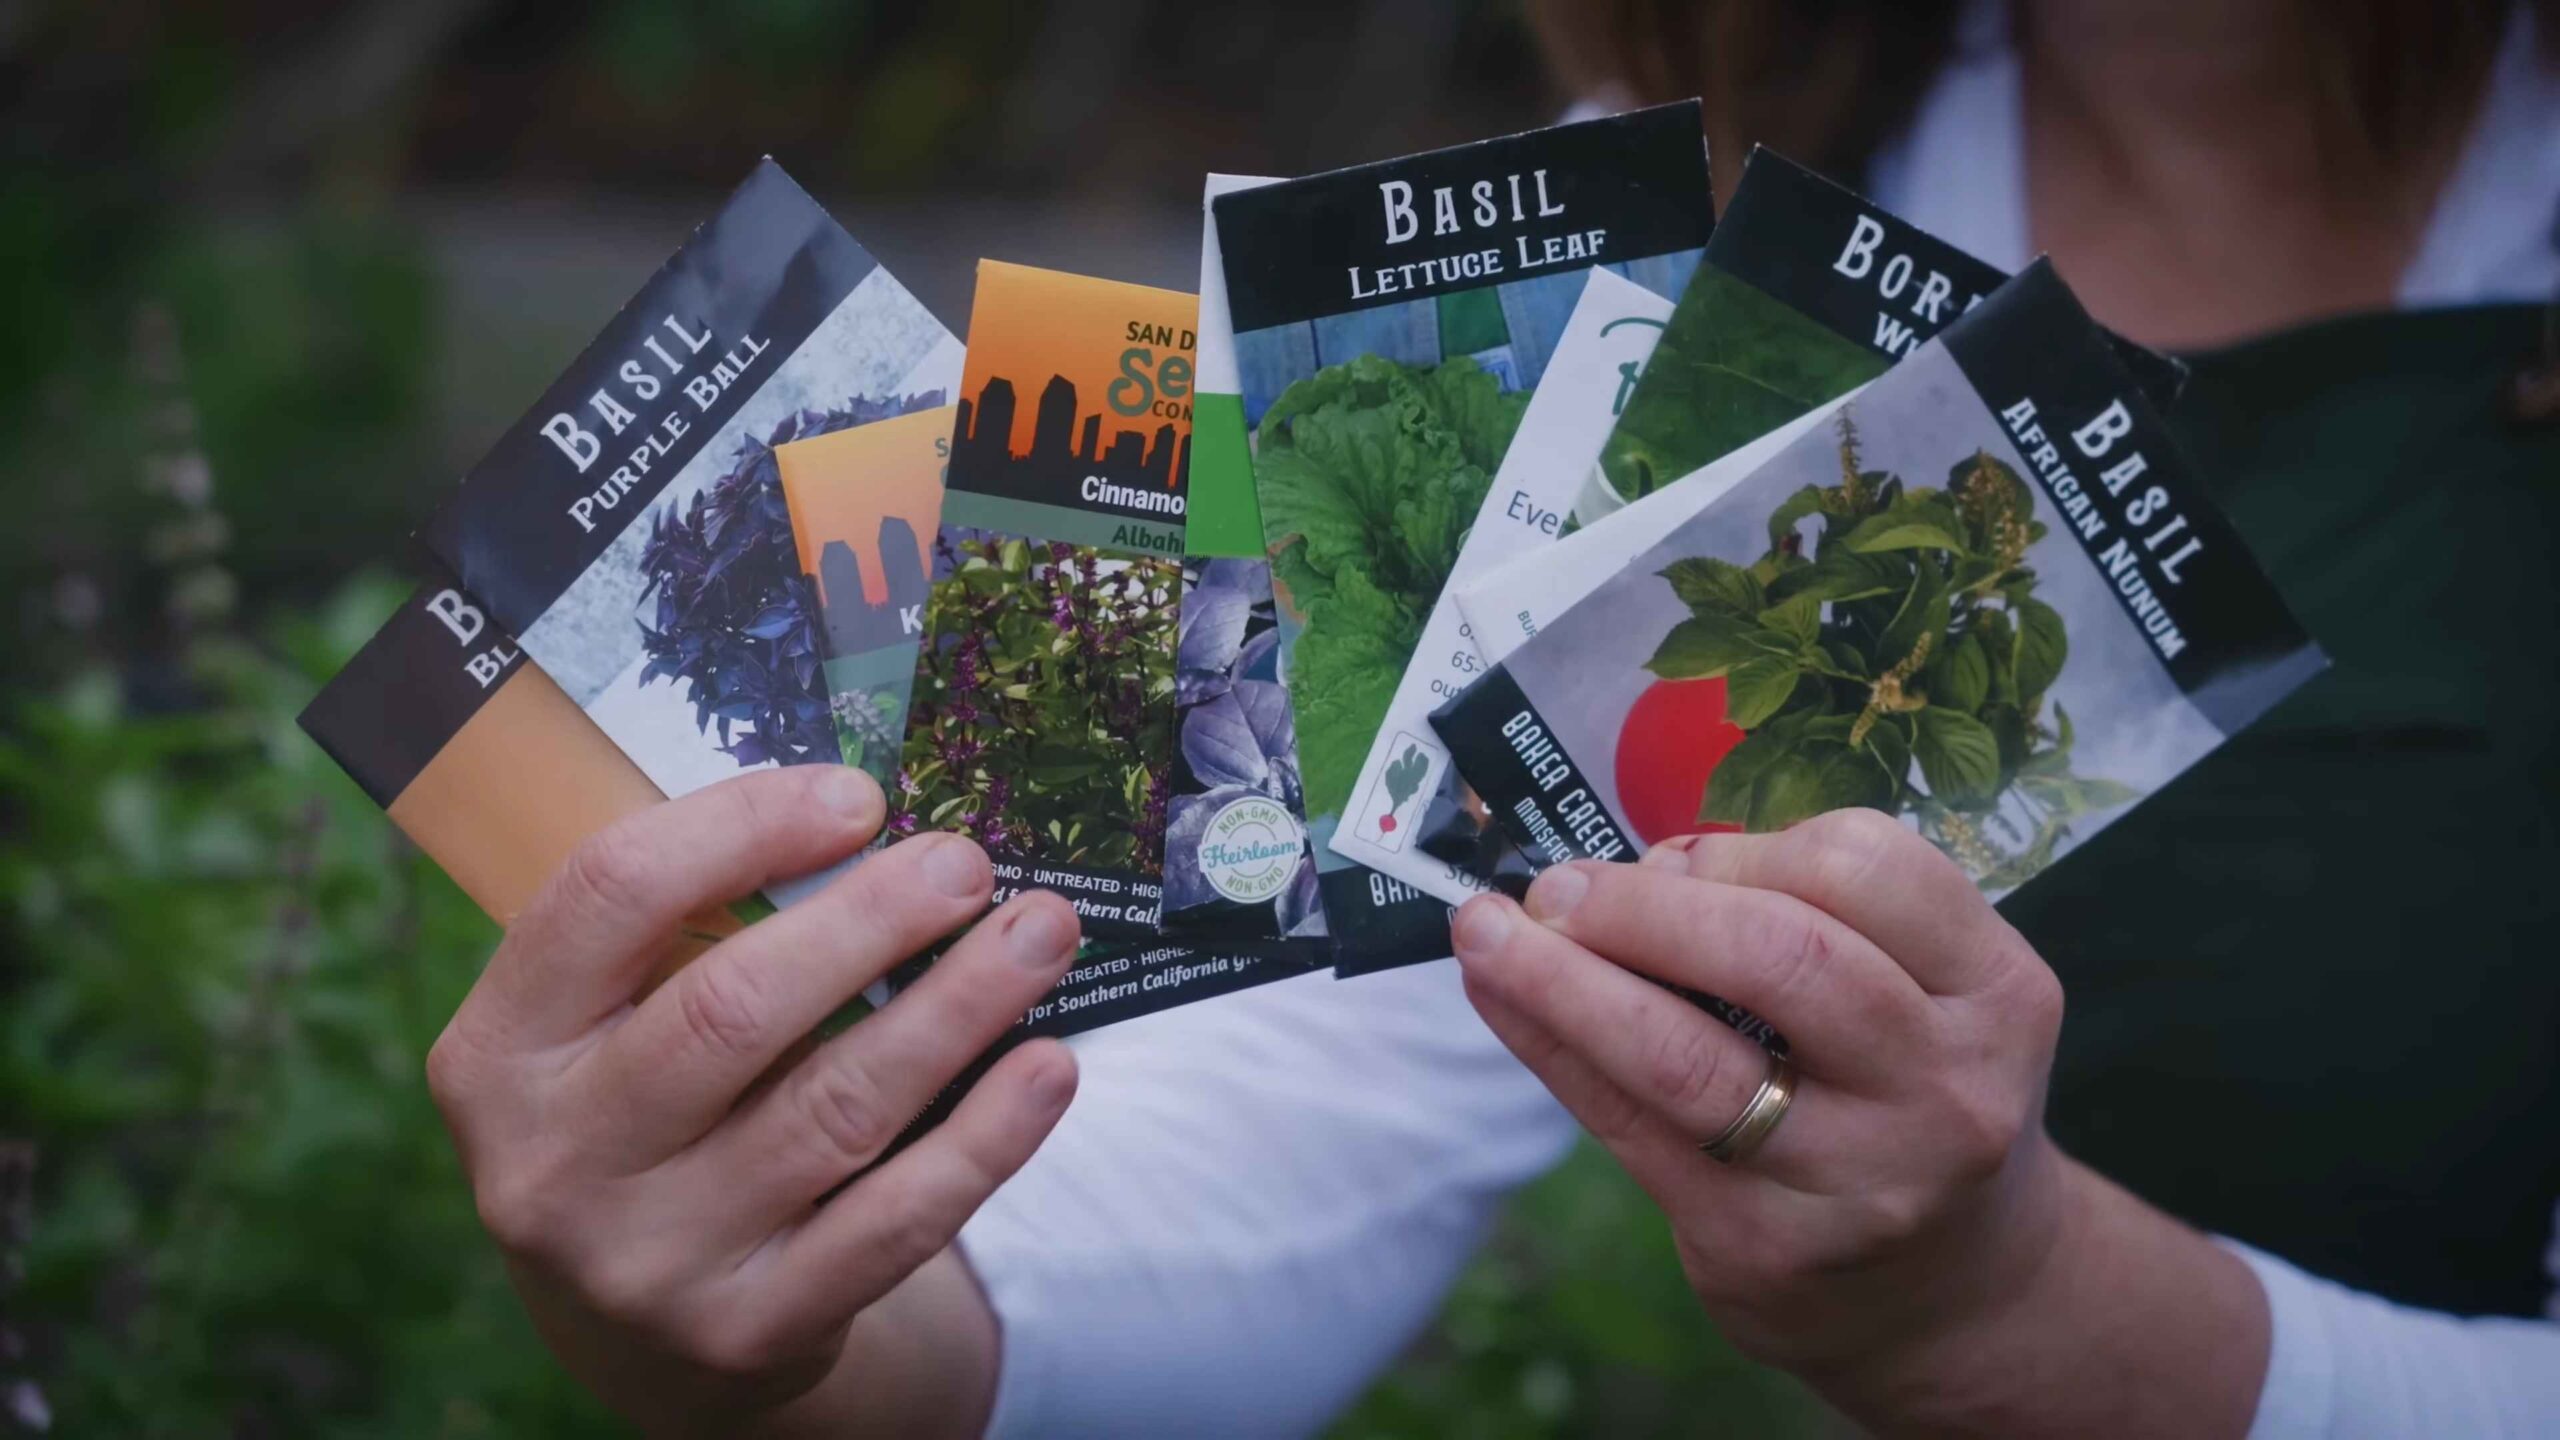
Before we get our hands dirty, let’s talk about which herbs thrive in the summer heat. These are some of my personal favorites, and they’re relatively easy to grow, even for beginners:
* Basil: A summer staple! Perfect for pesto, salads, and Italian dishes.
* Mint: Incredibly versatile and refreshing. Great for teas, cocktails, and desserts. Be warned, though, it spreads like crazy, so consider planting it in a container.
* Rosemary: A woody herb with a distinctive aroma. Delicious with roasted meats, potatoes, and even in bread.
* Thyme: Another versatile herb that pairs well with savory dishes. It’s also drought-tolerant, making it a great choice for hot summers.
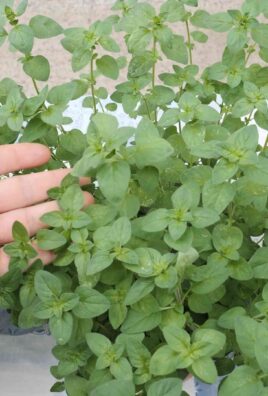
* Oregano: Essential for Italian and Mediterranean cuisine. It’s also relatively low-maintenance.
* Chives: A mild onion flavor that’s perfect for garnishing soups, salads, and dips.
* Parsley: A classic herb that’s used in a wide variety of dishes. Both flat-leaf and curly varieties are popular.
* Cilantro: A must-have for Mexican and Southwestern cuisine. However, it tends to bolt (go to seed) quickly in hot weather, so consider planting it in partial shade.
Gathering Your Supplies
Okay, now that we know what we’re growing, let’s gather our supplies. Here’s what you’ll need:
* Seeds or starter plants: You can start your herbs from seed or buy small starter plants from a nursery. I usually do a mix of both.
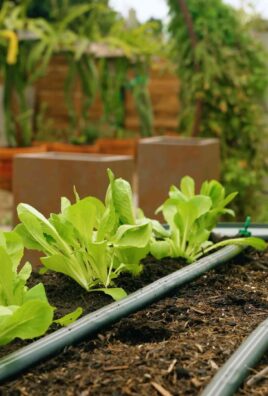
* Pots or a garden bed: If you’re growing in containers, make sure they have drainage holes. A raised garden bed is also a great option.
* Potting mix or garden soil: Use a high-quality potting mix for containers and amend your garden soil with compost or other organic matter.
* Watering can or hose: Essential for keeping your herbs hydrated.
* Gardening gloves: To protect your hands.
* Trowel or small shovel: For planting.
* Plant markers: To label your herbs. Trust me, you’ll forget what you planted where!
* Optional: Fertilizer, pruning shears, mulch.
Planting Your Herbs: Step-by-Step
Alright, let’s get planting! I’m going to walk you through the process, whether you’re starting from seed or using starter plants.
Starting from Seeds
1. Prepare your containers or garden bed: Fill your containers with potting mix or amend your garden soil with compost. Make sure the soil is loose and well-draining.
2. Sow the seeds: Follow the instructions on the seed packet for spacing and depth. Generally, you’ll want to sow the seeds about ¼ inch deep.
3. Water gently: Use a watering can to gently moisten the soil. Avoid overwatering, which can cause the seeds to rot.
4. Cover with plastic wrap (optional): Covering the containers with plastic wrap can help retain moisture and speed up germination. Remove the plastic wrap once the seedlings emerge.
5. Place in a sunny location: Most herbs need at least 6 hours of sunlight per day.
6. Keep the soil moist: Water regularly to keep the soil moist but not soggy.
7. Thin the seedlings: Once the seedlings have a few sets of true leaves, thin them out so that they’re spaced properly. This will give them room to grow.
Planting Starter Plants
1. Prepare your containers or garden bed: Same as above, fill your containers with potting mix or amend your garden soil.
2. Dig a hole: Dig a hole that’s slightly larger than the root ball of the starter plant.
3. Remove the plant from the container: Gently squeeze the sides of the container to loosen the plant. Carefully remove the plant and loosen the roots slightly.
4. Place the plant in the hole: Position the plant in the hole so that the top of the root ball is level with the surrounding soil.
5. Fill in the hole: Fill in the hole with soil and gently pat it down.
6. Water thoroughly: Water the plant thoroughly to help it settle in.
7. Add mulch (optional): Mulch can help retain moisture and suppress weeds.
Caring for Your Herb Garden
Now that your herbs are planted, it’s important to provide them with the care they need to thrive.
* Watering: Water your herbs regularly, especially during hot, dry weather. The soil should be moist but not soggy. Check the soil moisture by sticking your finger into the soil. If it feels dry, it’s time to water.
* Sunlight: Most herbs need at least 6 hours of sunlight per day. If you’re growing your herbs indoors, place them near a sunny window or use a grow light.
* Fertilizing: Herbs generally don’t need a lot of fertilizer. However, you can give them a boost with a diluted liquid fertilizer every few weeks.
* Pruning: Pruning your herbs regularly will encourage them to grow bushier and produce more leaves. Pinch off the tips of the stems to promote branching.
* Pest and disease control: Keep an eye out for pests and diseases. If you notice any problems, take action immediately. You can use organic pest control methods, such as insecticidal soap or neem oil.
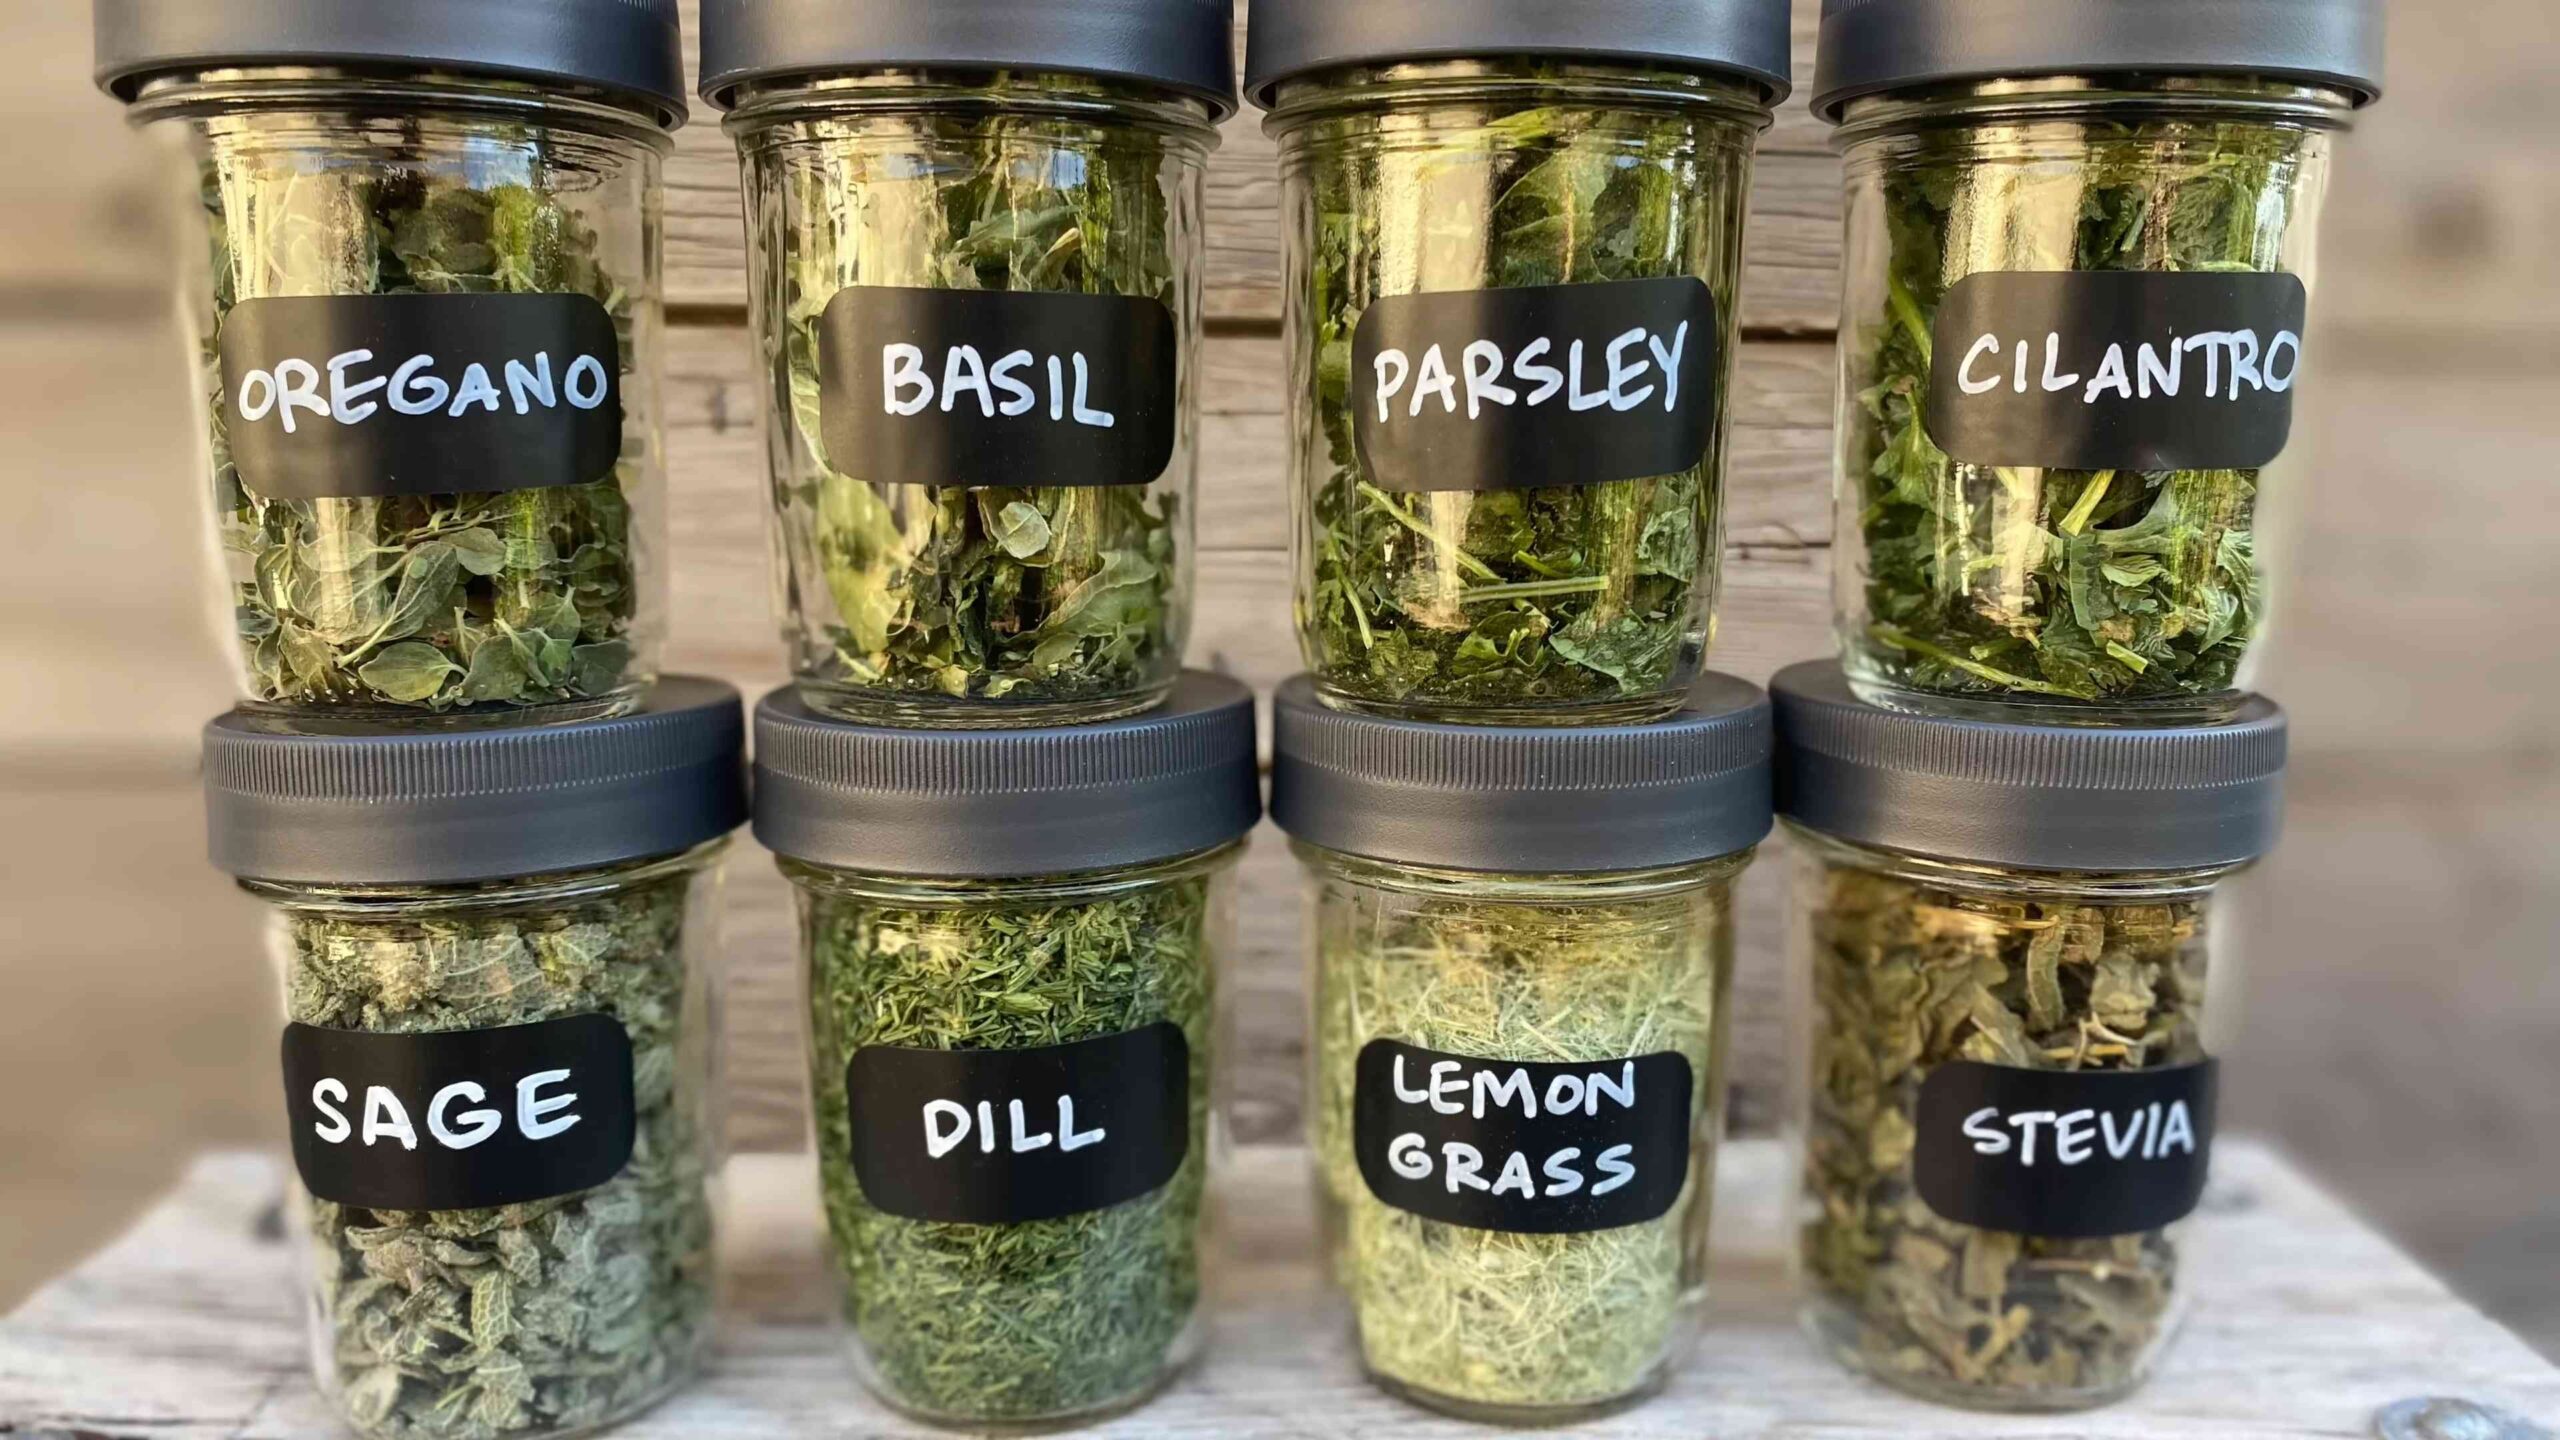
* Harvesting: Harvest your herbs regularly to encourage new growth. Simply snip off the leaves or stems as needed. The more you harvest, the more they’ll grow!
Specific Herb Care Tips
Let’s get into some specific tips for each herb I mentioned earlier. This will help you tailor your care to their individual needs.
Basil
* Pinch off flower buds: Basil tends to bolt (go to seed) quickly, especially in hot weather. Pinching off the flower buds will encourage the plant to produce more leaves.
* Water deeply: Basil needs consistent moisture, so water deeply whenever the soil feels dry.
* Protect from frost: Basil is sensitive to frost, so bring it indoors if temperatures drop below freezing.
Mint
* Contain it: As I mentioned earlier, mint spreads like crazy. Plant it in a container to prevent it from taking over your garden.
* Water regularly: Mint prefers moist soil, so water it regularly.
* Harvest frequently: Harvesting mint frequently will encourage it to grow bushier.
Rosemary
* Well-draining soil: Rosemary prefers well-draining soil. Avoid overwatering, which can cause root rot.
* Full sun: Rosemary needs at least 6 hours of sunlight per day.
* Prune lightly: Prune rosemary lightly in the spring to maintain its shape.
Thyme
* Drought-tolerant: Thyme is relatively drought-tolerant, so you don’t need to water it as often as other herbs.
* Well-draining soil: Thyme also prefers well-draining soil.
* Full sun: Thyme needs at least 6 hours of sunlight per day.
Oregano
* Low-maintenance: Oregano is a relatively low-maintenance herb.
* Full sun: Oregano needs at least 6 hours of sunlight per day.
* Prune regularly: Prune oregano regularly to encourage new growth.
Chives
* Water regularly: Chives prefer moist soil, so water them regularly.
* Full sun to partial shade: Chives can tolerate partial shade, especially in hot climates.
* Divide clumps: Divide chive clumps every few years to prevent them from becoming overcrowded.
Parsley
* Water regularly: Parsley needs consistent moisture, so water it regularly.
* Full sun to partial shade: Parsley can tolerate partial shade, especially in hot climates.
* Harvest outer leaves: Harvest the outer leaves of parsley to encourage new growth.
Cilantro
* Bolts easily: Cilantro tends to bolt (go to seed) quickly in hot weather. Plant it in partial shade to help prevent bolting.
* Succession planting: Plant cilantro every few weeks to ensure a continuous supply.
* Water regularly: Cilantro needs consistent moisture, so
Conclusion
So, there you have it! This simple yet effective DIY trick for propagating your summer herbs is a game-changer for any gardener, regardless of experience level. Forget constantly running to the store for fresh herbs or spending a fortune on starter plants. With a little patience and this easy method, you can have an endless supply of your favorite summer flavors right at your fingertips.
Why is this a must-try? Because it’s economical, sustainable, and incredibly rewarding. Imagine the satisfaction of snipping fresh basil for your pasta, mint for your mojitos, or rosemary for your roasted chicken, all grown from cuttings you nurtured yourself. This method significantly reduces waste, allowing you to multiply your existing plants instead of discarding trimmings. Plus, it’s a fantastic way to connect with nature and deepen your understanding of plant life.
But the best part? The possibilities are endless! While we’ve focused on common summer herbs like basil, mint, rosemary, thyme, oregano, and sage, don’t be afraid to experiment with other varieties. Consider trying this method with lavender, stevia, or even some of your favorite scented geraniums. Each herb has its own unique characteristics, so you might need to adjust the rooting time or environment slightly.
Variations to Explore:
* Rooting Hormone: While not always necessary, using a rooting hormone can significantly speed up the rooting process, especially for herbs that are more difficult to propagate. Dip the cut end of the stem in rooting hormone powder before placing it in water or soil.
* Different Rooting Mediums: While water propagation is a popular and easy method, you can also try rooting your cuttings directly in soil or a soilless mix like perlite or vermiculite. Keep the medium consistently moist but not waterlogged.
* Humidity Dome: Creating a humid environment around your cuttings can help prevent them from drying out and encourage root development. You can use a plastic bag or a propagation dome to achieve this.
* Hydroponics: For a more advanced approach, consider using a small hydroponic system to propagate your herbs. This can provide a consistent supply of nutrients and oxygen to the roots, leading to faster growth.
We are confident that this DIY herb propagation trick will transform your gardening experience. It’s a simple, cost-effective, and sustainable way to expand your herb garden and enjoy fresh, flavorful herbs all summer long.
Now, it’s your turn! We encourage you to give this DIY trick a try and share your experience with us. Let us know which herbs you propagated, what variations you experimented with, and any tips or tricks you discovered along the way. Share your photos and stories in the comments below – we can’t wait to see your thriving herb gardens! Happy growing!
Frequently Asked Questions (FAQ)
What are the best summer herbs to propagate using this method?
The most common and easily propagated summer herbs include basil, mint, rosemary, thyme, oregano, and sage. These herbs generally root well in water or soil and are relatively forgiving. However, don’t be afraid to experiment with other herbs like lavender, stevia, or even some types of scented geraniums. Just be aware that some herbs may require slightly different conditions or take longer to root.
How long does it take for the cuttings to root?
The rooting time can vary depending on the herb, the environment, and the method used. Generally, you can expect to see roots forming within 1-3 weeks. Mint and basil tend to root quickly, often within a week, while rosemary and thyme may take a bit longer. Be patient and keep an eye on your cuttings. Once the roots are about an inch long, they are ready to be transplanted into soil.
What kind of water should I use for water propagation?
It’s best to use filtered or distilled water for water propagation. Tap water can contain chlorine and other chemicals that may inhibit root growth. If you only have access to tap water, let it sit out for 24 hours to allow the chlorine to evaporate before using it. Change the water every few days to keep it fresh and prevent the growth of algae or bacteria.
How much sunlight do the cuttings need?
Cuttings need bright, indirect sunlight to thrive. Avoid placing them in direct sunlight, which can scorch the leaves and dry them out. A spot near a window with filtered light is ideal. You can also use a grow light if you don’t have access to enough natural light.
What kind of soil should I use when transplanting the rooted cuttings?
Use a well-draining potting mix when transplanting your rooted cuttings. A mix of peat moss, perlite, and vermiculite is a good option. Avoid using garden soil, which can be too heavy and may contain pests or diseases. Gently remove the cuttings from the water or rooting medium and plant them in the soil, being careful not to damage the delicate roots.
How often should I water the transplanted cuttings?
Keep the soil consistently moist but not waterlogged. Water the transplanted cuttings when the top inch of soil feels dry to the touch. Avoid overwatering, which can lead to root rot. You can also mist the leaves occasionally to increase humidity.
What if my cuttings don’t root?
Not all cuttings will root successfully, and that’s perfectly normal. If your cuttings don’t root after a few weeks, don’t give up! Try taking new cuttings from a different part of the plant or experimenting with different rooting methods. Make sure the cuttings are getting enough light and moisture, and consider using a rooting hormone to encourage root growth.
Can I propagate herbs from seed instead of cuttings?
Yes, you can propagate herbs from seed, but it can be a slower and more challenging process than propagating from cuttings. Some herbs, like basil and dill, are relatively easy to grow from seed, while others, like rosemary and lavender, can be more difficult. Propagating from cuttings allows you to create clones of the parent plant, ensuring that you get the same characteristics and flavors.
How do I know when my herbs are ready to harvest?
The best time to harvest herbs is in the morning, after the dew has dried but before the sun gets too hot. This is when the essential oils are most concentrated. Harvest herbs by snipping off the stems or leaves with scissors or pruning shears. Avoid pulling the leaves off, as this can damage the plant.
Can I propagate herbs indoors during the winter?
Yes, you can propagate herbs indoors during the winter, but you may need to provide supplemental light and humidity. Use a grow light to ensure that the cuttings get enough light, and mist the leaves regularly to increase humidity. You may also need to adjust your watering schedule, as the soil will dry out more slowly indoors.

Leave a Comment