

Remove sticker residue with salt? Yes, you read that right! We’ve all been there, haven’t we? You peel off a sticker, feeling accomplished, only to be greeted by that sticky, stubborn residue that just won’t budge. It’s frustrating, unsightly, and can feel like a permanent blemish on your favorite items. But fear not, because I’m about to share a simple, yet incredibly effective DIY trick that will banish that sticky menace for good – using something you probably already have in your kitchen: salt!
While the history of stickers themselves is relatively modern, the struggle against adhesive residue is as old as adhesives themselves! From ancient civilizations using natural glues to modern-day packaging, the sticky aftermath has always been a nuisance. But now, we have a solution! This isn’t just about aesthetics; removing sticker residue can also protect surfaces from further damage and prevent the build-up of dirt and grime.
Why is this DIY trick so essential? Because nobody wants to spend hours scrubbing away at sticky goo with harsh chemicals. This method is not only gentle on your belongings but also environmentally friendly and cost-effective. I’m excited to show you how to remove sticker residue with salt, turning a common household item into your new go-to cleaning weapon. Let’s get started and say goodbye to sticky situations forever!
DIY Sticker Residue Removal with Salt: A Surprisingly Effective Hack
Hey there, fellow DIY enthusiasts! Ever been plagued by that sticky, stubborn residue left behind after peeling off a sticker? I know I have! It’s frustrating, unsightly, and sometimes feels impossible to get rid of. But fear not, because I’m here to share a simple, surprisingly effective hack that uses something you probably already have in your kitchen: salt!
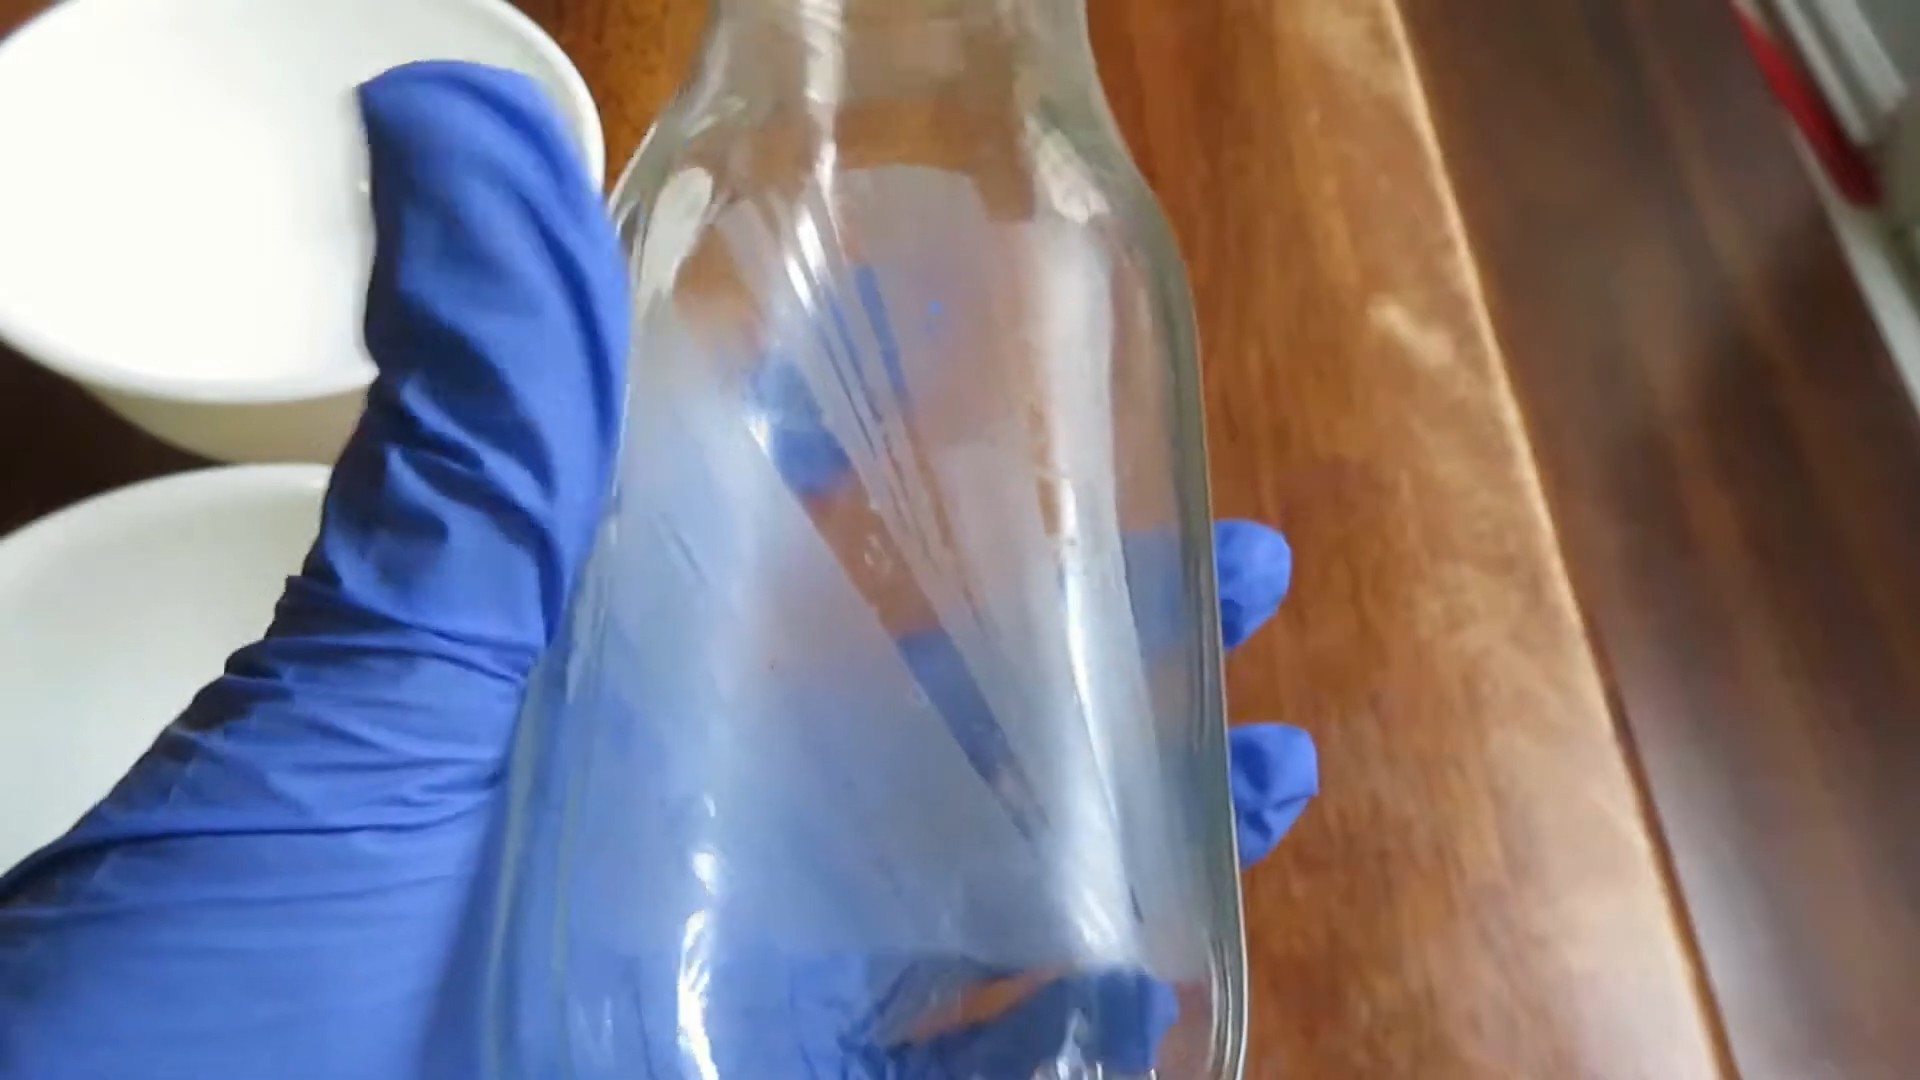
This method is fantastic because it’s non-toxic, inexpensive, and gentle enough for most surfaces. I’ve used it on glass, plastic, metal, and even some painted surfaces (always test in an inconspicuous area first, though!). Let’s dive into how to banish that sticky mess for good.
What You’ll Need
Before we get started, gather these simple supplies:
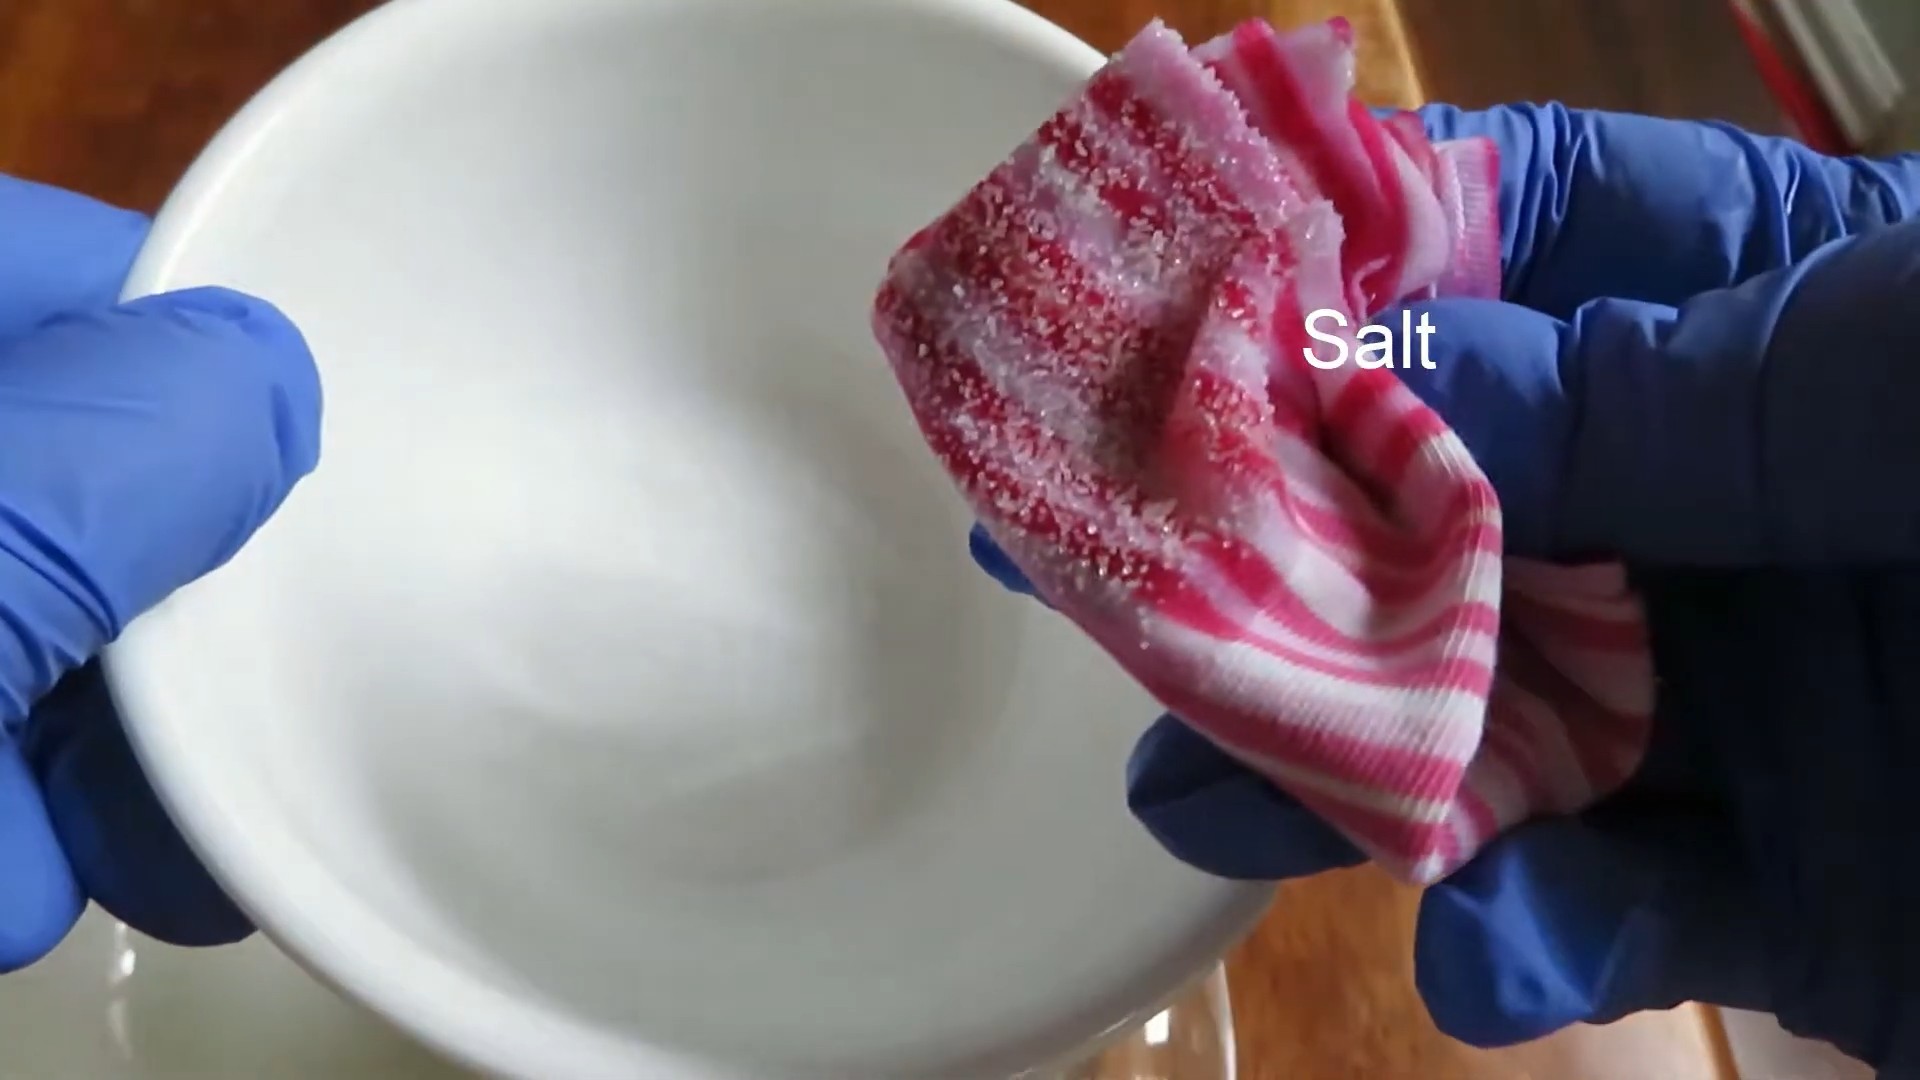
- Table salt (or sea salt, but table salt works just fine)
- A soft cloth or sponge
- Warm water
- A bowl or small container
- Optional: A plastic scraper or old credit card (for stubborn residue)
- Optional: Mild dish soap
Step-by-Step Instructions: The Salt Scrub Method
This method relies on the abrasive properties of salt to gently lift and remove the sticker residue. It’s a bit like a gentle exfoliation for your belongings!
- Prepare the Salt Paste: In your bowl or container, mix a generous amount of salt with just enough warm water to create a thick paste. You want it to be spreadable but not too runny. Think of the consistency of wet sand. I usually start with a few tablespoons of salt and add water a teaspoon at a time until I get the right consistency.
- Apply the Paste to the Residue: Using your finger or the soft cloth, generously apply the salt paste directly onto the sticker residue. Make sure you cover the entire sticky area completely. Don’t be shy! The more contact the salt has with the residue, the better it will work.
- Let it Sit (The Waiting Game): This is a crucial step! Allow the salt paste to sit on the residue for at least 10-15 minutes. This gives the salt time to penetrate and loosen the adhesive. For really stubborn residue, you can even let it sit for up to 30 minutes. I often set a timer so I don’t forget.
- Gently Scrub: After the waiting period, take your soft cloth or sponge and gently scrub the area in a circular motion. Apply a little pressure, but be careful not to scratch the surface. The salt particles will act as a mild abrasive, helping to lift the residue. You should start to see the sticky stuff balling up or loosening.
- Rinse and Repeat (If Necessary): Rinse the area with warm water to remove the salt and loosened residue. Inspect the surface to see if any residue remains. If so, repeat steps 2-4. Sometimes, it takes a couple of applications to completely remove all traces of the sticker.
- Dry and Admire: Once you’re satisfied that the residue is gone, dry the area thoroughly with a clean cloth. Step back and admire your handiwork! You’ve successfully removed that pesky sticker residue with just salt and a little elbow grease.
Dealing with Stubborn Residue: The Scraper Assist
Sometimes, the salt scrub method alone isn’t enough to tackle really tough sticker residue. That’s where a plastic scraper or old credit card comes in handy.
- Repeat Steps 1-3 from Above: Prepare the salt paste, apply it to the residue, and let it sit for the recommended time. This is still essential for loosening the adhesive.
- Gently Scrape: After the waiting period, use the plastic scraper or credit card to gently scrape away the softened residue. Hold the scraper at a slight angle and apply even pressure. Be careful not to gouge or scratch the surface. Work in small sections, scraping away the loosened residue as you go.
- Wipe Away Excess: Use a damp cloth to wipe away the scraped-off residue and any remaining salt paste.
- Rinse and Repeat (If Necessary): Rinse the area with warm water and inspect for any remaining residue. If needed, repeat steps 1-3 and 5.
- Dry and Admire: Once the residue is gone, dry the area thoroughly with a clean cloth.
The Dish Soap Boost: For Extra Cleaning Power
For particularly greasy or stubborn residue, adding a little mild dish soap to the salt paste can give it an extra cleaning boost.
- Prepare the Salt and Soap Paste: In your bowl, mix salt with a few drops of mild dish soap and enough warm water to create a thick paste. The soap will help to break down any oily residue.
- Apply and Let Sit: Apply the paste to the sticker residue and let it sit for 10-15 minutes.
- Scrub or Scrape: Use a soft cloth or sponge to scrub the area, or a plastic scraper to gently scrape away the residue.
- Rinse Thoroughly: Rinse the area thoroughly with warm water to remove all traces of salt, soap, and residue.
- Dry and Admire: Dry the area with a clean cloth.
Important Considerations and Tips
* Test First: Before applying the salt paste to a large or delicate surface, always test it in an inconspicuous area first to ensure it doesn’t cause any damage or discoloration. This is especially important for painted surfaces or delicate plastics.
* Gentle Pressure: When scrubbing or scraping, use gentle pressure to avoid scratching the surface. Let the salt and the scraper do the work, rather than forcing it.
* Avoid Abrasive Materials: Don’t use abrasive sponges or scouring pads, as these can scratch the surface. Stick to soft cloths or sponges.
* Warm Water is Key: Warm water helps to dissolve the salt and loosen the adhesive.
* Patience is a Virtue: Sometimes, removing sticker residue takes a little patience. Don’t get discouraged if it doesn’t come off immediately. Just keep repeating the steps until it’s gone.
* Oil-Based Residue: For residue that seems oily, try using a paste of baking soda and water instead of salt. Baking soda is a great degreaser.
* Hair Dryer Help: Before applying the salt paste, you can try using a hair dryer to warm up the sticker residue. This can help to soften the adhesive and make it easier to remove. Hold the hair dryer a few inches away from the surface and move it back and forth to avoid overheating.
* Citrus Power: Lemon juice or orange peel can also help remove sticker residue due to the citric acid. Apply lemon juice to the residue, let it sit for a few minutes, and then scrub it off.
* Vinegar Solution: White vinegar is another great household item that can help remove sticker residue. Soak a cloth in white vinegar and apply it to the residue. Let it sit for a few minutes, and then scrub it off.
* Rubbing Alcohol: For some types of residue, rubbing alcohol can be effective. Test it in an inconspicuous area first, as it can damage some surfaces.
Why This Works: The Science Behind the Salt
You might be wondering why something as simple as salt can be so effective at removing sticker residue. Here’s the breakdown:
* Abrasive Action: Salt particles are naturally abrasive. When you scrub the salt paste against the residue, the tiny salt crystals gently lift and break down the adhesive bonds.
* Dissolving Properties: Salt can help to dissolve some types of adhesives, making them easier to remove.
* Non-Toxic and Safe: Unlike many commercial adhesive removers, salt is non-toxic and safe to use around children and pets.
So there you have it! A simple, effective, and inexpensive way to remove sticker residue using salt. I hope this hack helps you banish those sticky messes from your life. Happy DIY-ing!
Conclusion
So, there you have it! Removing stubborn sticker residue doesn’t require harsh chemicals or expensive specialized products. This simple, effective, and surprisingly satisfying salt-based method is a game-changer for anyone who’s ever battled sticky messes. It’s a must-try because it’s readily accessible – you likely already have salt in your pantry. It’s also gentle on most surfaces, minimizing the risk of damage compared to more abrasive cleaners. Plus, it’s environmentally friendly, avoiding the harsh chemicals found in many commercial adhesive removers.
But the beauty of this DIY trick lies in its adaptability. While plain table salt works wonders, you can experiment with different types of salt for varying levels of abrasiveness. Coarse sea salt, for instance, might be more effective on particularly stubborn residue, while finely ground salt is gentler on delicate surfaces. You can also enhance the cleaning power by adding a few drops of essential oil, like lemon or orange, known for their degreasing properties. Just be sure to test the essential oil on an inconspicuous area first to ensure it doesn’t damage the surface. Another variation involves creating a salt paste with a bit of oil (vegetable, olive, or even coconut oil work well) for a more targeted application on smaller areas. This paste can be particularly effective on glass or metal surfaces.
The key to success with this salt-based sticker residue removal technique is patience and persistence. Don’t expect the residue to disappear instantly. Gentle rubbing and repeated applications are often necessary, especially for older or more stubborn adhesives. Remember to always test the method on an inconspicuous area first, particularly on painted or delicate surfaces, to ensure it doesn’t cause any damage or discoloration.
We’re confident that this simple yet powerful trick will become your go-to solution for removing sticker residue. It’s cost-effective, environmentally conscious, and incredibly effective. Now it’s your turn to put it to the test! Try this DIY method and let us know how it works for you. Share your experiences, variations, and any tips you discover in the comments below. We’re eager to hear your success stories and learn from your insights. Together, we can conquer the sticky residue battle, one grain of salt at a time!
Frequently Asked Questions (FAQs)
1. What types of surfaces can I use this salt method on?
This salt method is generally safe for use on a variety of surfaces, including glass, metal, plastic, wood (finished and unfinished), and ceramic. However, it’s always crucial to test the method on an inconspicuous area first, especially on painted, varnished, or delicate surfaces. Avoid using it on surfaces that are easily scratched, such as polished marble or soft plastics, without careful testing. The abrasiveness of the salt can potentially damage these materials. When in doubt, err on the side of caution and opt for a gentler cleaning method.
2. What kind of salt works best for removing sticker residue?
Plain table salt is a great starting point and often works effectively. However, you can experiment with different types of salt to find what works best for your specific situation. Coarse sea salt can provide more abrasive power for stubborn residue, while finely ground salt is gentler on delicate surfaces. Epsom salt, while technically a mineral compound, can also be used in a similar manner, though it might be slightly less abrasive than table salt. The key is to adjust the type of salt based on the surface you’re cleaning and the severity of the residue.
3. How long should I rub the salt on the sticker residue?
The amount of time you need to rub the salt on the residue will vary depending on the type of adhesive, the surface it’s on, and the type of salt you’re using. Start with gentle rubbing for about 30 seconds to a minute. Check the progress and repeat as needed. For stubborn residue, you might need to rub for several minutes, applying fresh salt as needed. Patience is key! Avoid applying excessive pressure, as this could scratch the surface.
4. Can I use this method on clothing or fabric?
While the salt method can be effective on some surfaces, it’s generally not recommended for clothing or fabric. The abrasive nature of salt can damage delicate fibers or cause discoloration. For removing sticker residue from clothing, try using a mild detergent or fabric-safe adhesive remover. Always test any cleaning solution on an inconspicuous area of the fabric first to ensure it doesn’t cause any damage.
5. What if the salt method doesn’t completely remove the sticker residue?
If the salt method doesn’t completely remove the sticker residue, don’t give up! There are several things you can try. First, try applying a small amount of oil (vegetable, olive, or coconut oil) to the residue and let it sit for a few minutes to soften the adhesive. Then, try the salt method again. You can also try using a hairdryer on low heat to warm the adhesive, making it easier to remove. If all else fails, you can try using a commercial adhesive remover, but be sure to follow the manufacturer’s instructions carefully and test it on an inconspicuous area first.
6. Will this method damage painted surfaces?
The salt method can potentially damage painted surfaces, especially if the paint is old or delicate. The abrasiveness of the salt can scratch or dull the paint. It’s crucial to test the method on an inconspicuous area first to assess the risk. If you’re concerned about damaging the paint, consider using a gentler method, such as a damp cloth or a specialized adhesive remover designed for painted surfaces.
7. Can I use this method to remove residue from electronics?
Use extreme caution when using the salt method on electronics. Avoid getting any salt or moisture inside the device. If you need to remove sticker residue from electronics, consider using a microfiber cloth dampened with isopropyl alcohol. Always unplug the device before cleaning and avoid spraying any liquids directly onto the device.
8. Is there a way to prevent sticker residue in the first place?
Yes! The best way to deal with sticker residue is to prevent it from happening in the first place. When applying stickers, choose stickers with removable adhesive. When removing stickers, peel them off slowly and carefully, pulling at a low angle. If you know you’ll need to remove a sticker later, consider applying a layer of clear tape over it to protect the surface underneath.
9. What other household items can I use to remove sticker residue?
Besides salt, several other household items can be effective for removing sticker residue. These include:
* Vinegar: Soak a cloth in white vinegar and apply it to the residue for a few minutes.
* Baking soda: Make a paste of baking soda and water and apply it to the residue.
* Peanut butter: The oils in peanut butter can help dissolve the adhesive.
* Mayonnaise: Similar to peanut butter, mayonnaise contains oils that can break down the adhesive.
* Rubbing alcohol: Isopropyl alcohol can dissolve many types of adhesives.
* Hairdryer: Heat can soften the adhesive, making it easier to remove.
Remember to always test any cleaning solution on an inconspicuous area first to ensure it doesn’t cause any damage.
10. How do I clean up the salt after removing the sticker residue?
After removing the sticker residue with salt, simply wipe the area with a damp cloth to remove any remaining salt particles. You may need to use a mild detergent if the area is oily or greasy. Dry the area thoroughly with a clean cloth.

Leave a Comment