

Quick Cleaning Hacks: Who doesn’t dream of a sparkling clean home without spending hours scrubbing and sweating? I know I do! Let’s face it, life is busy, and dedicating an entire weekend to cleaning just isn’t always feasible. But what if I told you there are clever, time-saving tricks that can transform your cleaning routine from a dreaded chore into a manageable task?
Throughout history, people have sought ways to simplify household chores. From ancient Roman bathhouses to the invention of the vacuum cleaner, the quest for cleanliness has always been a part of human civilization. Today, we’re taking that quest to the next level with a collection of quick cleaning hacks designed to make your life easier and your home brighter.
This DIY article is your ultimate guide to conquering clutter and grime with minimal effort. We’ll explore innovative solutions using everyday items you probably already have in your pantry. Imagine having more free time to spend with loved ones, pursue your hobbies, or simply relax in a spotless environment. That’s the power of these simple yet effective cleaning strategies. So, ditch the all-day cleaning marathons and get ready to discover the secrets to a cleaner, happier home, faster than you ever thought possible!
Quick Cleaning Hacks to Make Your Life Easier!
Okay, let’s be honest, cleaning isn’t exactly anyone’s favorite pastime. But a clean home is a happy home, right? So, I’m going to share some of my absolute favorite quick cleaning hacks that will save you time and effort. These are tried and tested, and I promise they’ll make a difference!
Cleaning Your Microwave Like a Pro (Without Scrubbing!)
This is a game-changer. I used to dread cleaning the microwave, but not anymore!
What You’ll Need:
* 1 cup of water
* 1 tablespoon of white vinegar or lemon juice
* Microwave-safe bowl
Step-by-Step Instructions:
1. Mix it Up: In your microwave-safe bowl, combine the water and vinegar (or lemon juice). The vinegar helps to loosen grime, and the lemon juice adds a fresh scent.
2. Microwave Magic: Place the bowl in the microwave and heat it on high for 5-7 minutes. You want the mixture to boil and create steam inside the microwave.
3. Steam Clean: Let the bowl sit in the microwave for another 2-3 minutes *after* it stops running. This allows the steam to really work its magic, loosening all the splatters and food residue.
4. Wipe Away: Carefully remove the bowl (it will be hot!). Use a clean cloth or paper towel to wipe down the inside of the microwave. You’ll be amazed at how easily the grime comes off! For stubborn spots, you might need a little extra elbow grease, but it should be minimal.
5. Sparkling Clean: Wipe down the turntable and any other removable parts separately. Reassemble, and you’re done! A sparkling clean microwave in under 10 minutes!
De-Gunking Your Showerhead for Better Water Pressure
Hard water can wreak havoc on your showerhead, leading to mineral buildup and reduced water pressure. Here’s how to fix it:
What You’ll Need:
* White vinegar
* Plastic bag (a sandwich bag works well)
* Rubber band or twist tie
* Old toothbrush (optional)
Step-by-Step Instructions:
1. Vinegar Bath: Fill the plastic bag with enough white vinegar to completely submerge the showerhead.
2. Secure the Bag: Carefully attach the bag to the showerhead, making sure the showerhead is fully immersed in the vinegar. Use a rubber band or twist tie to secure the bag tightly.
3. Soak Overnight: Let the showerhead soak in the vinegar overnight (or for at least a few hours). This allows the vinegar to dissolve the mineral deposits.
4. Remove and Rinse: Remove the bag and discard the vinegar. Turn on the shower and let the water run for a few minutes to flush out any remaining vinegar and loosened debris.
5. Scrub Stubborn Spots (Optional): If you still see some mineral buildup, use an old toothbrush to gently scrub the showerhead.
6. Enjoy Improved Water Pressure: You should notice a significant improvement in your water pressure! Repeat this process every few months to keep your showerhead clean and functioning optimally.
Cleaning Your Blender Like a Pro (No Disassembly Required!)
Cleaning a blender can be a pain, especially if it has lots of parts. This hack makes it super easy!
What You’ll Need:
* Dish soap
* Water
Step-by-Step Instructions:
1. Fill It Up: Fill your blender halfway with warm water.
2. Add Soap: Add a squirt of dish soap.
3. Blend Away: Secure the lid and blend on high speed for 30-60 seconds.
4. Rinse Thoroughly: Pour out the soapy water and rinse the blender thoroughly with clean water.
5. Air Dry: Let the blender air dry completely before storing it. That’s it! A clean blender in just a few minutes.
Freshening Up Your Garbage Disposal
A stinky garbage disposal can make your whole kitchen smell unpleasant. Here’s how to freshen it up quickly:
What You’ll Need:
* Ice cubes
* Lemon or lime wedges
* Coarse salt
Step-by-Step Instructions:
1. Ice, Ice Baby: Fill the garbage disposal with ice cubes.
2. Add Citrus: Toss in a few lemon or lime wedges.
3. Salt Power: Sprinkle in a generous amount of coarse salt.
4. Grind Away: Turn on the cold water and run the garbage disposal until all the ice is gone. The ice helps to scrub the blades, the citrus freshens the smell, and the salt helps to dislodge any stuck-on food particles.
5. Repeat if Needed: If the odor persists, repeat the process. You can also add a few drops of dish soap to the ice cubes for extra cleaning power.
Dusting Like a Pro: The Pillowcase Trick for Ceiling Fans
Dusting ceiling fans can be a messy job, but this trick keeps the dust from raining down on you.
What You’ll Need:
* Old pillowcase
Step-by-Step Instructions:
1. Pillowcase Power: Carefully slide the pillowcase over one of the fan blades, encasing it completely.
2. Wipe and Collect: Press the pillowcase against the blade and slowly pull it off, trapping the dust inside the pillowcase.
3. Repeat for Each Blade: Repeat this process for each fan blade.
4. Empty the Pillowcase: Once you’ve dusted all the blades, take the pillowcase outside and shake it out to remove the collected dust.
5. Wash the Pillowcase: Wash the pillowcase to remove any remaining dust and debris. This trick keeps the dust contained and makes cleaning your ceiling fans much easier and less messy!
Cleaning Your Cutting Boards Effectively
Cutting boards can harbor bacteria, so it’s important to clean them properly.
What You’ll Need:
* White vinegar or lemon juice
* Coarse salt
* Baking soda (optional)
* Clean cloth or sponge
Step-by-Step Instructions:
1. Vinegar/Lemon Power: Pour white vinegar or lemon juice over the cutting board. Both have antibacterial properties.
2. Salt Scrub: Sprinkle a generous amount of coarse salt over the vinegar/lemon juice.
3. Scrub-a-Dub-Dub: Use a clean cloth or sponge to scrub the cutting board, paying attention to any grooves or knife marks. The salt acts as a gentle abrasive to remove food particles and stains.
4. Baking Soda Boost (Optional): For stubborn stains or odors, sprinkle baking soda over the cutting board after scrubbing with salt. Let it sit for a few minutes, then scrub again.
5. Rinse Thoroughly: Rinse the cutting board thoroughly with hot water.
6. Air Dry: Let the cutting board air dry completely before storing it. For wooden cutting boards, you can also rub them with mineral oil to help prevent them from drying out and cracking.
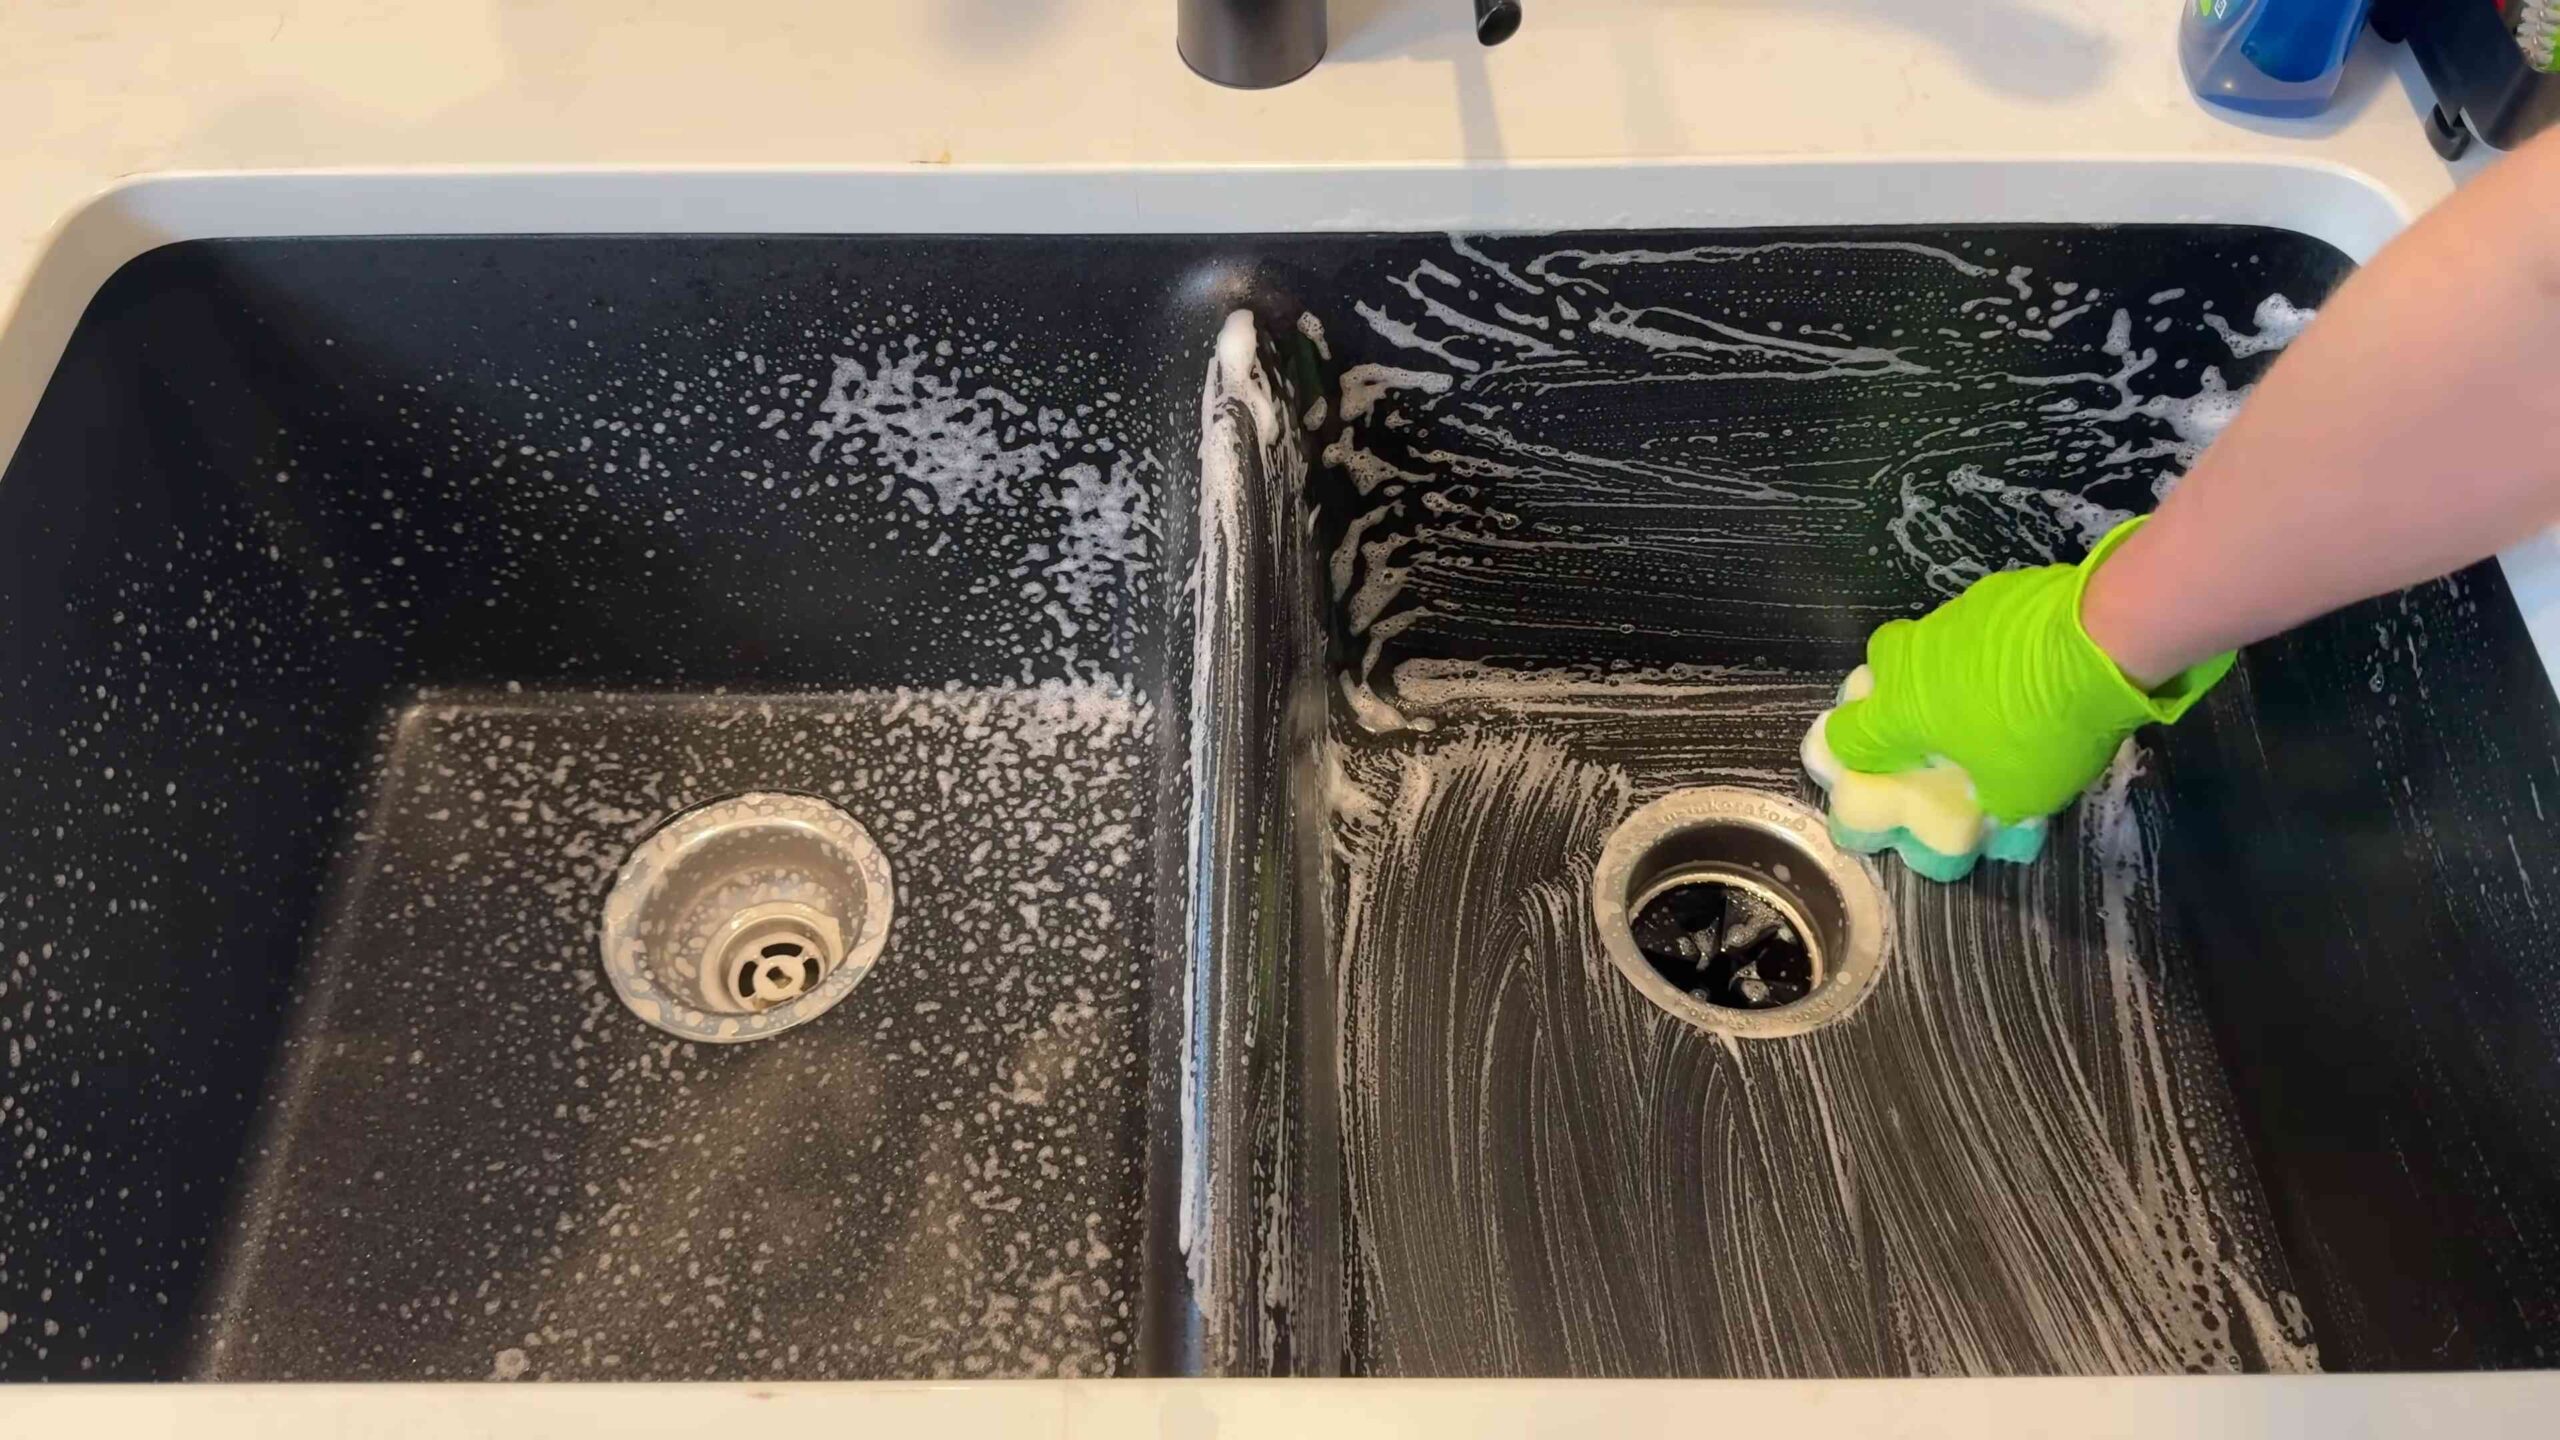
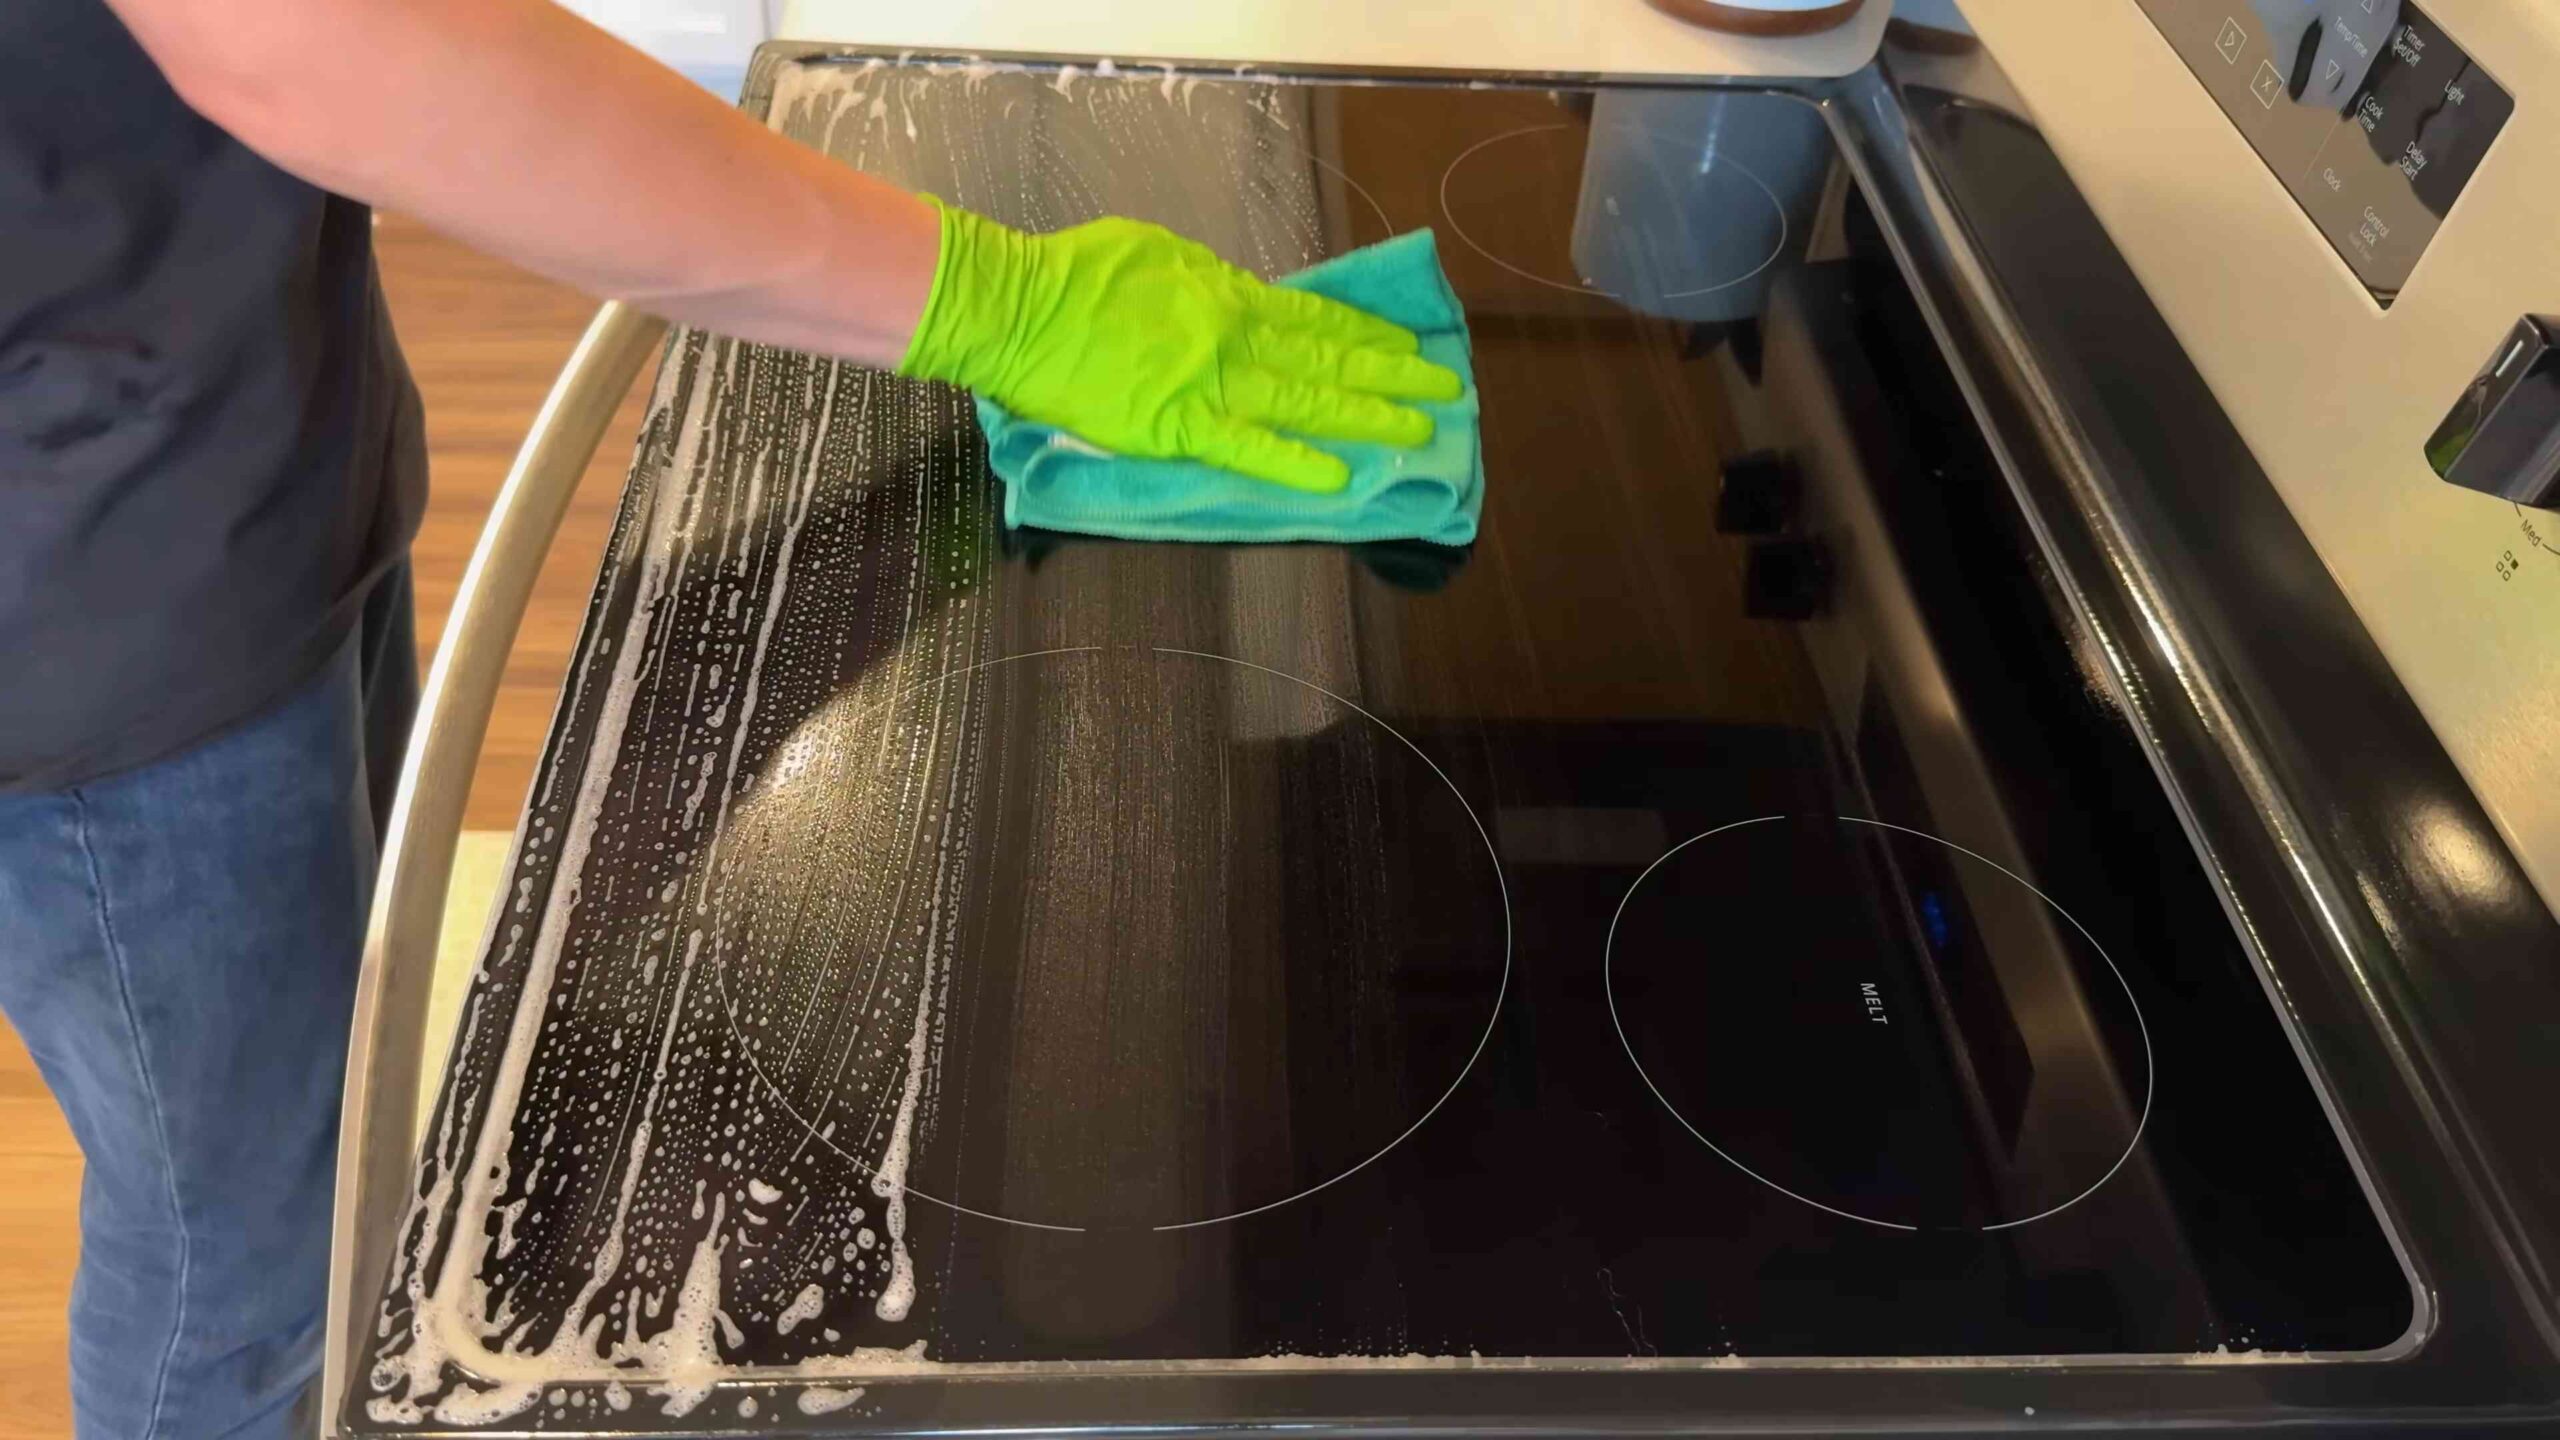
Making Your Stainless Steel Shine
Stainless steel appliances can easily get smudged and dirty. Here’s how to make them shine again:
What You’ll Need:
* White vinegar
* Microfiber cloth
* Olive oil (optional)
Step-by-Step Instructions:
1. Vinegar Power: Lightly spray white vinegar onto a microfiber cloth.
2. Wipe Down: Wipe down the stainless steel appliance in the direction of the grain. The vinegar will help to remove fingerprints, smudges, and water spots.
3. Buff Dry: Use a clean, dry microfiber cloth to buff the appliance dry.
4. Olive Oil Shine (Optional): For an extra shine, put a tiny amount of olive oil on a clean microfiber cloth and buff the appliance. Be careful not to use too much oil, as it can leave a greasy residue.
5. Admire Your Shine: Stand back and admire your sparkling clean stainless steel appliances!
Quick Toilet Cleaning Trick
This is a super fast way to freshen up your toilet bowl between deep cleans.
What You’ll Need:
* Toilet bowl cleaner tablet (bleach-based or non-bleach)
Step-by-Step Instructions:
1. Drop It In: Simply drop a toilet bowl cleaner tablet into the toilet bowl.
2. Let It Fizz: Let the tablet dissolve according to the package instructions.
3. Flush: Flush the toilet. The tablet will help to clean and freshen the bowl with each flush.
4. Regular Replacement: Replace the tablet as needed, usually every few weeks, depending on the brand and
Conclusion
So, there you have it! This quick cleaning hack isn’t just another chore on your to-do list; it’s a game-changer that can revolutionize your cleaning routine. We’ve shown you how to transform readily available household items into powerful cleaning agents, saving you time, money, and the frustration of dealing with stubborn dirt and grime. The beauty of this DIY approach lies in its simplicity and effectiveness. You’re not just cleaning; you’re creating a cleaner, healthier, and more enjoyable living space with minimal effort.
Why is this a must-try? Because it’s efficient, eco-friendly, and incredibly versatile. Imagine tackling those tough stains on your kitchen counters with a simple paste made from baking soda and water, or effortlessly removing soap scum from your shower with a vinegar solution. These are just a few examples of how this quick cleaning hack can simplify your life. Plus, you’ll be reducing your reliance on harsh chemical cleaners, which can be harmful to your health and the environment.
But the possibilities don’t stop there! Feel free to experiment with different variations to suit your specific needs and preferences. For instance, if you’re dealing with a particularly stubborn stain, try adding a few drops of essential oil, like lemon or tea tree oil, for an extra boost of cleaning power and a refreshing scent. You can also customize the consistency of your cleaning solutions to make them easier to apply to different surfaces. For delicate surfaces, dilute your solutions further to prevent any damage.
Don’t be afraid to get creative and adapt this quick cleaning hack to your unique cleaning challenges. The key is to start with the basic principles and then tailor them to your specific needs.
We’re confident that once you try this DIY cleaning trick, you’ll be amazed by the results. It’s a simple, effective, and sustainable way to keep your home sparkling clean. So, ditch the expensive store-bought cleaners and embrace the power of DIY.
Now, we want to hear from you! Have you tried this quick cleaning hack? What variations did you experiment with? What were your results? Share your experiences in the comments below. We’re eager to learn from your successes and help you troubleshoot any challenges you may encounter. Let’s create a community of DIY cleaning enthusiasts who are passionate about creating cleaner, healthier homes.
Frequently Asked Questions (FAQs)
What exactly is a “quick cleaning hack,” and how is it different from regular cleaning?
A quick cleaning hack is a shortcut or a clever trick that simplifies and speeds up the cleaning process. It often involves using readily available household items in unconventional ways to achieve effective cleaning results. Unlike regular cleaning, which may involve using specialized cleaning products and following a more structured approach, quick cleaning hacks are designed to be fast, efficient, and often more eco-friendly. They focus on targeting specific cleaning challenges with simple solutions.
Are these DIY cleaning solutions safe to use on all surfaces?
While many DIY cleaning solutions are generally safe, it’s crucial to exercise caution and test them on an inconspicuous area before applying them to the entire surface. Some surfaces, such as natural stone, wood, or certain types of fabric, may be sensitive to acidic or abrasive ingredients like vinegar or baking soda. Always dilute solutions appropriately and avoid using harsh scrubbing tools that could scratch or damage delicate surfaces. When in doubt, consult the manufacturer’s instructions for cleaning specific materials.
Can I use essential oils in all of these cleaning solutions? Which ones are best?
Essential oils can be a great addition to DIY cleaning solutions, adding a pleasant scent and boosting their cleaning power. However, it’s important to use them sparingly and choose oils that are known for their antibacterial, antiviral, or antifungal properties. Some popular choices include lemon, tea tree, lavender, eucalyptus, and peppermint oil. Avoid using essential oils on surfaces that may be sensitive to oils, such as certain types of plastic or painted surfaces. Always dilute essential oils properly before adding them to cleaning solutions, as they can be irritating to the skin and respiratory system in concentrated form.
How do I store these DIY cleaning solutions? How long do they last?
Store your DIY cleaning solutions in clean, airtight containers, preferably made of glass or BPA-free plastic. Label each container clearly with the name of the solution and the date it was made. Most DIY cleaning solutions will last for several weeks to a few months, depending on the ingredients. Solutions containing water may be more prone to bacterial growth, so it’s best to use them within a shorter timeframe. If you notice any changes in color, odor, or consistency, discard the solution and make a fresh batch. Store your cleaning solutions in a cool, dark place away from direct sunlight and heat.
What if I don’t have all the ingredients listed in the recipe? Can I substitute them?
In many cases, you can substitute ingredients in DIY cleaning solutions, but it’s important to understand the purpose of each ingredient and choose a suitable alternative. For example, if you don’t have white vinegar, you can use apple cider vinegar or lemon juice as a substitute. If you don’t have baking soda, you can use washing soda or borax. However, be aware that some substitutions may affect the effectiveness or safety of the solution. Always research the properties of the substitute ingredient before using it and adjust the recipe accordingly.
I tried one of these quick cleaning hacks, and it didn’t work as well as I expected. What could be the problem?
There are several reasons why a quick cleaning hack may not work as well as expected. It could be that the stain or grime is particularly stubborn and requires a more concentrated solution or longer soaking time. It could also be that the surface you’re cleaning is not compatible with the cleaning solution. Make sure you’ve tested the solution on an inconspicuous area first to ensure it doesn’t damage the surface. Another possibility is that you’re not using the correct technique. For example, you may need to scrub harder or use a different type of cleaning tool. Finally, it’s possible that the recipe itself is not effective for the specific cleaning challenge you’re facing. In that case, try a different recipe or consult a professional cleaning service.
Are these quick cleaning hacks environmentally friendly?
One of the biggest advantages of using quick cleaning hacks is that they are often more environmentally friendly than using conventional cleaning products. Many DIY cleaning solutions use natural, biodegradable ingredients that are less harmful to the environment. By reducing your reliance on harsh chemical cleaners, you can minimize your exposure to toxic substances and reduce the amount of waste that ends up in landfills. However, it’s important to dispose of cleaning solutions properly and avoid pouring them down the drain, as they can still contaminate waterways.
Can I use these quick cleaning hacks to clean my entire house?
While these quick cleaning hacks can be used to clean many areas of your house, they may not be suitable for every cleaning task. For example, you may need specialized cleaning products for certain appliances or surfaces. However, these DIY solutions can be a great way to tackle everyday cleaning tasks, such as cleaning countertops, floors, bathrooms, and windows. By incorporating these hacks into your regular cleaning routine, you can save time, money, and reduce your exposure to harmful chemicals.
Where can I find more quick cleaning hack ideas?
There are many resources available online and in print that offer a wealth of quick cleaning hack ideas. You can search online for cleaning blogs, websites, and social media accounts that specialize in DIY cleaning solutions. You can also find books and magazines that offer tips and tricks for cleaning your home using natural ingredients. Don’t be afraid to experiment and try different recipes to find the ones that work best for you. And be sure to share your own cleaning hacks with others!

Leave a Comment