

Planting ginger backyard is easier than you might think, and I’m here to show you how! Forget those expensive grocery store runs for fresh ginger; imagine stepping right outside your door to harvest your own flavorful rhizomes. For centuries, ginger has been prized not only for its culinary uses but also for its medicinal properties in various cultures, particularly in Asia. From soothing teas to zesty stir-fries, ginger has been a staple ingredient.
But why should *you* learn this simple DIY trick? Well, for starters, growing your own ginger is incredibly rewarding. There’s something magical about nurturing a plant from a small piece of root to a thriving source of flavor. Plus, store-bought ginger can sometimes be less fresh or even treated with chemicals. By planting ginger backyard, you control the entire process, ensuring you have access to organic, vibrant ginger whenever you need it. I’ll guide you through the entire process, from selecting the perfect ginger root to harvesting your very own homegrown supply. Get ready to unleash your inner gardener and enjoy the delicious benefits of fresh, homegrown ginger!
Growing Your Own Ginger: A Beginner’s Guide to Backyard Success
Hey there, fellow garden enthusiasts! Ever thought about growing your own ginger? It’s surprisingly easy, rewarding, and adds a fantastic fresh flavor to your cooking. Plus, imagine the bragging rights! I’m going to walk you through the whole process, from choosing the right ginger to harvesting your very own spicy rhizomes. Let’s get our hands dirty!
Choosing Your Ginger Rhizome
Before we even think about planting, we need to select the perfect ginger rhizome (that’s the “root” part we eat). Here’s what to look for:
* Appearance: Look for plump, healthy-looking rhizomes with smooth skin. Avoid anything shriveled, moldy, or overly soft.
* Eyes: These are the little bumps or “eyes” on the rhizome, similar to what you see on a potato. You want to see some eyes that are starting to turn green or show signs of sprouting. This indicates the ginger is ready to grow.
* Source: You can often find ginger rhizomes at your local grocery store, especially in the produce section. Organic ginger is often a good choice, as it’s less likely to have been treated with growth inhibitors.
* Variety: While most ginger sold in stores is common ginger (Zingiber officinale), you might find other varieties at specialty nurseries. Don’t worry too much about the specific variety for your first attempt; just focus on getting a healthy rhizome.
Preparing Your Ginger for Planting
Okay, you’ve got your ginger. Now, let’s get it ready to sprout!
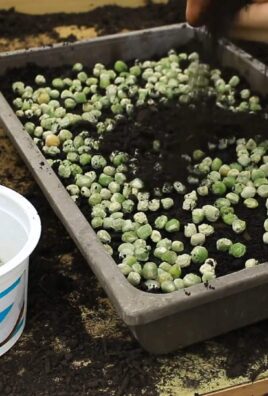
1. Soaking (Optional): Some people like to soak their ginger rhizomes in water for a few hours (up to overnight) before planting. This can help rehydrate them and encourage sprouting. I’ve had success both with and without soaking, so it’s really up to you. If you do soak, use lukewarm water.
2. Cutting (If Necessary): If your ginger rhizome is large, you can cut it into smaller pieces, making sure each piece has at least one or two “eyes.” This will give you multiple plants. Let the cut ends callous over for a day or two before planting to prevent rot. I usually just leave them on a paper towel in a cool, dry place.
Preparing the Planting Location
Ginger loves warmth and well-draining soil. Here’s how to create the perfect environment:
* Sunlight: Ginger thrives in partial shade. Direct sunlight can scorch the leaves, especially in hotter climates. Aim for a spot that gets morning sun and afternoon shade, or dappled sunlight throughout the day.
* Soil: Well-draining soil is crucial. Ginger hates sitting in soggy soil, which can lead to root rot. Amend your soil with plenty of organic matter, such as compost, aged manure, or peat moss. This will improve drainage and provide essential nutrients. I like to use a mix of garden soil, compost, and perlite.
* Container vs. Ground: You can grow ginger in containers or directly in the ground. Containers are a great option if you have limited space or want to move your ginger plant indoors during colder months. If planting in the ground, make sure the soil is well-prepared and drains well.
* pH Level: Ginger prefers slightly acidic soil, with a pH between 6.0 and 6.5. You can test your soil’s pH using a soil testing kit, available at most garden centers. If your soil is too alkaline, you can amend it with sulfur or peat moss.
Planting Your Ginger
Alright, the moment we’ve been waiting for! Let’s get that ginger in the ground.
1. Digging the Hole: Dig a shallow hole, about 2-4 inches deep. The size of the hole will depend on the size of your ginger rhizome.
2. Placing the Rhizome: Place the ginger rhizome in the hole with the “eyes” facing upwards. This is important, as the sprouts will emerge from these eyes.
3. Covering with Soil: Gently cover the rhizome with soil, being careful not to damage the eyes.
4. Watering: Water thoroughly after planting. The soil should be moist but not soggy.
Caring for Your Ginger Plant
Now that your ginger is planted, it’s time to provide it with the care it needs to thrive.
* Watering: Ginger needs consistent moisture, but avoid overwatering. Water when the top inch of soil feels dry to the touch. During hot, dry weather, you may need to water more frequently.
* Fertilizing: Feed your ginger plant every few weeks with a balanced liquid fertilizer. Look for a fertilizer that’s specifically formulated for vegetables or herbs. I like to use a diluted fish emulsion fertilizer.
* Mulching: Apply a layer of mulch around your ginger plant to help retain moisture, suppress weeds, and regulate soil temperature. Straw, wood chips, or shredded leaves are all good options.
* Weeding: Keep the area around your ginger plant free of weeds. Weeds can compete with your ginger for nutrients and water.
* Pest and Disease Control: Ginger is generally pest-resistant, but keep an eye out for common garden pests like aphids or spider mites. If you notice any pests, treat them with an appropriate insecticide or insecticidal soap. Root rot can be a problem if the soil is not well-draining.
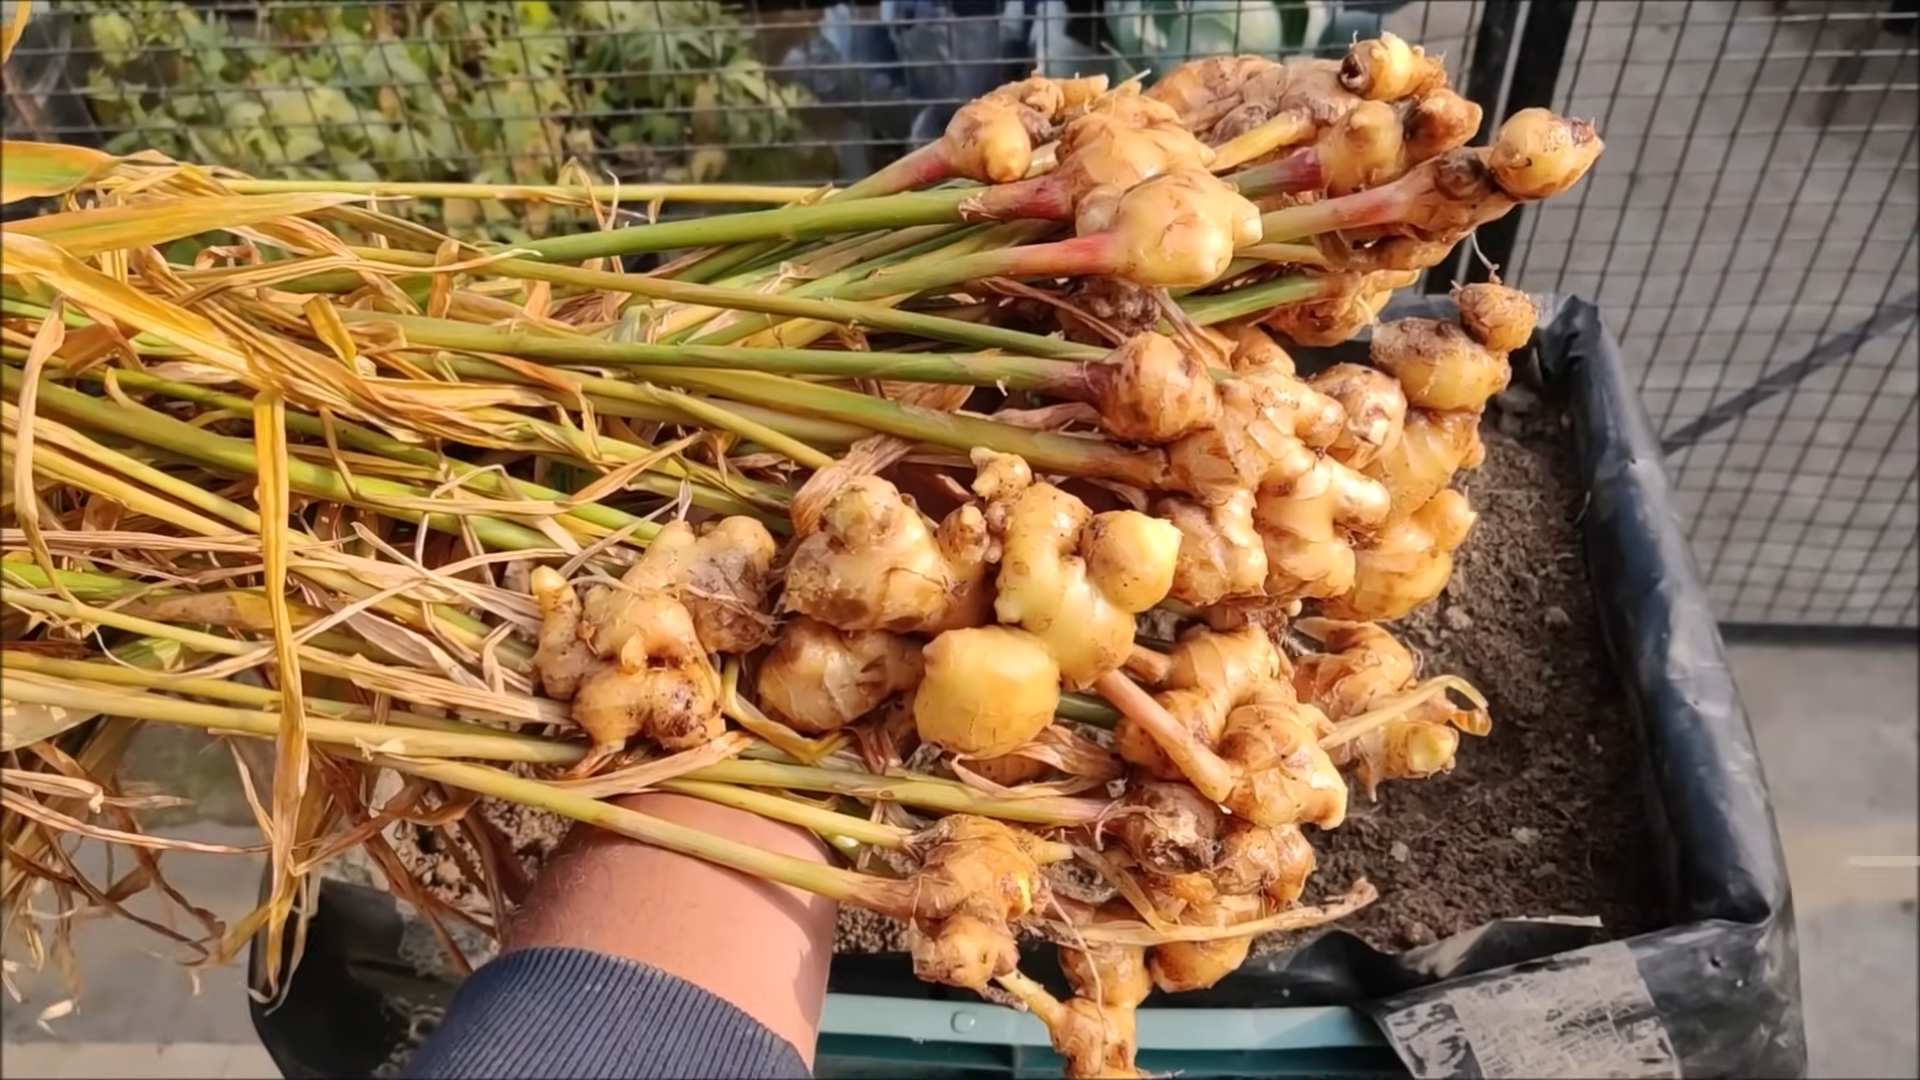
Harvesting Your Ginger
The best part! Harvesting your homegrown ginger.
1. When to Harvest: You can start harvesting ginger about 8-10 months after planting. The leaves will start to turn yellow and die back, indicating that the rhizomes are mature.
2. Harvesting Process: Gently dig around the plant to expose the rhizomes. You can harvest the entire plant or just take a few rhizomes as needed. If you only harvest a few, be careful not to disturb the remaining plant too much.
3. Cleaning: Wash the harvested rhizomes thoroughly to remove any dirt or debris.
4. Storing: Fresh ginger can be stored in the refrigerator for several weeks. Wrap it in a paper towel and place it in a plastic bag. You can also freeze ginger for longer storage. To freeze, peel and chop the ginger into small pieces, then freeze them in a single layer on a baking sheet. Once frozen, transfer the pieces to a freezer bag.
Troubleshooting Common Problems
Even with the best care, you might encounter a few challenges along the way. Here are some common problems and how to address them:
* Yellowing Leaves: This can be caused by overwatering, underwatering, nutrient deficiencies, or pests. Check the soil moisture, fertilize if necessary, and inspect for pests.
* Root Rot: This is caused by soggy soil. Make sure your soil is well-draining and avoid overwatering. If you suspect root rot, you may need to dig up the plant and replant it in fresh soil.
* Slow Growth: This can be caused by insufficient sunlight, poor soil, or cool temperatures. Make sure your ginger plant is getting enough sunlight, amend the soil with organic matter, and provide warmth.
Enjoying Your Homegrown Ginger
Now that you’ve harvested your own ginger, it’s time to enjoy the fruits (or rather, rhizomes) of your labor! Here are just a few ways to use your homegrown ginger:
* Cooking: Add fresh ginger to stir-fries, soups, curries, and other dishes.
* Tea: Make a soothing ginger tea by steeping sliced ginger in hot water.
* Baking: Use grated ginger in cookies, cakes, and other baked goods.
* Pickling: Pickle ginger to serve as a condiment with sushi or other Asian dishes.
* Candied Ginger: Make your own candied ginger for a sweet and spicy treat.
Propagating Ginger
Once you’ve successfully grown ginger, you can easily propagate it to create more plants. Simply divide the rhizomes into smaller pieces, making sure each piece has at least one or two “eyes.” Let the cut ends callous over for a day or two before planting, as described earlier.
Tips for Success
Here are a few extra tips to help you succeed in growing your own ginger:
* Start with Healthy Rhizomes: Choosing healthy, plump rhizomes with visible “eyes” is crucial for success.
* Provide Warmth: Ginger loves warmth, so make sure to provide it with a warm environment, especially during the early stages of growth.
* Don’t Overwater: Overwatering is a common mistake that can lead to root rot. Water only when the top inch of soil feels dry to the touch.
* Be Patient: Ginger can take several months to mature, so be patient and don’t give up if you don’t see results immediately.
Growing your own ginger is a rewarding experience that allows you to enjoy fresh, flavorful ginger right from your backyard

Conclusion
So, there you have it! Planting ginger in your backyard isn’t just a gardening project; it’s an investment in fresh, flavorful ingredients right at your fingertips. We’ve walked through the simple steps, debunked common myths, and armed you with the knowledge to cultivate your own thriving ginger patch. But why is this DIY trick a must-try?
Firstly, the taste difference between homegrown ginger and store-bought is remarkable. The ginger you harvest from your backyard will be noticeably fresher, more vibrant, and possess a spicy kick that pre-packaged ginger often lacks. Imagine the culinary possibilities! From zesty stir-fries and comforting ginger tea to homemade ginger ale and aromatic baked goods, the options are endless.
Secondly, growing your own ginger is incredibly rewarding. There’s a unique satisfaction in nurturing a plant from rhizome to harvest, knowing you’ve created something delicious and useful with your own hands. It’s a connection to nature that can be both therapeutic and educational.
Thirdly, it’s a sustainable choice. By growing your own ginger, you’re reducing your reliance on commercially produced ginger, which often travels long distances and contributes to carbon emissions. You’re also avoiding the use of potentially harmful pesticides and herbicides that are sometimes used in large-scale ginger farming.
But the benefits don’t stop there. Planting ginger can also be a beautiful addition to your backyard. The lush green foliage adds a tropical touch, and the plant itself is relatively low-maintenance.
Ready to take your ginger game to the next level? Consider these variations:
* Container Gardening: If you’re short on space or live in a colder climate, growing ginger in containers is a fantastic option. Choose a large pot with good drainage and follow the same planting instructions as you would for in-ground planting. You can easily move the container indoors during the winter months.
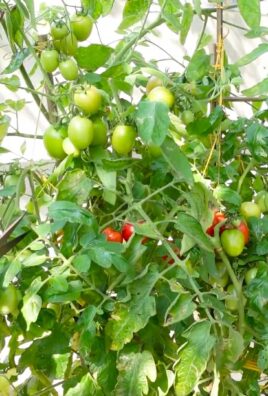
* Companion Planting: Ginger thrives when planted alongside certain other plants. Consider pairing it with leafy greens like lettuce or spinach, or with herbs like rosemary or thyme. These companion plants can help to deter pests and improve soil health.
* Experiment with Varieties: While common ginger is the most readily available, there are other varieties you can try, such as galangal or turmeric, which are closely related and offer unique flavors and health benefits.
We’re confident that you’ll find planting ginger in your backyard to be a worthwhile and enjoyable experience. It’s a simple, sustainable, and delicious way to enhance your culinary creations and connect with nature.
So, grab some ginger rhizomes, prepare your soil, and get planting! We can’t wait to hear about your experiences. Share your photos, tips, and recipes with us in the comments below. Let’s create a community of backyard ginger growers!
Frequently Asked Questions (FAQ)
1. What is the best time of year to plant ginger?
The ideal time to plant ginger is in early spring, after the last frost has passed. Ginger thrives in warm weather, so you want to give it a head start during the growing season. If you live in a region with mild winters, you may be able to plant ginger in late winter. The key is to ensure the soil temperature is consistently above 65°F (18°C). Planting too early in cold soil can lead to the rhizomes rotting before they have a chance to sprout. If you’re unsure about the timing, it’s always better to err on the side of caution and wait until the weather warms up.
2. How much sunlight does ginger need?
Ginger prefers partial shade. While it needs sunlight to grow, direct, intense sunlight can scorch the leaves. A location that receives morning sun and afternoon shade is ideal. If you’re growing ginger in a container, you can easily move it around to find the perfect spot. If you’re planting it in the ground, consider planting it under a tree or near a taller plant that can provide some shade. Observe your ginger plant regularly and adjust its location if you notice the leaves are turning yellow or brown, which could be a sign of too much sun.
3. What kind of soil is best for growing ginger?
Ginger needs well-draining soil that is rich in organic matter. Heavy clay soil can retain too much moisture and cause the rhizomes to rot. Amend your soil with compost, aged manure, or other organic materials to improve drainage and fertility. A slightly acidic soil pH of around 6.0 to 6.5 is ideal. You can test your soil pH with a home testing kit and adjust it accordingly. Good drainage is crucial, so consider planting ginger in raised beds or mounds if your soil is prone to waterlogging.
4. How often should I water my ginger plant?
Ginger needs consistent moisture, but it doesn’t like to be waterlogged. Water deeply when the top inch of soil feels dry to the touch. During hot, dry weather, you may need to water more frequently. Avoid overwatering, as this can lead to root rot. Check the soil moisture regularly and adjust your watering schedule accordingly. Mulching around the base of the plant can help to retain moisture and suppress weeds.
5. How long does it take for ginger to grow?
It typically takes 8-10 months for ginger to mature and be ready for harvest. You can start harvesting small pieces of ginger after about 4 months, but the flavor will be milder. The ginger is ready to harvest when the leaves start to turn yellow and die back. At this point, you can dig up the entire plant and harvest the rhizomes.
6. How do I harvest ginger?
To harvest ginger, gently dig around the plant with a garden fork or shovel. Be careful not to damage the rhizomes. Lift the plant out of the ground and shake off any excess soil. You can then break off pieces of the rhizome as needed, or harvest the entire plant and store the rhizomes in a cool, dry place.
7. How do I store ginger after harvesting?
Freshly harvested ginger can be stored in the refrigerator for several weeks. Wrap it in a paper towel and place it in a plastic bag to prevent it from drying out. You can also freeze ginger for longer storage. Peel and chop the ginger into small pieces, then freeze it in a single layer on a baking sheet. Once frozen, transfer the ginger to a freezer bag or container. Frozen ginger can be used directly from the freezer in your cooking.
8. What are some common problems when growing ginger?
Some common problems when growing ginger include root rot, pests, and diseases. Root rot is caused by overwatering and poor drainage. To prevent root rot, ensure your soil is well-draining and avoid overwatering. Pests that can affect ginger include aphids and spider mites. These pests can be controlled with insecticidal soap or neem oil. Diseases that can affect ginger include fungal leaf spots. These diseases can be prevented by providing good air circulation and avoiding overhead watering.
9. Can I grow ginger indoors?
Yes, you can grow ginger indoors, especially if you live in a colder climate. Choose a large pot with good drainage and fill it with well-draining potting mix. Place the pot in a location that receives bright, indirect sunlight. Water regularly, keeping the soil moist but not waterlogged. You may need to supplement with artificial light if you don’t have enough natural light.
10. Is it possible to grow ginger from store-bought ginger?
Yes, it is possible to grow ginger from store-bought ginger, but it’s not always successful. Look for ginger rhizomes that are plump and have visible “eyes” or buds. Soak the rhizome in water overnight before planting to encourage sprouting. Plant the rhizome in a pot of well-draining potting mix and keep it in a warm, humid location. Be patient, as it may take several weeks for the ginger to sprout. Not all store-bought ginger will sprout, as some may have been treated to prevent sprouting.
Leave a Comment