

Planting Anemones: Growing Tips – Ever dreamt of a garden bursting with vibrant, poppy-like blooms that seem to dance in the breeze? Anemones, with their captivating colors and delicate petals, can transform your outdoor space into a painter’s canvas. But let’s be honest, sometimes these beauties can be a bit… temperamental. That’s where I come in!
For centuries, anemones have held a special place in our hearts and gardens. In Greek mythology, they sprung from the tears of Aphrodite, symbolizing fleeting beauty and remembrance. Today, they continue to enchant us with their cheerful presence. But, like any garden treasure, they require a little know-how to truly thrive.
Are you tired of anemone bulbs that refuse to sprout, or plants that produce lackluster blooms? I understand the frustration! That’s why I’ve compiled this guide packed with easy-to-follow planting anemones growing tips and DIY hacks. We’ll cover everything from choosing the right variety and preparing your soil to watering techniques and pest control. With these simple tricks, you’ll be well on your way to enjoying a stunning display of anemones that will be the envy of the neighborhood. Let’s get started and unlock the secrets to successful anemone gardening!
Planting Anemones: A DIY Guide to Vibrant Blooms
Hey there, fellow flower enthusiasts! I’m so excited to share my experience with planting anemones. These little beauties bring such a pop of color to the garden, and with a little know-how, you can enjoy their vibrant blooms too. I’ve learned a few tricks along the way, and I’m happy to guide you through the process. Let’s get our hands dirty!
Understanding Anemones: Choosing the Right Variety
Before we dive into planting, let’s talk about anemones themselves. There are a few different types, and knowing the difference will help you choose the right ones for your garden.
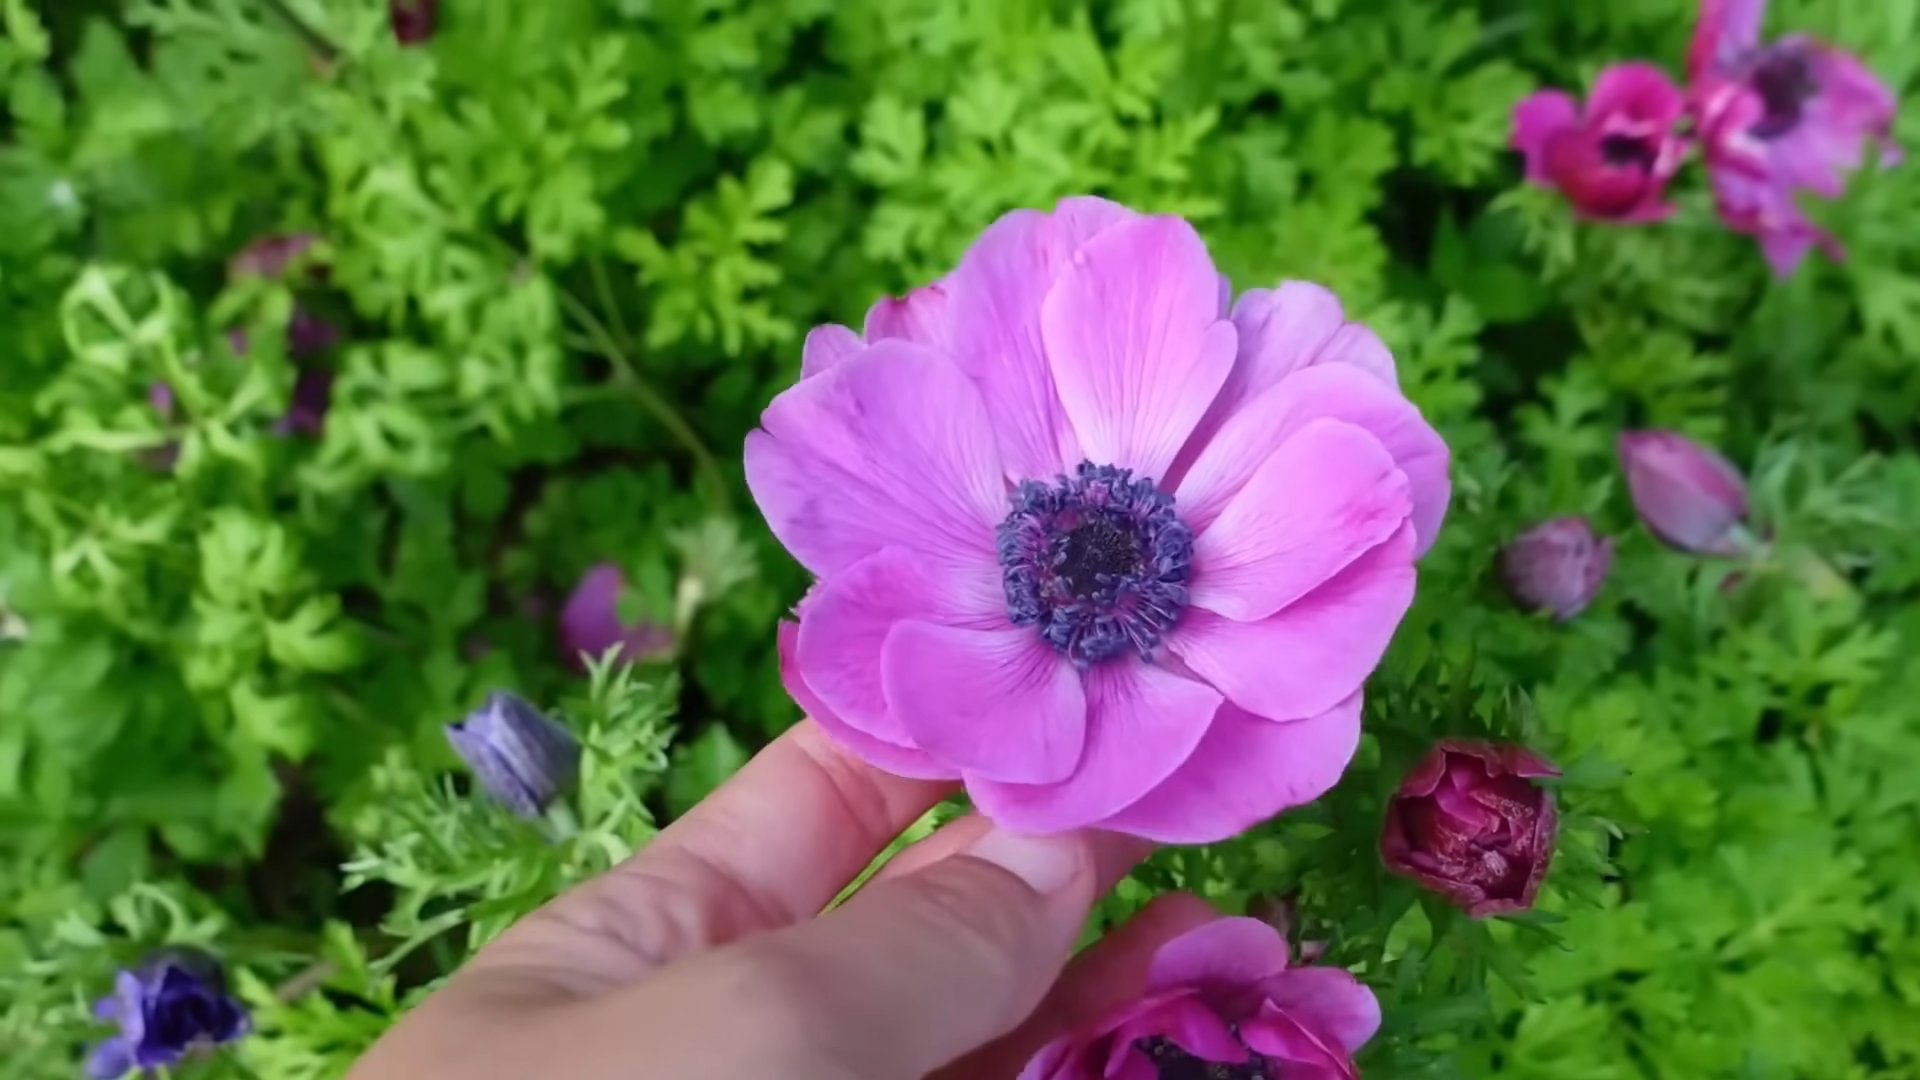
* **De Caen Anemones:** These are probably the most popular and the ones I usually go for. They have large, poppy-like flowers in a range of colors, including red, white, blue, and pink. They bloom in spring.
* **St. Brigid Anemones:** Similar to De Caen, but with semi-double or double flowers, giving them a fuller, more ruffled look.
* **Grecian Windflower (Anemone blanda):** These are smaller and more delicate, with daisy-like flowers in shades of blue, pink, and white. They’re great for naturalizing in lawns or under trees. They also bloom in early spring.
* **Japanese Anemones (Anemone hupehensis):** These are fall-blooming anemones, adding color to your garden when many other flowers are fading. They’re taller and more robust than the spring-blooming varieties.
When choosing your anemones, consider your climate, the bloom time you prefer, and the overall look you’re going for in your garden. I personally love the De Caen for their vibrant colors and relatively easy care.
Preparing Anemone Corms for Planting: The Soaking Secret
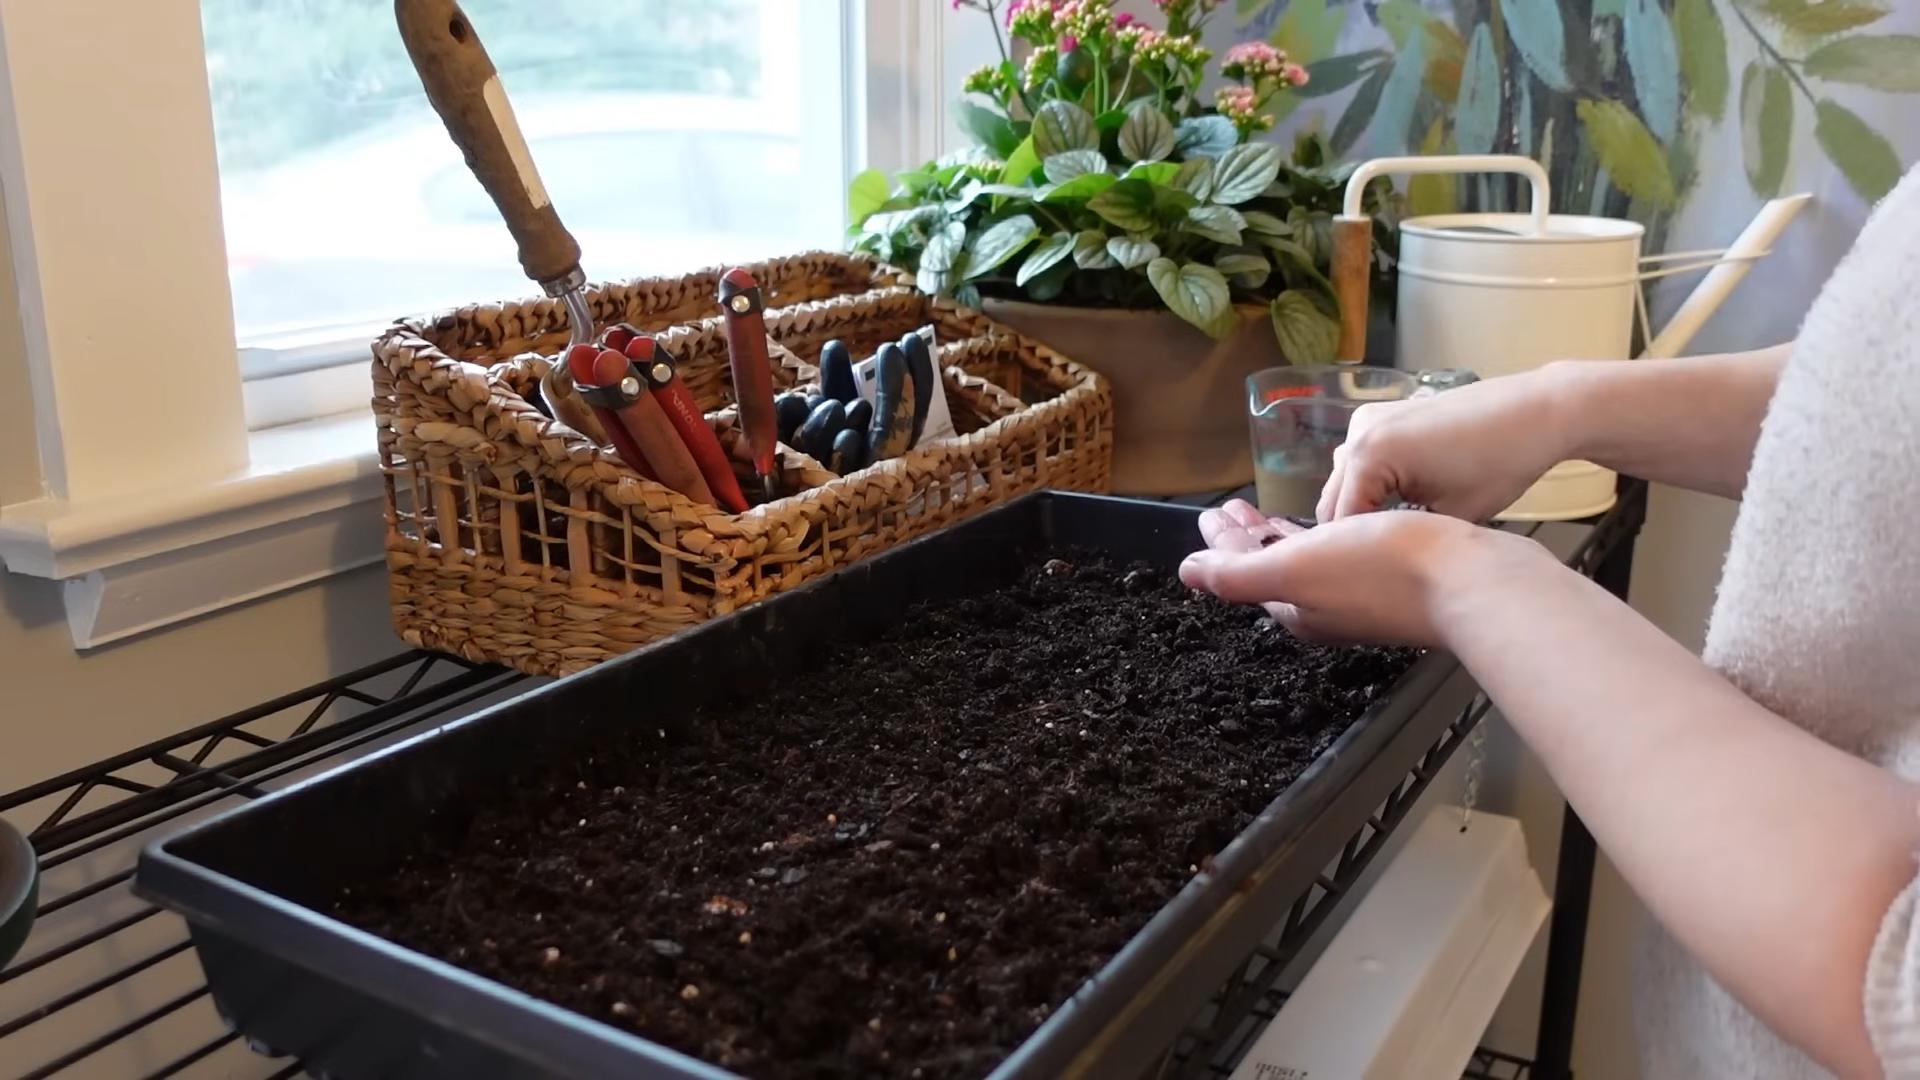
Anemone corms (the bulb-like structures they grow from) are often sold dry and shriveled. Don’t worry, that’s normal! But they need a little pre-planting preparation to wake them up and get them ready to grow. This is a crucial step, so don’t skip it!
* **Soaking is Key:** Anemone corms need to be soaked in water before planting. This rehydrates them and encourages them to sprout.
* **How Long to Soak:** I usually soak mine for 4-6 hours. Some people even soak them overnight, but I find that 4-6 hours is sufficient.
* **The Soaking Process:** Place the corms in a bowl or container of lukewarm water. You might notice that they float at first. Don’t worry, they’ll eventually sink as they absorb water.
* **Optional: Oxygenation:** Some gardeners recommend adding an air stone to the water to oxygenate it, which can further encourage sprouting. I haven’t personally tried this, but it’s something to consider.
Planting Anemones: A Step-by-Step Guide
Now for the fun part – planting! Here’s how I plant my anemones for the best results:
1. **Choose the Right Location:** Anemones prefer a sunny or partially shaded location with well-drained soil. Avoid areas that are constantly wet, as this can cause the corms to rot. I’ve found that a spot that gets morning sun and afternoon shade works perfectly.
2. **Prepare the Soil:** Before planting, amend the soil with compost or other organic matter. This will improve drainage and provide nutrients for the anemones. I like to dig in a generous amount of compost to ensure the soil is loose and fertile.
3. **Dig the Holes:** Dig holes that are about 2-3 inches deep and 4-6 inches apart. The spacing depends on the variety of anemone you’re planting. Check the plant tag or seed packet for specific recommendations.
4. **Plant the Corms:** This is where it gets a little tricky. Anemone corms can be difficult to tell which end is up. The general rule of thumb is to plant them with the pointy end facing down. However, if you’re not sure, don’t worry too much. They’ll usually figure it out. I’ve planted them sideways before, and they still grew!
5. **Cover with Soil:** Gently cover the corms with soil and lightly pat it down.
6. **Water Thoroughly:** After planting, water the area thoroughly. This will help settle the soil and encourage the corms to start growing.
7. **Mulch (Optional):** I like to add a layer of mulch around the anemones to help retain moisture and suppress weeds. Straw, shredded leaves, or wood chips are all good options.
Caring for Anemones: Watering, Feeding, and Deadheading
Once your anemones are planted, they need a little care to thrive. Here’s what I do to keep mine happy and healthy:
* **Watering:** Water regularly, especially during dry periods. Anemones prefer consistently moist soil, but avoid overwatering, which can lead to rot. I usually water them deeply once a week, or more often if the weather is hot and dry.
* **Feeding:** Fertilize your anemones in the spring with a balanced fertilizer. I like to use a slow-release fertilizer that provides nutrients gradually over time.
* **Deadheading:** Deadhead spent flowers regularly to encourage more blooms. Simply snip off the faded flowers at the base of the stem. This will also prevent the anemones from going to seed, which can weaken the plant.
* **Protecting from Pests and Diseases:** Anemones are generally pest-resistant, but they can be susceptible to certain diseases, such as powdery mildew and fungal rot. To prevent these problems, ensure good air circulation around the plants and avoid overwatering. If you notice any signs of disease, treat them promptly with an appropriate fungicide.
Extending the Bloom: Successive Planting
Want to enjoy anemone blooms for as long as possible? Try successive planting!
* **What is Successive Planting?** Successive planting involves planting anemone corms at intervals of a few weeks. This will stagger the bloom times, so you’ll have flowers for a longer period.
* **How to Do It:** Plant a batch of corms in early spring, and then plant another batch a few weeks later. You can continue planting in this way until early summer.
* **Benefits:** Successive planting ensures a continuous supply of beautiful anemone blooms throughout the spring and summer.
Overwintering Anemones: Protecting Them from the Cold
In colder climates, anemones may need some protection during the winter. Here’s what I do to overwinter mine:
* **Hardiness:** De Caen and St. Brigid anemones are generally hardy in zones 7-10. In colder zones, they may need to be lifted and stored indoors.
* **Lifting Corms:** After the foliage has died back in the fall, carefully dig up the corms.
* **Cleaning and Drying:** Clean the corms of any soil and allow them to dry for a few days.
* **Storing:** Store the corms in a cool, dry place, such as a garage or basement. I like to store them in a paper bag or cardboard box filled with peat moss or vermiculite.
* **Replanting:** Replant the corms in the spring after the last frost.
If you live in a milder climate, you may be able to leave your anemones in the ground over winter. In this case, I recommend mulching them heavily to protect them from the cold.
Troubleshooting: Common Anemone Problems and Solutions
Even with the best care, you might encounter a few problems with your anemones. Here are some common issues and how to address them:
* **Corms Not Sprouting:** If your anemone corms aren’t sprouting, it could be due to several factors:
* **Insufficient Soaking:** Make sure you’ve soaked the corms for long enough.
* **Poor Drainage:** The soil may be too wet, causing the corms to rot. Improve drainage by adding compost or moving the plants to a better-drained location.
* **Cold Temperatures:** Anemones need warm temperatures to sprout. If it’s still too cold, wait a few weeks and try again.
* **Yellowing Leaves:** Yellowing leaves can be a sign of overwatering, nutrient deficiency, or disease.
* **Overwatering:** Reduce watering and ensure good drainage.
* **Nutrient Deficiency:** Fertilize with a balanced fertilizer.
* **Disease:** Treat with an appropriate fungicide.
* **Lack of Blooms:** If your anemones aren’t blooming, it could be due to:
* **Insufficient Sunlight:** Make sure they’re getting enough sunlight.
* **Poor Soil:** Amend the soil with compost or other organic matter.
* **Lack of Deadheading:** Deadhead spent flowers regularly to encourage more blooms.
Enjoying Your Anemones: Cut Flowers and Garden Displays
Once your anemones are in full bloom,
Conclusion
So, there you have it! Mastering the art of planting anemones doesn’t have to be shrouded in mystery. By following these simple yet effective DIY tricks, you’re well on your way to cultivating a vibrant and breathtaking display of these captivating blooms right in your own garden. Forget expensive gardening services or complicated techniques; this approach empowers you to take control and witness the magic of nature unfold before your very eyes.
Why is this a must-try? Because it’s about more than just planting flowers; it’s about connecting with the earth, fostering a sense of accomplishment, and creating a haven of beauty that you can proudly call your own. Imagine the joy of cutting fresh anemones from your garden to brighten up your home, or the satisfaction of sharing their beauty with friends and family. This DIY method simplifies the process, making it accessible to gardeners of all skill levels, from seasoned pros to enthusiastic beginners. Plus, it’s incredibly rewarding to know that you nurtured these delicate blossoms from humble bulbs to stunning floral masterpieces.
But the adventure doesn’t stop here! Feel free to experiment with different varieties of anemones to create a kaleidoscope of colors and textures. Consider planting them in companion with other spring-blooming bulbs like tulips and daffodils for a truly spectacular display. For a more naturalistic look, try scattering the bulbs randomly throughout your garden beds. And if you’re feeling adventurous, why not try forcing anemones indoors for an early burst of color during the winter months?
Don’t be afraid to get your hands dirty and embrace the learning process. Gardening is all about experimentation and discovery. The tips provided are a solid foundation, but the real magic happens when you adapt them to your own unique environment and preferences.
We wholeheartedly encourage you to give this DIY trick for planting anemones a try. We’re confident that you’ll be amazed by the results. And most importantly, we want to hear about your experience! Share your photos, tips, and stories with us in the comments below. Let’s create a community of anemone enthusiasts who inspire and support each other on this beautiful gardening journey. Your insights could be invaluable to other readers, and we’re always eager to learn from your successes (and even your occasional setbacks!). So, grab your gardening gloves, gather your anemone bulbs, and let’s get planting! Let us know how your **planting anemones** project goes!
Frequently Asked Questions (FAQ)
What is the best time of year to plant anemone bulbs?
The ideal time to plant anemone bulbs depends on your climate. In regions with mild winters, fall planting (September-November) is generally recommended. This allows the bulbs to establish roots before the ground freezes, resulting in earlier blooms in the spring. In colder climates with harsh winters, spring planting (March-May) is preferable. This prevents the bulbs from being damaged by frost. If you live in an area with very hot summers, you might consider planting in late winter or early spring to avoid the bulbs sitting in hot, dry soil for too long.
How deep should I plant anemone bulbs?
Anemone bulbs should be planted approximately 2-3 inches deep, with the pointed end facing down. If you’re unsure which end is the pointed end, don’t worry too much! Anemone bulbs are surprisingly resilient. Plant them on their side, and they will usually figure it out. Just make sure they are covered with soil.
Do anemone bulbs need to be soaked before planting?
Yes, soaking anemone bulbs before planting is highly recommended. Soaking them in lukewarm water for 2-4 hours helps to rehydrate the bulbs and encourages them to sprout more quickly. This is especially important for anemone bulbs, as they tend to dry out easily during storage.
What type of soil is best for anemones?
Anemones thrive in well-draining soil that is rich in organic matter. Amend your soil with compost or well-rotted manure before planting to improve drainage and fertility. Avoid heavy clay soils, as they can retain too much moisture and cause the bulbs to rot. A slightly acidic to neutral soil pH (around 6.0-7.0) is ideal.
How much sunlight do anemones need?
Anemones prefer full sun to partial shade. In hotter climates, providing some afternoon shade can help to protect the delicate blooms from scorching. In cooler climates, full sun will encourage more abundant flowering. Observe your garden throughout the day to determine the best location for your anemones.
How often should I water anemones?
Water anemones regularly, especially during dry periods. Keep the soil consistently moist, but avoid overwatering, which can lead to bulb rot. Once the plants are established, you can reduce watering slightly. During the dormant period (after flowering), reduce watering significantly.
Do anemones need fertilizer?
Yes, anemones benefit from regular fertilization. Apply a balanced fertilizer (such as 10-10-10) at planting time and again in the spring when the plants begin to grow. Avoid over-fertilizing, as this can lead to excessive foliage growth at the expense of flowers.
Are anemones deer resistant?
Anemones are considered to be moderately deer resistant. However, deer may still browse on them if other food sources are scarce. To protect your anemones from deer, consider using deer repellent sprays or fencing.
Can I grow anemones in containers?
Yes, anemones can be successfully grown in containers. Choose a pot that is at least 6 inches deep and has drainage holes. Use a well-draining potting mix and follow the same planting and care instructions as for in-ground planting. Container-grown anemones may require more frequent watering and fertilization.
My anemones are not blooming. What could be the problem?
There are several reasons why your anemones may not be blooming. Common causes include:
* **Insufficient sunlight:** Anemones need at least 6 hours of sunlight per day to bloom properly.
* **Poor soil drainage:** Waterlogged soil can cause the bulbs to rot.
* **Lack of nutrients:** Anemones need regular fertilization to produce flowers.
* **Improper planting depth:** Planting the bulbs too deep or too shallow can affect blooming.
* **Dormancy:** Anemones go dormant after flowering. Be patient and wait for them to re-emerge the following season.
How do I store anemone bulbs for the winter?
In colder climates, it’s best to lift anemone bulbs in the fall after the foliage has died back. Clean the bulbs and allow them to dry completely. Store them in a cool, dry, and dark place, such as a garage or basement, in a paper bag or cardboard box filled with peat moss or vermiculite. Replant the bulbs in the spring. In milder climates, you may be able to leave the bulbs in the ground over winter, but be sure to provide them with a layer of mulch for protection.
What are some common pests and diseases that affect anemones?
Anemones can be susceptible to certain pests and diseases, including:
* **Aphids:** These small insects can suck the sap from the leaves and stems.
* **Slugs and snails:** These pests can damage the foliage and flowers.
* **Botrytis blight:** This fungal disease can cause the flowers to rot.
* **Root rot:** This fungal disease can occur in poorly drained soil.
To prevent pests and diseases, provide your anemones with proper care, including well-draining soil, adequate sunlight, and good air circulation. Inspect your plants regularly for signs of problems and take action promptly if necessary.
Can I propagate anemones from seed?
Yes, you can propagate anemones from seed, but it can be a slow and challenging process. Sow the seeds in the fall in a cold frame or greenhouse. Keep the soil moist and provide them with plenty of light. Germination can take several weeks or even months. Once the seedlings are large enough to handle, transplant them into individual pots. It may take several years for the plants to bloom.
What are some good companion plants for anemones?
Anemones pair well with other spring-blooming bulbs and perennials, such as:
* Tulips
* Daffodils
* Hyacinths
* Crocuses
* Forget-me-nots
* Primroses
* Pansies
These plants can create a beautiful and colorful display in your garden.


Leave a Comment