

Leather Couch Cleaning DIY: Is your once-pristine leather couch now sporting a collection of mysterious stains, sticky spots, and a general air of “well-loved”? Don’t despair! Before you resign yourself to hiding it under throws or, worse, replacing it altogether, I’m here to tell you that you can absolutely revive your beloved leather furniture with some simple, effective DIY cleaning techniques.
Leather furniture has been a symbol of luxury and comfort for centuries, gracing the homes of royalty and commoners alike. Its durability and timeless appeal make it a worthwhile investment, but let’s face it, life happens! Spills, crumbs, and everyday wear and tear are inevitable, and professional cleaning can be expensive.
That’s where this Leather Couch Cleaning DIY guide comes in. I’m going to share my favorite tried-and-true methods for tackling everything from minor scuffs to stubborn stains, using ingredients you probably already have in your pantry. Why spend a fortune on specialized cleaners when you can achieve amazing results with a little elbow grease and some clever hacks? I’ll walk you through the process step-by-step, ensuring your leather couch looks its best for years to come. Let’s get started and bring that leather back to life!
DIY Leather Couch Cleaning: Revive Your Leather Like a Pro!
Hey there, fellow DIY enthusiasts! Is your beloved leather couch looking a little…tired? Don’t despair! Before you even think about calling a professional (and emptying your wallet!), I’m going to walk you through a simple, effective, and budget-friendly way to clean your leather couch and bring back its luster. Trust me, with a little elbow grease and the right techniques, you can achieve amazing results.
What You’ll Need: Your Leather Cleaning Arsenal
Before we dive in, let’s gather our supplies. Having everything ready will make the process smooth and efficient. Here’s what you’ll need:
* Vacuum Cleaner with Upholstery Attachment: This is crucial for removing loose dirt and debris.
* Soft Microfiber Cloths (at least 3-4): Microfiber is gentle on leather and won’t scratch it.
* Distilled Water: Tap water can contain minerals that can damage leather over time.
* Mild Dish Soap (like Dawn): A tiny amount goes a long way. Avoid harsh detergents.
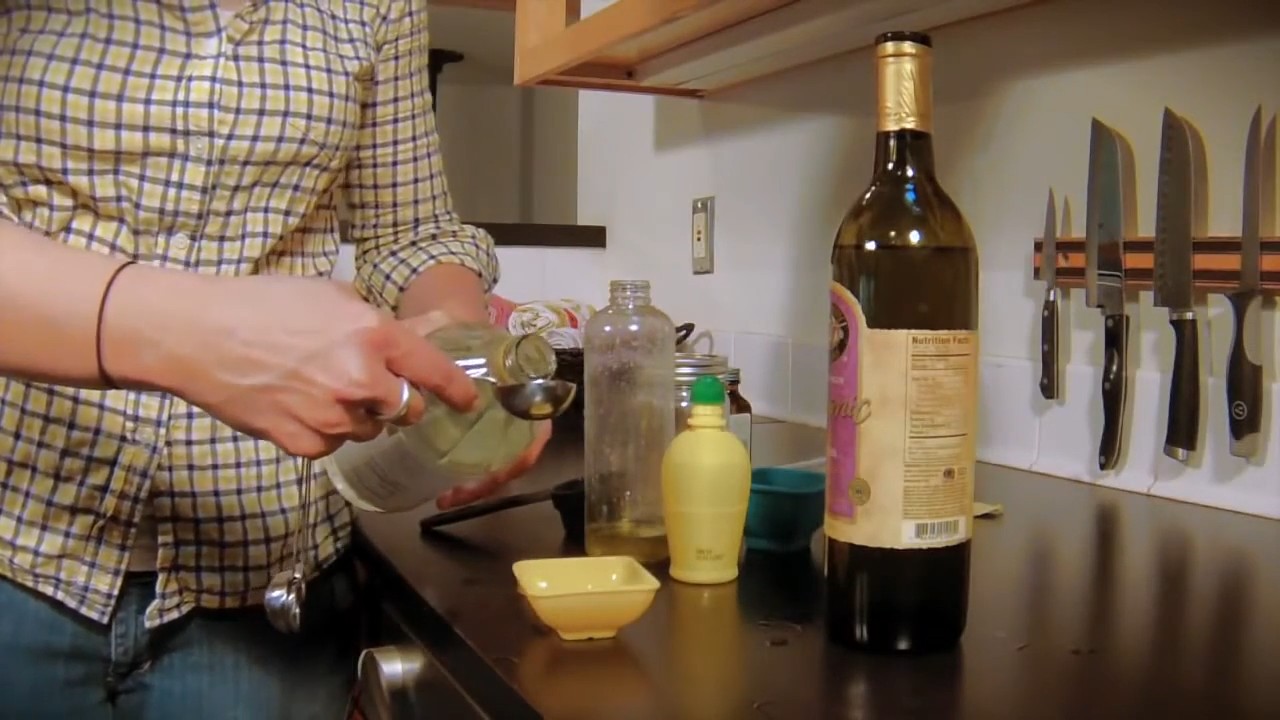
* White Vinegar (optional, for tougher stains): Use sparingly and test in an inconspicuous area first.
* Leather Conditioner: This is essential for replenishing the leather’s natural oils and preventing cracking.
* Spray Bottle: For applying the cleaning solution.
* Two Clean Buckets: One for the cleaning solution and one for rinsing your cloth.
* Old Towels: For drying the couch.
* Cotton Swabs: For cleaning tight crevices.
* Leather Cleaner (Optional): If you prefer a commercial product, choose one specifically designed for your type of leather. Always test in an inconspicuous area first.
Understanding Your Leather: A Quick Guide
Not all leather is created equal! Knowing what type of leather you have is crucial for choosing the right cleaning method. Here’s a brief overview:
* Aniline Leather (also called Pure Aniline or Full Aniline): This is the most natural and delicate type of leather. It has no protective coating, so it’s very susceptible to stains. It’s usually soft and supple.
* Semi-Aniline Leather: This type has a light protective coating, making it more resistant to stains than aniline leather but still relatively delicate.
* Protected Leather (also called Pigmented Leather or Top-Grain Leather): This is the most common type of leather used for furniture. It has a durable protective coating that makes it more resistant to stains and wear.
* Nubuck Leather (also called Suede Leather): This type of leather has a velvety surface. It’s very delicate and requires special cleaning products and techniques.
* Bonded Leather: This isn’t actually real leather, but rather scraps of leather bonded together. It’s less durable and requires gentle cleaning.
Important: If you’re unsure what type of leather you have, consult the manufacturer’s instructions or contact a professional cleaner. It’s always better to be safe than sorry!
Phase 1: Prepping Your Couch for Cleaning
Before we start cleaning, let’s get the couch ready. This will make the cleaning process more effective and prevent any accidental damage.
1. Vacuum Thoroughly: Use the upholstery attachment on your vacuum cleaner to remove all loose dirt, dust, crumbs, and pet hair from the entire couch, including the cushions, crevices, and under the cushions. Pay special attention to seams and areas where dirt tends to accumulate. I like to go over each area at least twice to make sure I get everything.
2. Identify Stains: Take a close look at your couch and identify any specific stains or problem areas. This will help you target those areas with the appropriate cleaning solution. Make a mental note of what kind of stain it is (water-based, oil-based, etc.) if you can.
3. Test Your Cleaning Solution: This is absolutely crucial! Before applying any cleaning solution to the entire couch, test it in an inconspicuous area, such as the back or under a cushion. Apply a small amount of the solution, let it sit for a few minutes, and then wipe it off with a clean cloth. Check for any discoloration, damage, or color transfer. If everything looks good, you can proceed with cleaning the rest of the couch.
Phase 2: Cleaning Your Leather Couch
Now for the main event! We’ll be using a gentle cleaning solution to remove dirt, grime, and light stains.
1. Prepare Your Cleaning Solution: In one of your clean buckets, mix a small amount of mild dish soap (about 1/4 teaspoon) with distilled water (about 1 gallon). Stir gently to create a sudsy solution. Avoid using too much soap, as it can leave a residue on the leather.
2. Dampen Your Microfiber Cloth: Dip a clean microfiber cloth into the cleaning solution, wring it out thoroughly so it’s damp but not soaking wet. You want to avoid getting the leather too wet.
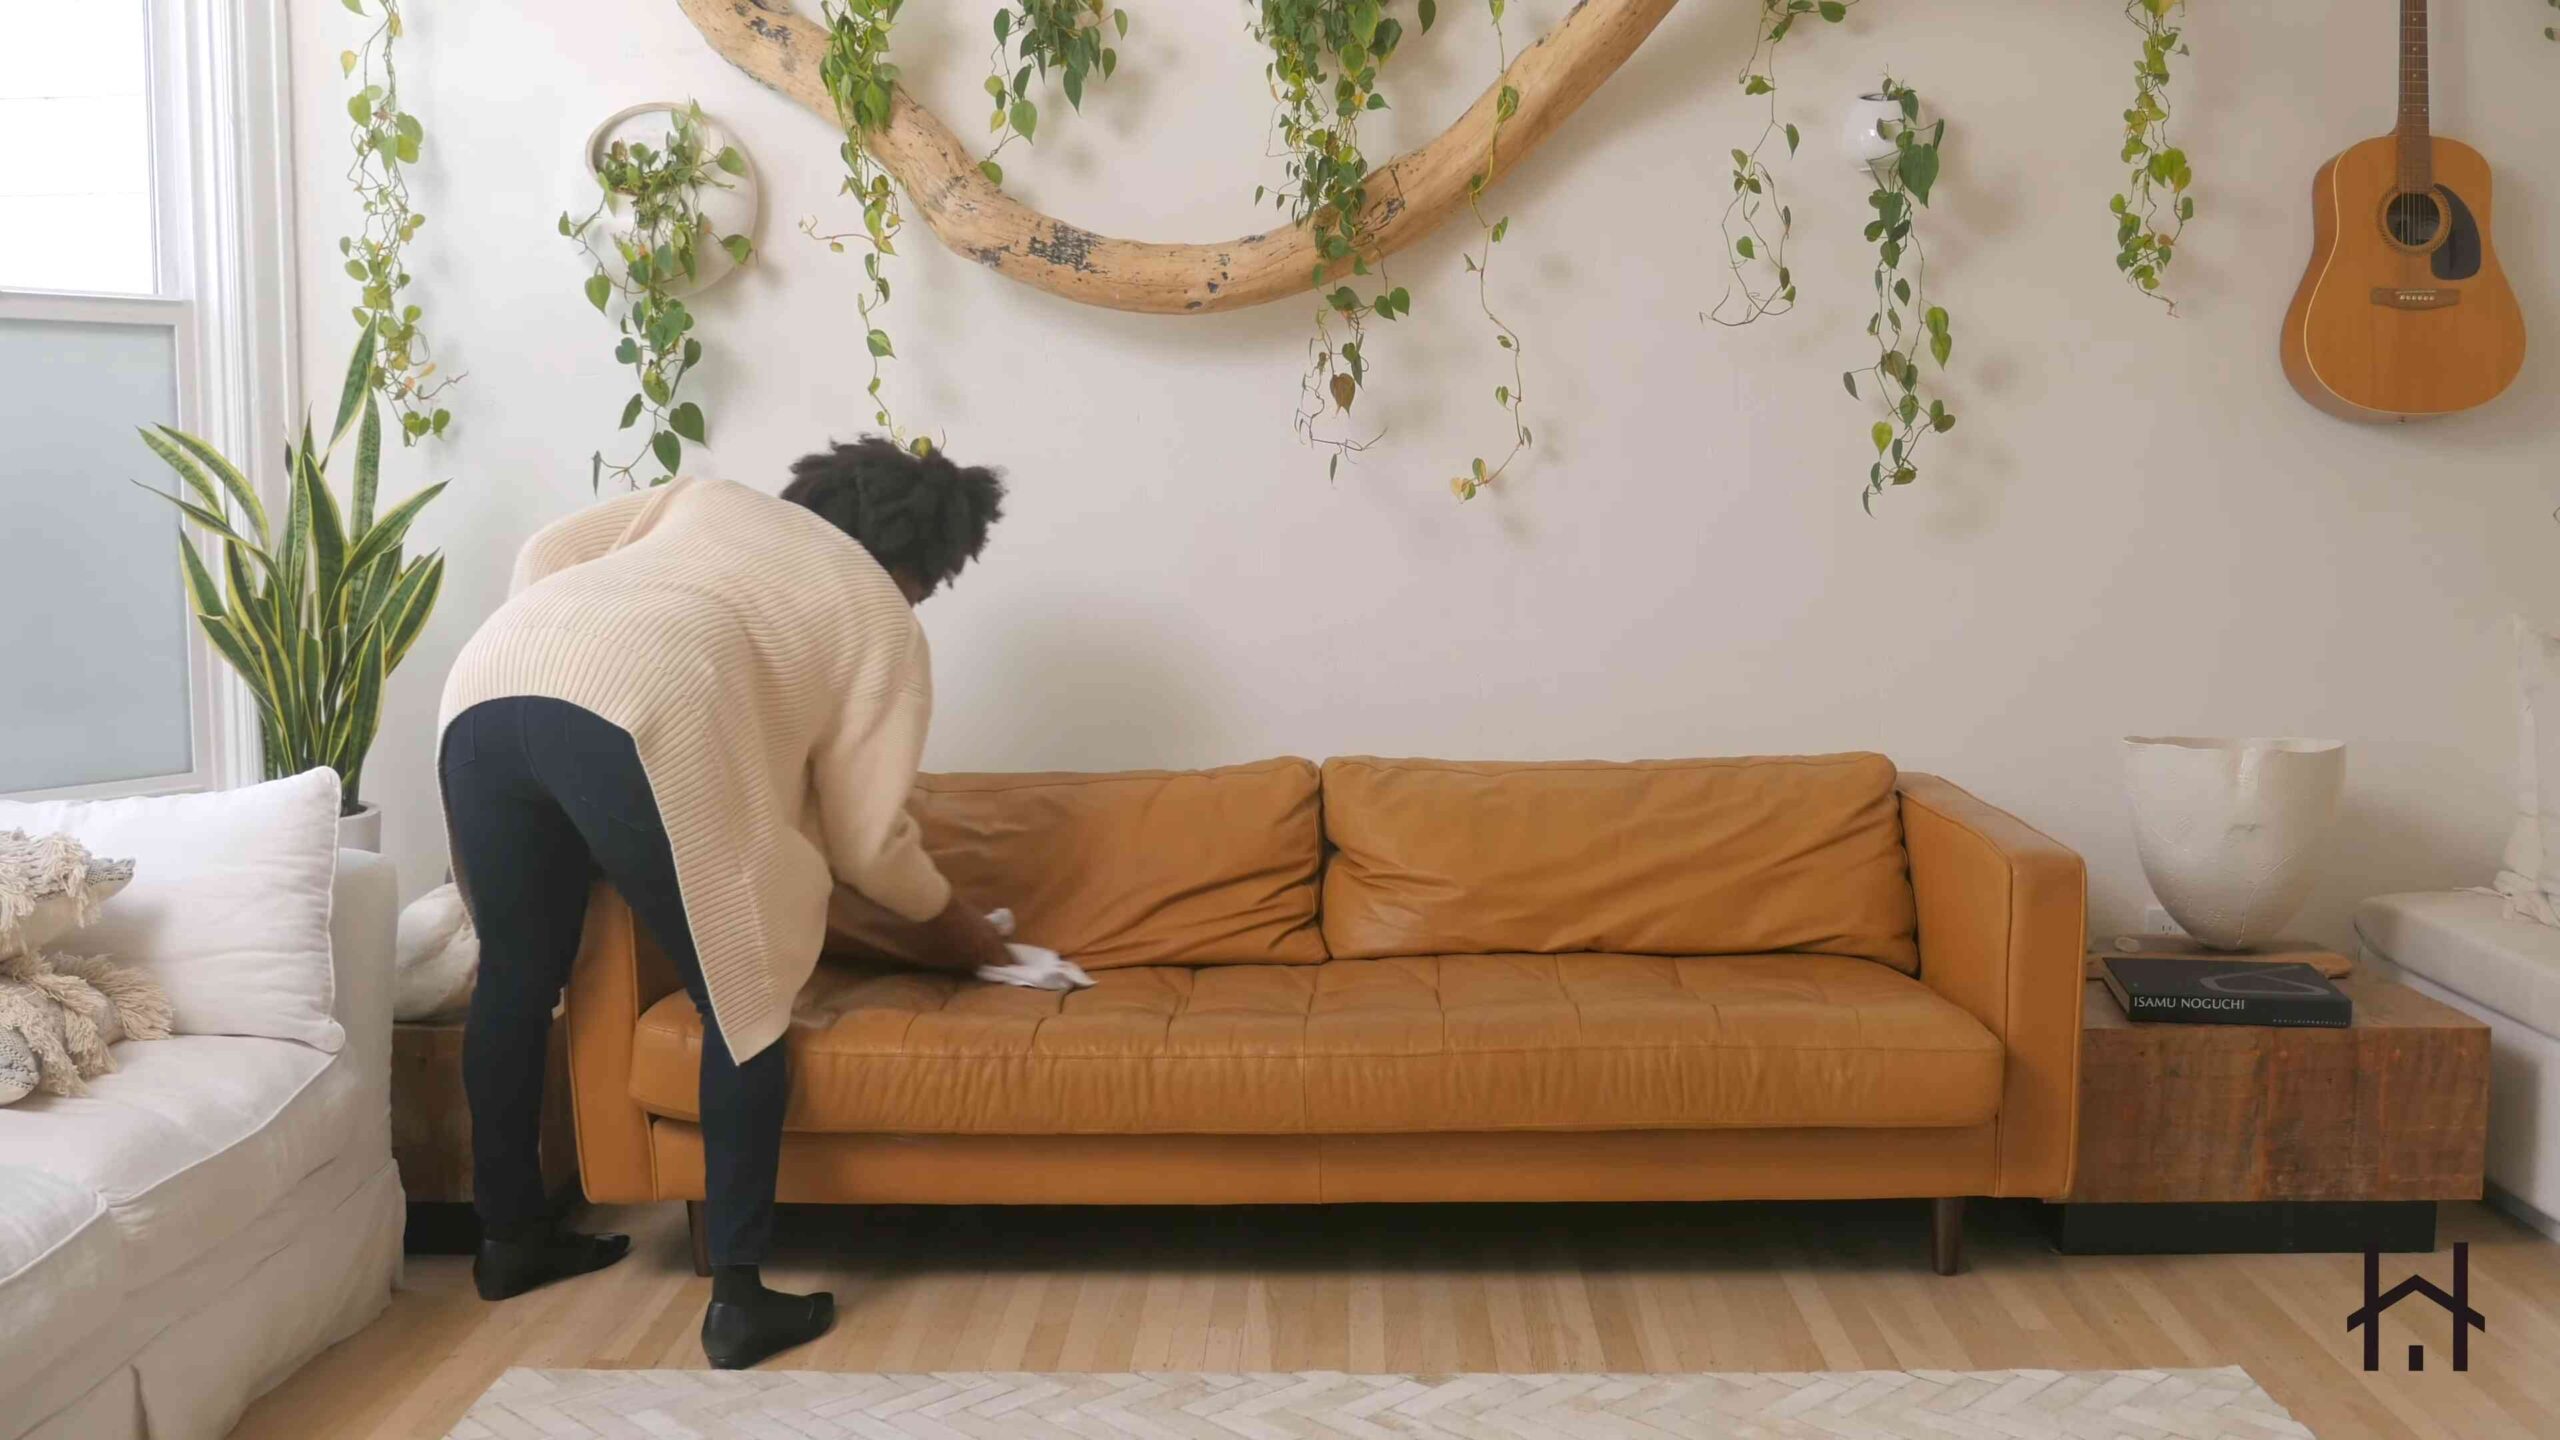
3. Wipe Down the Couch: Gently wipe down the entire surface of the couch with the damp microfiber cloth, working in small sections. Use a circular motion and avoid scrubbing too hard. Pay special attention to areas that are visibly dirty or stained.
4. Rinse Your Cloth Frequently: As you clean, rinse your microfiber cloth frequently in the second bucket of clean water. This will prevent you from spreading dirt and grime around. Wring out the cloth thoroughly after each rinse.
5. Dry with a Clean Towel: After wiping down a section of the couch, immediately dry it with a clean, dry towel. This will help prevent water spots and keep the leather from getting too wet.
6. Tackling Tougher Stains (Optional): If you have stubborn stains that aren’t coming off with the soap and water solution, you can try using a diluted white vinegar solution. Mix equal parts white vinegar and distilled water in a spray bottle. Lightly spray the stained area, let it sit for a few minutes, and then wipe it off with a clean, damp cloth. Always test the vinegar solution in an inconspicuous area first! For pen marks, you can try using rubbing alcohol on a cotton swab, but again, test first!
7. Clean Crevices with Cotton Swabs: Use cotton swabs dipped in the cleaning solution to clean tight crevices and hard-to-reach areas.
Phase 3: Conditioning Your Leather Couch
This is the most important step to maintain the health and beauty of your leather couch. Conditioning replenishes the leather’s natural oils, preventing it from drying out, cracking, and fading.
1. Choose a Leather Conditioner: Select a high-quality leather conditioner specifically designed for your type of leather. Read the product instructions carefully before applying.
2. Apply the Conditioner: Apply a small amount of leather conditioner to a clean microfiber cloth. Gently massage the conditioner into the leather, working in small sections. Use a circular motion and avoid applying too much conditioner at once.
3. Let it Absorb: Allow the conditioner to absorb into the leather for the amount of time recommended by the product instructions (usually 15-30 minutes).
4. Buff with a Clean Cloth: After the conditioner has absorbed, buff the couch with a clean, dry microfiber cloth to remove any excess conditioner and leave a smooth, even finish.
Extra Tips and Tricks for Leather Couch Care
* Regular Cleaning is Key: To keep your leather couch looking its best, vacuum it regularly (at least once a week) and wipe it down with a damp cloth every few weeks.
* Avoid Direct Sunlight: Direct sunlight can cause leather to fade and crack. Position your couch away from windows or use curtains or blinds to protect it.
* Protect from Heat: Keep your couch away from heat sources, such as radiators and fireplaces, as heat can dry out the leather.
* Use Leather Protector: Consider using a leather protector spray to help repel stains and protect the leather from wear and tear.
* Professional Cleaning: For deep cleaning or stubborn stains, consider hiring a professional leather cleaner.
* Act Fast on Spills: The sooner you address a spill, the easier it will be to clean. Blot up spills immediately with a clean, dry cloth. Avoid rubbing, as this can spread the stain.
* Avoid Harsh Chemicals: Never use harsh chemicals, such as bleach, ammonia, or solvents, on leather. These can damage the leather and cause discoloration.
* Test New Products: Always test any new cleaning products or conditioners in an inconspicuous area before applying them to the entire couch.
* Be Gentle: Leather is a delicate material, so be gentle when cleaning and conditioning it. Avoid scrubbing too hard or using abrasive materials.
* Read the Manufacturer’s Instructions: Always read and follow the manufacturer’s instructions for your leather couch and any cleaning products you use.
And there you have it! With these simple steps, you can keep your leather couch looking beautiful and feeling luxurious for years to come. Happy cleaning!
Conclusion
So, there you have it! This leather couch cleaning DIY method is more than just a quick fix; it’s a game-changer for maintaining the beauty and longevity of your beloved leather furniture. We’ve walked you through a simple, cost-effective, and surprisingly effective way to breathe new life into your couch, all without harsh chemicals or expensive professional services.
Why is this a must-try? Because it empowers you to take control of your furniture’s upkeep. You’re no longer at the mercy of stains, spills, or the gradual dulling that comes with everyday use. This DIY approach is gentle enough for regular maintenance, yet powerful enough to tackle those pesky marks that threaten to mar your couch’s appearance. Plus, you likely already have most of the necessary ingredients in your pantry! Think of the money you’ll save on professional cleaning or, worse, premature replacement of your couch.
But the best part? It’s adaptable! Feel free to experiment with variations to suit your specific needs and preferences. For instance, if you’re dealing with a particularly stubborn stain, consider pre-treating it with a paste of baking soda and water before applying the vinegar solution. For a deeper conditioning treatment, follow up the cleaning with a leather conditioner of your choice. You can even add a few drops of your favorite essential oil (like lemon or cedarwood) to the cleaning solution for a subtle, refreshing scent. Just be sure to test any new solution on an inconspicuous area first to ensure it doesn’t discolor the leather.
Don’t be intimidated by the thought of cleaning your leather couch yourself. This method is designed to be straightforward and user-friendly. The key is to be gentle, patient, and thorough. Remember to always blot, never rub, and to allow the leather to air dry completely.
We’re confident that once you try this leather couch cleaning DIY, you’ll be amazed by the results. Your couch will look cleaner, feel softer, and smell fresher. It’s a small investment of time and effort that yields significant returns in terms of the appearance and lifespan of your furniture.
Now, it’s your turn! We encourage you to give this DIY method a try and see the difference it can make. And most importantly, we want to hear about your experience! Share your before-and-after photos, tips, and any variations you’ve tried in the comments below. Let’s create a community of leather couch cleaning enthusiasts and help each other keep our furniture looking its best. Your insights could be invaluable to others who are just starting their leather cleaning journey. So, grab your supplies, roll up your sleeves, and get ready to transform your leather couch! We can’t wait to see your results!
Frequently Asked Questions (FAQ)
What type of leather is this DIY method suitable for?
This DIY cleaning method is generally safe for most types of finished leather, including aniline and semi-aniline leather. However, it’s crucial to avoid using it on nubuck or suede leather, as these types are much more delicate and require specialized cleaning products. Always test the solution on a hidden area of the couch first, such as the back or under a cushion, to ensure it doesn’t cause any discoloration or damage. If you’re unsure about the type of leather you have, consult the manufacturer’s instructions or a professional leather cleaner.
How often should I clean my leather couch using this method?
The frequency of cleaning depends on how often the couch is used and the level of soiling. For general maintenance, cleaning your leather couch every 1-2 months is usually sufficient. However, if you have pets or children, or if the couch is frequently exposed to spills or stains, you may need to clean it more often. Spot clean any spills or stains immediately to prevent them from setting in. Regular dusting and vacuuming with a soft brush attachment can also help to keep your leather couch clean and prevent the buildup of dirt and grime.
What if I have a stubborn stain that won’t come out with this method?
For stubborn stains, you can try pre-treating the area with a paste of baking soda and water. Apply the paste to the stain, let it sit for 15-20 minutes, and then gently wipe it away with a damp cloth. You can also try using a specialized leather stain remover, but be sure to test it on a hidden area first. Avoid using harsh chemicals or abrasive cleaners, as these can damage the leather. If the stain persists, it’s best to consult a professional leather cleaner.
Can I use this method on other leather items, such as chairs or car seats?
Yes, this DIY cleaning method can be used on other leather items, such as chairs, car seats, and even some leather clothing. However, it’s always a good idea to test the solution on a hidden area first to ensure it’s safe for the specific type of leather. The same precautions apply: avoid using it on nubuck or suede leather, and be gentle when cleaning.
What type of vinegar should I use?
White vinegar is the best option for cleaning leather, as it’s mild and doesn’t contain any dyes or additives that could stain the leather. Avoid using colored vinegar, such as apple cider vinegar, as it could potentially discolor the leather.
How do I prevent my leather couch from drying out after cleaning?
After cleaning your leather couch, it’s important to condition it to prevent it from drying out and cracking. Use a high-quality leather conditioner to moisturize the leather and keep it supple. Apply the conditioner according to the manufacturer’s instructions, and be sure to buff it in well. Regular conditioning will help to prolong the life of your leather couch and keep it looking its best.
What are some signs that my leather couch needs professional cleaning?
If your leather couch has deep stains, significant discoloration, or is showing signs of cracking or peeling, it’s best to consult a professional leather cleaner. They have the expertise and specialized equipment to safely and effectively clean and restore your leather furniture. Attempting to clean severely damaged leather yourself could potentially make the problem worse.
Is it safe to use a steam cleaner on my leather couch?
Generally, it is not recommended to use a steam cleaner on a leather couch. The high heat and moisture can damage the leather, causing it to dry out, crack, or even shrink. While some specialized steam cleaners may be designed for use on leather, it’s best to err on the side of caution and avoid using them unless specifically recommended by the manufacturer of your couch or a professional leather cleaner. The leather couch cleaning DIY method described above is a much safer and gentler alternative.


Leave a Comment