

Indoor Vegetable Tower: Imagine fresh, vibrant vegetables gracing your kitchen, not from a grocery store aisle, but grown right in your own home! For centuries, humans have cultivated gardens, from the hanging gardens of Babylon to the meticulously planned landscapes of Versailles. But what if you lack a sprawling backyard or even a sunny balcony? That’s where the magic of an indoor vegetable tower comes in.
This DIY project isn’t just about aesthetics; it’s about reclaiming control over your food source, reducing your carbon footprint, and enjoying the unparalleled taste of homegrown produce. In today’s world, where concerns about food security and the environmental impact of long-distance transportation are growing, having the ability to cultivate your own food, even on a small scale, is incredibly empowering.
I’m going to show you how to build your very own indoor vegetable tower. This guide will walk you through the process step-by-step, making it easy and fun. You’ll be amazed at how simple it is to create a thriving vertical garden that brings fresh flavors and a touch of nature into your home. Get ready to ditch those wilted store-bought veggies and embrace the joy of harvesting your own delicious, organically grown produce!
Build Your Own Amazing Indoor Vegetable Tower!
Hey there, fellow gardening enthusiasts! Are you dreaming of fresh, homegrown veggies but short on space? Well, I’ve got the perfect solution for you: an indoor vegetable tower! This DIY project is not only fun and rewarding, but it also allows you to grow a surprising amount of produce in a small footprint. I’m going to walk you through every step, so even if you’re a beginner, you can create your own thriving vertical garden.
What You’ll Need: The Essentials
Before we dive in, let’s gather our supplies. This is crucial for a smooth and enjoyable building experience. Trust me, running to the store mid-project is never fun!
* Piping Power:
* One 6-inch diameter PVC pipe (approximately 5-6 feet long). This will be the main structure of your tower.
* One 4-inch diameter PVC pipe (approximately 5-6 feet long). This will be the irrigation pipe running through the center.
* PVC pipe cutter or saw.
* Drilling and Cutting Tools:
* Drill with various sized drill bits (including a large hole saw bit, around 2-3 inches in diameter, depending on the size of your plants).
* Safety glasses (always protect your eyes!).
* Measuring tape or ruler.
* Marker or pen.
* Watering System Components:
* Submersible pump (small aquarium pump will do).
* Timer for the pump (optional, but highly recommended for consistent watering).
* Flexible tubing to connect the pump to the 4-inch PVC pipe.
* End cap for the bottom of the 4-inch PVC pipe.
* Growing Medium and Plants:
* Potting mix (a well-draining mix is essential).
* Small vegetable seedlings or seeds (lettuce, spinach, herbs, strawberries, and small peppers work well).
* Miscellaneous:
* Gravel or small rocks for drainage at the bottom of the tower.
* Zip ties or duct tape (for securing the irrigation tubing).
* Sandpaper (to smooth any rough edges after drilling).
* Water reservoir (a bucket or large container to hold the water for the pump).
* Gloves (to protect your hands).
Step-by-Step Construction: Let’s Get Building!
Okay, now for the fun part! Follow these steps carefully, and you’ll have your vegetable tower up and running in no time.
1. Prepare the 6-inch PVC Pipe: Marking the Planting Holes
This is where we create the openings for our plants. Take your time and measure carefully to ensure even spacing.
* Measure and Mark: Using your measuring tape and marker, mark the locations for your planting holes on the 6-inch PVC pipe. I recommend spacing them about 6-8 inches apart vertically and staggering them around the pipe for optimal sunlight exposure. Think about how much space each plant will need when it matures.
* Hole Size: The size of the holes will depend on the plants you intend to grow. For smaller plants like lettuce or herbs, a 2-inch hole is usually sufficient. For larger plants like strawberries or peppers, you might want to go with a 3-inch hole.
* Safety First: Always wear safety glasses when drilling or cutting PVC pipe.
2. Drilling the Planting Holes
Now, let’s make those holes!
* Pilot Holes: Before using the hole saw, drill a small pilot hole in the center of each marked circle. This will help guide the hole saw and prevent it from slipping.
* Use the Hole Saw: Attach the hole saw to your drill and carefully drill out each planting hole. Apply steady pressure and let the saw do the work. Avoid forcing it, as this can crack the PVC pipe.
* Smooth the Edges: After drilling, use sandpaper to smooth any rough edges around the holes. This will prevent damage to your plants’ stems.
3. Preparing the 4-inch PVC Pipe: The Irrigation System
This pipe will be the heart of our watering system.
* Drill Small Holes: Drill small holes (about 1/8 inch) along the length of the 4-inch PVC pipe. These holes will allow water to trickle out and irrigate the plants. Space the holes about 2-3 inches apart and stagger them around the pipe.
* Cap the Bottom: Attach the end cap to the bottom of the 4-inch PVC pipe. This will prevent water from leaking out.
4. Assembling the Tower: Putting It All Together
Time to bring all the components together!
* Insert the Irrigation Pipe: Carefully insert the 4-inch PVC pipe into the center of the 6-inch PVC pipe. Make sure the capped end is at the bottom.
* Positioning: Ensure the irrigation pipe is centered within the larger pipe. You might need to use some small rocks or gravel at the bottom to help stabilize it.
5. Setting Up the Watering System
Let’s get that water flowing!
* Place the Pump: Place the submersible pump in your water reservoir (bucket or container).
* Connect the Tubing: Connect the flexible tubing to the pump outlet.
* Run the Tubing: Run the tubing up through the 4-inch PVC pipe. Secure the tubing near the top of the pipe using zip ties or duct tape to prevent it from falling back down.
* Test the System: Fill the water reservoir with water and plug in the pump. Check to make sure water is flowing out of the small holes in the 4-inch PVC pipe. Adjust the pump’s flow rate if necessary.
* Timer (Optional): If you’re using a timer, set it to water the plants for a few minutes several times a day. This will ensure consistent moisture levels.
6. Adding the Growing Medium and Plants
The moment we’ve been waiting for!
* Drainage Layer: Add a layer of gravel or small rocks to the bottom of the 6-inch PVC pipe to improve drainage.
* Fill with Potting Mix: Fill the 6-inch PVC pipe with potting mix, leaving enough space at the top of each planting hole to accommodate your plants.
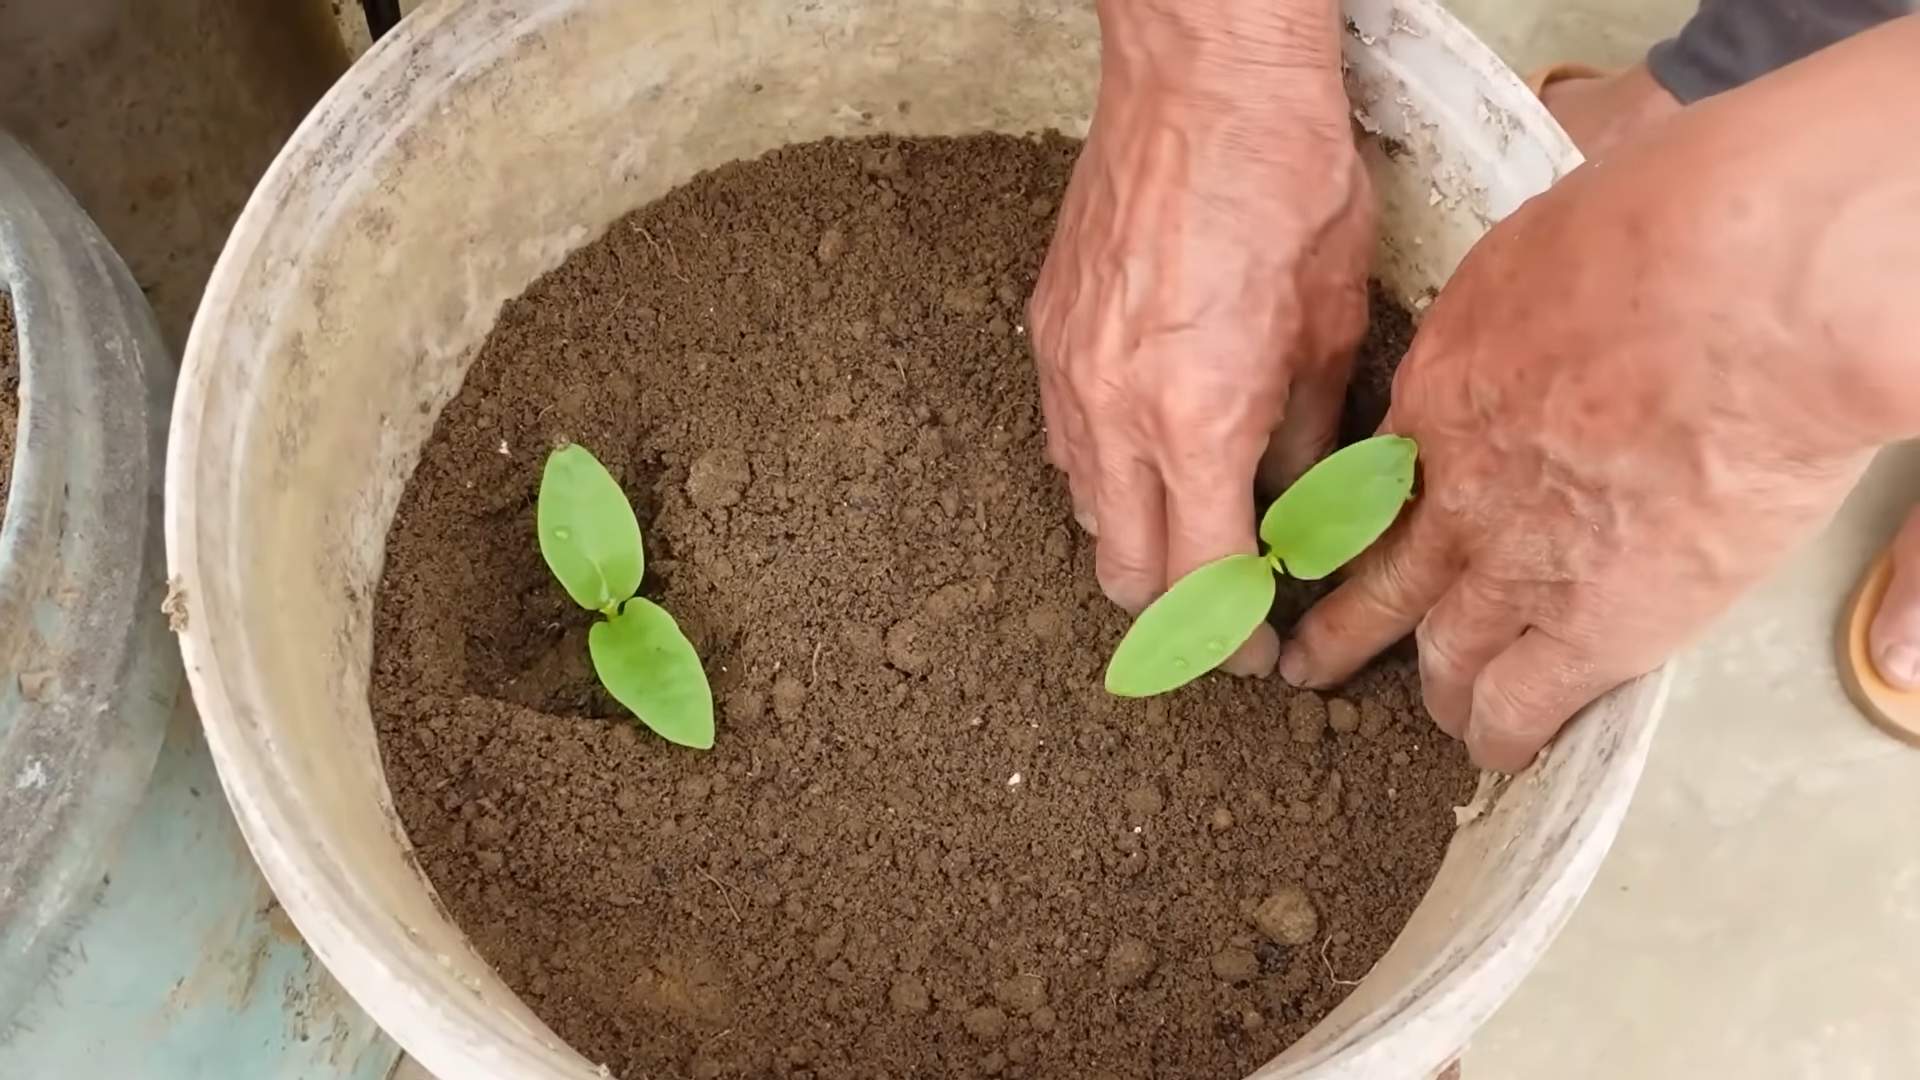
* Planting Time: Carefully plant your seedlings or seeds in the planting holes. Gently press the soil around the roots.
* Water Thoroughly: Water the plants thoroughly after planting.
Choosing the Right Plants: What Grows Best?
Not all vegetables are created equal when it comes to vertical gardening. Here are some of my favorite choices for an indoor vegetable tower:
* Lettuce and Spinach: These leafy greens are easy to grow and thrive in a vertical environment.
* Herbs: Basil, mint, parsley, and chives are all excellent choices for an indoor herb garden.
* Strawberries: Strawberries are surprisingly well-suited to vertical gardening.
* Small Peppers: Compact pepper varieties like chili peppers or bell peppers can also be grown in a vegetable tower.
* Cherry Tomatoes: While they can get a bit bushy, cherry tomatoes can be managed with regular pruning.
Maintaining Your Vegetable Tower: Keeping It Thriving
Once your tower is built and planted, it’s important to provide proper care to ensure a healthy and productive garden.
* Watering: Monitor the moisture levels in the soil and water as needed. The timer should help with this, but always check to make sure the soil isn’t too dry or too wet.
* Fertilizing: Feed your plants with a balanced liquid fertilizer every few weeks.
* Sunlight: Place your vegetable tower in a location that receives plenty of sunlight. If you don’t have enough natural light, you may need to supplement with grow lights.
* Pruning: Regularly prune your plants to encourage bushier growth and prevent them from becoming too leggy.
* Pest Control: Keep an eye out for pests and diseases. Treat any problems promptly with organic pest control methods.
* Rotation: Rotate your plants periodically to ensure even sunlight exposure.
Troubleshooting: Common Issues and Solutions
Even with the best care, you might encounter some challenges along the way. Here are a few common issues and how to address them:
* Yellowing Leaves: This could be a sign of overwatering, underwatering, or nutrient deficiency. Adjust your watering schedule and fertilize as needed.
* Leggy Growth: This is usually caused by insufficient sunlight. Move your tower to a sunnier location or supplement with grow lights.
* Pest Infestations: Treat pests with organic insecticides or insecticidal soap.
*
Conclusion
So, there you have it! Building your own indoor vegetable tower isn’t just a fun project; it’s a gateway to fresh, homegrown produce right in your home, regardless of the season or your outdoor space limitations. We’ve walked you through the process, highlighting the benefits and offering tips to ensure your success. But why is this DIY trick a must-try?
Firstly, consider the sheer convenience. Imagine stepping into your kitchen and snipping fresh herbs or plucking ripe cherry tomatoes for your salad, all without leaving the comfort of your home. No more last-minute grocery store runs or settling for wilted, flavorless produce. The taste difference alone is a game-changer. Homegrown vegetables, nurtured with your own care, boast a vibrancy and flavor that store-bought options simply can’t match.
Secondly, think about the environmental impact. By growing your own food, you’re reducing your carbon footprint associated with transportation, packaging, and storage. You’re also minimizing your reliance on pesticides and herbicides, contributing to a healthier ecosystem. Plus, it’s incredibly rewarding to know exactly where your food comes from and how it was grown.
Thirdly, an indoor vegetable tower is a fantastic way to add a touch of greenery and life to your living space. It’s a conversation starter, a beautiful focal point, and a constant reminder of the wonders of nature. It can brighten up even the dullest corner and create a calming, therapeutic atmosphere.
But the beauty of this project lies in its adaptability. Feel free to experiment with different materials and designs to suit your personal style and space constraints. For instance, you could use repurposed plastic bottles for a more eco-friendly approach, or opt for a tiered shelving system instead of a vertical tower. You can also customize the planting medium to suit the specific needs of your chosen vegetables. Consider adding a small, submersible pump to create a simple hydroponic system for even more efficient water and nutrient delivery.
Don’t limit yourself to just vegetables! Herbs like basil, mint, and chives thrive in indoor towers, as do strawberries and even dwarf varieties of peppers and eggplants. The possibilities are endless!
We encourage you to embrace your inner gardener and give this DIY indoor vegetable tower a try. It’s a rewarding project that offers numerous benefits, from fresh, delicious produce to a more sustainable lifestyle. And most importantly, have fun with it!
Once you’ve built your tower and started harvesting your bounty, we’d love to hear about your experience. Share your photos, tips, and challenges in the comments below. Let’s create a community of indoor gardeners and inspire each other to grow our own food, one tower at a time. Your success story could be the inspiration someone else needs to embark on their own gardening journey. So, get your hands dirty, nurture your plants, and enjoy the fruits (and vegetables!) of your labor. This **indoor vegetable tower** project is waiting for you!
Frequently Asked Questions (FAQ)
What are the best vegetables to grow in an indoor vegetable tower?
The best vegetables for an indoor vegetable tower are generally those that don’t require a lot of space for their root systems and can tolerate indoor conditions. Leafy greens like lettuce, spinach, kale, and arugula are excellent choices. Herbs such as basil, mint, chives, parsley, and oregano also thrive in towers. Cherry tomatoes, strawberries, and dwarf varieties of peppers and eggplants are also popular options. Consider the amount of light your tower receives when selecting your plants. Leafy greens generally require less light than fruiting vegetables.
How much light does my indoor vegetable tower need?
Most vegetables require at least 6-8 hours of sunlight per day. If you don’t have a sunny window, you’ll need to supplement with artificial lighting. LED grow lights are a great option because they are energy-efficient and provide the full spectrum of light that plants need. Position the lights close enough to the plants to provide adequate illumination, but not so close that they burn the leaves. A timer can be used to automate the lighting schedule.
What type of soil should I use in my indoor vegetable tower?
A well-draining potting mix is essential for indoor vegetable towers. Avoid using garden soil, as it can become compacted and doesn’t drain well. A good potting mix will contain ingredients like peat moss, perlite, and vermiculite. You can also add compost to provide nutrients. Consider using a soilless mix, such as coco coir, which is lightweight and retains moisture well. Ensure the potting mix is specifically formulated for container gardening.
How often should I water my indoor vegetable tower?
The frequency of watering will depend on the type of plants you’re growing, the size of your tower, and the environmental conditions. Check the soil moisture regularly by sticking your finger into the soil. If the top inch feels dry, it’s time to water. Water thoroughly until water drains out of the bottom of the tower. Avoid overwatering, as this can lead to root rot. Consider using a self-watering system or adding water-retaining crystals to the potting mix to help maintain consistent moisture levels.
How do I fertilize my indoor vegetable tower?
Vegetables grown in containers need regular fertilization. Use a balanced liquid fertilizer diluted to half strength. Fertilize every 2-4 weeks, depending on the needs of your plants. Look for a fertilizer specifically formulated for vegetables. You can also use organic fertilizers like compost tea or fish emulsion. Avoid over-fertilizing, as this can burn the roots.
How do I prevent pests and diseases in my indoor vegetable tower?
Prevention is key when it comes to pests and diseases. Inspect your plants regularly for signs of infestation or disease. Remove any affected leaves or plants immediately. Use organic pest control methods, such as insecticidal soap or neem oil, to treat infestations. Ensure good air circulation around your plants to prevent fungal diseases. Avoid overwatering, as this can create a favorable environment for disease.
Can I move my indoor vegetable tower outdoors during the summer?
Yes, you can move your indoor vegetable tower outdoors during the summer, but you’ll need to acclimate your plants gradually to the outdoor conditions. Start by placing the tower in a shady spot for a few hours each day, gradually increasing the amount of sunlight over a week or two. Be sure to protect your plants from strong winds and extreme temperatures. Monitor the soil moisture closely, as plants will dry out more quickly outdoors.
How do I choose the right size container for my indoor vegetable tower?
The size of the container will depend on the type of vegetables you plan to grow. Leafy greens and herbs can be grown in smaller containers, while larger vegetables like tomatoes and peppers will need more space. Choose containers that are at least 6-8 inches deep for leafy greens and herbs, and 12-18 inches deep for larger vegetables. Ensure the containers have drainage holes to prevent waterlogging.
What are some creative ideas for building an indoor vegetable tower?
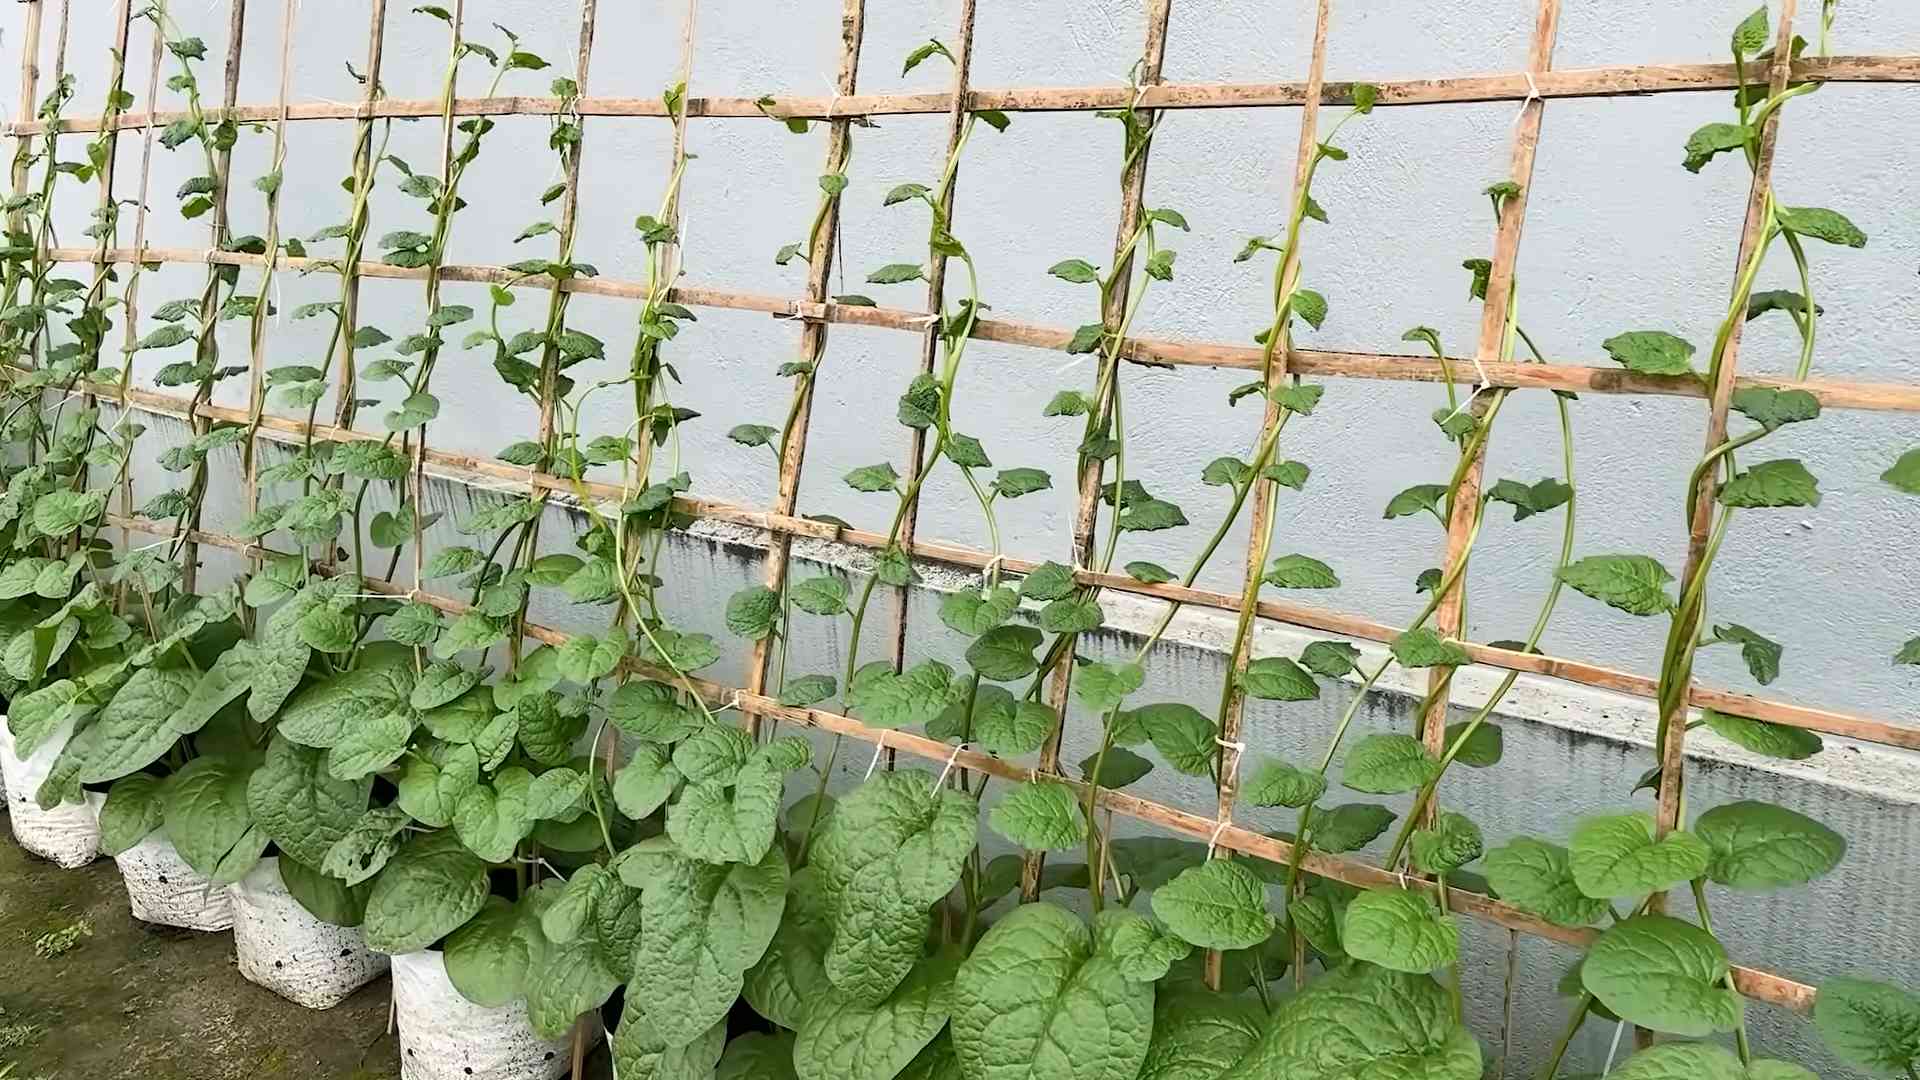
There are many creative ways to build an indoor vegetable tower. You can use repurposed materials like plastic bottles, pallets, or old tires. You can also build a tower using PVC pipes or wooden planks. Consider adding a vertical trellis to support climbing plants like tomatoes and cucumbers. Get creative with your design and personalize your tower to suit your style and space.
How do I harvest vegetables from my indoor vegetable tower?
Harvest vegetables when they are ripe and ready to eat. Leafy greens can be harvested by snipping off the outer leaves, allowing the inner leaves to continue growing. Herbs can be harvested by snipping off stems as needed. Tomatoes and peppers should be harvested when they are fully colored and slightly soft to the touch. Regular harvesting will encourage your plants to produce more vegetables.


Leave a Comment