

Indoor Spinach Growing: Imagine fresh, vibrant spinach gracing your plate, harvested just moments before from your very own indoor garden! Forget those limp, pre-packaged greens from the grocery store. This isn’t just a dream; it’s an achievable reality with a few simple tricks and DIY hacks.
For centuries, spinach has been a nutritional powerhouse, enjoyed by cultures worldwide. From its humble beginnings in ancient Persia to its starring role in Popeye cartoons, spinach has always been celebrated for its health benefits. But did you know you don’t need a sprawling outdoor garden to enjoy this leafy green?
In today’s fast-paced world, access to fresh, healthy produce can be a challenge. That’s where indoor spinach growing comes in! Whether you live in an apartment with limited space or simply want to enjoy fresh spinach year-round, this DIY guide will empower you to cultivate your own thriving indoor spinach patch. I’m going to show you how to bypass the weather and soil conditions that can hinder outdoor gardening, and bring the goodness of homegrown spinach right into your kitchen. Get ready to roll up your sleeves and discover the joy of harvesting your own delicious, nutrient-packed spinach, no matter the season!
Grow Your Own Spinach Indoors: A Beginner’s Guide
Hey there, fellow plant enthusiasts! Ever dreamed of having fresh, vibrant spinach right at your fingertips, no matter the season? Well, I’m here to tell you it’s totally achievable! Growing spinach indoors is surprisingly easy and rewarding. I’ve been doing it for a while now, and I’m excited to share my secrets with you. Let’s dive in!
What You’ll Need: The Essentials
Before we get our hands dirty, let’s gather everything we need. This will make the whole process smoother and more enjoyable.
* Spinach Seeds: Choose a variety that’s well-suited for indoor growing. I personally love ‘Baby’s Leaf Hybrid’ or ‘Space’ spinach. They germinate quickly and produce tender leaves.
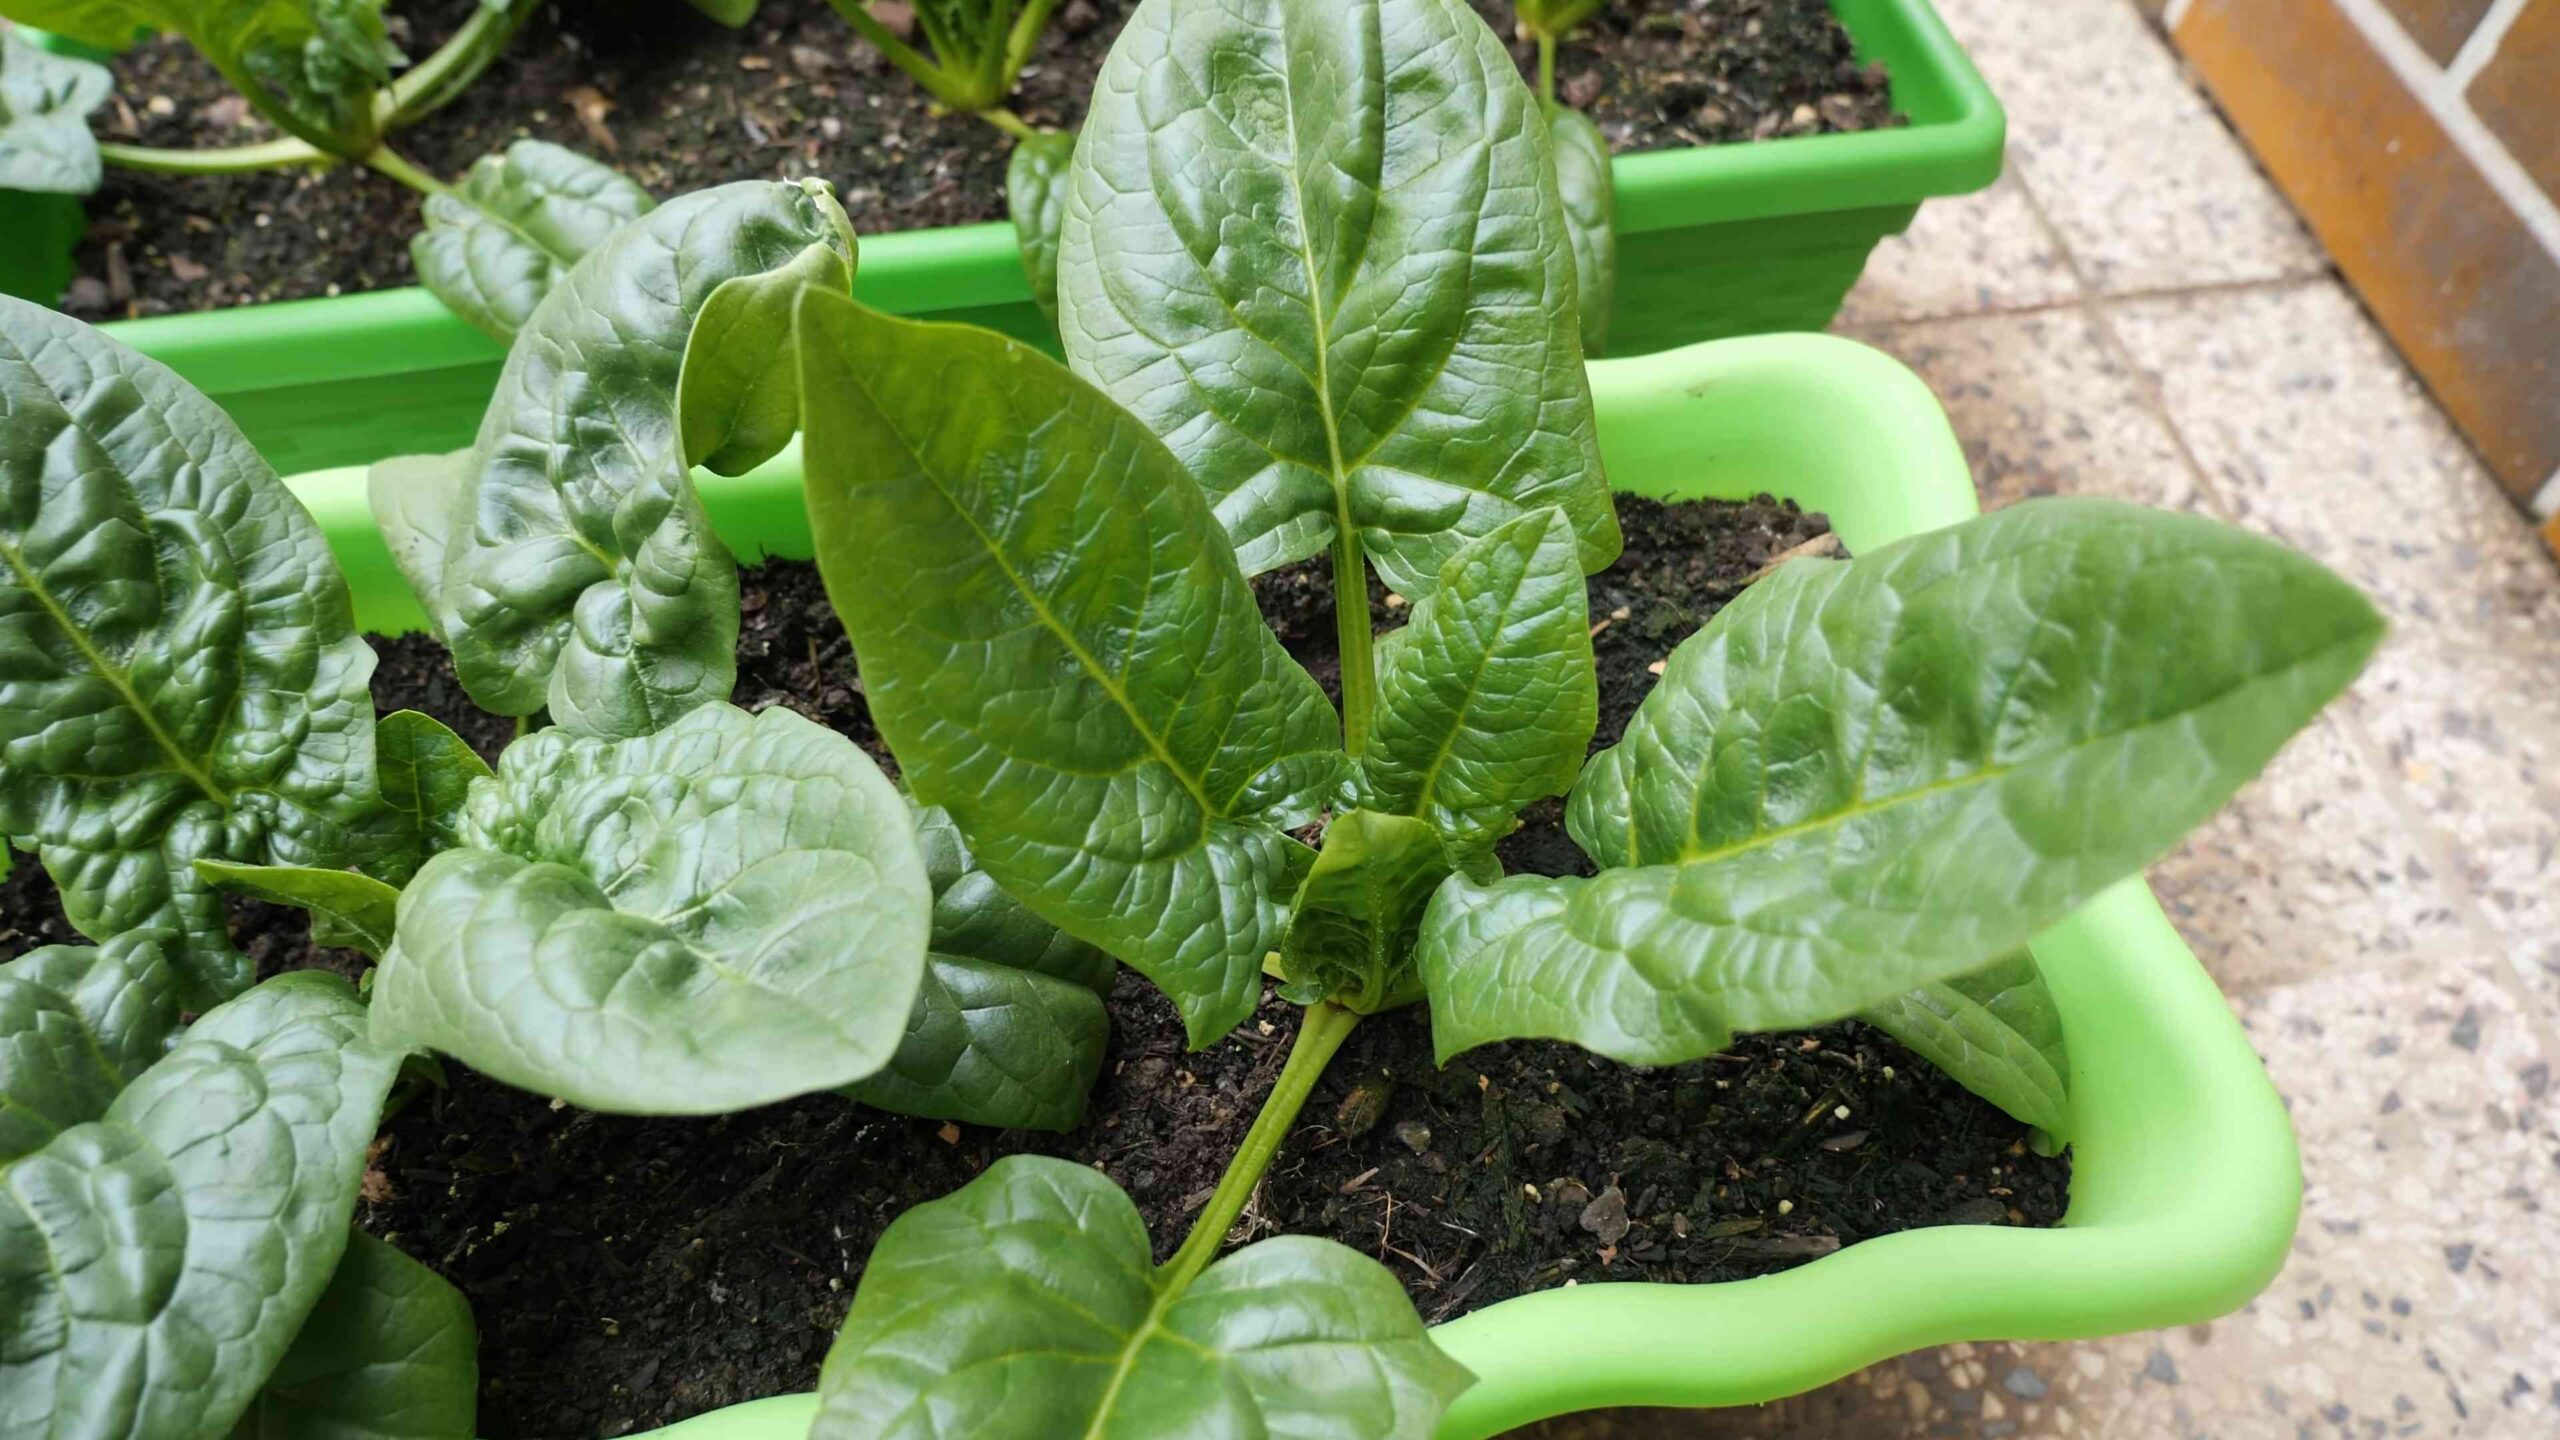
* Containers: You can use pots, containers, or even repurposed items like plastic tubs. Make sure they have drainage holes! I prefer containers that are at least 6 inches deep to give the roots plenty of room.
* Potting Mix: Don’t use garden soil! It’s too heavy and doesn’t drain well. Opt for a high-quality potting mix that’s specifically designed for containers. I like to use a mix that contains peat moss, perlite, and vermiculite.
* Grow Lights (Optional but Recommended): While spinach can tolerate some shade, it thrives under bright light. If you don’t have a sunny windowsill, invest in a grow light. LED grow lights are energy-efficient and work wonders.
* Watering Can or Spray Bottle: For gentle watering.
* Seed Starting Tray (Optional): If you prefer to start your seeds indoors before transplanting.
* Fertilizer (Optional): A balanced liquid fertilizer can help boost growth, but it’s not essential.
Getting Started: Planting Your Spinach Seeds
Now for the fun part! Let’s get those seeds in the soil.
1. Prepare Your Containers: Fill your containers with potting mix, leaving about an inch of space at the top. Gently pat down the soil to remove any air pockets.
2. Sow the Seeds: Sprinkle the spinach seeds evenly over the surface of the soil. Aim for about 2-3 seeds per inch.
3. Cover the Seeds: Lightly cover the seeds with about ¼ inch of potting mix.
4. Water Gently: Use a watering can or spray bottle to gently moisten the soil. Be careful not to overwater, as this can cause the seeds to rot.
5. Provide Light: Place your containers in a sunny windowsill or under a grow light. If using a grow light, position it about 6-12 inches above the soil surface.
6. Maintain Moisture: Keep the soil consistently moist, but not soggy. Check the soil moisture daily and water as needed.
Germination and Early Growth: Nurturing Your Seedlings
This is where patience comes in! It usually takes about 5-10 days for spinach seeds to germinate.
1. Monitor Germination: Keep an eye on your containers for signs of germination. Once the seedlings emerge, make sure they’re getting enough light.
2. Thin the Seedlings (If Necessary): If you planted your seeds too close together, you’ll need to thin them out. Once the seedlings have a few true leaves, carefully snip off the weaker ones at the soil line, leaving about 2-3 inches between plants. This will give the remaining plants enough room to grow.
3. Water Regularly: Continue to water your seedlings regularly, keeping the soil consistently moist.
4. Provide Adequate Light: Ensure your seedlings are getting at least 6 hours of bright light per day. If using a grow light, adjust the height as the plants grow.
5. Consider Fertilizing (Optional): If you want to give your seedlings a boost, you can start fertilizing them with a balanced liquid fertilizer diluted to half strength. Follow the instructions on the fertilizer label. I usually fertilize every 2-3 weeks.
Caring for Your Spinach: Maintaining Healthy Growth
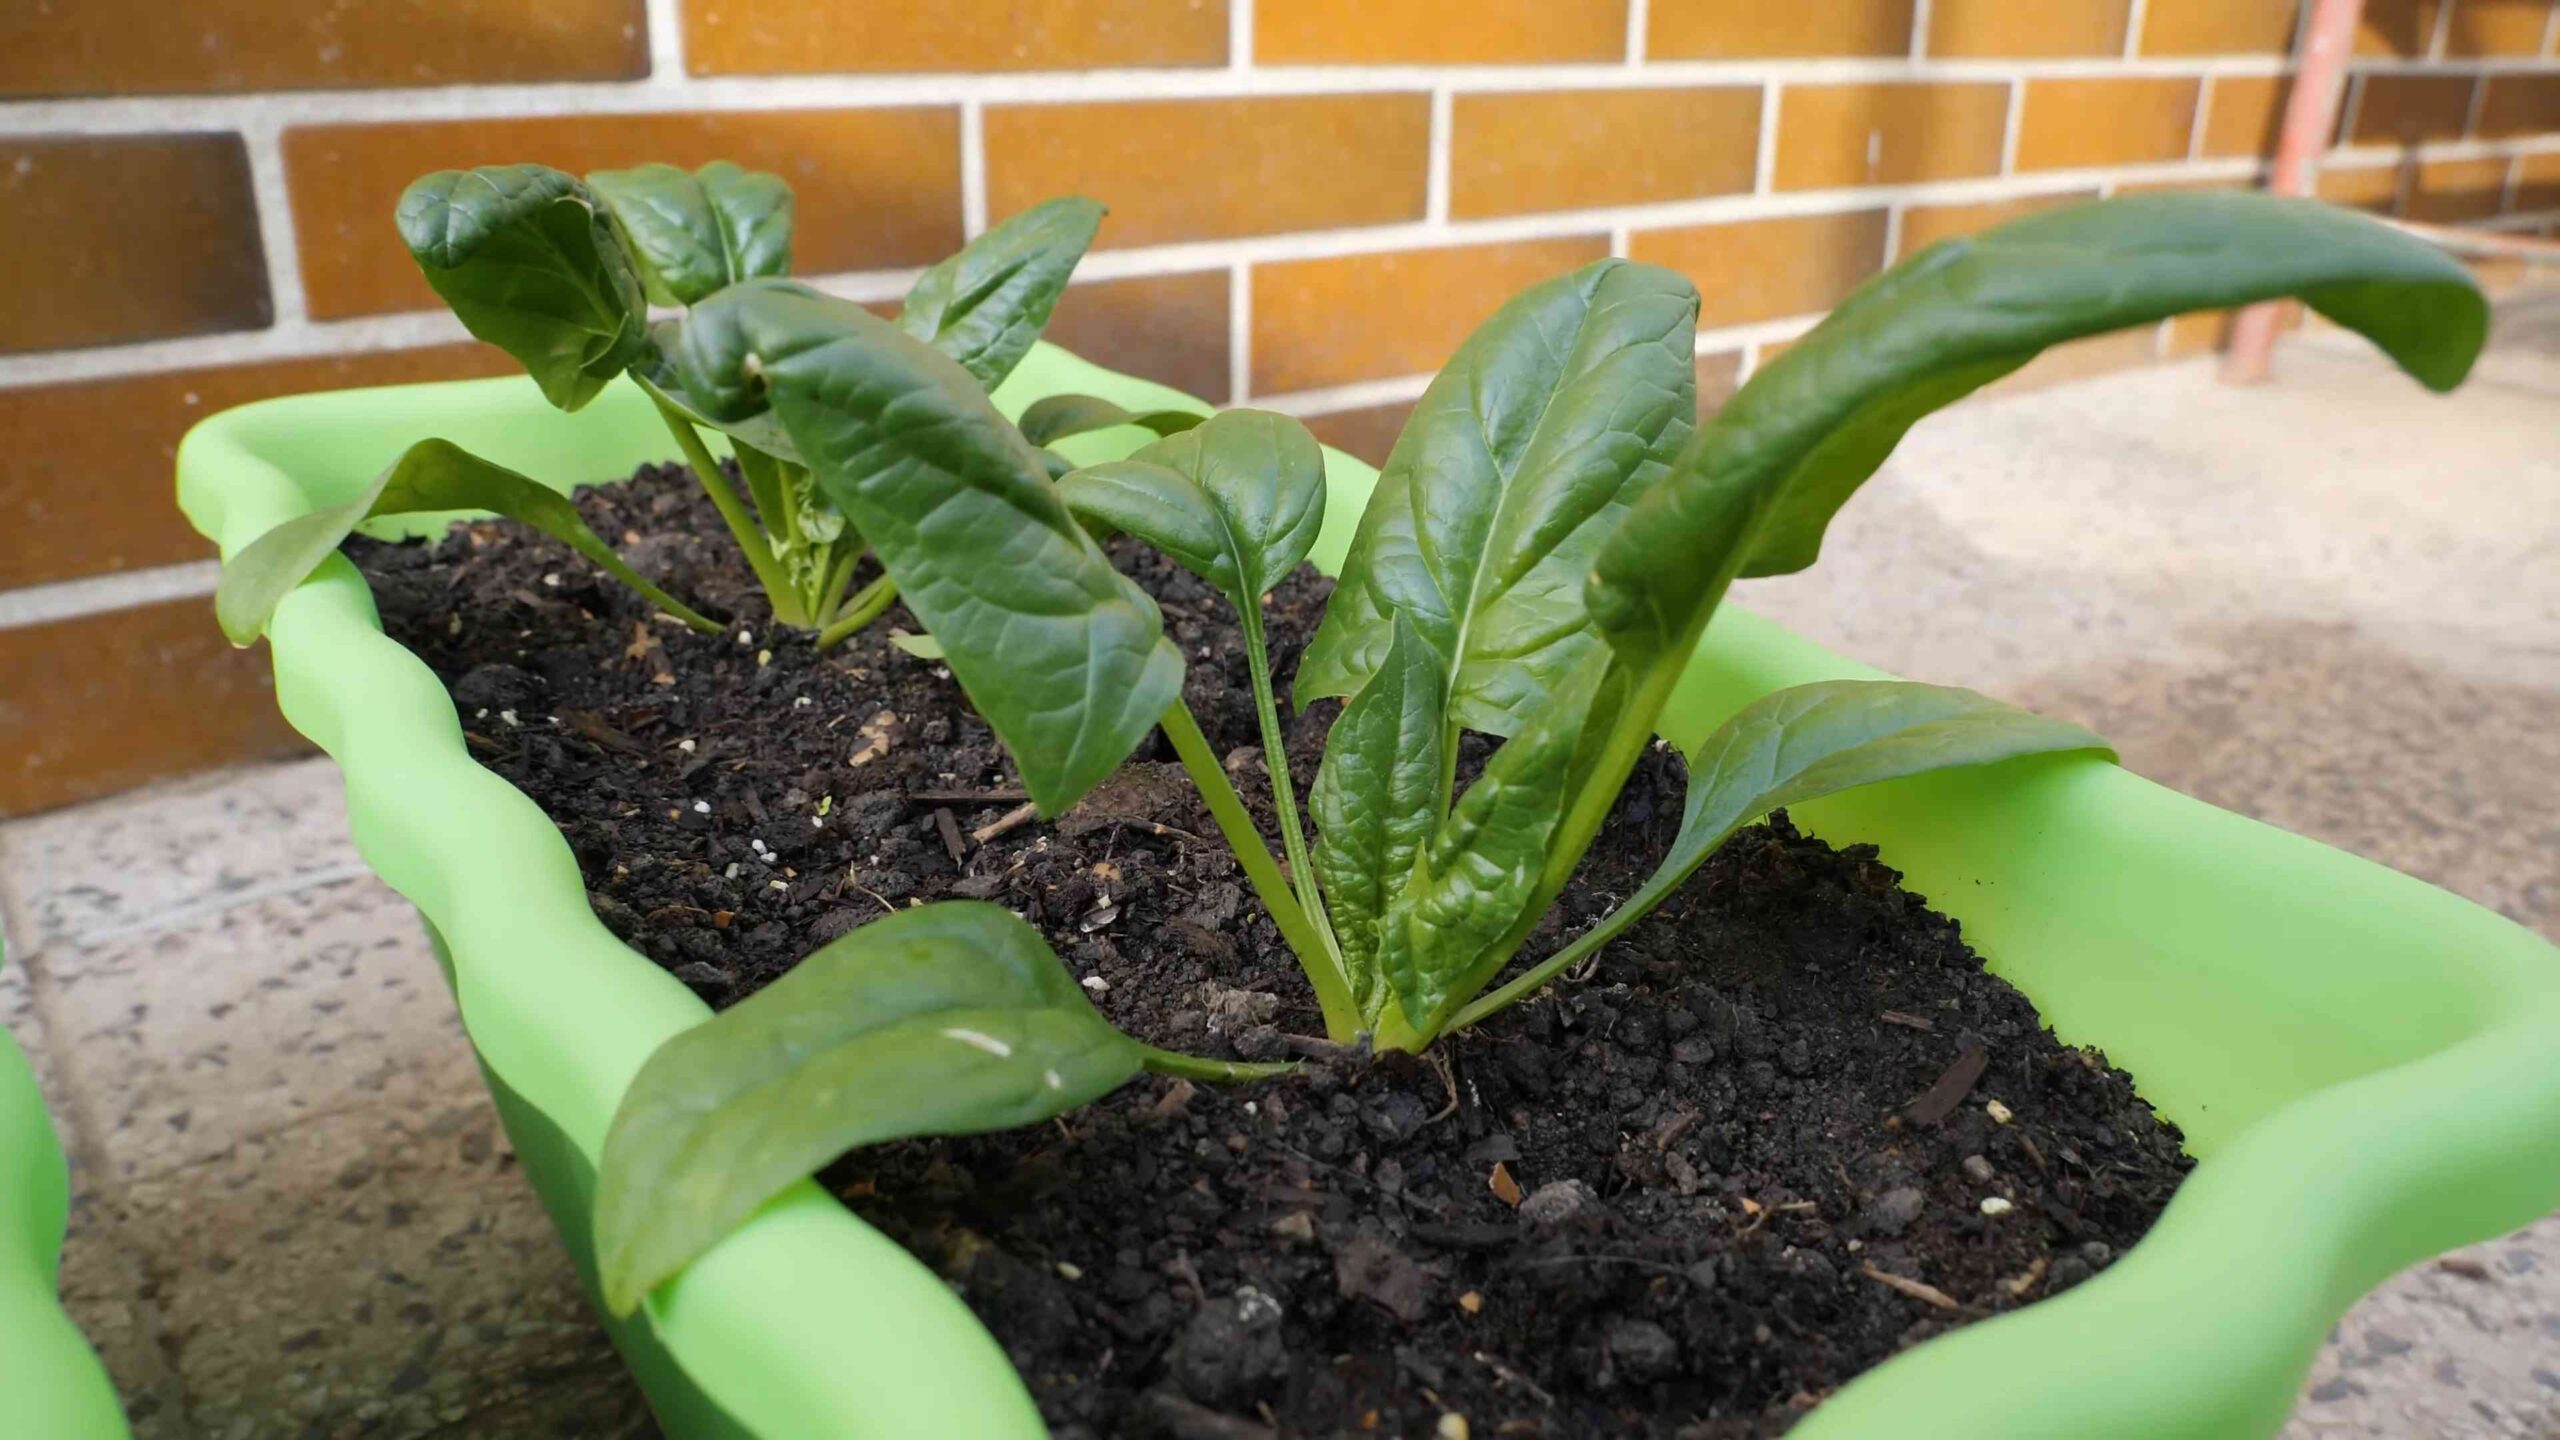
Once your spinach plants are established, it’s important to provide them with the right care to ensure healthy growth and a bountiful harvest.
1. Watering: Spinach needs consistent moisture, but avoid overwatering. Water deeply when the top inch of soil feels dry to the touch. Make sure your containers have good drainage to prevent root rot.
2. Lighting: Spinach thrives in bright light. If you’re growing it indoors, provide at least 6 hours of direct sunlight or 12-14 hours of artificial light per day. Rotate your containers regularly to ensure even growth.
3. Temperature: Spinach prefers cooler temperatures, ideally between 60-70°F (15-21°C). Avoid placing your plants near heat sources, such as radiators or vents.
4. Fertilizing: Spinach is a heavy feeder, so it benefits from regular fertilization. Use a balanced liquid fertilizer every 2-3 weeks, following the instructions on the label. You can also amend the soil with compost or other organic matter to provide essential nutrients.
5. Air Circulation: Good air circulation helps prevent fungal diseases. Ensure your plants have adequate space between them and consider using a small fan to circulate the air.
6. Pest Control: Indoor spinach is generally less susceptible to pests than outdoor spinach, but it’s still important to be vigilant. Check your plants regularly for signs of aphids, spider mites, or other pests. If you find any, you can try washing them off with a strong stream of water or using an insecticidal soap.
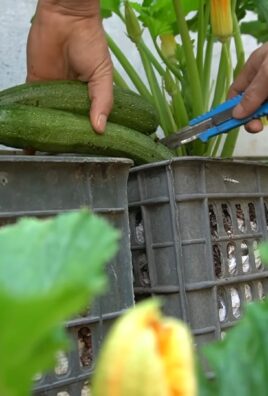
Harvesting Your Spinach: Enjoying the Fruits (or Leaves!) of Your Labor
The best part! You can start harvesting your spinach leaves as soon as they’re large enough to eat, usually about 4-6 weeks after planting.
1. Harvesting Individual Leaves: The easiest way to harvest spinach is to simply snip off the outer leaves as needed, leaving the inner leaves to continue growing. This is known as “cut and come again” harvesting.
2. Harvesting the Whole Plant: If you prefer, you can also harvest the entire plant at once. Simply cut the stem at the base of the plant.
3. Harvesting Time: Harvest spinach in the morning, when the leaves are crisp and cool.
4. Storage: Store your harvested spinach in the refrigerator in a plastic bag or container. It will keep for several days.
5. Successive Planting: To ensure a continuous supply of spinach, sow new seeds every 2-3 weeks. This is called successive planting.
Troubleshooting: Common Problems and Solutions
Even with the best care, you might encounter some problems along the way. Here are a few common issues and how to address them:
* Yellowing Leaves: This can be caused by overwatering, underwatering, nutrient deficiencies, or pests. Check the soil moisture, fertilize if necessary, and inspect your plants for pests.
* Leggy Growth: This is usually a sign of insufficient light. Provide more light or move your plants to a sunnier location.
* Slow Growth: This can be caused by cool temperatures, nutrient deficiencies, or poor soil. Ensure your plants are getting enough warmth, fertilize regularly, and use a high-quality potting mix.
* Pests: Aphids, spider mites, and other pests can attack spinach plants. Wash them off with water or use an insecticidal soap.
Choosing the Right Spinach Variety for Indoor Growing
Not all spinach varieties are created equal when it comes to indoor growing. Some are better suited for containers and indoor conditions than others. Here are a few of my favorite varieties for indoor spinach gardening:
* ‘Baby’s Leaf Hybrid’: This is a classic choice for baby spinach. It’s fast-growing, heat-tolerant, and produces tender, mild-flavored leaves.
* ‘Space’: This variety is known for its smooth, dark green leaves and excellent disease resistance. It’s also relatively slow to bolt, which means it won’t go to seed as quickly as some other varieties.
* ‘Tyee’: This is a semi-savoy spinach with thick, crinkled leaves. It’s very productive and has a good flavor.
* ‘Winter Bloomsdale’: This heirloom variety is known for its cold hardiness, making it a good choice for growing spinach indoors during the winter months.
Optimizing Your Indoor Spinach Garden
Want to take your indoor spinach growing to the next level? Here are a few tips to help you optimize your garden:
* Use a Self-Watering Container: Self-watering containers can help maintain consistent soil moisture, which is especially important for spinach.
* Add Worm Castings to the Soil: Worm castings are a natural fertilizer that can improve soil fertility and drainage.
* Use a Grow Tent: A grow tent can provide a controlled environment for your spinach plants,
Conclusion
So, there you have it! Growing your own spinach indoors is not only achievable, but it’s also incredibly rewarding. Forget those limp, pre-packaged greens from the grocery store. Imagine crisp, vibrant spinach leaves, bursting with flavor and nutrients, harvested fresh from your own home. This DIY approach to indoor spinach growing offers a sustainable and cost-effective way to enjoy this leafy green year-round, regardless of the weather outside.
We’ve walked you through the essential steps, from selecting the right container and soil to providing adequate light and water. Remember, patience is key. While spinach is relatively quick to grow, it still requires consistent care and attention. Don’t be discouraged if your first attempt isn’t perfect. Every gardener, even experienced ones, learns through trial and error.
But why is this DIY trick a must-try? Beyond the obvious benefits of fresh, organic produce, growing your own spinach connects you to the food you eat. It’s a mindful activity that can reduce stress and promote a sense of accomplishment. Plus, it’s a fantastic way to introduce children to the wonders of gardening and healthy eating habits.
Looking for variations? Consider experimenting with different spinach varieties. ‘Bloomsdale’ is a classic choice known for its crinkled leaves, while ‘Baby’s Leaf Hybrid’ is perfect for quick harvests. You can also try growing spinach in a hydroponic system for even faster results and reduced soil-borne diseases. Another fun variation is to interplant your spinach with other cool-season herbs like cilantro or parsley to create a mini indoor herb garden. If space is limited, vertical gardening solutions like stacked planters or hanging baskets can maximize your growing area.
Don’t be afraid to get creative with your setup. Use repurposed containers, build your own grow lights, or even create a small indoor greenhouse using plastic sheeting. The possibilities are endless!
We wholeheartedly encourage you to give this DIY trick a try. It’s a simple yet impactful way to improve your diet, connect with nature, and add a touch of green to your living space. Once you’ve harvested your first batch of homegrown spinach, you’ll be hooked!
We’re eager to hear about your experiences. Share your photos, tips, and challenges in the comments below. Let’s build a community of indoor spinach growers and inspire others to embrace this rewarding hobby. What lighting setup worked best for you? Did you encounter any pests or diseases, and how did you address them? Your insights can help others succeed in their own indoor spinach growing endeavors. Happy growing!
Frequently Asked Questions (FAQ)
What is the best type of spinach to grow indoors?
While many spinach varieties can be grown indoors, some are better suited than others. ‘Baby’s Leaf Hybrid’ is a popular choice due to its fast growth and compact size. ‘Bloomsdale’ is another excellent option, known for its robust flavor and crinkled leaves. ‘Space’ spinach is also a good choice as it is disease resistant. Ultimately, the best variety depends on your personal preferences and growing conditions. Consider factors like leaf texture, flavor, and disease resistance when making your selection. Experimenting with different varieties is a great way to discover your favorite.
How much light does indoor spinach need?
Spinach requires ample light to thrive indoors. Ideally, it needs at least 6-8 hours of direct sunlight per day. If you don’t have a sunny windowsill, you’ll need to supplement with artificial grow lights. Fluorescent or LED grow lights are excellent choices. Position the lights a few inches above the spinach plants and adjust the height as they grow. Insufficient light can lead to leggy growth and pale leaves. Observe your plants closely and adjust the lighting as needed to ensure they receive adequate illumination. A timer can be used to automate the lighting schedule.
What type of soil is best for growing spinach indoors?
Spinach prefers well-draining soil that is rich in organic matter. A good potting mix specifically formulated for vegetables is ideal. You can also create your own mix by combining equal parts of potting soil, compost, and perlite or vermiculite. The compost provides essential nutrients, while the perlite or vermiculite improves drainage and aeration. Avoid using garden soil, as it can be too heavy and may contain pests or diseases. Ensure the soil pH is slightly acidic to neutral, around 6.0 to 7.0.
How often should I water my indoor spinach plants?
Water your spinach plants regularly, keeping the soil consistently moist but not waterlogged. Check the soil moisture by inserting your finger about an inch deep. If the soil feels dry, it’s time to water. Avoid overwatering, as this can lead to root rot. Water deeply, allowing the excess water to drain out of the bottom of the container. During warmer months, you may need to water more frequently. Consider using a self-watering container to help maintain consistent moisture levels.
How do I fertilize my indoor spinach plants?
Spinach is a heavy feeder and benefits from regular fertilization. Use a balanced liquid fertilizer diluted to half strength every two to three weeks. Look for a fertilizer with a higher nitrogen content to promote leafy growth. Alternatively, you can amend the soil with compost or worm castings at planting time. Avoid over-fertilizing, as this can lead to excessive salt buildup in the soil. Monitor your plants for signs of nutrient deficiencies, such as yellowing leaves, and adjust your fertilization schedule accordingly.
How long does it take for spinach to grow indoors?
Spinach is a relatively fast-growing crop. You can typically harvest your first leaves in about 4-6 weeks after planting. Baby spinach leaves can be harvested even sooner, around 3-4 weeks. Continue harvesting leaves as needed, leaving the central crown intact to allow for continued growth. Succession planting, where you sow new seeds every few weeks, will ensure a continuous supply of fresh spinach.
What are some common pests and diseases that affect indoor spinach?
While indoor spinach is less susceptible to pests and diseases than outdoor crops, it’s still important to be vigilant. Common pests include aphids, spider mites, and whiteflies. These can be controlled with insecticidal soap or neem oil. Diseases such as powdery mildew and downy mildew can also affect spinach. Ensure good air circulation and avoid overwatering to prevent these diseases. Remove any infected leaves promptly to prevent the spread of disease.
Can I grow spinach indoors year-round?
Yes, you can grow spinach indoors year-round with proper care and attention. Providing adequate light, water, and nutrients is essential for success. During the winter months, you may need to supplement with artificial grow lights to compensate for shorter days. Maintaining a consistent temperature is also important. Spinach prefers cooler temperatures, around 60-70°F (15-21°C).
How do I harvest spinach leaves?
Harvest spinach leaves by snipping them off at the base of the plant with scissors or garden shears. Start with the outer leaves, leaving the inner leaves to continue growing. You can harvest individual leaves as needed or harvest the entire plant at once. Wash the harvested leaves thoroughly before using them in salads, smoothies, or cooked dishes.
What are some creative ways to use my homegrown spinach?
The possibilities are endless! Enjoy it fresh in salads, smoothies, or sandwiches. Sauté it with garlic and olive oil for a simple side dish. Add it to soups, stews, or pasta dishes. Use it as a filling for omelets, quiches, or ravioli. Blend it into pesto or dips. You can even use it to make spinach chips or spinach bread. Get creative and experiment with different recipes to discover your favorite ways to enjoy your homegrown spinach.


Leave a Comment