

Home gardening tricks – who doesn’t dream of a flourishing garden, bursting with vibrant colors and delicious homegrown goodies? But let’s be honest, sometimes our green thumbs feel a little…brown. You’re not alone! Many of us struggle to create the garden oasis we envision, often feeling overwhelmed by the perceived complexity and cost.
Gardening has been a part of human culture for millennia, evolving from a necessity for survival to a beloved pastime. From the Hanging Gardens of Babylon to the meticulously manicured gardens of Versailles, humans have always sought to cultivate beauty and sustenance from the earth. But you don’t need royal resources to create your own little paradise!
That’s where these DIY home gardening tricks come in. I’m here to share some simple, affordable, and incredibly effective hacks that will transform your gardening experience. Forget expensive tools and complicated techniques. We’re talking about clever solutions using everyday items and a little bit of ingenuity.
Why do you need these tricks? Because gardening should be enjoyable, not stressful! These tips will help you save time, money, and effort, allowing you to focus on the joy of nurturing your plants and reaping the rewards of your labor. Get ready to unlock your inner gardener and create the thriving garden you’ve always wanted!
DIY Under-Bed Storage Boxes: Maximize Your Space!
Hey everyone! I’m so excited to share one of my favorite DIY projects with you: creating custom under-bed storage boxes. If you’re anything like me, you’re always looking for ways to maximize space, especially in smaller homes or apartments. These boxes are a game-changer for storing seasonal clothes, extra bedding, shoes, or anything else that tends to clutter up your closets. Plus, they’re surprisingly easy and affordable to make!
Materials You’ll Need:
Before we dive in, let’s gather our supplies. Here’s what you’ll need:
* Plywood: I recommend using ½-inch plywood for the base and sides. The amount you need will depend on the size of your bed and how many boxes you want to make. Measure the space under your bed carefully before buying!
* Pine Boards: These will be used for the frame around the top of the box, adding strength and a finished look. 1×4 pine boards are a good choice.
* Casters (Wheels): Choose sturdy casters that can handle the weight of your stored items. I prefer swivel casters for easy maneuverability. Make sure they are low profile enough to fit under your bed with the box.
* Wood Glue: A strong wood glue is essential for creating durable joints.
* Screws: Use wood screws of appropriate length for attaching the sides and frame. I usually go with 1 ¼ inch screws.
* Sandpaper: You’ll need sandpaper in various grits (e.g., 80, 120, 220) for smoothing the wood.
* Primer and Paint (or Stain and Sealer): Choose your desired finish to match your bedroom decor.
* Handles or Knobs: These will make it easier to pull the boxes out from under the bed.
* Measuring Tape: Accurate measurements are crucial for a successful project.
* Pencil: For marking your cuts.
* Saw: A circular saw or table saw is ideal for cutting the plywood and pine boards. A hand saw will work, but it will take longer.
* Drill: You’ll need a drill for pre-drilling screw holes and attaching the casters and handles.
* Screwdriver: For driving in the screws.
* Clamps: Clamps will help hold the pieces together while the glue dries.
* Safety Glasses: Always protect your eyes when working with power tools.
* Dust Mask: Protect your lungs from sawdust.
* Optional: Wood filler for filling any gaps or imperfections.
Planning and Measuring: The Key to Success
This is arguably the most important step! Rushing this can lead to headaches later.
1. Measure the Under-Bed Space: Carefully measure the height, width, and depth of the space under your bed. Subtract the height of the casters to determine the maximum height of your boxes. Remember to account for any obstructions, like bed frame supports. I always measure in multiple places, just to be sure the space is consistent.
2. Decide on the Number of Boxes: Determine how many boxes you want to make. Consider the size of the items you plan to store and how easily you want to access them. I find that two or three boxes work well for a queen-sized bed.
3. Calculate the Dimensions of Each Box: Divide the total width and depth of the under-bed space by the number of boxes to determine the dimensions of each box. Remember to leave a little wiggle room for easy sliding. I usually subtract about an inch from each dimension.
4. Create a Cutting List: Based on your calculated dimensions, create a detailed cutting list for all the plywood and pine boards you’ll need. This will help you stay organized and minimize waste. For each box, you’ll need:
* One plywood base
* Two plywood side pieces
* Two plywood end pieces
* Four pine frame pieces
Building the Boxes: Step-by-Step Instructions
Now for the fun part! Let’s start building those storage boxes.
1. Cut the Plywood and Pine Boards: Using your cutting list, carefully cut all the plywood and pine boards to the correct dimensions. Be sure to wear safety glasses and a dust mask. I always double-check my measurements before making any cuts.
2. Sand the Edges: Sand all the edges of the plywood and pine boards to remove any splinters or rough spots. Start with a coarser grit sandpaper (e.g., 80) and gradually move to a finer grit (e.g., 120 or 220) for a smooth finish.
3. Assemble the Box Sides: Apply wood glue to the edges of the plywood side and end pieces. Then, clamp them together to form a rectangular box. Make sure the corners are square. I use a carpenter’s square to check this.
4. Secure with Screws: Once the glue has dried for at least 30 minutes, pre-drill holes and drive screws through the side pieces into the end pieces to reinforce the joints. Space the screws evenly along the edges.
5. Attach the Base: Apply wood glue to the bottom edges of the assembled box. Then, carefully position the box on top of the plywood base. Clamp the box to the base and secure with screws. Again, pre-drill holes to prevent the wood from splitting.
6. Build the Frame: Cut the pine boards to create a frame that will fit around the top of the box. The frame should overhang the box slightly to create a lip.
7. Attach the Frame: Apply wood glue to the top edges of the box. Then, position the pine frame pieces on top of the box, ensuring they are flush with the edges. Clamp the frame to the box and secure with screws.
8. Fill Gaps (Optional): If there are any gaps or imperfections in the joints, fill them with wood filler. Let the wood filler dry completely and then sand it smooth.
9. Sand the Entire Box: Sand the entire box to create a smooth surface for painting or staining. Pay special attention to the edges and corners.
10. Prime and Paint (or Stain and Seal): Apply a coat of primer to the entire box. Let the primer dry completely and then sand it lightly. Then, apply two coats of paint or stain, allowing each coat to dry completely before applying the next. If you’re using stain, follow it with a coat of sealer to protect the wood. I usually choose a semi-gloss paint for easy cleaning.
11. Attach the Casters: Turn the box upside down and attach the casters to the bottom corners. Pre-drill holes and secure the casters with screws. Make sure the casters are evenly spaced and securely attached.
12. Attach the Handles or Knobs: Attach the handles or knobs to the front of the box. Position them in the center of the front panel and secure them with screws.
13. Repeat for Remaining Boxes: Repeat steps 3-12 for the remaining boxes.
Finishing Touches and Tips
Almost there! Here are a few extra tips to make your under-bed storage boxes even better:
* Consider Fabric Liners: To protect your stored items from dust and dirt, consider adding fabric liners to the inside of the boxes. You can easily sew simple liners from inexpensive fabric.
* Label Your Boxes: Labeling your boxes will help you quickly identify the contents without having to pull them out from under the bed. You can use labels, tags, or even paint the contents directly onto the boxes.
* Use Dividers: If you’re storing smaller items, consider using dividers to keep them organized. You can make dividers from cardboard or thin pieces of wood.
* Choose the Right Casters: The type of casters you choose will depend on the type of flooring you have. If you have hardwood floors, use casters with soft rubber wheels to prevent scratches.
* Don’t Overload the Boxes: Avoid overloading the boxes, as this can make them difficult to move and can damage the casters.
* Measure Twice, Cut Once: This is a classic DIY saying for a reason! Accurate measurements are crucial for a successful project.
* Take Your Time: Don’t rush the process. Take your time and enjoy the satisfaction of creating something yourself.
And that’s it! You’ve successfully created your own custom under-bed storage boxes. Now you can enjoy a clutter-free bedroom and more organized storage space. I hope you found this tutorial helpful. Happy DIY-ing!
Conclusion
So, there you have it! Transforming your living space into an organized haven doesn’t require a complete overhaul or a hefty investment. These home organization expert tips are designed to be accessible, adaptable, and, most importantly, effective. We’ve explored simple yet powerful strategies, from decluttering techniques that free up valuable space to clever storage solutions that maximize every nook and cranny. Remember, the key is to start small, focus on one area at a time, and celebrate your progress along the way.
Why is this a must-try? Because a well-organized home is more than just aesthetically pleasing; it’s a sanctuary that promotes peace of mind, reduces stress, and boosts productivity. Imagine waking up each morning in a clutter-free environment, knowing exactly where everything is and feeling empowered to tackle the day ahead. That’s the transformative power of effective home organization.
But don’t just take our word for it. We encourage you to put these tips into practice and experience the difference for yourself. Start with the area that bothers you the most – perhaps it’s that overflowing closet, the chaotic kitchen pantry, or the perpetually messy entryway. Apply the principles we’ve discussed, adapt them to your specific needs and preferences, and watch as your space transforms before your eyes.
Variations and Suggestions:
* Personalize Your Storage: Don’t be afraid to get creative with your storage solutions. Repurpose old containers, decorate plain boxes, or add labels to everything. The more personalized your storage is, the more likely you are to maintain it.
* Embrace Vertical Space: Think beyond floor-level storage. Utilize shelves, wall-mounted organizers, and hanging systems to maximize vertical space and keep items off the floor.
* Color-Code Your World: Color-coding can be a surprisingly effective organization tool. Use it for your closet, your bookshelves, or even your pantry to create visual order and make it easier to find what you need.
* Seasonal Swaps: Regularly rotate your belongings based on the season. Store away winter clothes during the summer and vice versa. This will free up valuable space and prevent clutter from accumulating.
* The One-In, One-Out Rule: For every new item you bring into your home, get rid of one similar item. This will help prevent clutter from building up over time.
* Don’t Forget Digital Decluttering: Home organization isn’t just about physical space. Take time to organize your digital files, delete unnecessary emails, and unsubscribe from unwanted newsletters. A clutter-free digital life can contribute to a more organized and peaceful home environment.
We’re confident that these home organization expert tips will empower you to create a space that is both functional and beautiful. Remember, organization is a journey, not a destination. Be patient with yourself, celebrate your successes, and don’t be afraid to experiment until you find what works best for you.
Now, it’s your turn! We’d love to hear about your experiences with these tips. Share your before-and-after photos, your favorite organization hacks, and any challenges you encountered along the way in the comments section below. Let’s inspire each other to create homes that are organized, functional, and truly reflect our personalities. Happy organizing!
FAQ
What’s the first step I should take when starting to organize my home?
The very first step is decluttering. Before you even think about organizing, you need to get rid of anything you don’t need, use, or love. This includes items that are broken, outdated, or simply no longer serve a purpose in your life. Be honest with yourself and don’t hold onto things out of guilt or sentimentality. A good rule of thumb is if you haven’t used something in the past year, it’s probably time to let it go. Decluttering creates space and makes the organization process much easier.
How often should I declutter my home?
Decluttering should be an ongoing process, not a one-time event. Aim to declutter regularly, perhaps once a season or even once a month. A quick 15-minute decluttering session can make a big difference in maintaining an organized home. You can also incorporate decluttering into your daily routine by immediately putting things away after using them and getting rid of any trash or unwanted items.
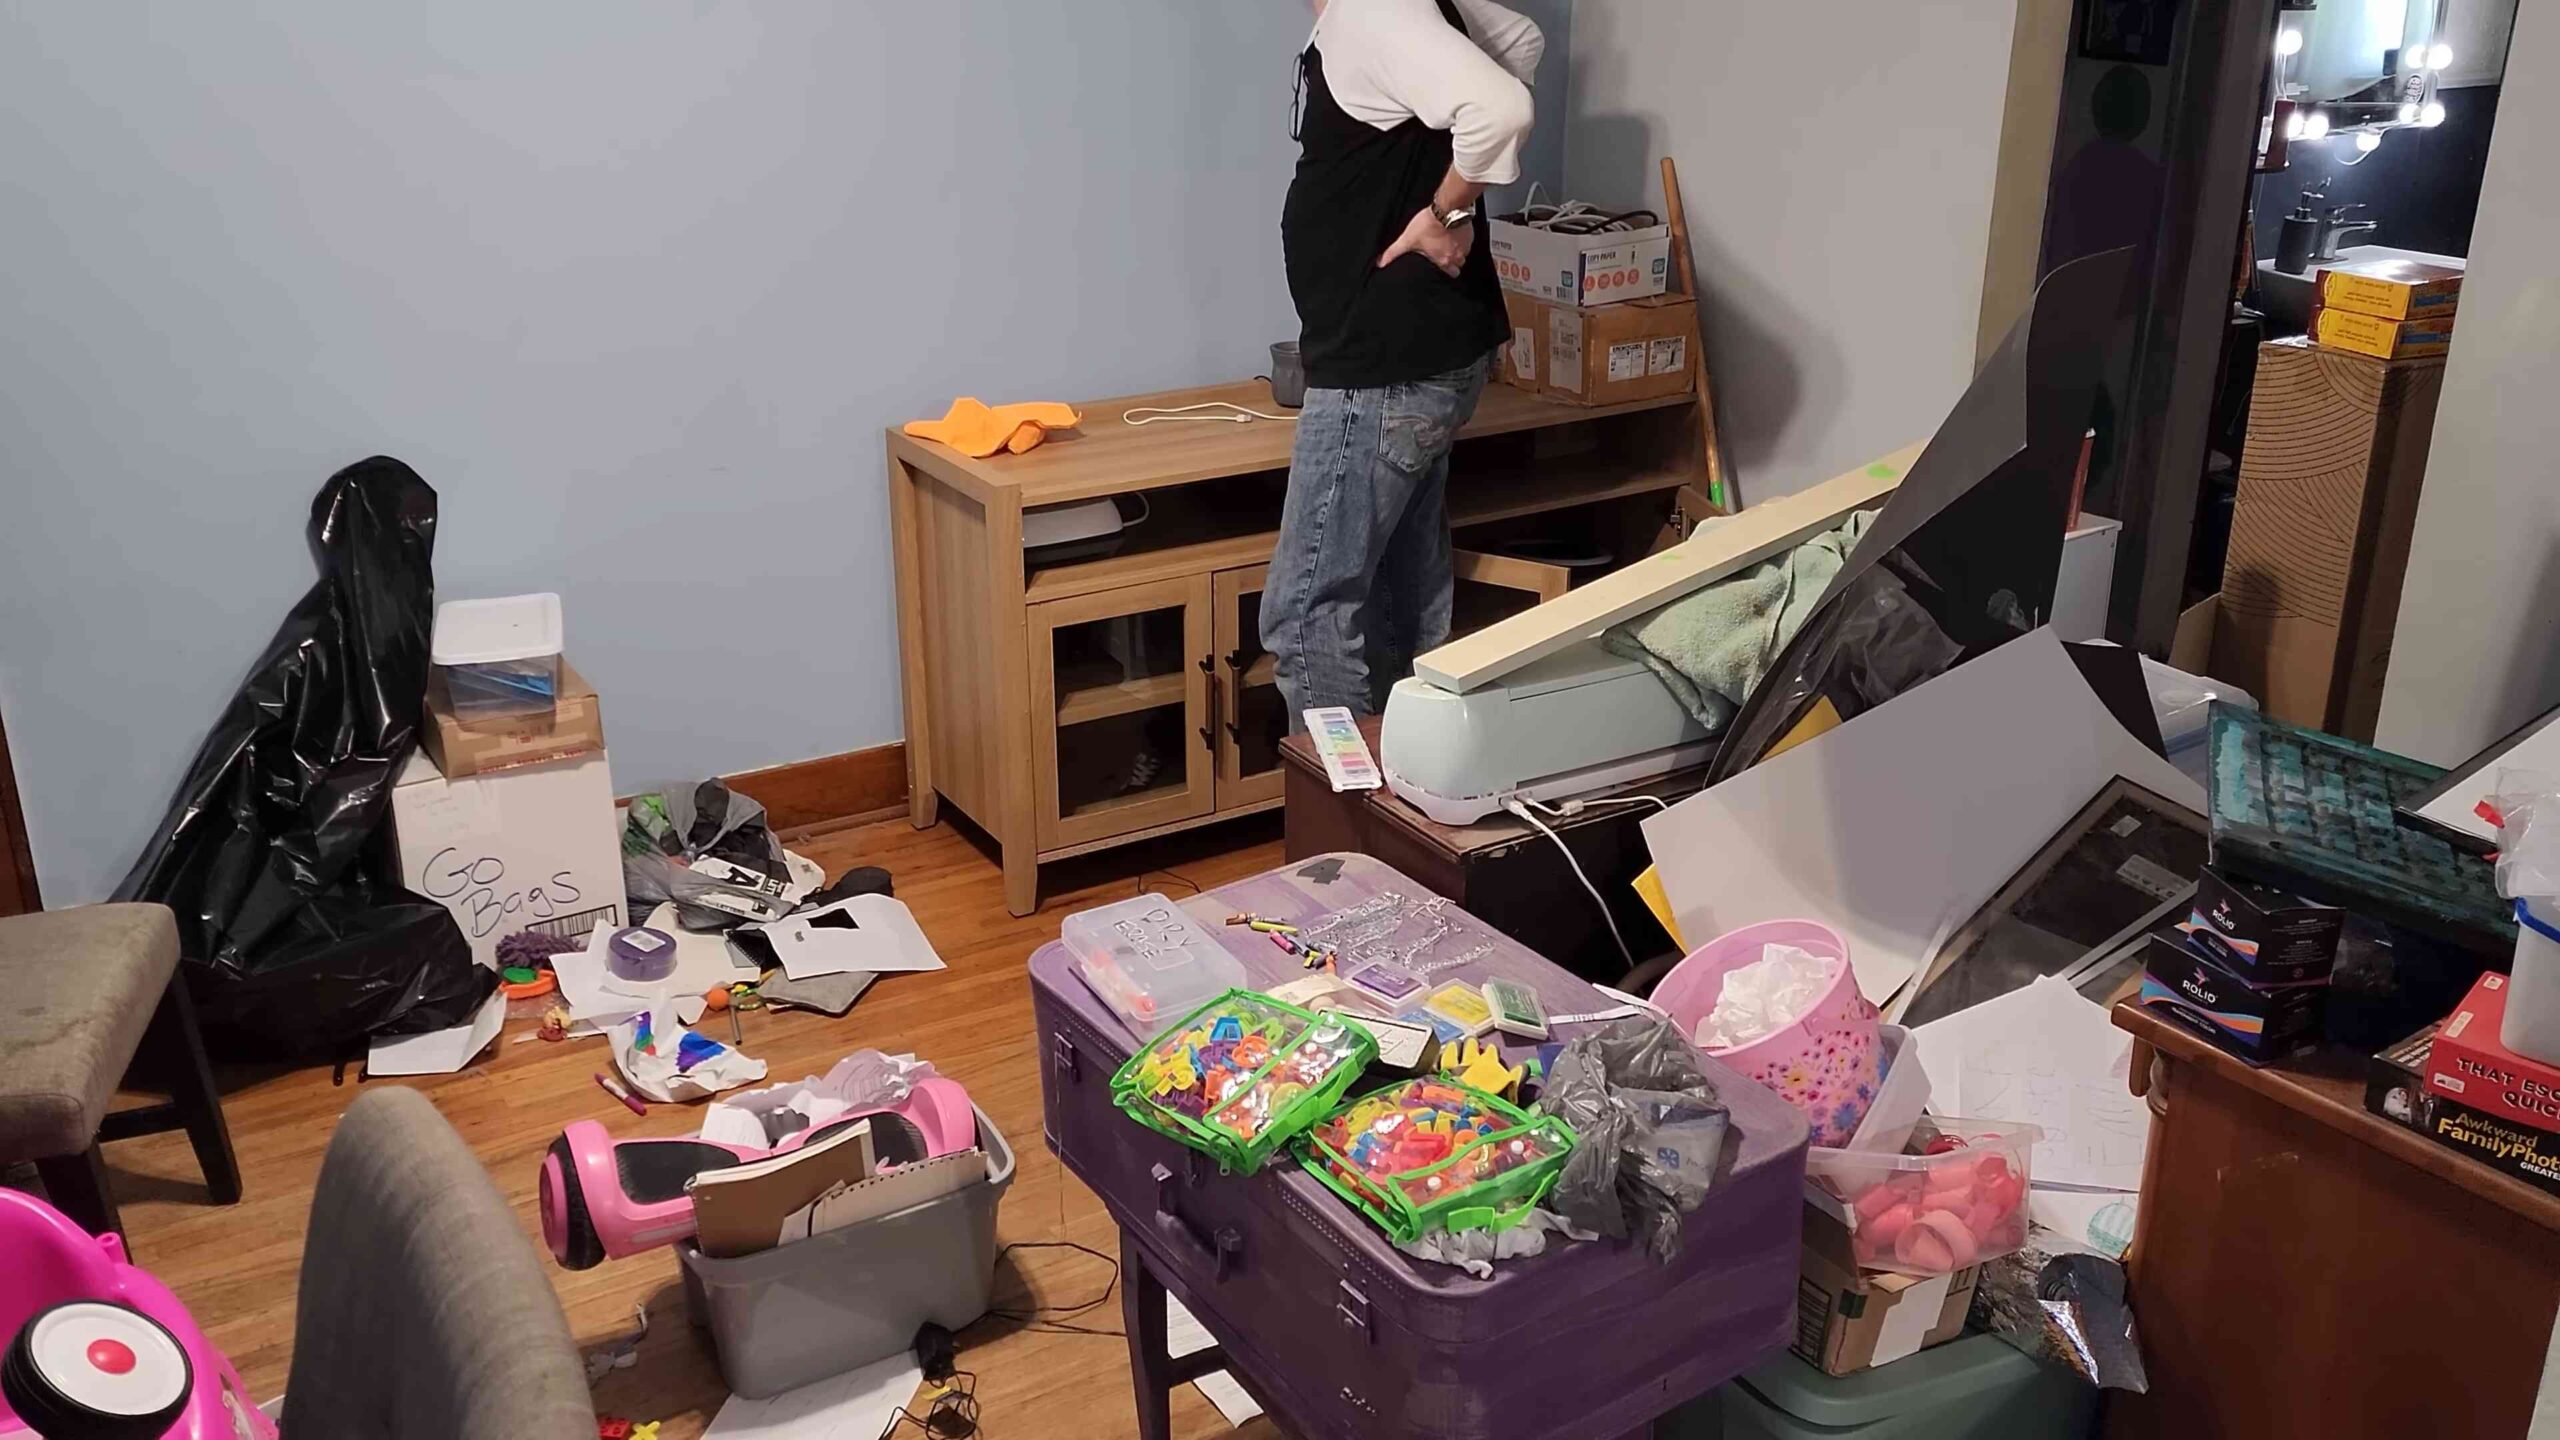
I’m overwhelmed by the thought of organizing my entire home. Where should I start?
Don’t try to tackle everything at once. Start with one small area, such as a drawer, a shelf, or a corner of a room. Once you’ve successfully organized that area, you’ll feel a sense of accomplishment and be motivated to move on to the next. Breaking the task down into smaller, manageable chunks will make the process less overwhelming and more sustainable.
What are some creative storage solutions for small spaces?
Small spaces require creative storage solutions. Consider using vertical space by installing shelves or wall-mounted organizers. Utilize under-bed storage containers for storing seasonal clothing or extra linens. Look for furniture with built-in storage, such as ottomans with hidden compartments or beds with drawers underneath. Over-the-door organizers are also great for maximizing space in closets and bathrooms.
How can I keep my home organized with kids?
Organizing with kids requires a different approach. Involve your children in the process by teaching them how to put their toys and belongings away. Create designated storage areas for their items and label everything clearly. Make it a game by turning cleanup into a fun activity. Be patient and consistent, and remember that it’s okay if things aren’t always perfectly organized. The goal is to create a system that works for your family and helps everyone stay on track.
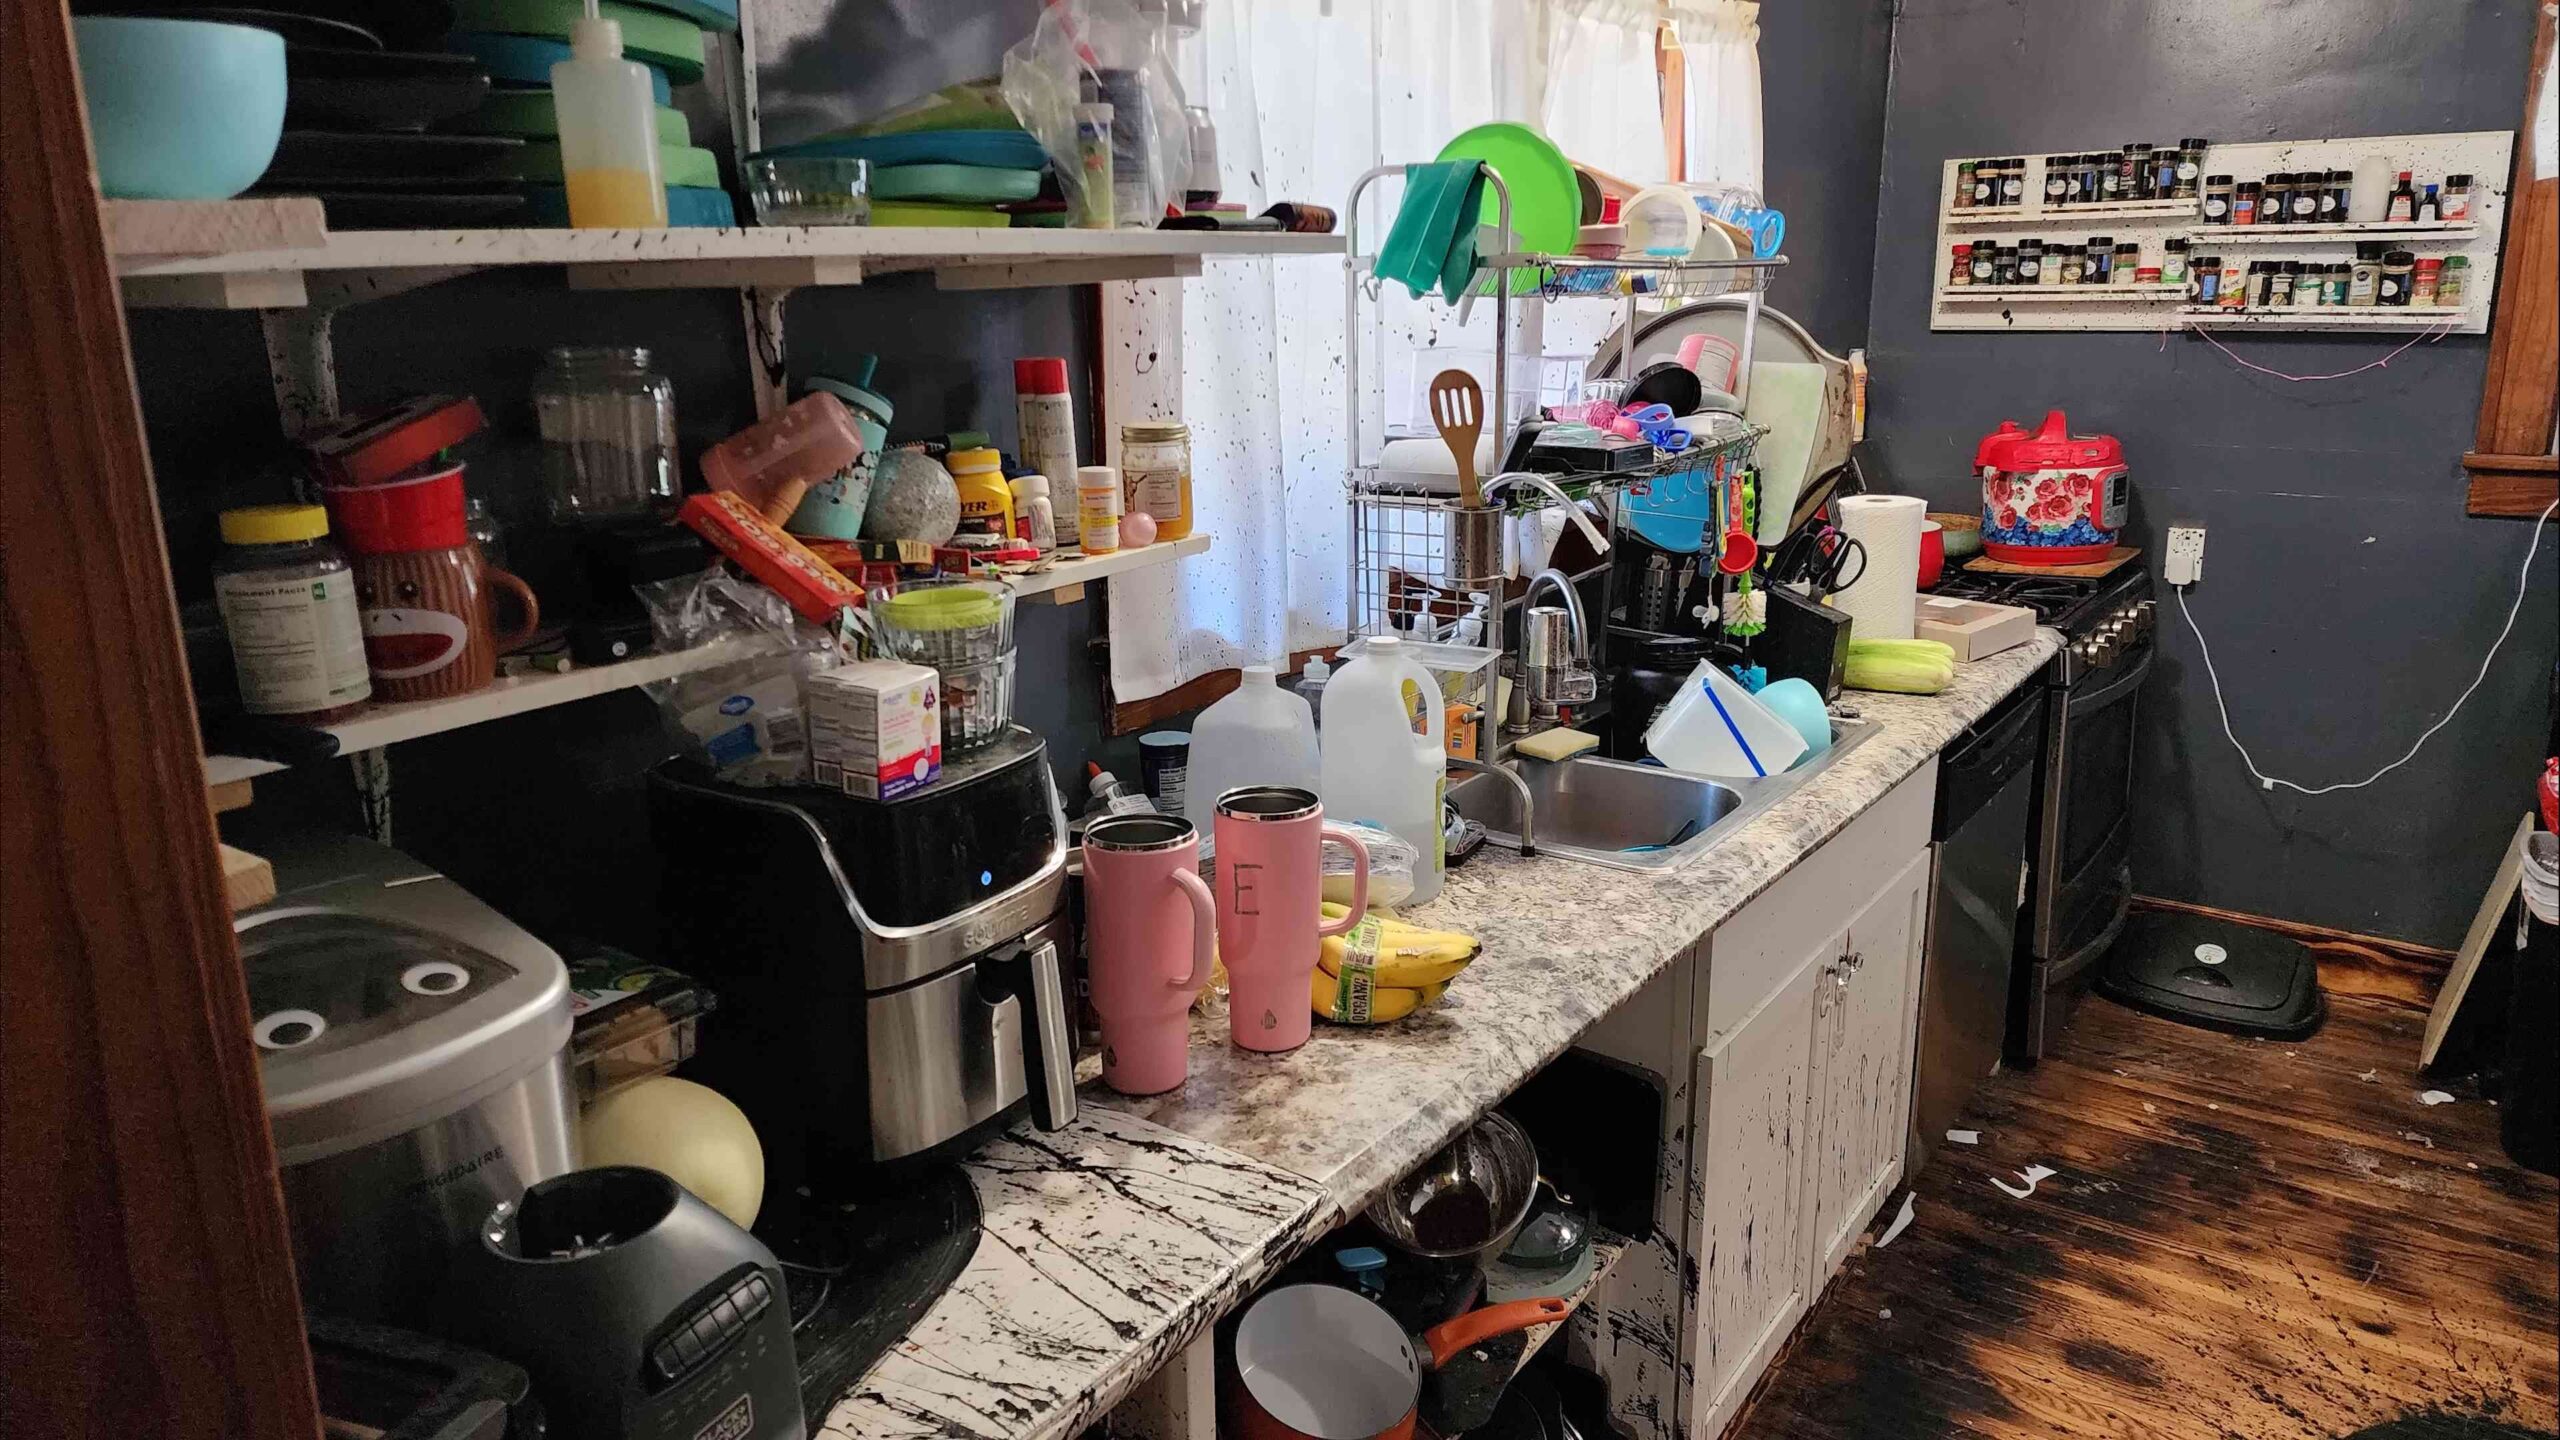
What are some tips for organizing my kitchen pantry?
Start by taking everything out of your pantry and discarding any expired or unwanted items. Group similar items together, such as canned goods, snacks, and baking supplies. Use clear containers to store dry goods like flour, sugar, and pasta. Label everything clearly so you can easily find what you need. Utilize shelves, baskets, and bins to maximize space and keep your pantry organized.
How can I prevent clutter from accumulating in my home?
The best way to prevent clutter is to be mindful of what you bring into your home. Before buying something new, ask yourself if you really need it and where you will store it. Follow the one-in, one-out rule: for every new item you bring in, get rid of one similar item. Regularly declutter your home and get rid of anything you no longer need or use. By being proactive and mindful, you can prevent clutter from accumulating and maintain an organized home.
What are some affordable home organization solutions?
You don’t need to spend a lot of money to organize your home. Repurpose old containers, such as jars, boxes, and baskets, for storage. Shop at thrift stores or garage sales for affordable storage solutions. Use DIY projects to create custom organizers. Get creative and resourceful, and you can organize your home on a budget.
How do I maintain a clutter-free home in the long term?
Maintaining a clutter-free home requires consistent effort and a commitment to organization. Make it a habit to put things away immediately after using them. Regularly declutter your home and get rid of anything you no longer need or use. Establish routines and systems that work for you and your family. By making organization a part of your daily life, you can maintain a clutter-free home in the long term.
Leave a Comment