

Growing Sweet Potato Tops is easier than you might think, and it’s a fantastic way to add a touch of vibrant greenery to your home while also potentially harvesting delicious sweet potatoes! Have you ever looked at a sweet potato sitting in your pantry and wondered if you could actually grow something from it? Well, you absolutely can! For centuries, people in various cultures have propagated plants from scraps and leftovers, a testament to human ingenuity and resourcefulness. Think of the ancient Egyptians propagating figs from cuttings or the traditional Japanese art of bonsai, manipulating growth for aesthetic purposes. This DIY project taps into that same spirit of creativity and sustainability.
But why should *you* bother with growing sweet potato tops? Well, for starters, it’s incredibly rewarding to watch something grow from what would otherwise be food waste. Plus, the vines are beautiful! They can cascade down from hanging baskets or climb up trellises, adding a lush, tropical vibe to any space. And, let’s be honest, in today’s world, we’re all looking for ways to save money and be more self-sufficient. Growing Sweet Potato Tops offers a simple and accessible way to do just that. I’m going to show you how to easily transform a humble sweet potato into a thriving plant, providing you with both ornamental beauty and the potential for a future harvest. Let’s get started!
Regrowing Sweet Potato Tops: A Fun and Easy DIY Project
Hey there, fellow plant enthusiasts! Ever wondered if you could get more out of that sweet potato sitting in your pantry? Well, you absolutely can! I’m going to walk you through how to regrow sweet potato tops – it’s a super simple and rewarding DIY project that’ll give you beautiful vines and maybe even a few extra sweet potatoes down the line. Plus, it’s a fantastic way to reduce food waste and add a touch of green to your home.
What You’ll Need
Before we dive in, let’s gather our supplies. This project is pretty low-key, so you probably already have most of what you need:
* A sweet potato (organic is best, but any will do!)
* A glass or jar (wide enough to hold the sweet potato)
* Toothpicks
* Water
* A sunny spot
* Optional: Potting soil, a pot (if you want to plant your slips)
Preparing Your Sweet Potato
Okay, let’s get started! This is the most crucial part, so pay close attention.
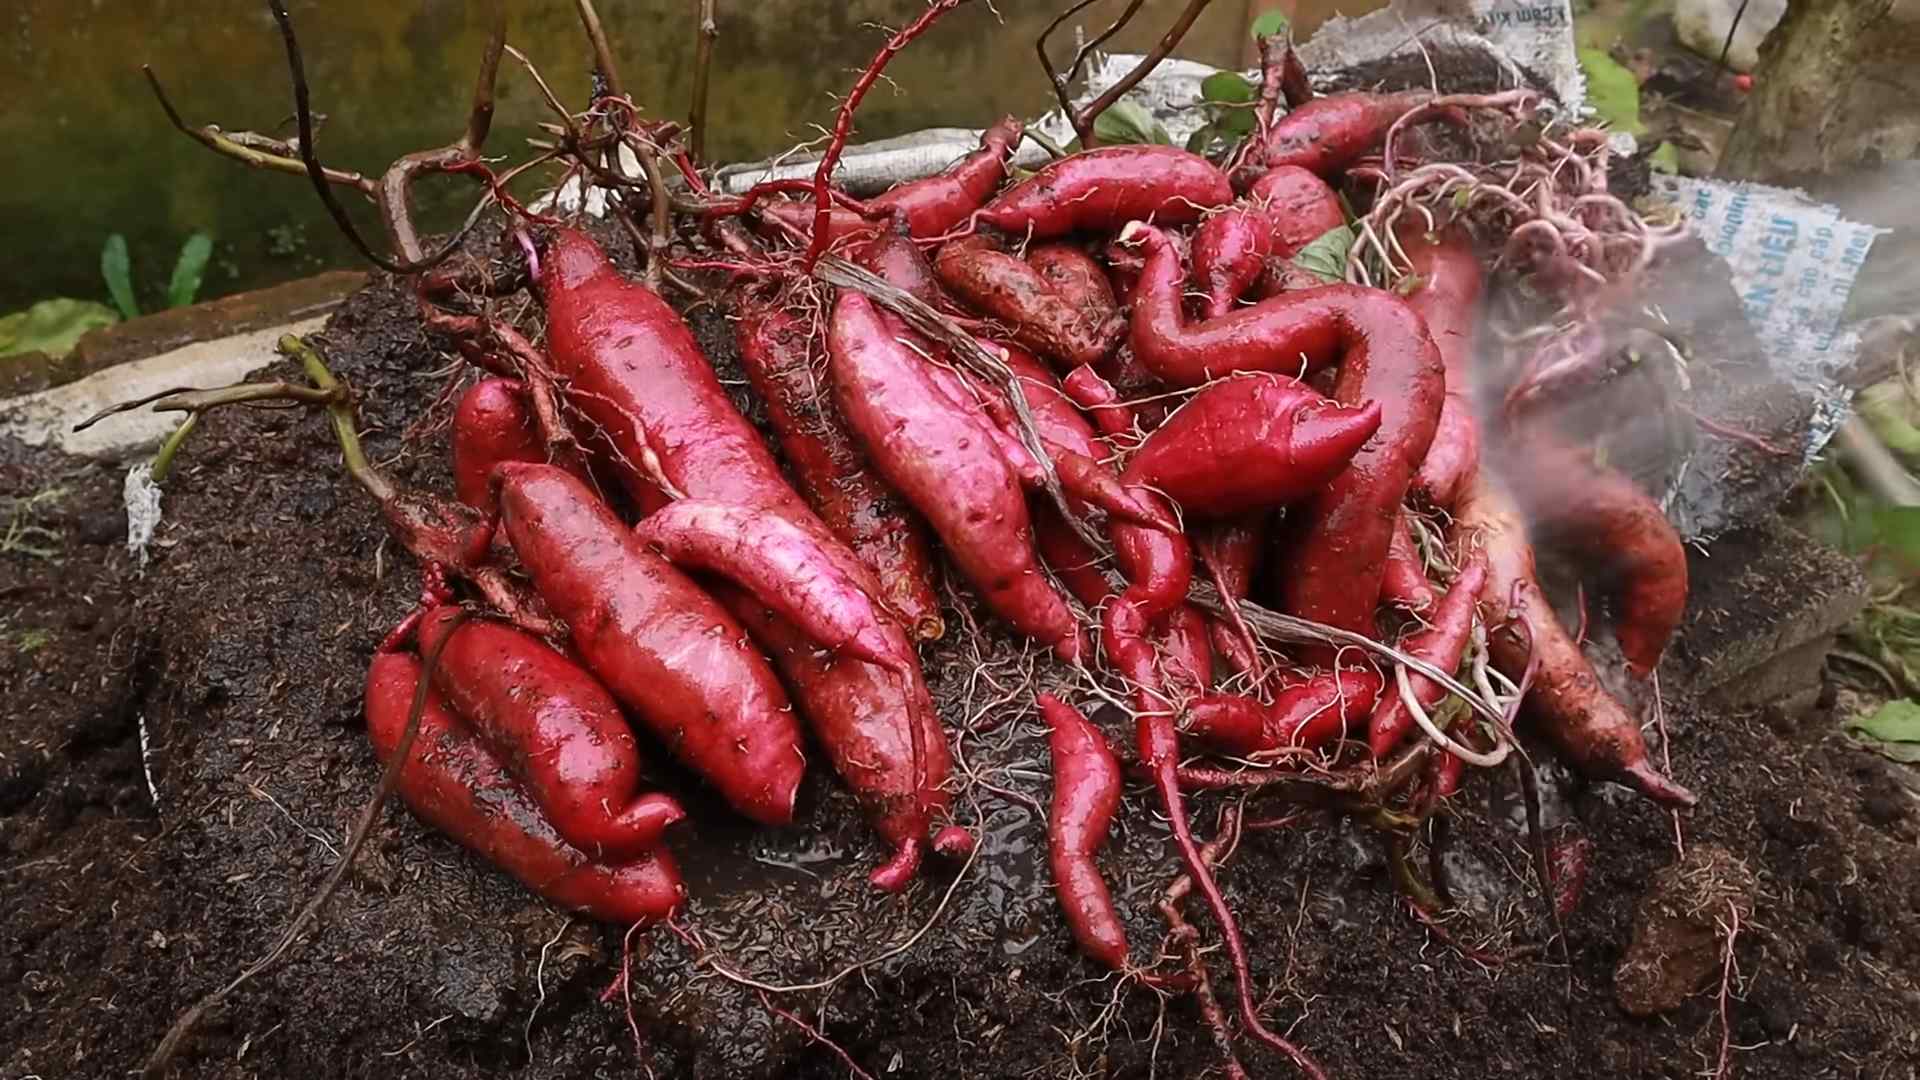
1. Choose Your Sweet Potato: Select a firm sweet potato that’s free from blemishes or soft spots. The size doesn’t really matter, but a medium-sized one is usually easiest to work with.
2. Clean the Sweet Potato: Gently wash the sweet potato under cool water to remove any dirt or debris.
3. Insert Toothpicks: This is where the toothpicks come in handy. Insert 3-4 toothpicks evenly spaced around the middle of the sweet potato. These will act as supports to suspend the sweet potato in the water. Make sure the toothpicks are inserted firmly enough to hold the potato securely.
4. Submerge the Bottom Half: Fill your glass or jar with water. The water level should be high enough to submerge the bottom half of the sweet potato, but not so high that the entire potato is underwater. The toothpicks should rest on the rim of the glass, holding the sweet potato in place.
5. Find a Sunny Spot: Place your sweet potato setup in a warm, sunny location. A windowsill is perfect! Sweet potatoes need plenty of light to sprout.
Waiting for Sprouts (Slips)
Now comes the waiting game. Don’t worry, it’s not too long!
1. Change the Water Regularly: Every 2-3 days, change the water in the glass. This helps prevent mold and keeps the water fresh, which is essential for healthy growth.
2. Be Patient: It can take anywhere from a few days to a few weeks for sprouts (also known as “slips”) to appear. Don’t get discouraged if you don’t see anything happening right away. Just keep the water fresh and the sweet potato in a sunny spot.
3. Watch for Roots and Sprouts: Eventually, you’ll start to see roots growing from the bottom of the sweet potato and sprouts emerging from the top. The sprouts will look like small leaves or vines.
Separating and Rooting the Slips
Once your slips are a few inches long, it’s time to separate them from the sweet potato and encourage them to grow their own roots.
1. Gently Remove the Slips: Carefully twist or cut the slips off the sweet potato. Try to get as much of the base of the slip as possible, as this is where the roots will grow.
2. Root the Slips in Water: Place the slips in a glass of water, making sure the bottom inch or two of the stem is submerged.
3. Wait for Roots to Develop: Again, be patient! It will take a few days to a week for roots to start growing. Change the water every 2-3 days to keep it fresh.
4. Look for Healthy Roots: You’ll know the slips are ready to plant when the roots are about an inch or two long and look healthy and white.
Planting Your Sweet Potato Slips
Now for the fun part – planting! You have a couple of options here: you can plant your slips in pots or directly in the ground.
Planting in Pots
1. Choose a Pot: Select a pot that’s at least 6 inches in diameter. Sweet potatoes need room to grow, so a larger pot is always better.
2. Fill with Potting Soil: Fill the pot with a good-quality potting soil. Make sure the soil is well-draining.
3. Plant the Slip: Make a small hole in the soil and gently place the rooted slip into the hole. Cover the roots with soil and gently pat it down.
4. Water Thoroughly: Water the newly planted slip thoroughly.
5. Place in a Sunny Location: Place the pot in a sunny location.
6. Keep the Soil Moist: Keep the soil consistently moist, but not soggy.
Planting in the Ground
1. Choose a Sunny Location: Select a location in your garden that gets at least 6 hours of sunlight per day.
2. Prepare the Soil: Sweet potatoes prefer well-drained soil that’s rich in organic matter. Amend the soil with compost or other organic material if necessary.
3. Plant the Slip: Dig a small hole in the soil and gently place the rooted slip into the hole. Cover the roots with soil and gently pat it down. Space the slips about 12 inches apart.
4. Water Thoroughly: Water the newly planted slip thoroughly.
5. Mulch Around the Plants: Mulch around the plants with straw or other organic material to help retain moisture and suppress weeds.
Caring for Your Sweet Potato Plants
Once your sweet potato plants are established, they’re relatively easy to care for.
1. Water Regularly: Water your sweet potato plants regularly, especially during dry periods. They need consistent moisture to thrive.
2. Fertilize Occasionally: Fertilize your sweet potato plants occasionally with a balanced fertilizer. Follow the instructions on the fertilizer package.
3. Control Weeds: Keep the area around your sweet potato plants free of weeds. Weeds can compete with the plants for nutrients and water.
4. Watch for Pests and Diseases: Keep an eye out for pests and diseases. If you notice any problems, take action to control them promptly.
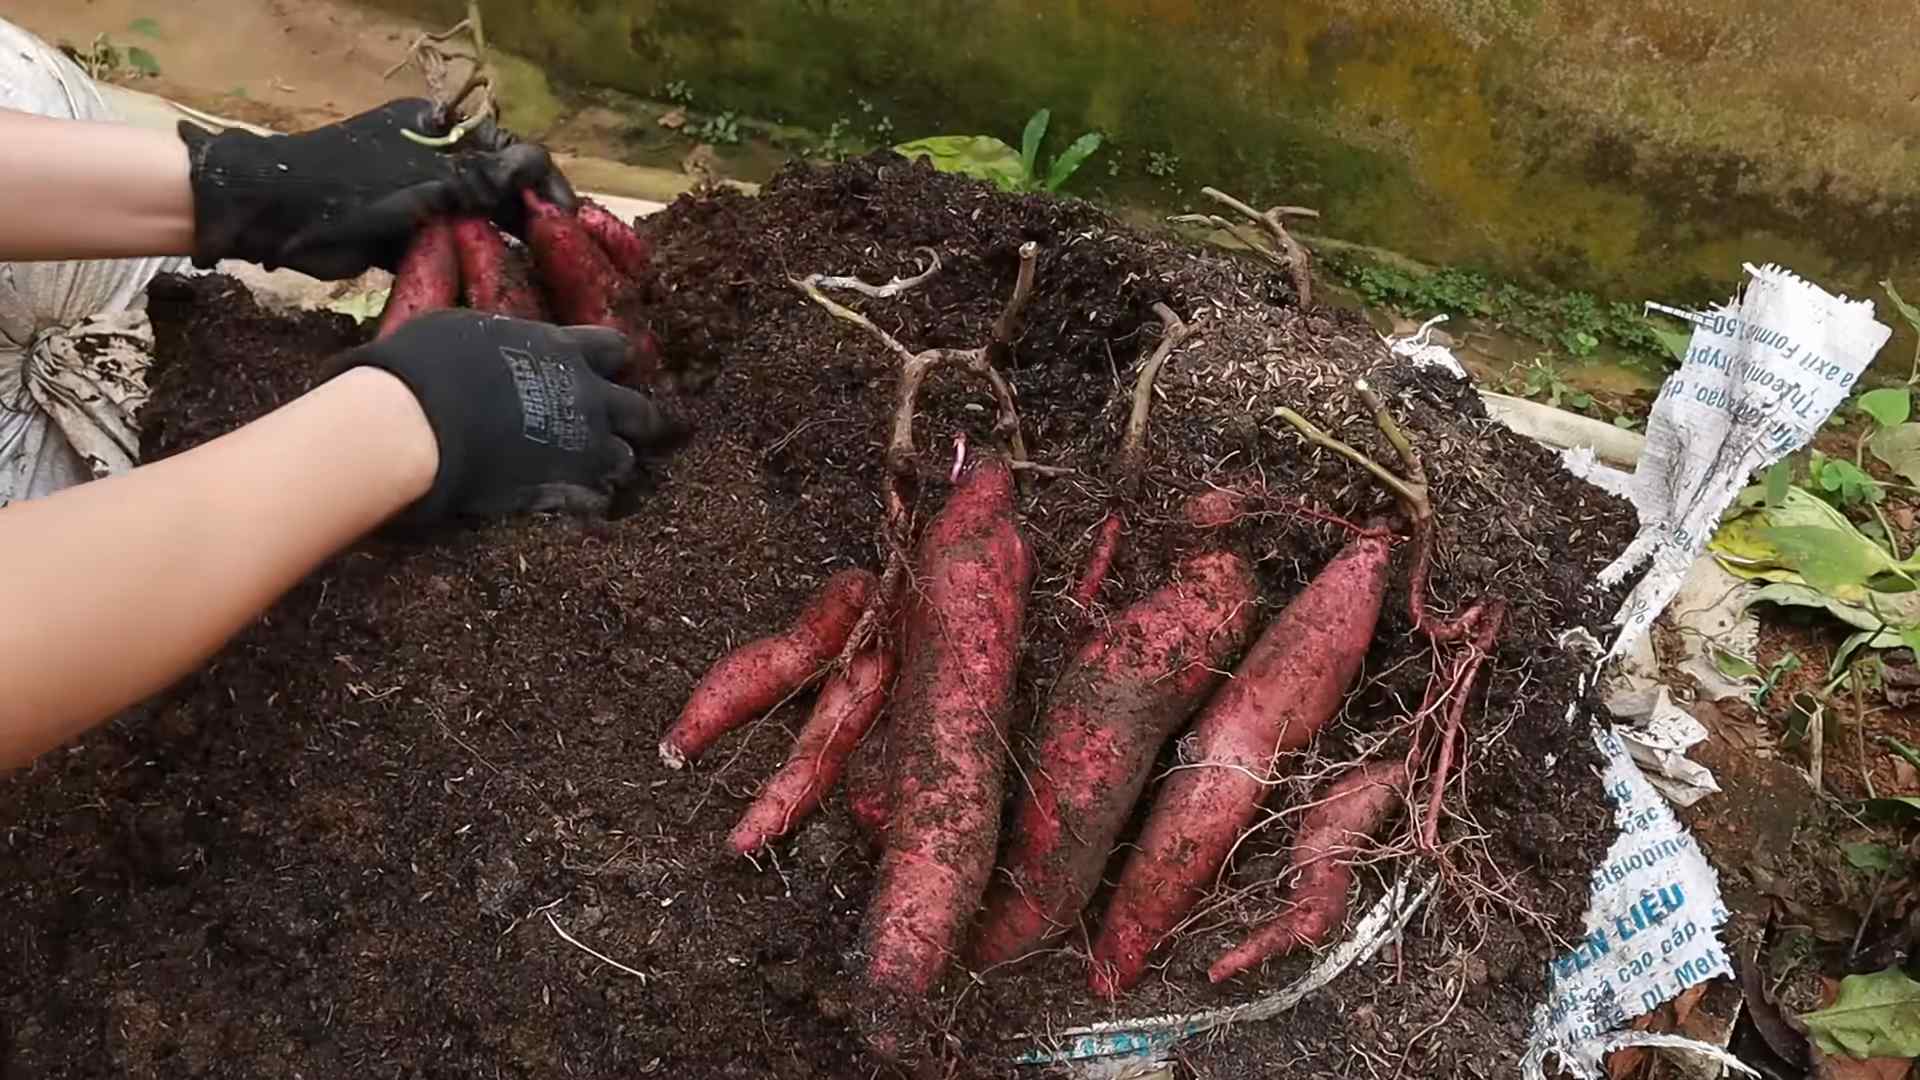
Harvesting (Maybe!)
Okay, let’s be realistic. While you *might* get a few small sweet potatoes from this project, the main goal is to enjoy the beautiful vines. However, if you’re lucky and you’ve planted your slips in the ground, you might get a small harvest.
1. Wait for the Vines to Die Back: Sweet potatoes are typically harvested in the fall, after the vines have started to die back.
2. Carefully Dig Up the Sweet Potatoes: Use a garden fork to carefully dig up the sweet potatoes. Be careful not to damage them.
3. Cure the Sweet Potatoes: Cure the sweet potatoes for a week or two in a warm, humid place. This will help them develop their sweetness and improve their storage life.
Enjoy Your Sweet Potato Vines!
Even if you don’t get any sweet potatoes, you’ll still have beautiful vines to enjoy. You can let them trail down from a shelf, train them to climb a trellis, or even use them as a ground cover. They’re a great way to add a touch of green to your home or garden.
Important Note: While the leaves of sweet potato plants are technically edible, they can be bitter. It’s best to stick to enjoying them for their ornamental value.
So there you have it! Regrowing sweet potato tops is a fun, easy, and rewarding DIY project that anyone can do. Give it a try and see what you can grow! Happy planting!
Conclusion
So, there you have it! Transforming sweet potato scraps into vibrant, edible greens is not only incredibly easy and cost-effective, but it’s also a fantastic way to reduce food waste and connect with the natural world. This simple DIY trick for growing sweet potato tops offers a continuous supply of nutritious greens right from your kitchen or garden. Forget those expensive trips to the grocery store for specialty greens – you can cultivate your own fresh, organic supply with minimal effort.
But the benefits extend beyond just saving money. Think about the satisfaction of nurturing something from a discarded piece of vegetable into a thriving plant. It’s a rewarding experience that brings a touch of nature indoors, especially during colder months. Plus, sweet potato greens are packed with vitamins and minerals, making them a healthy addition to your diet.
Ready to take your sweet potato top growing to the next level? Consider these variations:
* Vertical Gardening: Train your sweet potato vines to climb a trellis or support structure for a visually stunning and space-saving vertical garden.
* Hydroponics: Experiment with growing your sweet potato slips in a hydroponic setup for faster growth and even more control over the growing environment.
* Different Varieties: Try sprouting different varieties of sweet potatoes to see if you notice any differences in the taste or texture of the greens. Some varieties may produce more vigorous vines than others.
* Companion Planting: If you decide to transplant your sweet potato vines outdoors, research companion plants that can help deter pests and promote healthy growth. Marigolds, for example, are known to repel nematodes.
Don’t be afraid to experiment and find what works best for you. The beauty of this DIY project is its adaptability. Whether you’re a seasoned gardener or a complete beginner, growing sweet potato tops is a fun and accessible way to add fresh, healthy greens to your table.
We’re confident that once you try this simple method, you’ll be hooked. The vibrant green foliage and the delicious, nutritious greens are well worth the minimal effort involved. So, grab a sweet potato, a jar of water, and get ready to embark on a rewarding gardening adventure.
We encourage you to try this DIY trick for growing sweet potato tops and share your experiences with us! Post photos of your thriving vines, share your favorite recipes using sweet potato greens, and let us know any tips or tricks you discover along the way. Let’s build a community of sweet potato top growers and inspire others to embrace sustainable and delicious gardening practices. Happy growing!
Frequently Asked Questions (FAQ)
What exactly are sweet potato tops, and are they edible?
Yes, sweet potato tops, also known as sweet potato leaves or greens, are absolutely edible and quite nutritious! They are the leafy green foliage that grows on sweet potato vines. They have a mild, slightly sweet flavor, similar to spinach or kale, and can be used in a variety of culinary applications. They are a good source of vitamins A and C, as well as fiber and antioxidants.
How long does it take to grow sweet potato tops from a sweet potato?
The time it takes to grow sweet potato tops can vary depending on factors such as temperature, humidity, and the specific variety of sweet potato. Generally, you can expect to see sprouts emerging from the sweet potato within 1-3 weeks. Once the sprouts have developed into slips (small plantlets with roots), you can harvest the leaves as needed. It typically takes a few weeks for the slips to grow large enough for harvesting.
What’s the best way to harvest sweet potato tops?
The best way to harvest sweet potato tops is to cut the stems a few inches above the soil line or the point where they emerge from the sweet potato. This encourages the plant to produce more leaves. Avoid cutting off all the leaves at once, as this can stress the plant. Harvest regularly to promote continuous growth. You can harvest the leaves at any stage of growth, but younger leaves tend to be more tender and flavorful.
Can I grow sweet potato tops indoors year-round?
Yes, you can absolutely grow sweet potato tops indoors year-round! Sweet potatoes are relatively easy to grow indoors, as long as they receive adequate light and water. Place your sweet potato in a sunny location, such as a windowsill, or provide supplemental lighting with a grow light. Keep the soil consistently moist, but not waterlogged. With proper care, you can enjoy a continuous supply of fresh sweet potato greens throughout the year.
What are some common problems when growing sweet potato tops, and how can I fix them?
Some common problems when growing sweet potato tops include:
* Yellowing Leaves: This can be caused by overwatering, underwatering, or nutrient deficiencies. Ensure proper drainage and adjust your watering schedule accordingly. You can also fertilize the plant with a balanced liquid fertilizer.
* Pests: Aphids, spider mites, and whiteflies can sometimes infest sweet potato plants. Inspect your plants regularly and treat any infestations with insecticidal soap or neem oil.
* Slow Growth: This can be caused by insufficient light, cool temperatures, or poor soil quality. Provide adequate light and warmth, and ensure that the plant is growing in well-draining soil.
* Root Rot: This is caused by overwatering and poor drainage. Ensure that the soil is well-draining and avoid overwatering.
How do I transplant sweet potato slips from water to soil?
Once your sweet potato slips have developed a good root system (at least a few inches long), you can transplant them into soil. Gently remove the slips from the sweet potato, being careful not to damage the roots. Plant the slips in individual pots filled with well-draining potting mix. Water thoroughly and keep the soil consistently moist until the plants are established. Gradually acclimate the plants to outdoor conditions before transplanting them into the garden, if desired.
What are some delicious ways to use sweet potato tops in cooking?
Sweet potato tops are incredibly versatile and can be used in a variety of dishes. Here are a few ideas:
* Sautéed Greens: Sauté the greens with garlic, olive oil, and a pinch of salt and pepper for a simple and healthy side dish.
* Salads: Add chopped sweet potato greens to salads for a boost of nutrients and flavor.
* Soups and Stews: Incorporate the greens into soups and stews for added texture and vitamins.
* Stir-fries: Use sweet potato greens in stir-fries with other vegetables and protein.
* Smoothies: Blend the greens into smoothies for a healthy and nutritious boost.
* Omelets and Frittatas: Add chopped sweet potato greens to omelets and frittatas for added flavor and nutrients.
Are there any precautions I should take when eating sweet potato tops?
While sweet potato tops are generally safe to eat, it’s important to cook them thoroughly before consuming them. Raw sweet potato leaves can contain small amounts of oxalic acid, which can interfere with calcium absorption. Cooking the leaves reduces the oxalic acid content and makes them more digestible. Also, if you are harvesting from plants grown outdoors, be sure to wash the leaves thoroughly to remove any dirt or debris. If you have any concerns about allergies or sensitivities, it’s always best to consult with a healthcare professional.

Leave a Comment