

Growing Squash at Home can seem daunting, but trust me, it’s more rewarding than you might think! Imagine stepping into your backyard and harvesting your own plump, vibrant squash – ready to be transformed into delicious soups, roasted side dishes, or even a decadent pie. Forget those bland, overpriced squash from the grocery store; with a few simple tricks, you can cultivate a thriving squash patch right in your own backyard.
Squash has a rich history, dating back thousands of years to ancient civilizations in the Americas. It was a staple food for indigenous peoples, providing essential nutrients and playing a vital role in their agricultural practices. Today, we can honor that legacy by embracing the joy of growing squash at home and connecting with the earth in a meaningful way.
But why bother with the effort? Well, for starters, homegrown squash tastes infinitely better! Plus, you have complete control over what goes into your food, avoiding harmful pesticides and ensuring the freshest possible produce. In this article, I’m going to share my favorite DIY tricks and hacks for successful squash cultivation, even if you’re a complete beginner. We’ll cover everything from seed starting to pest control, so you can enjoy a bountiful harvest of delicious, homegrown squash. Let’s get started!
Growing Squash at Home: A Beginner’s Guide
Okay, so you want to grow squash! That’s fantastic! Squash is a rewarding vegetable to grow, offering a variety of flavors and textures, plus they look amazing in the garden. I’ve been growing squash for years, and I’m excited to share my knowledge with you. This guide will walk you through everything you need to know, from choosing the right variety to harvesting your bounty.
Choosing Your Squash Variety
First things first, let’s talk about squash types. There are two main categories: summer squash and winter squash.
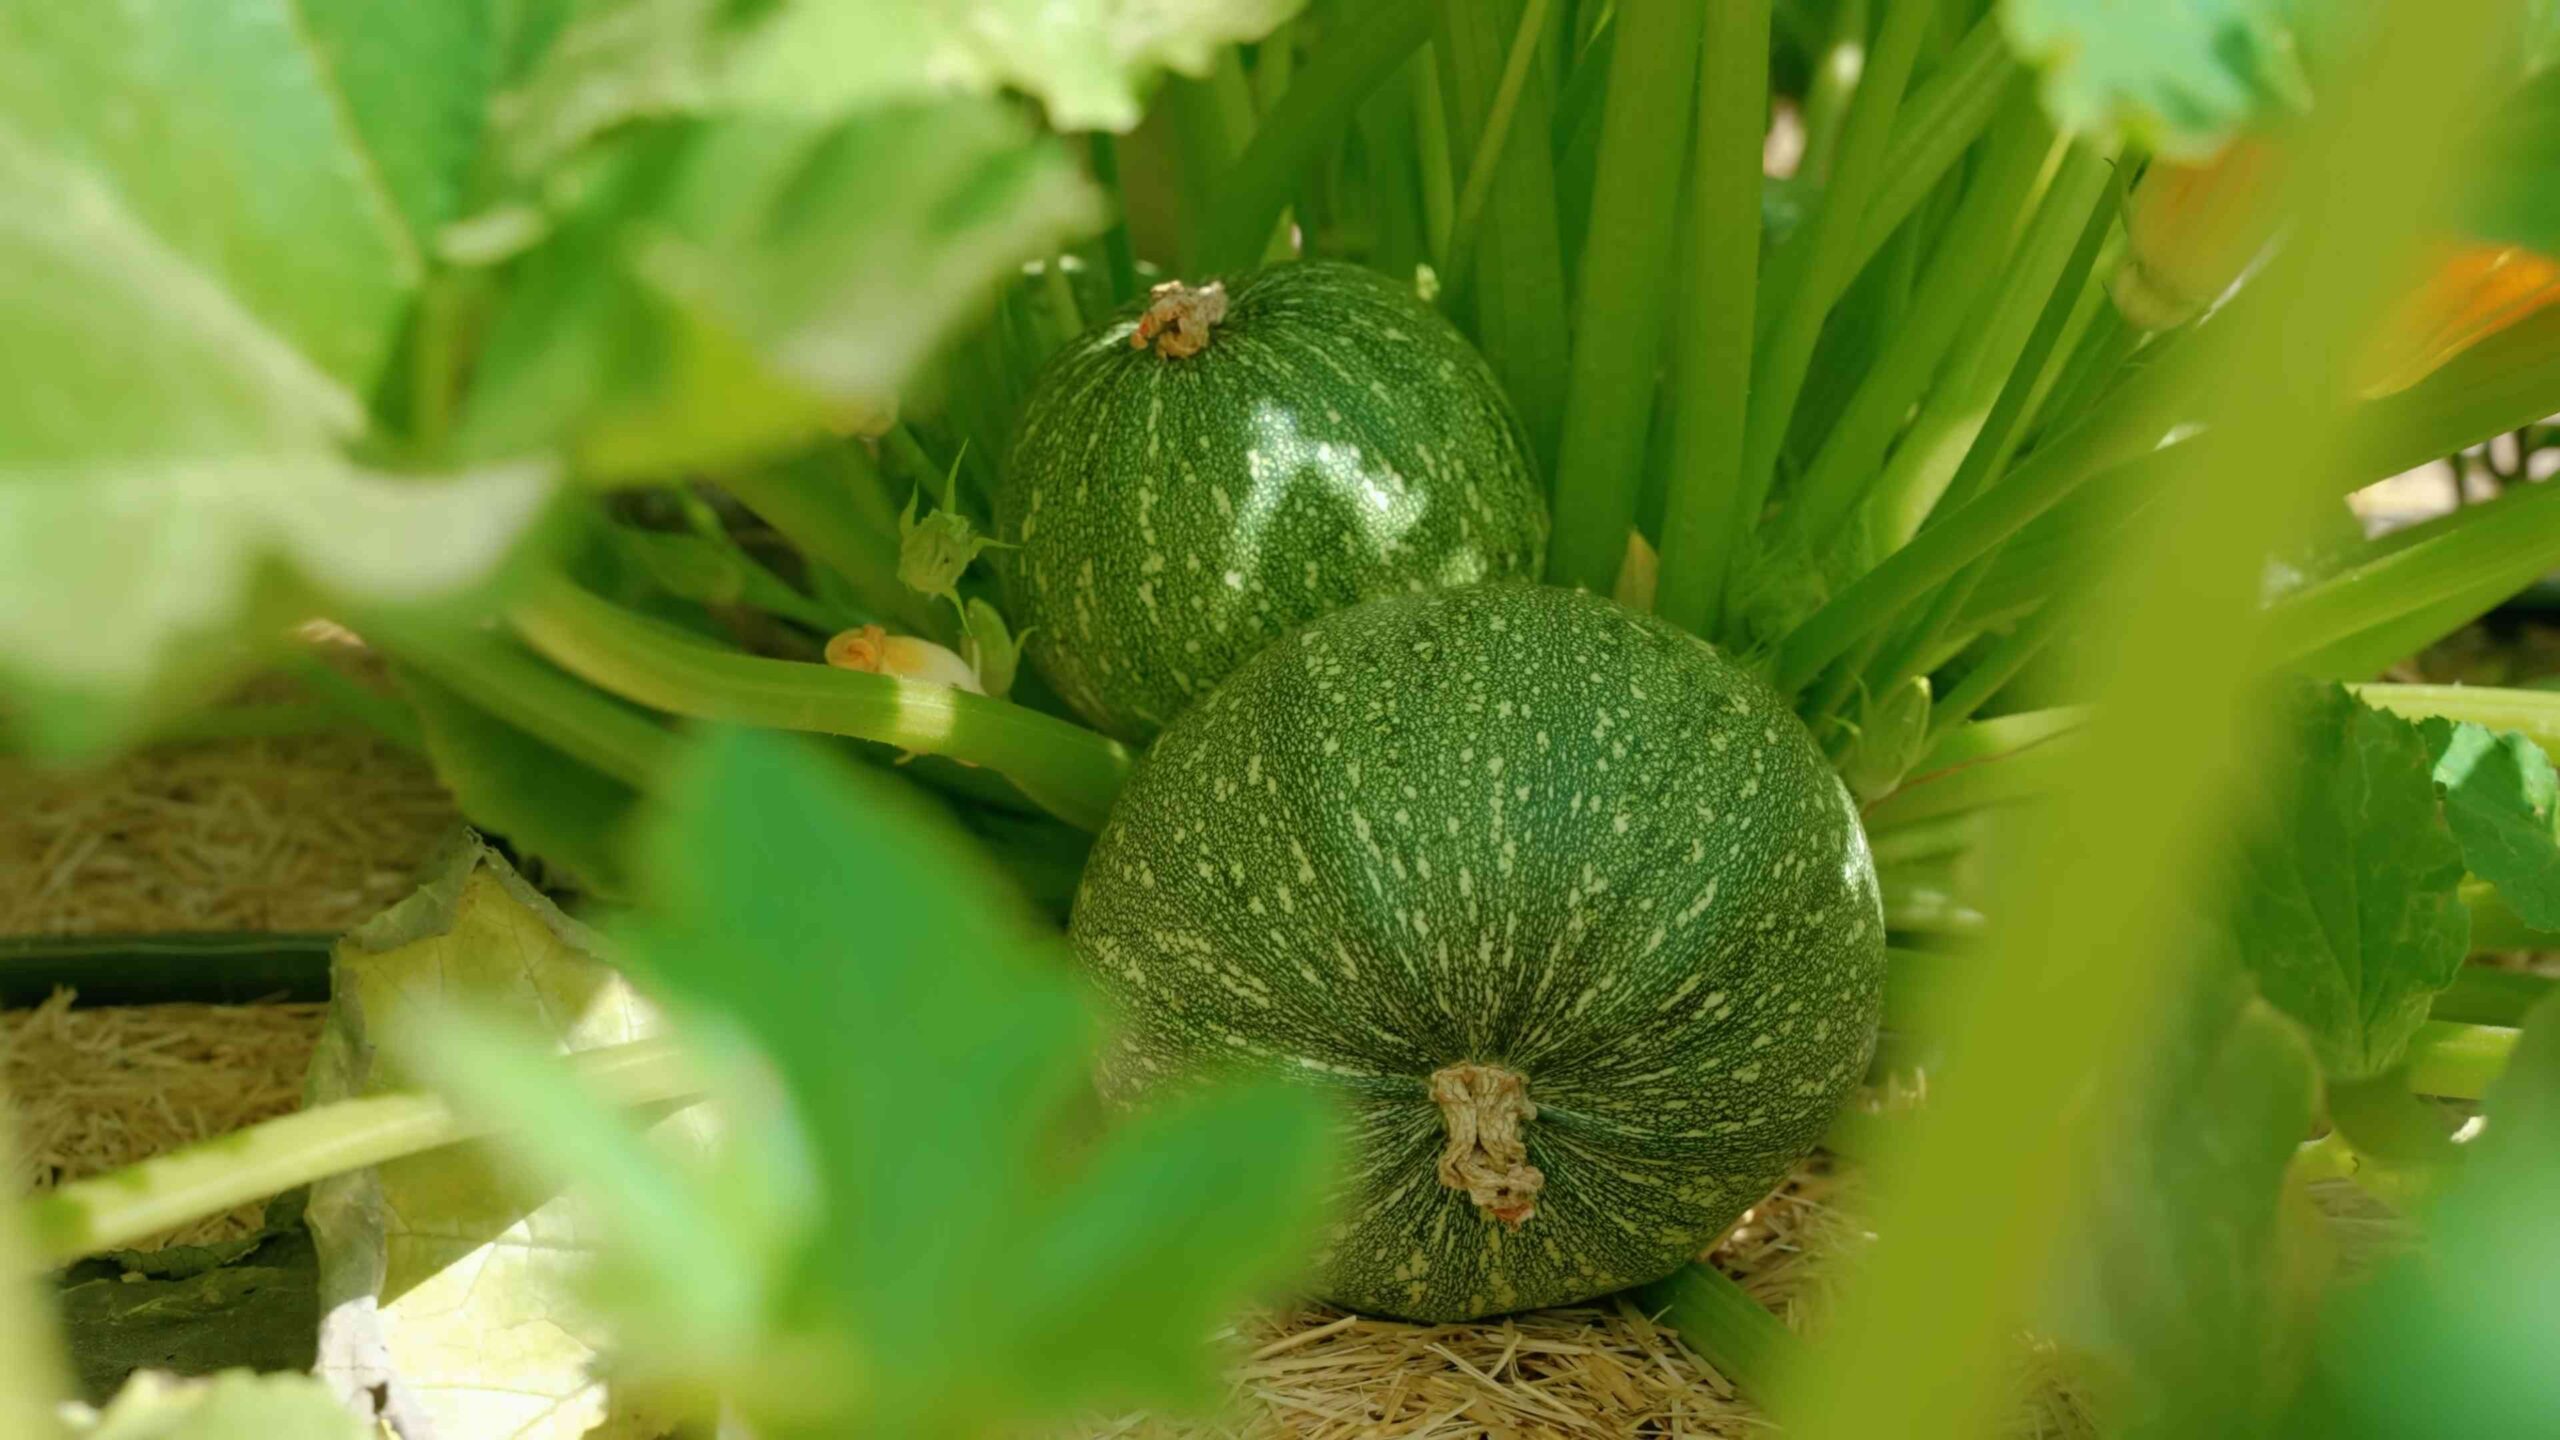
* Summer Squash: These are harvested when immature, with tender skin and seeds. Think zucchini, yellow squash, and pattypan squash. They’re quick to mature and perfect for grilling, sautéing, or adding to casseroles.
* Winter Squash: These are harvested when fully mature, with a hard rind and mature seeds. Think butternut squash, acorn squash, spaghetti squash, and pumpkins. They store well and are great for roasting, soups, and pies.
When choosing your variety, consider your climate, garden space, and personal preferences. Some varieties are more compact than others, making them ideal for smaller gardens. Also, think about what you like to eat!
Preparing Your Garden Bed
Squash are heavy feeders, meaning they need a lot of nutrients to thrive. So, soil preparation is key!
* Sunlight: Squash needs at least 6-8 hours of direct sunlight per day. Choose a sunny spot in your garden.
* Soil: Squash prefers well-drained soil that is rich in organic matter.
* Soil Testing: It’s always a good idea to test your soil to determine its pH and nutrient levels. You can purchase a soil testing kit at most garden centers or send a sample to your local agricultural extension office. The ideal pH for squash is between 6.0 and 7.0.
* Amending the Soil: Based on your soil test results, you may need to amend your soil.
* Compost: Adding compost is always a good idea! It improves soil drainage, adds nutrients, and helps retain moisture. I usually add a generous layer of compost to my garden bed before planting.
* Manure: Well-rotted manure is another excellent soil amendment. It’s rich in nutrients and helps improve soil structure.
* Fertilizer: If your soil is lacking in certain nutrients, you may need to add fertilizer. Choose a fertilizer that is specifically formulated for vegetables. Follow the instructions on the package carefully.
Planting Your Squash
You can either start your squash seeds indoors or direct sow them in your garden. I usually prefer to direct sow, as squash plants don’t always transplant well.
* Starting Seeds Indoors (Optional): If you live in a colder climate with a short growing season, you may want to start your squash seeds indoors 3-4 weeks before the last expected frost.
1. Fill seed trays or small pots with seed-starting mix.
2. Plant 1-2 seeds per cell, about 1 inch deep.
3. Water gently and keep the soil moist but not soggy.
4. Place the seed trays in a warm, sunny location or under grow lights.
5. Once the seedlings have developed a few true leaves, you can transplant them into your garden after the last frost.
* Direct Sowing: This is my preferred method!
1. Wait until the soil has warmed up to at least 60°F (15°C). This is usually a couple of weeks after the last expected frost.
2. Create small mounds of soil, about 1-2 feet apart for summer squash and 2-3 feet apart for winter squash.
3. Plant 2-3 seeds per mound, about 1 inch deep.
4. Water gently and keep the soil moist.
5. Once the seedlings emerge, thin them to one plant per mound. Choose the strongest, healthiest-looking seedling.
Caring for Your Squash Plants
Once your squash plants are established, it’s important to provide them with proper care to ensure a bountiful harvest.
* Watering: Squash plants need consistent moisture, especially during hot, dry weather. Water deeply and regularly, aiming for about 1 inch of water per week. Avoid watering the foliage, as this can lead to fungal diseases. Drip irrigation or soaker hoses are ideal for watering squash plants.
* Fertilizing: Squash plants are heavy feeders, so you may need to fertilize them throughout the growing season. I usually side-dress my squash plants with compost or a balanced fertilizer every few weeks.
* Weeding: Keep your garden bed free of weeds, as they can compete with your squash plants for nutrients and water. Mulching around your plants can help suppress weeds and retain moisture.
* Pest Control: Squash plants are susceptible to a variety of pests, including squash bugs, squash vine borers, and aphids.
* Squash Bugs: These pests suck the sap from squash leaves, causing them to wilt and die. Handpicking squash bugs is the most effective way to control them. You can also use insecticidal soap or neem oil.
* Squash Vine Borers: These pests bore into the stems of squash plants, causing them to wilt and die. To prevent squash vine borers, wrap the base of your squash plants with aluminum foil or pantyhose. You can also inject Bacillus thuringiensis (Bt) into the stems to kill the borers.
* Aphids: These small, sap-sucking insects can weaken squash plants. You can control aphids with insecticidal soap, neem oil, or a strong stream of water.
* Disease Control: Squash plants are also susceptible to a variety of diseases, including powdery mildew and downy mildew.
* Powdery Mildew: This fungal disease causes a white, powdery coating on the leaves of squash plants. To prevent powdery mildew, provide good air circulation and avoid overhead watering. You can also treat powdery mildew with a fungicide.
* Downy Mildew: This fungal disease causes yellow spots on the upper surface of squash leaves and a gray, fuzzy growth on the underside. To prevent downy mildew, provide good air circulation and avoid overhead watering. You can also treat downy mildew with a fungicide.
* Pollination: Squash plants have separate male and female flowers. The female flowers need to be pollinated in order to produce fruit. Bees are the primary pollinators of squash plants. If you’re not seeing many bees in your garden, you may need to hand-pollinate your squash flowers.
1. Identify the male and female flowers. Male flowers have a long, thin stem, while female flowers have a small, immature fruit at the base.
2. Use a small paintbrush or cotton swab to collect pollen from the male flower.
3. Transfer the pollen to the stigma of the female flower.
4. Repeat this process for all of the female flowers that you want to pollinate.
Harvesting Your Squash
The timing of your squash harvest will depend on the variety you’re growing.
* Summer Squash: Harvest summer squash when they are young and tender, usually about 5-7 days after the flowers open. The skin should be smooth and easily pierced with your fingernail. Overripe summer squash will be tough and seedy.
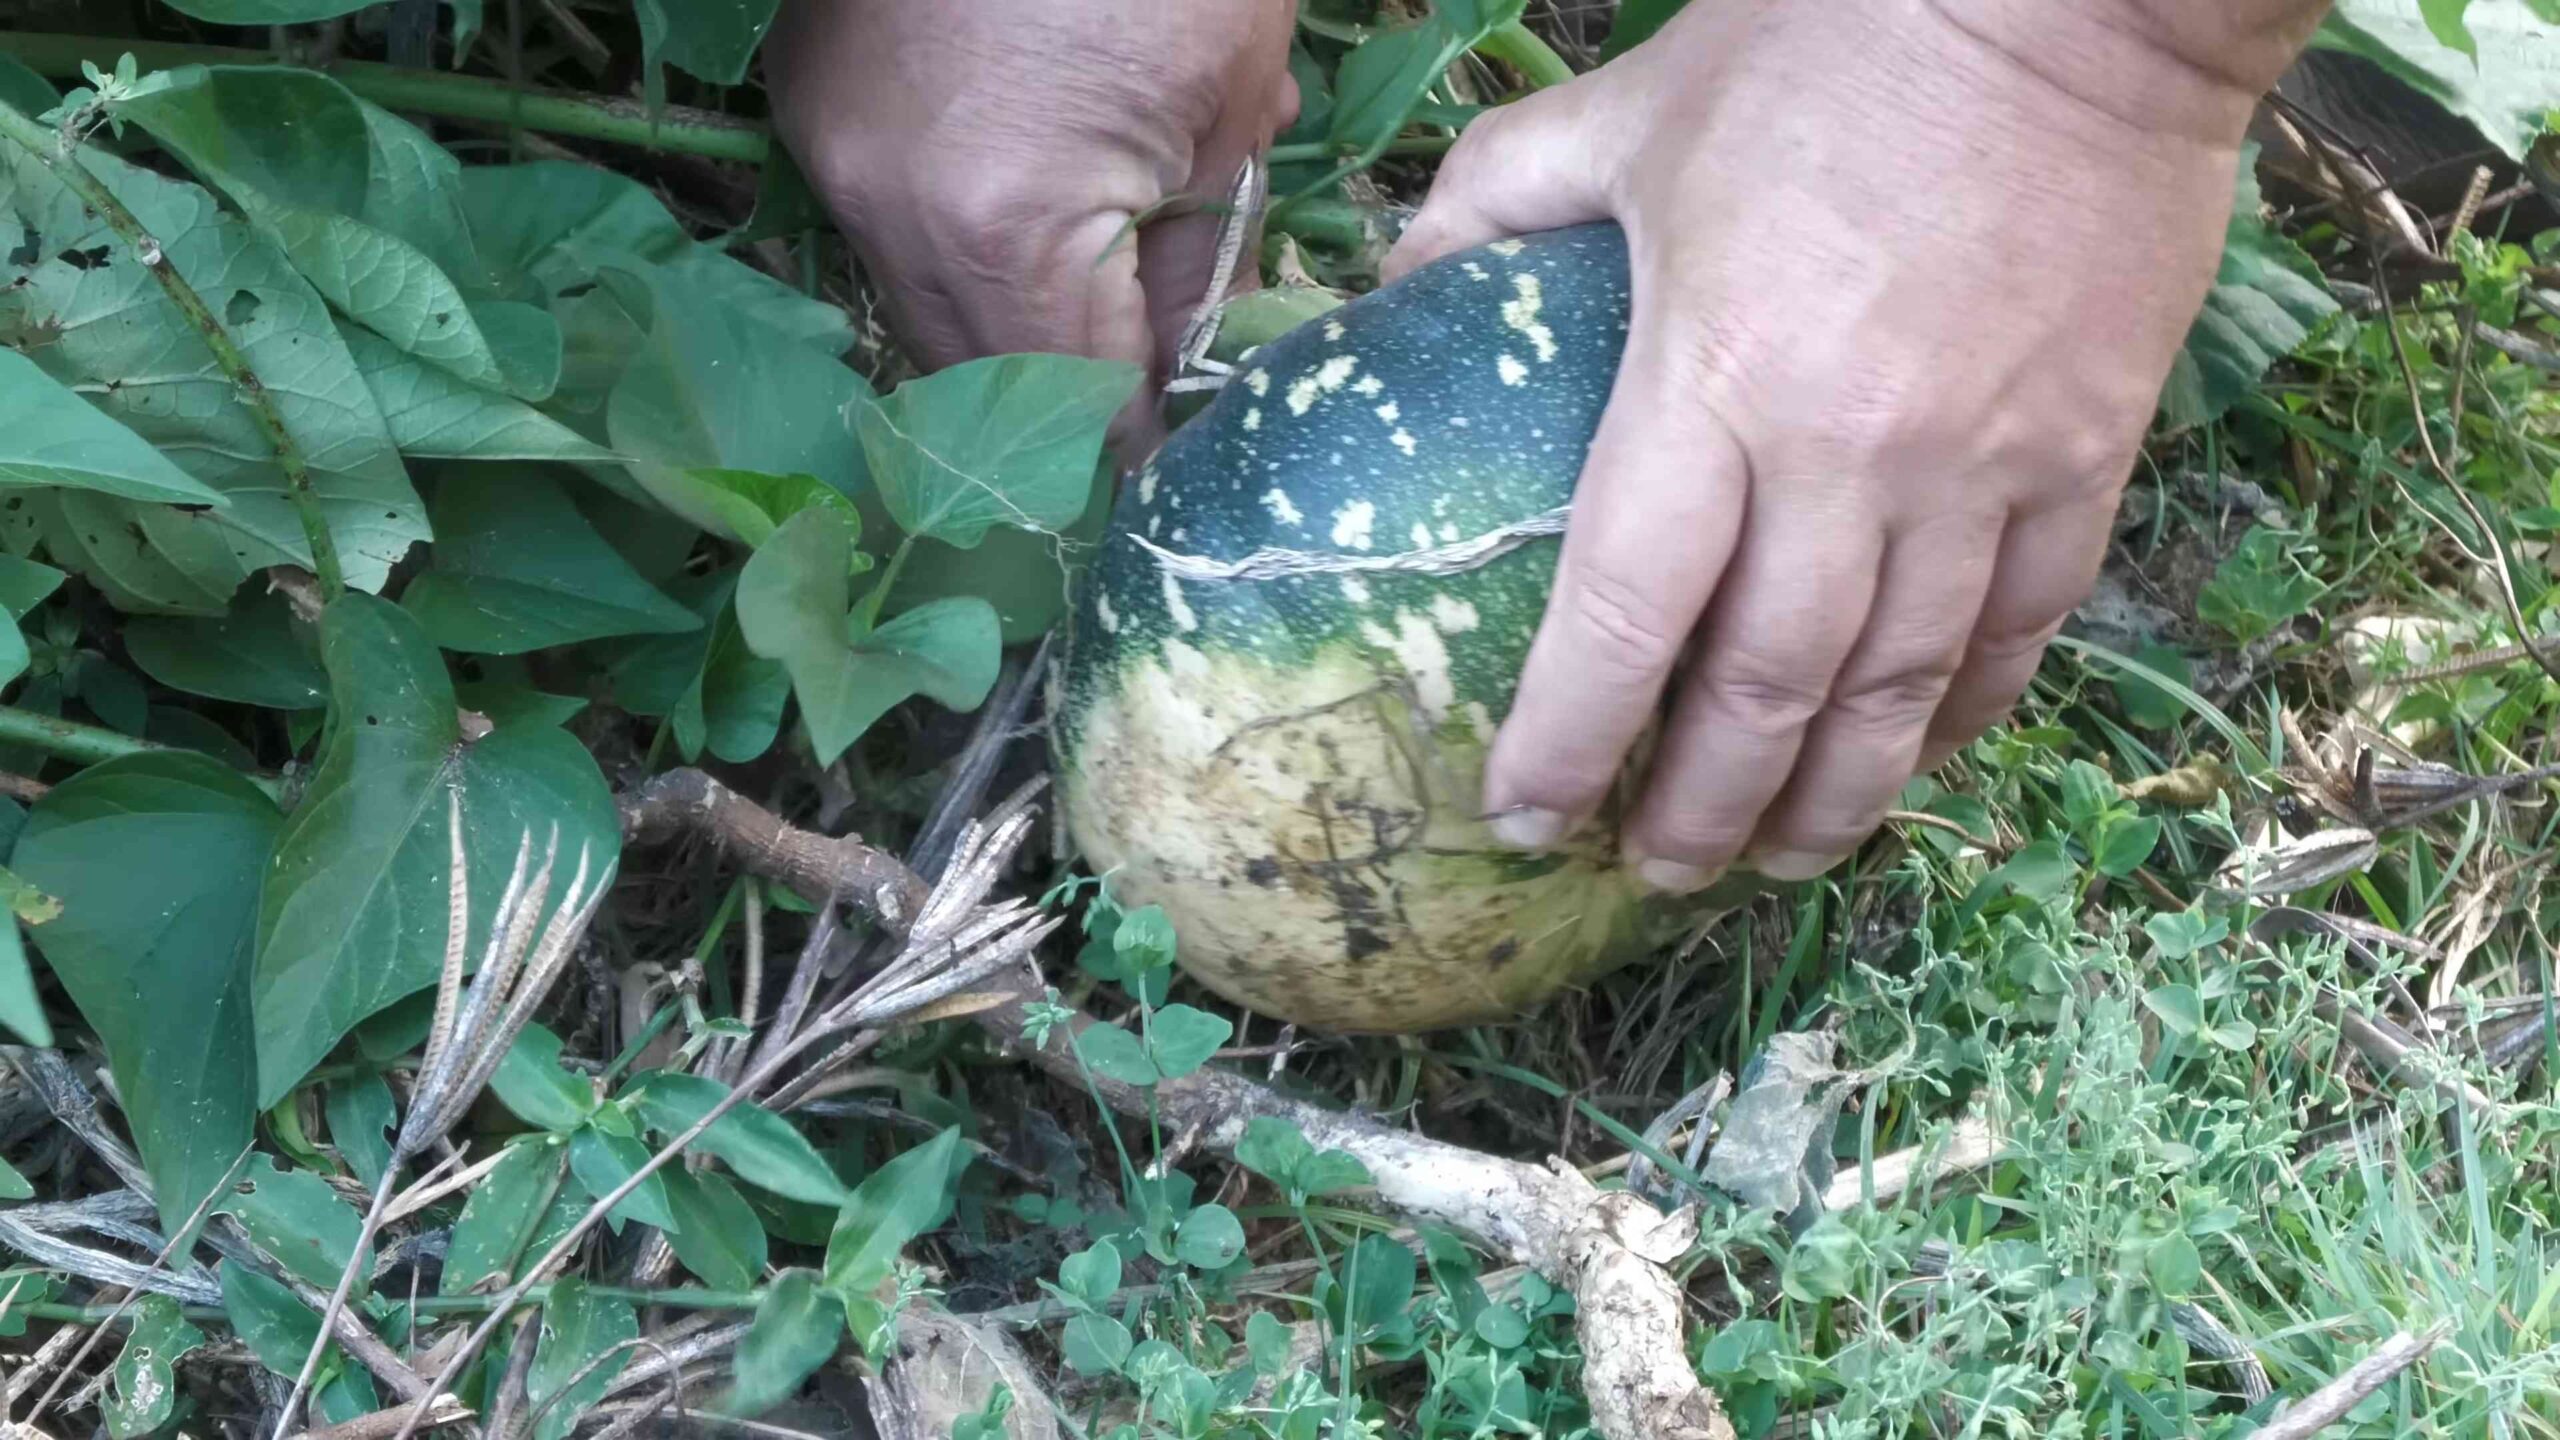
* Winter Squash: Harvest winter squash when they are fully mature, usually in the fall. The rind should be hard and difficult to pierce with your fingernail. The stem should be dry and brown. Leave about 2-3 inches of stem attached to the squash when you harvest it.
Storing Your Squash
* Summer Squash: Summer squash doesn’t store well. It’s best to use it within a few days of harvesting. You can store it in the refrigerator for up to a week.
* Winter Squash: Winter squash stores well for several months if stored properly. Store it in a cool, dry place with good air circulation. The ideal storage temperature is between 50°F and 60°F (10°C and 15°C). Don’t store winter squash near apples or pears, as they release ethylene gas, which can cause the squash to spoil.
Troubleshooting
Even with the best care, you may encounter some problems when growing squash. Here are a few common issues and how to address them:
* Blossom End Rot: This condition causes the blossom end of the squash to rot. It’s usually caused by a calcium deficiency or inconsistent watering. To prevent blossom end rot, amend your soil with calcium and water your plants consistently.
* Poor Pollination: If your squash plants are producing flowers but no fruit, it may be due to poor pollination. Hand-pollinate your squash flowers to ensure that they are properly pollinated.
* Pest Infestations: As mentioned earlier, squash plants are susceptible to a variety of pests. Monitor your plants regularly
Conclusion
So, there you have it! Growing squash at home, while it might seem daunting at first, is a remarkably rewarding experience. From the satisfaction of nurturing a tiny seed into a sprawling, productive plant to the unparalleled flavor of freshly harvested squash, the benefits are undeniable. We’ve covered everything from selecting the right varieties for your climate and space to preparing your soil, planting, watering, and dealing with common pests and diseases.
But why is this DIY approach a must-try? Simply put, it’s about control and quality. When you grow your own squash, you know exactly what’s going into it – no mystery pesticides, no long-distance transportation that diminishes flavor and nutritional value. You get squash that’s bursting with freshness, picked at its peak ripeness, and ready to be transformed into delicious meals. Plus, let’s be honest, there’s a certain magic to watching something you planted with your own hands flourish and provide sustenance.
Don’t be afraid to experiment! Consider trying different varieties of squash each year to discover your favorites. Maybe you’ll fall in love with the buttery sweetness of butternut squash, the nutty flavor of acorn squash, or the versatility of zucchini. You can also explore different growing techniques, such as companion planting (planting beneficial herbs and flowers alongside your squash) or vertical gardening to maximize space. If you’re feeling adventurous, try saving seeds from your best-performing plants to continue the cycle year after year.
And speaking of experimentation, consider variations on the basic growing methods. For example, if you live in an area with poor soil, try building raised beds or using containers filled with high-quality compost. If you struggle with squash vine borers, consider wrapping the base of your stems with aluminum foil or netting to deter them. The key is to adapt the techniques to your specific environment and challenges.
Growing squash at home is not just about producing food; it’s about connecting with nature, learning new skills, and enjoying the fruits (or rather, vegetables!) of your labor. It’s a chance to slow down, appreciate the simple things, and create something truly special.
We wholeheartedly encourage you to give it a try. Start small, be patient, and don’t be afraid to make mistakes. Every gardener learns through trial and error. And most importantly, have fun!
Once you’ve harvested your first crop of homegrown squash, we’d love to hear about your experience. Share your tips, tricks, and triumphs in the comments below. Let us know what varieties you grew, what challenges you faced, and what delicious dishes you created. Your insights can help inspire and encourage other aspiring squash growers. Let’s build a community of passionate gardeners, sharing our knowledge and celebrating the joys of growing our own food. So, grab your seeds, get your hands dirty, and get ready to enjoy the incredible rewards of growing squash at home!
Frequently Asked Questions (FAQ)
What is the best time to start growing squash?
The best time to start growing squash depends on your climate and the specific variety you’re planting. Generally, squash is a warm-weather crop and should be planted after the last frost. For summer squash like zucchini and yellow squash, you can start seeds indoors 2-3 weeks before the last frost or direct sow them in the garden once the soil has warmed up to at least 60°F (15°C). Winter squash, such as butternut and acorn squash, typically require a longer growing season and should be started earlier, either indoors or directly sown after the last frost. Check the seed packet for specific recommendations for your chosen variety.
How much space does squash need?
Squash plants can be quite large and sprawling, so they need plenty of space to grow. Summer squash varieties generally need 2-3 feet between plants, while winter squash varieties may need 3-4 feet or even more. Consider the mature size of the plant when planning your garden layout. If you’re short on space, you can try growing bush varieties of squash, which are more compact. Vertical gardening techniques, such as training squash vines up a trellis, can also help save space.
What kind of soil is best for growing squash?
Squash thrives in well-drained, fertile soil that is rich in organic matter. Before planting, amend your soil with compost, aged manure, or other organic amendments to improve its structure and fertility. Squash prefers a slightly acidic to neutral soil pH, ideally between 6.0 and 7.0. You can test your soil pH with a soil testing kit and adjust it accordingly if necessary.
How often should I water my squash plants?
Squash plants need consistent moisture, especially during hot, dry weather. Water deeply and regularly, aiming to keep the soil consistently moist but not waterlogged. Water at the base of the plants to avoid wetting the foliage, which can increase the risk of fungal diseases. Mulching around the plants with straw or wood chips can help retain moisture and suppress weeds.
What are some common pests and diseases that affect squash?
Squash plants are susceptible to several pests and diseases, including squash vine borers, squash bugs, powdery mildew, and squash blossom end rot. Squash vine borers are particularly destructive pests that tunnel into the stems of squash plants, causing them to wilt and die. You can protect your plants by wrapping the base of the stems with aluminum foil or netting, or by using insecticidal soap. Squash bugs are sap-sucking insects that can weaken plants and transmit diseases. Handpicking the bugs and their eggs is an effective way to control them. Powdery mildew is a fungal disease that causes a white, powdery coating on the leaves. Improve air circulation around the plants and apply a fungicide if necessary. Squash blossom end rot is a physiological disorder caused by calcium deficiency. Ensure that your soil is rich in calcium and water consistently to prevent this problem.
How do I know when my squash is ripe?
The ripeness of squash depends on the variety. Summer squash, such as zucchini and yellow squash, should be harvested when they are young and tender, typically when they are 6-8 inches long. Winter squash, such as butternut and acorn squash, should be harvested when they are fully mature and the skin is hard and resistant to scratching. The stem should also be dry and brown. Leave a few inches of stem attached to the squash when harvesting to help prevent rot.
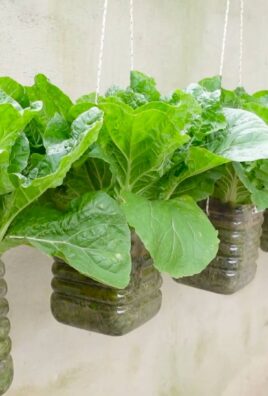
Can I grow squash in containers?
Yes, you can grow squash in containers, but you’ll need to choose a large container that is at least 24 inches in diameter and depth. Use a high-quality potting mix that is well-draining and rich in organic matter. Bush varieties of squash are generally better suited for container growing than vining varieties. Be sure to water and fertilize your container-grown squash plants regularly.
How do I save seeds from my squash plants?
Saving seeds from your squash plants is a great way to continue growing your favorite varieties year after year. To save seeds, allow a few of your best-performing squash to fully mature on the vine. Once the squash is ripe, cut it open and scoop out the seeds. Rinse the seeds thoroughly to remove any pulp. Spread the seeds out on a paper towel to dry completely. Once the seeds are dry, store them in an airtight container in a cool, dark, and dry place.
What are some good companion plants for squash?
Companion planting can help improve the growth and health of your squash plants. Some good companion plants for squash include:
* Marigolds: Repel squash bugs and other pests.
* Nasturtiums: Attract aphids away from squash plants.
* Beans: Fix nitrogen in the soil, which benefits squash.
* Corn: Provides shade for squash plants in hot weather.
* Radishes: Deter squash vine borers.
* Herbs: Many herbs, such as basil, oregano, and thyme, can help repel pests and attract beneficial insects.
My squash blossoms are falling off without producing fruit. What’s happening?
This is a common problem called blossom drop. It can be caused by several factors, including:
* Lack of pollination: Squash plants need to be pollinated in order to produce fruit. If there are not enough pollinators in your area, you may need to hand-pollinate the blossoms.
* High temperatures: Extreme heat can interfere with pollination and cause blossoms to drop.
* Overwatering or underwatering: Inconsistent watering can stress the plants and lead to blossom drop.
* Nutrient deficiencies: A lack of essential nutrients, such as phosphorus or potassium, can also cause blossom drop.
Make sure your plants are getting adequate water, nutrients, and pollination. You can hand-pollinate the blossoms by transferring pollen from the male flowers to the female flowers using a small brush.
Leave a Comment