

Growing Queen Cabbage at Home might sound like something reserved for seasoned gardeners with acres of land, but I’m here to tell you it’s totally achievable, even if you’re working with a small balcony or a sunny windowsill! Forget those supermarket cabbages that lack that fresh, vibrant flavor – imagine harvesting your own, bursting with nutrients and ready to be transformed into delicious meals.
Cabbage, in its various forms, has been a staple food for centuries, with roots tracing back to ancient Europe. It was prized by the Romans and Greeks for its medicinal properties and nutritional value. Over time, different varieties emerged, each with its unique characteristics. The “Queen Cabbage,” with its potentially regal size and satisfying crunch, is a testament to the plant’s adaptability and enduring appeal.
But why should you bother with the effort of growing your own? Well, beyond the sheer satisfaction of nurturing something from seed to table, growing Queen Cabbage at Home allows you to control exactly what goes into your food. No more worrying about pesticides or questionable farming practices! Plus, freshly harvested cabbage tastes infinitely better than anything you can buy in a store. In this article, I’m going to share some simple, DIY tricks and hacks that will help you cultivate your own thriving Queen Cabbage, regardless of your gardening experience. Get ready to impress your friends and family with your homegrown harvest!
Growing Giant Queen Cabbage at Home: A DIY Guide
Okay, so you want to grow a Queen Cabbage, huh? Awesome! These things are seriously impressive, and while they might seem intimidating, growing them yourself is totally doable. I’m going to walk you through everything you need to know, from seed to harvest. Get ready to impress your neighbors (and maybe even win a prize at the county fair!).
Choosing the Right Variety and Starting Seeds
First things first, you need to pick the right cabbage variety. While “Queen Cabbage” isn’t a specific variety, it generally refers to large, heirloom cabbages known for their size and flavor. Some great options include:
* ‘Danish Ballhead’: A classic choice, known for its dense heads and excellent storage capabilities. This is a reliable workhorse.
* ‘Brunswick’: Another heirloom variety that produces large, slightly flattened heads. It’s a bit sweeter than some other varieties.
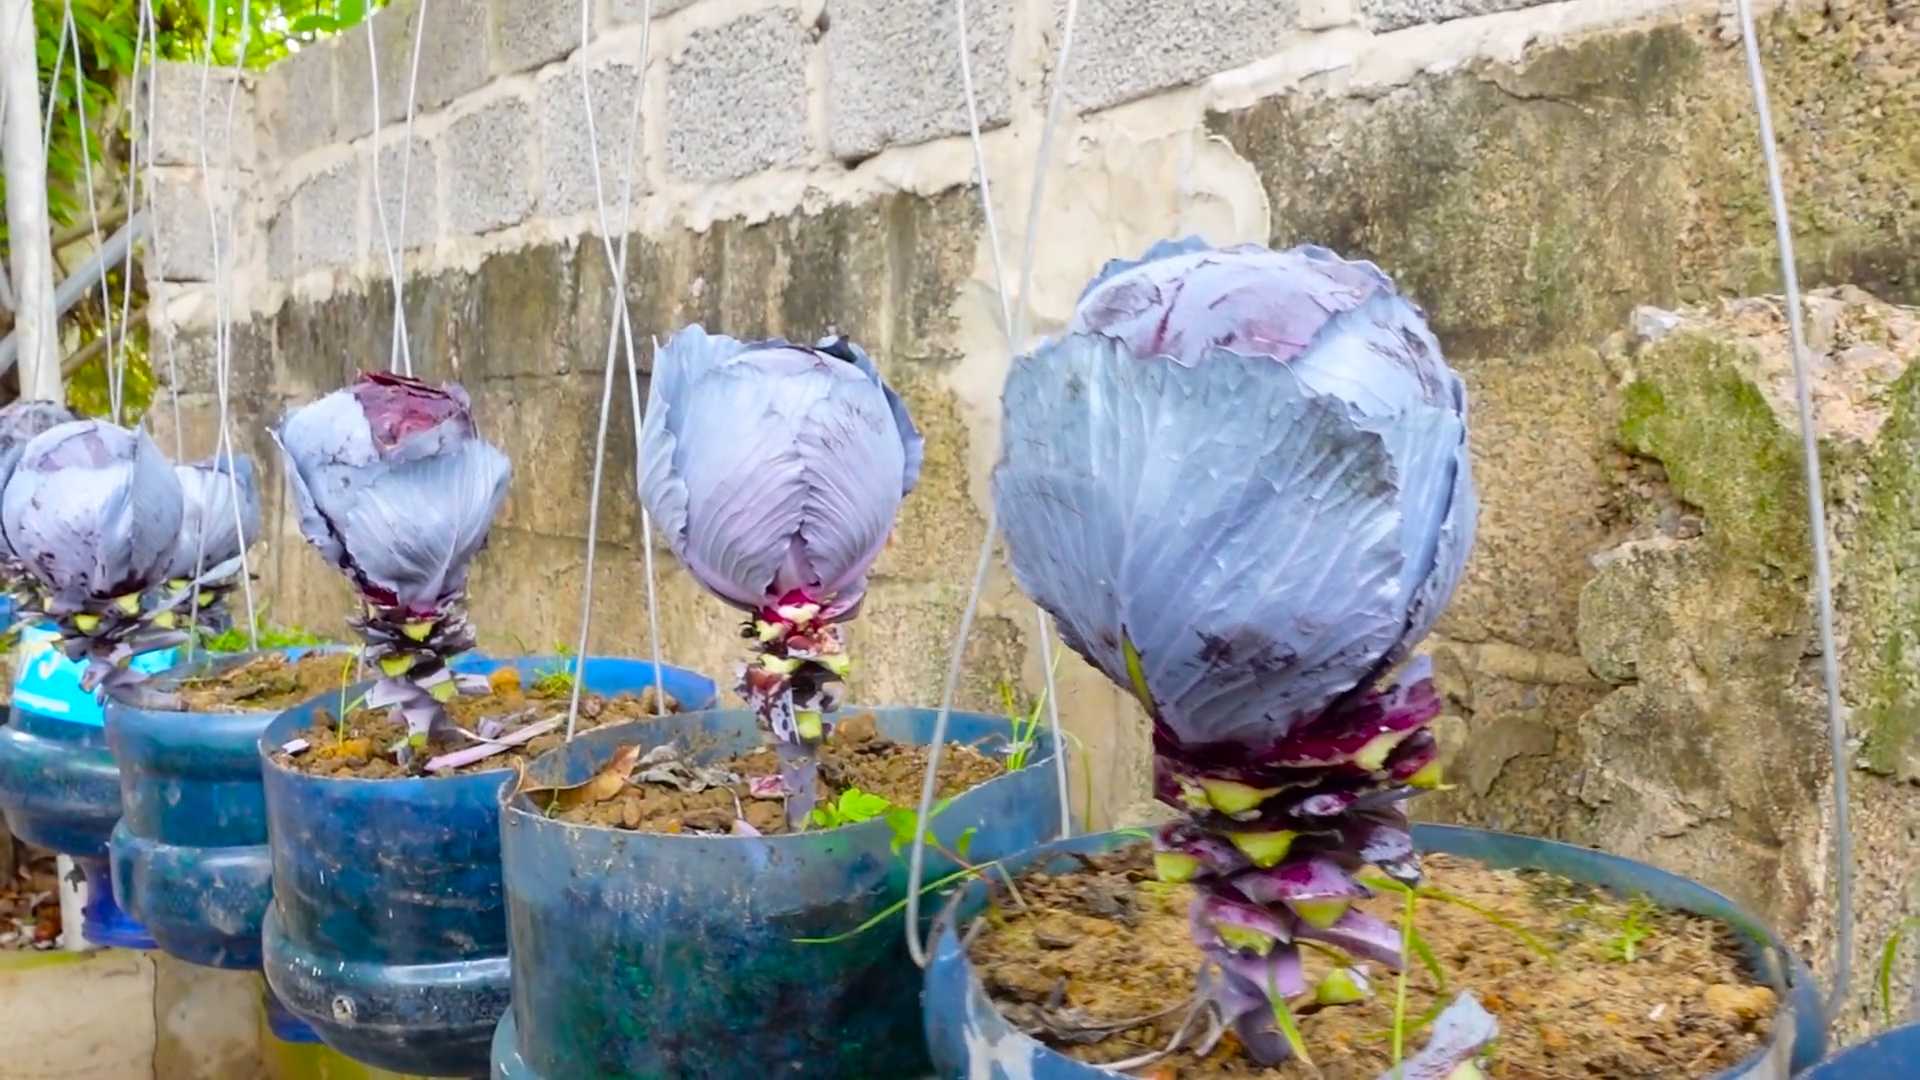
* ‘Mammoth Red Rock’: If you want something visually stunning, this red cabbage grows to a massive size. Plus, it’s packed with antioxidants!
* ‘January King’: This one is a bit more cold-hardy, making it a good choice if you live in an area with cooler winters.
Once you’ve chosen your variety, it’s time to start the seeds. I always recommend starting cabbage seeds indoors, about 6-8 weeks before the last expected frost. This gives them a head start and ensures a longer growing season.
Here’s how I do it:
1. Gather Your Supplies: You’ll need seed starting trays or small pots, a good quality seed starting mix (I like to use a mix of peat moss, vermiculite, and perlite), a spray bottle, and a heat mat (optional, but helpful).
2. Prepare the Seed Starting Mix: Moisten the seed starting mix with water until it’s damp but not soggy. You want it to hold together when you squeeze it, but not drip water.
3. Fill the Trays or Pots: Fill your seed starting trays or pots with the moistened mix, leaving about half an inch of space at the top.
4. Sow the Seeds: Make a small indentation (about ¼ inch deep) in the center of each cell or pot. Place 2-3 cabbage seeds in each indentation. This increases your chances of at least one seed germinating.
5. Cover the Seeds: Gently cover the seeds with a thin layer of seed starting mix.
6. Water Gently: Use a spray bottle to mist the surface of the soil. You don’t want to dislodge the seeds.
7. Provide Warmth and Light: Place the trays or pots on a heat mat (if using) and under grow lights. Cabbage seeds need warmth (around 70-75°F) to germinate. If you don’t have grow lights, a sunny windowsill will work, but be sure to rotate the trays regularly to prevent the seedlings from leaning towards the light.
8. Keep the Soil Moist: Check the soil moisture daily and mist with water as needed to keep it consistently damp.
9. Thin the Seedlings: Once the seedlings have emerged and have their first set of true leaves (the leaves that look like miniature cabbage leaves), thin them to one seedling per cell or pot. Choose the strongest, healthiest-looking seedling and snip off the others at the soil line with small scissors. Don’t pull them out, as this can disturb the roots of the seedling you’re keeping.
Preparing the Garden Bed
While your seedlings are growing indoors, it’s time to get your garden bed ready. Cabbages are heavy feeders, so you’ll need to amend the soil with plenty of organic matter. They also prefer a slightly acidic soil pH (around 6.0-6.8).
Here’s what I do to prepare my cabbage bed:
1. Choose a Sunny Location: Cabbages need at least 6 hours of sunlight per day. Choose a spot in your garden that gets plenty of sun.
2. Clear the Area: Remove any weeds, rocks, or debris from the area.
3. Amend the Soil: This is the most important step! Spread a generous layer of compost (at least 4 inches) over the entire bed. You can also add other organic amendments like well-rotted manure, leaf mold, or peat moss.
4. Till or Dig in the Amendments: Use a tiller or garden fork to incorporate the compost and other amendments into the soil to a depth of at least 12 inches.
5. Test the Soil pH: Use a soil testing kit to check the pH of your soil. If it’s too alkaline (above 7.0), you can lower it by adding sulfur or peat moss. If it’s too acidic (below 6.0), you can raise it by adding lime.
6. Create Raised Beds (Optional): If your soil is poorly drained, consider creating raised beds. This will improve drainage and prevent root rot.
Transplanting the Seedlings
Once the danger of frost has passed and your seedlings have developed several sets of true leaves, it’s time to transplant them into the garden.
Here’s how I transplant my cabbage seedlings:
1. Harden Off the Seedlings: Before transplanting, you need to “harden off” the seedlings. This means gradually exposing them to outdoor conditions over a period of 7-10 days. Start by placing them in a sheltered spot outdoors for a few hours each day, gradually increasing the amount of time they spend outside. This will help them acclimate to the sun, wind, and temperature changes.
2. Choose a Cloudy Day: Transplanting on a cloudy day will reduce stress on the seedlings.
3. Dig Holes: Dig holes in the prepared garden bed, spacing them about 18-24 inches apart. The holes should be deep enough to accommodate the root ball of the seedlings.
4. Remove the Seedlings from the Trays or Pots: Gently remove the seedlings from their trays or pots. If the roots are tightly bound, gently loosen them with your fingers.
5. Plant the Seedlings: Place the seedlings in the holes, making sure the top of the root ball is level with the surrounding soil.
6. Fill in the Holes: Fill in the holes with soil and gently firm the soil around the base of the seedlings.
7. Water Thoroughly: Water the seedlings thoroughly after transplanting.
8. Mulch: Apply a layer of mulch around the seedlings to help retain moisture, suppress weeds, and regulate soil temperature. I like to use straw or shredded leaves.
Caring for Your Growing Cabbages
Now that your cabbages are in the ground, it’s time to take care of them. This involves regular watering, fertilizing, and pest control.
Here’s my cabbage care routine:
1. Watering: Cabbages need consistent moisture, especially during hot, dry weather. Water deeply and regularly, aiming for about 1-1.5 inches of water per week. Avoid overhead watering, as this can promote fungal diseases. Drip irrigation is ideal.
2. Fertilizing: Cabbages are heavy feeders, so you’ll need to fertilize them regularly. I like to use a balanced organic fertilizer, such as a 10-10-10 or 5-5-5. Apply the fertilizer according to the package directions. You can also side-dress the plants with compost or well-rotted manure every few weeks.
3. Weed Control: Keep the garden bed free of weeds, as they can compete with the cabbages for nutrients and water. Hand-pull weeds regularly or use a hoe to cultivate the soil.
4. Pest Control: Cabbages are susceptible to a variety of pests, including cabbage worms, cabbage loopers, aphids, and flea beetles. Here are some ways to control these pests:
* Cabbage Worms and Cabbage Loopers: These are the most common cabbage pests. They are green caterpillars that feed on the leaves. You can hand-pick them off the plants or use a biological insecticide like Bacillus thuringiensis (Bt).
* Aphids: These are small, sap-sucking insects that can weaken the plants. You can spray them off with a strong stream of water or use insecticidal soap.
* Flea Beetles: These are small, jumping beetles that chew tiny holes in the leaves. You can cover the plants with row covers to prevent them from reaching the plants.
5. Disease Control: Cabbages can also be susceptible to diseases like black rot and clubroot. Here are some ways to prevent these diseases:
* Black Rot: This is a bacterial disease that causes yellowing and browning of the leaves. To prevent black rot, plant disease-resistant varieties, practice crop rotation, and avoid overhead

Conclusion
So, there you have it! Growing your own Queen Cabbage at home isn’t just a gardening project; it’s an investment in fresh, flavorful, and nutritious food right at your fingertips. We’ve walked you through the process, from selecting the perfect seeds to nurturing your cabbage to its full, glorious potential. But why is this DIY trick a must-try?
Firstly, the taste difference is undeniable. Store-bought cabbage, while convenient, often lacks the vibrant flavor and crisp texture of a homegrown Queen Cabbage. Imagine the satisfaction of harvesting a head of cabbage you’ve personally cultivated, knowing exactly where it came from and what went into its growth. The flavor will be more intense, the texture more satisfying, and the nutritional value at its peak.
Secondly, growing your own Queen Cabbage is incredibly rewarding. There’s something deeply satisfying about nurturing a plant from seed to harvest. It connects you to the natural world and provides a sense of accomplishment that’s hard to replicate. Plus, it’s a fantastic way to reduce your carbon footprint by minimizing your reliance on commercially grown produce that has to be transported long distances.
Thirdly, it’s a cost-effective way to enjoy fresh vegetables. While there’s an initial investment in seeds, soil, and perhaps some basic gardening tools, the yield from even a small Queen Cabbage patch can significantly offset your grocery bill. And let’s not forget the added benefit of having access to organic, pesticide-free produce.
But the benefits don’t stop there. Growing Queen Cabbage at home allows for experimentation and customization. Want to try a different variety? Go for it! Want to experiment with companion planting to deter pests naturally? The possibilities are endless. Consider these variations to elevate your Queen Cabbage growing experience:
* Succession Planting: Plant seeds every few weeks to ensure a continuous harvest throughout the growing season.
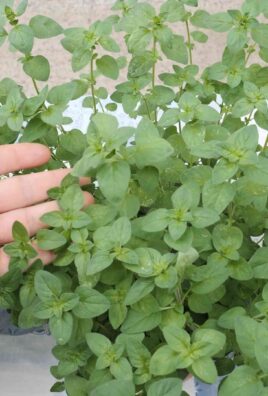
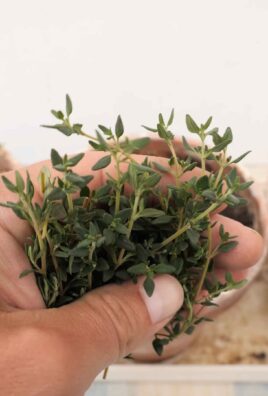
* Companion Planting: Plant marigolds or nasturtiums near your cabbage to deter pests like cabbage moths. Dill and chamomile are also excellent companions.
* Container Gardening: If you have limited space, grow your Queen Cabbage in large containers on a patio or balcony.
* Different Varieties: Explore different varieties of cabbage, such as red cabbage or savoy cabbage, to add variety to your garden and your meals.
* Fermenting: Once you have a bountiful harvest, consider fermenting some of your Queen Cabbage into sauerkraut or kimchi for a probiotic-rich treat.
Ultimately, growing your own Queen Cabbage is about more than just having fresh vegetables. It’s about connecting with nature, learning new skills, and enjoying the satisfaction of creating something beautiful and delicious.
So, what are you waiting for? Grab some seeds, prepare your soil, and embark on your Queen Cabbage growing adventure today! We’re confident that you’ll be amazed by the results. And don’t forget to share your experiences with us! We’d love to hear your tips, tricks, and triumphs in the comments below. Share photos of your beautiful Queen Cabbage plants and let us know what delicious dishes you’re creating with your homegrown harvest. Let’s build a community of Queen Cabbage enthusiasts!
Frequently Asked Questions (FAQ)
Q: How much space does a Queen Cabbage plant need to grow?
A: Queen Cabbage plants typically need about 18-24 inches of space between each plant. This allows them enough room to spread out and develop a healthy head. If you’re planting in rows, space the rows about 30-36 inches apart. For container gardening, choose a pot that is at least 12 inches in diameter and 12 inches deep.
Q: What kind of soil is best for growing Queen Cabbage?
A: Queen Cabbage thrives in well-drained, fertile soil that is rich in organic matter. The ideal soil pH is between 6.0 and 7.0. Before planting, amend your soil with compost or well-rotted manure to improve its fertility and drainage. If your soil is heavy clay, consider adding sand or perlite to improve drainage.
Q: How often should I water my Queen Cabbage plants?
A: Queen Cabbage plants need consistent moisture, especially during hot weather. Water deeply and regularly, aiming to keep the soil consistently moist but not waterlogged. Check the soil moisture regularly by sticking your finger about an inch into the soil. If it feels dry, it’s time to water. Mulching around the plants can help retain moisture and suppress weeds.
Q: What are some common pests and diseases that affect Queen Cabbage, and how can I prevent them?
A: Common pests that affect Queen Cabbage include cabbage moths, cabbage loopers, aphids, and flea beetles. Diseases include clubroot, black rot, and downy mildew. To prevent these problems, consider the following:
* Crop Rotation: Avoid planting cabbage or other brassicas in the same location year after year.
* Companion Planting: Plant marigolds, nasturtiums, or dill near your cabbage to deter pests.
* Row Covers: Use row covers to protect young plants from pests.
* Handpicking: Regularly inspect your plants and handpick any pests you find.
* Organic Insecticides: If necessary, use organic insecticides such as Bacillus thuringiensis (Bt) for caterpillars or insecticidal soap for aphids.
* Good Air Circulation: Ensure good air circulation around your plants to prevent fungal diseases.
* Disease-Resistant Varieties: Choose disease-resistant varieties of Queen Cabbage.
Q: How long does it take for Queen Cabbage to mature?
A: Queen Cabbage typically takes 60-100 days to mature, depending on the variety and growing conditions. Check the seed packet for specific information on the maturity time for your chosen variety.
Q: How do I know when my Queen Cabbage is ready to harvest?
A: A Queen Cabbage is ready to harvest when the head is firm and solid to the touch. The size of the head will vary depending on the variety, but it should be well-formed and compact. To harvest, use a sharp knife to cut the head from the stem, leaving a few outer leaves attached.
Q: Can I grow Queen Cabbage in containers?
A: Yes, you can grow Queen Cabbage in containers, but you’ll need to choose a large container that is at least 12 inches in diameter and 12 inches deep. Use a well-draining potting mix and water regularly. Container-grown cabbage may need more frequent fertilization than cabbage grown in the ground.
Q: What are some good companion plants for Queen Cabbage?
A: Good companion plants for Queen Cabbage include:
* Marigolds: Deter cabbage moths and other pests.
* Nasturtiums: Attract aphids away from cabbage.
* Dill: Attract beneficial insects that prey on cabbage pests.
* Chamomile: Improves growth and flavor.
* Onions and Garlic: Repel pests.
* Clover: Acts as a living mulch and fixes nitrogen in the soil.
Q: Can I save seeds from my Queen Cabbage plants?
A: Saving seeds from Queen Cabbage can be challenging because cabbage is a biennial plant, meaning it takes two years to produce seeds. Also, cabbage is cross-pollinated, so the seeds may not be true to type. If you want to save seeds, you’ll need to isolate your cabbage plants from other brassicas and allow them to overwinter. In the second year, they will flower and produce seeds. However, for most home gardeners, it’s easier to purchase fresh seeds each year.
Leave a Comment