

Growing Potatoes at Home can seem daunting, but trust me, it’s one of the most rewarding experiences a home gardener can have! Imagine digging into your own backyard and unearthing a treasure trove of fresh, earthy potatoes – perfect for roasting, mashing, or frying into crispy chips. Forget those bland, store-bought spuds; homegrown potatoes burst with flavor and are packed with nutrients.
Potatoes have a rich history, dating back thousands of years to the Andes Mountains in South America, where they were a staple food for the Inca civilization. Over time, they spread across the globe, becoming a vital crop in countless cultures. Now, you can bring that history to your own backyard!
Why should you try growing potatoes at home? Well, for starters, you’ll know exactly where your food comes from and what’s gone into it – no mystery chemicals or long-distance transportation. Plus, it’s a fantastic way to connect with nature, get some exercise, and impress your friends and family with your green thumb. In this article, I’m going to share some simple, DIY tricks and hacks that will make growing potatoes at home easier than you ever thought possible. Get ready to harvest your own delicious potatoes!
Growing Potatoes in Buckets: A Beginner’s Guide
Hey there, fellow gardening enthusiasts! I’m so excited to share my experience with growing potatoes in buckets. It’s a fantastic way to enjoy fresh, homegrown potatoes, even if you don’t have a sprawling garden. Trust me, it’s easier than you think, and the satisfaction of harvesting your own spuds is unbeatable!
Why Grow Potatoes in Buckets?
Before we dive in, let’s talk about why bucket gardening is so great for potatoes:
* Space-Saving: Perfect for balconies, patios, or small yards.
* Easy to Manage: Controlling soil quality, watering, and pests is much simpler.
* Mobility: You can move your potato plants to chase the sun or protect them from harsh weather.
* Harvesting Made Easy: No digging required! Just tip the bucket and collect your bounty.
* Less Soilborne Diseases: Reduces the risk of common potato diseases found in garden soil.
What You’ll Need
Okay, let’s gather our supplies. Here’s what you’ll need to get started:
* Buckets: 5-gallon buckets are ideal. Make sure they’re clean and have drainage holes. You can drill some if they don’t.
* Seed Potatoes: These are potatoes specifically grown for planting. You can find them at garden centers. Choose certified disease-free varieties.
* Potting Mix: A well-draining potting mix is crucial. Avoid using garden soil, as it can compact and hinder growth.
* Fertilizer: A balanced fertilizer (e.g., 10-10-10) or organic fertilizer will provide essential nutrients.
* Watering Can or Hose: For regular watering.
* Optional:
* Grow bags (alternative to buckets)
* Compost or aged manure (for added nutrients)
* Mulch (to retain moisture)
Choosing the Right Seed Potatoes
Selecting the right seed potatoes is key to a successful harvest. Here’s what to look for:
* Variety: Consider your climate and taste preferences. Some popular varieties for bucket growing include Yukon Gold, Red Pontiac, and Kennebec.
* Certified Disease-Free: This ensures you’re starting with healthy potatoes.
* Size: Medium-sized seed potatoes are ideal. You can cut larger ones into pieces, ensuring each piece has at least one “eye” (bud).
* Eyes: Look for seed potatoes with well-developed eyes. These are where the sprouts will emerge.
Preparing Your Seed Potatoes
This step is optional, but I highly recommend it for faster sprouting:
* Chitting (Sprouting): Place your seed potatoes in a cool, bright location (but not direct sunlight) for 1-2 weeks. This encourages them to sprout before planting. You can use an egg carton or a tray.
Step-by-Step Planting Guide
Alright, let’s get our hands dirty! Here’s how to plant your potatoes in buckets:
1. Prepare the Buckets
* Make sure your buckets are clean and have adequate drainage holes. I usually drill about 4-5 holes in the bottom of each bucket.
2. Add the Initial Soil Layer
* Fill the bucket with about 4-6 inches of potting mix. This will be the base for your potato plant.
3. Plant the Seed Potatoes
* Place 1-3 seed potatoes (depending on their size) on top of the soil, with the eyes facing upwards. If you’re using cut seed potatoes, make sure the cut side is facing down.
4. Cover with Soil
* Cover the seed potatoes with another 4-6 inches of potting mix. Gently pat down the soil.
5. Water Thoroughly
* Water the soil until it’s evenly moist but not soggy.
Hilling: The Secret to More Potatoes
Hilling is a crucial technique for maximizing your potato harvest. Here’s how it works:
* What is Hilling? As the potato plant grows, you gradually add more soil around the stem. This encourages the plant to produce more potatoes along the buried stem.
* When to Hill: When the potato plant reaches about 6-8 inches tall, it’s time to start hilling.
* How to Hill: Add a few inches of potting mix around the stem, leaving the top few leaves exposed. Repeat this process every 2-3 weeks as the plant grows, until the bucket is almost full.
Caring for Your Potato Plants
Now that your potatoes are planted, here’s how to keep them happy and healthy:
1. Watering
* Potatoes need consistent moisture, especially during flowering and tuber formation. Water deeply whenever the top inch of soil feels dry. Avoid overwatering, as this can lead to rot.
2. Fertilizing
* Feed your potato plants with a balanced fertilizer every 2-3 weeks. Follow the instructions on the fertilizer package. You can also add compost tea or liquid seaweed extract for extra nutrients.
3. Sunlight
* Potatoes need at least 6-8 hours of sunlight per day. Place your buckets in a sunny location.
4. Pest and Disease Control
* Keep an eye out for common potato pests like aphids, potato beetles, and flea beetles. You can use insecticidal soap or neem oil to control them.
* Prevent fungal diseases by ensuring good air circulation and avoiding overhead watering.
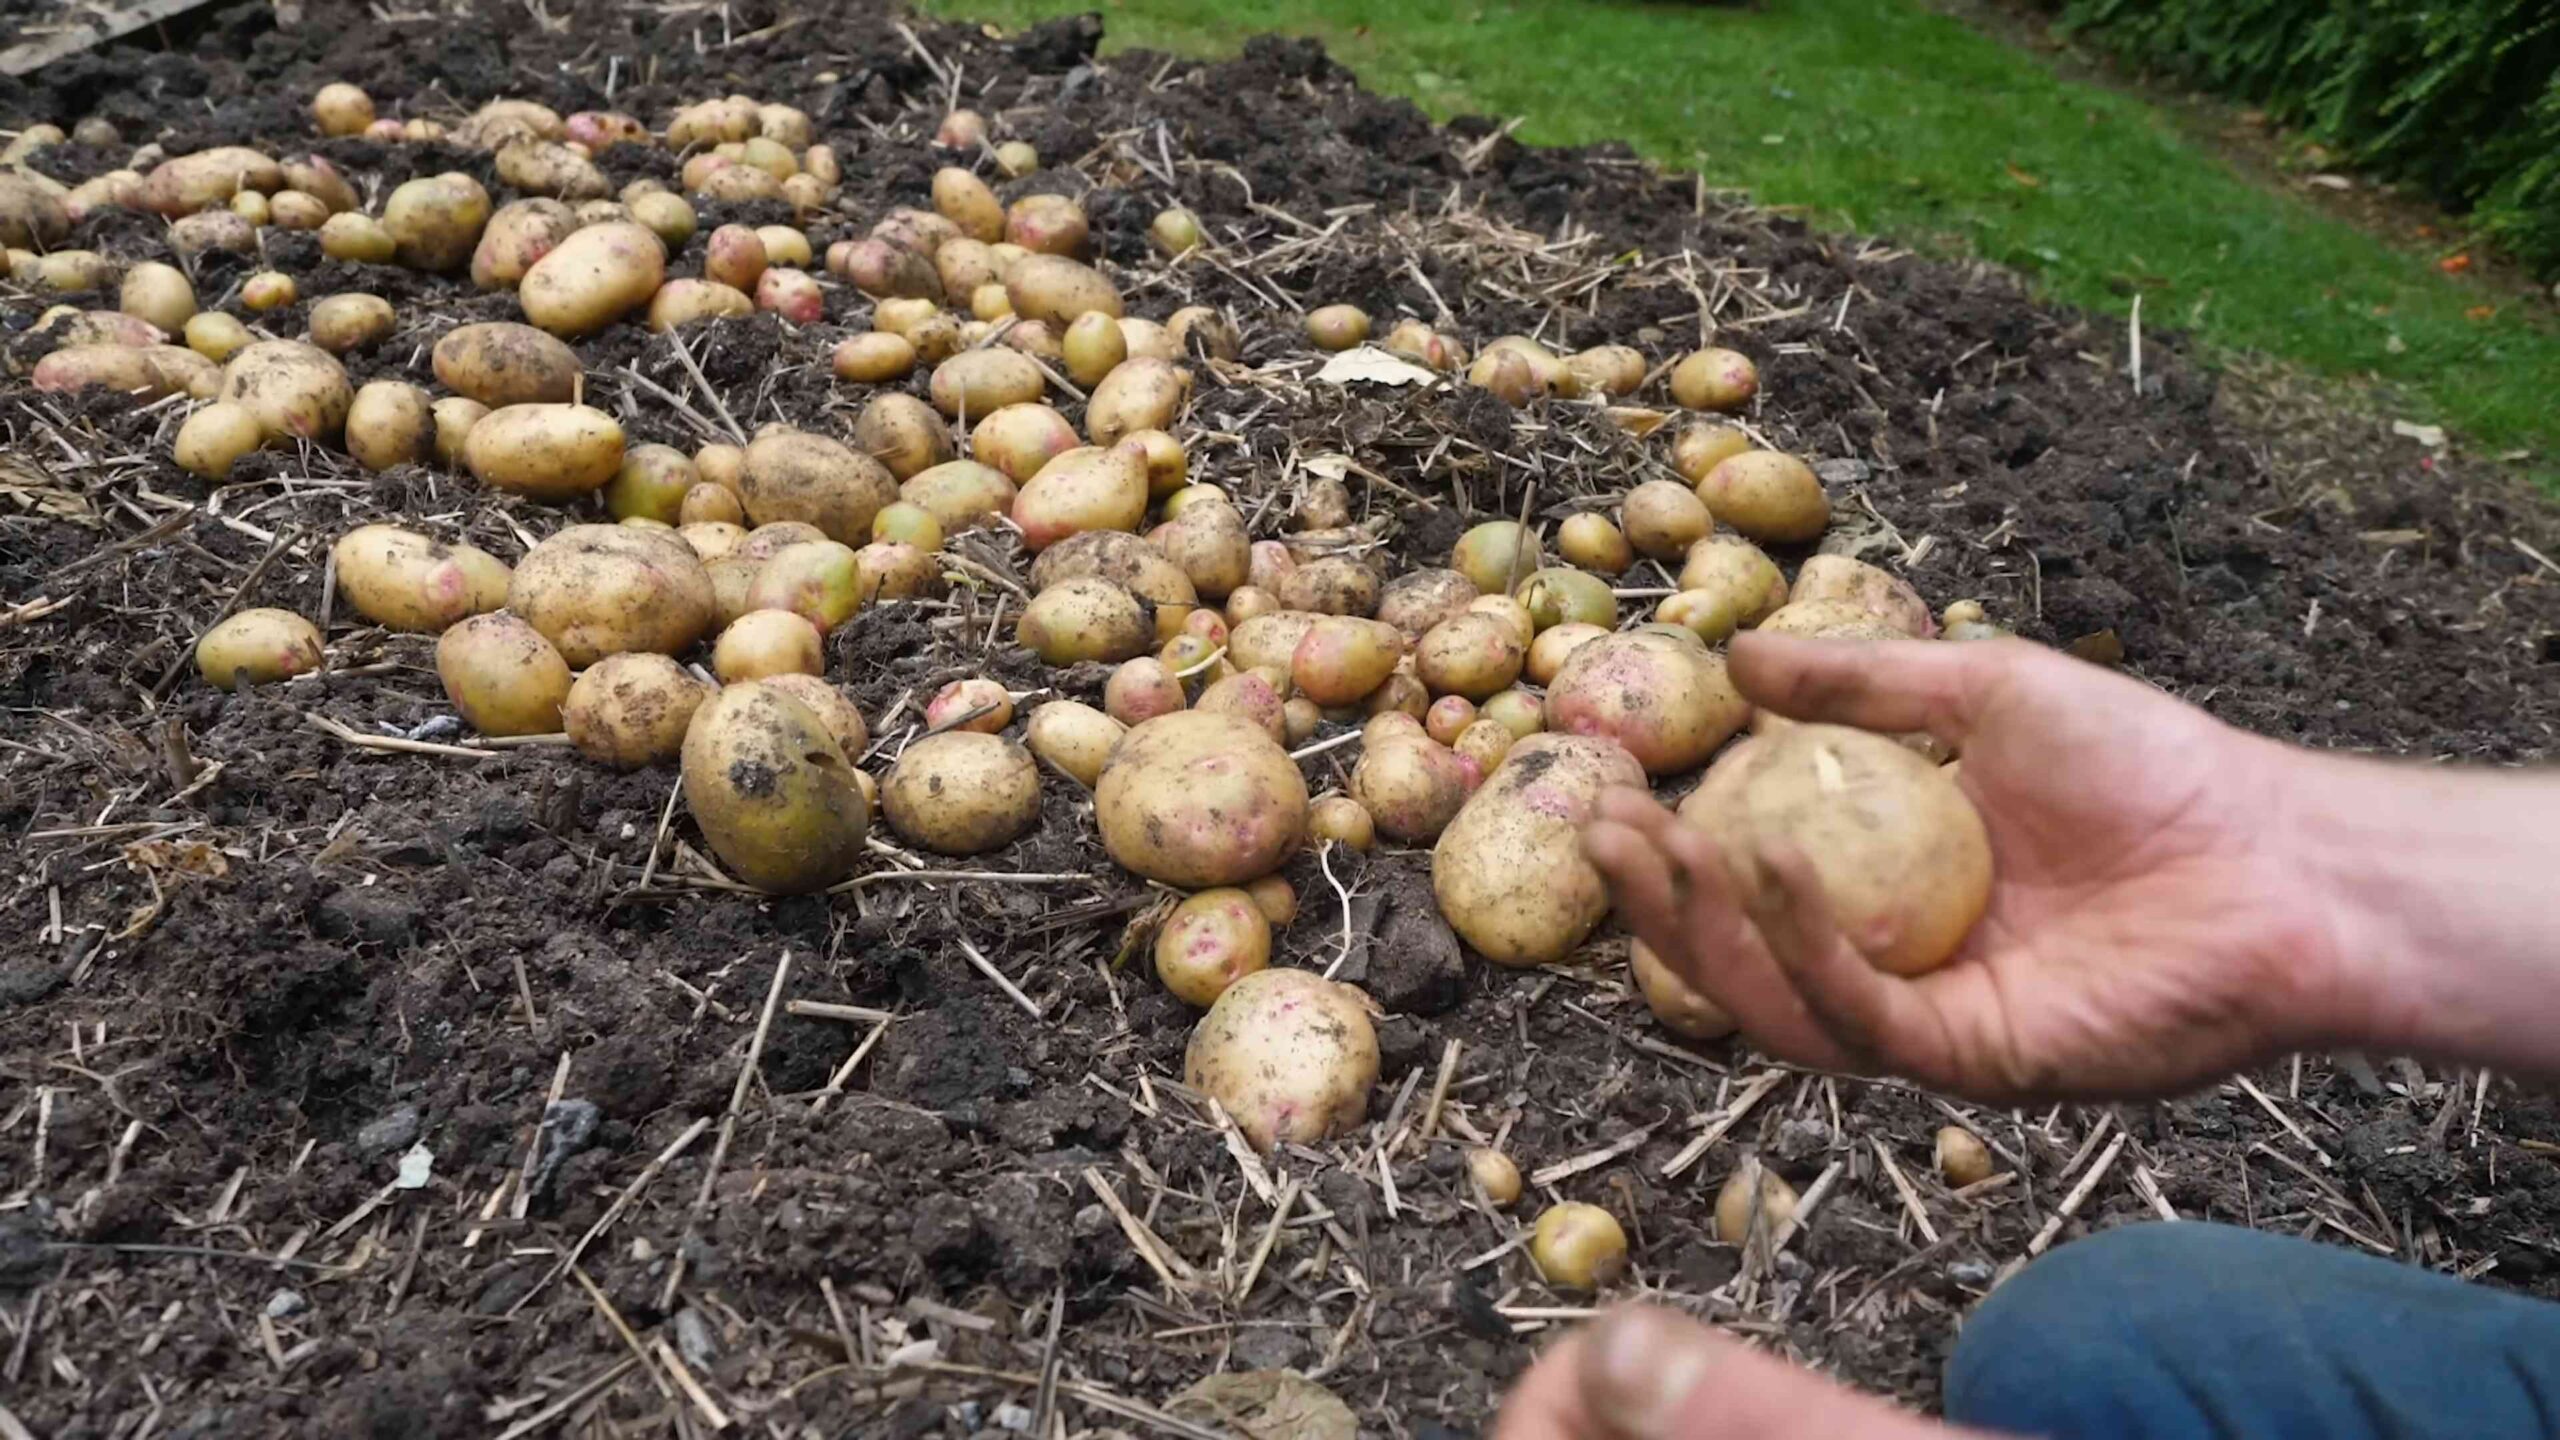
Harvesting Your Potatoes
The most exciting part! Here’s how to know when your potatoes are ready to harvest:
* Timing: Potatoes are typically ready to harvest 70-100 days after planting, depending on the variety.
* Signs: The foliage will start to turn yellow and die back. This indicates that the potatoes have reached maturity.
* Harvesting: Simply tip the bucket over and gently remove the potatoes from the soil. You can also reach into the bucket and harvest “new potatoes” (smaller, immature potatoes) earlier in the season.
Storing Your Potatoes
To keep your homegrown potatoes fresh for longer, follow these storage tips:
* Curing: After harvesting, cure your potatoes by spreading them out in a cool, dark, and well-ventilated place for 1-2 weeks. This helps to toughen the skin and prevent rot.
* Storage Conditions: Store cured potatoes in a cool, dark, and dry place (ideally around 40-50°F). Avoid storing them near apples or onions, as these can cause them to sprout prematurely.
* Containers: Store potatoes in burlap sacks, paper bags, or well-ventilated containers.
Troubleshooting
Even with the best care, you might encounter some challenges. Here are a few common issues and how to address them:
* Leggy Growth: If your potato plants are tall and spindly, they might not be getting enough sunlight. Move them to a sunnier location.
* Yellowing Leaves: This could be a sign of nutrient deficiency or overwatering. Check the soil moisture and fertilize if necessary.
* Pests: Regularly inspect your plants for pests and take action promptly.
* Disease: Remove any diseased foliage immediately to prevent the spread of infection.
Tips for Success
Here are a few extra tips to help you grow the best potatoes ever:
* Use High-Quality Potting Mix: This is essential for good drainage and nutrient availability.
* Don’t Overwater: Soggy soil can lead to rot.
* Hill Regularly: This will maximize your potato yield.
* Monitor for Pests and Diseases: Early detection is key to preventing problems.
* Enjoy the Process! Gardening should be fun. Don’t be afraid to experiment and learn from your mistakes.
Growing potatoes in buckets is a rewarding experience that anyone can enjoy. With a little bit of effort and these helpful tips, you’ll be harvesting your own delicious potatoes in no time! Happy gardening!
Conclusion
So, there you have it! Growing potatoes at home, especially using our simple DIY trick, is not just a gardening project; it’s a rewarding experience that connects you to the source of your food. Forget the store-bought spuds that may have traveled miles and sat on shelves for weeks. Imagine the satisfaction of harvesting your own fresh, flavorful potatoes, knowing exactly where they came from and how they were grown.
This method, focusing on maximizing yield in a small space, is a game-changer for urban gardeners or anyone with limited land. The beauty of this DIY approach is its adaptability. You can experiment with different potato varieties to discover your favorites. Russets for fluffy baked potatoes? Yukon Golds for creamy mashed potatoes? Or perhaps some vibrant fingerling potatoes for a gourmet touch? The choice is yours!
Beyond variety, consider enriching your soil with different organic amendments. Compost, aged manure, or even coffee grounds can boost nutrient levels and improve drainage, leading to even healthier and more productive potato plants. You can also adjust the watering schedule based on your local climate and soil type. Remember, consistently moist (but not waterlogged) soil is key to successful potato growth.
Don’t be afraid to get creative with your container choices too. While we’ve outlined a basic method, you can adapt it to suit your available resources. Large grow bags, repurposed plastic bins, or even old tires can all work effectively as potato-growing containers. Just ensure they have adequate drainage holes to prevent root rot.
The real magic of this DIY potato-growing trick lies in its simplicity and accessibility. It’s a project that anyone, regardless of their gardening experience, can undertake and enjoy. From the initial planting to the final harvest, you’ll witness the incredible transformation of a humble seed potato into a bounty of delicious, homegrown goodness.
We wholeheartedly encourage you to give this DIY potato growing method a try. It’s a fantastic way to connect with nature, learn about the food you eat, and enjoy the unparalleled flavor of freshly harvested potatoes. And most importantly, don’t keep your success (or even your challenges!) to yourself. Share your experiences, photos, and tips with us and the wider gardening community. Let’s learn and grow together! Post your pictures and stories on social media using #HomeGrownPotatoes and inspire others to embark on their own potato-growing adventures. Happy gardening!
Frequently Asked Questions (FAQs)
What kind of potatoes are best for growing at home?
The best potatoes for growing at home depend on your personal preferences and local climate. However, some popular and reliable varieties include:
* **Russet Burbank:** A classic baking potato with a fluffy texture.
* **Yukon Gold:** A versatile potato with a creamy texture and buttery flavor, excellent for mashing, roasting, and boiling.
* **Red Pontiac:** A red-skinned potato with a waxy texture, ideal for boiling and salads.
* **Fingerling Potatoes (e.g., Russian Banana, French Fingerling):** Small, elongated potatoes with a unique flavor and texture, perfect for roasting or grilling.
* **Irish Cobbler:** An early-season variety that produces round, white-skinned potatoes with a slightly sweet flavor.
Consider your local climate and growing season when selecting your potato variety. Some varieties are better suited to cooler climates, while others thrive in warmer conditions. Also, think about how you plan to use the potatoes. If you primarily want baking potatoes, Russets are a great choice. If you prefer all-purpose potatoes, Yukon Golds are a good option.
How do I prepare seed potatoes for planting?
Seed potatoes are potatoes specifically grown for planting, not for eating. You can purchase certified seed potatoes from a garden center or online retailer. To prepare them for planting, you’ll need to “chit” or sprout them. This involves encouraging the potatoes to develop small sprouts before planting, which gives them a head start.
To chit your seed potatoes:
1. Place the seed potatoes in a cool, bright location (but not in direct sunlight) for several weeks before planting. An ideal temperature is around 60-70°F (15-21°C).
2. Arrange the potatoes in a single layer in an egg carton or tray, with the “eyes” (small indentations where sprouts will emerge) facing upwards.
3. As the potatoes sit, they will begin to develop short, green sprouts.
4. Once the sprouts are about 1/2 to 1 inch long, the potatoes are ready to be planted.
If your seed potatoes are large, you can cut them into smaller pieces, ensuring that each piece has at least one or two eyes. Allow the cut surfaces to dry and callous over for a day or two before planting to prevent rot.
How often should I water my potato plants?
Potato plants need consistent moisture to thrive, but they don’t like to be waterlogged. The ideal watering schedule will depend on your local climate, soil type, and the size of your container.
As a general rule, water your potato plants deeply whenever the top inch of soil feels dry to the touch. During hot, dry weather, you may need to water them daily. In cooler, wetter weather, you may only need to water them every few days.
Avoid overwatering, as this can lead to root rot. Make sure your container has adequate drainage holes to allow excess water to escape.
How do I know when my potatoes are ready to harvest?
The timing of your potato harvest will depend on the variety you’re growing and the desired size of the potatoes.
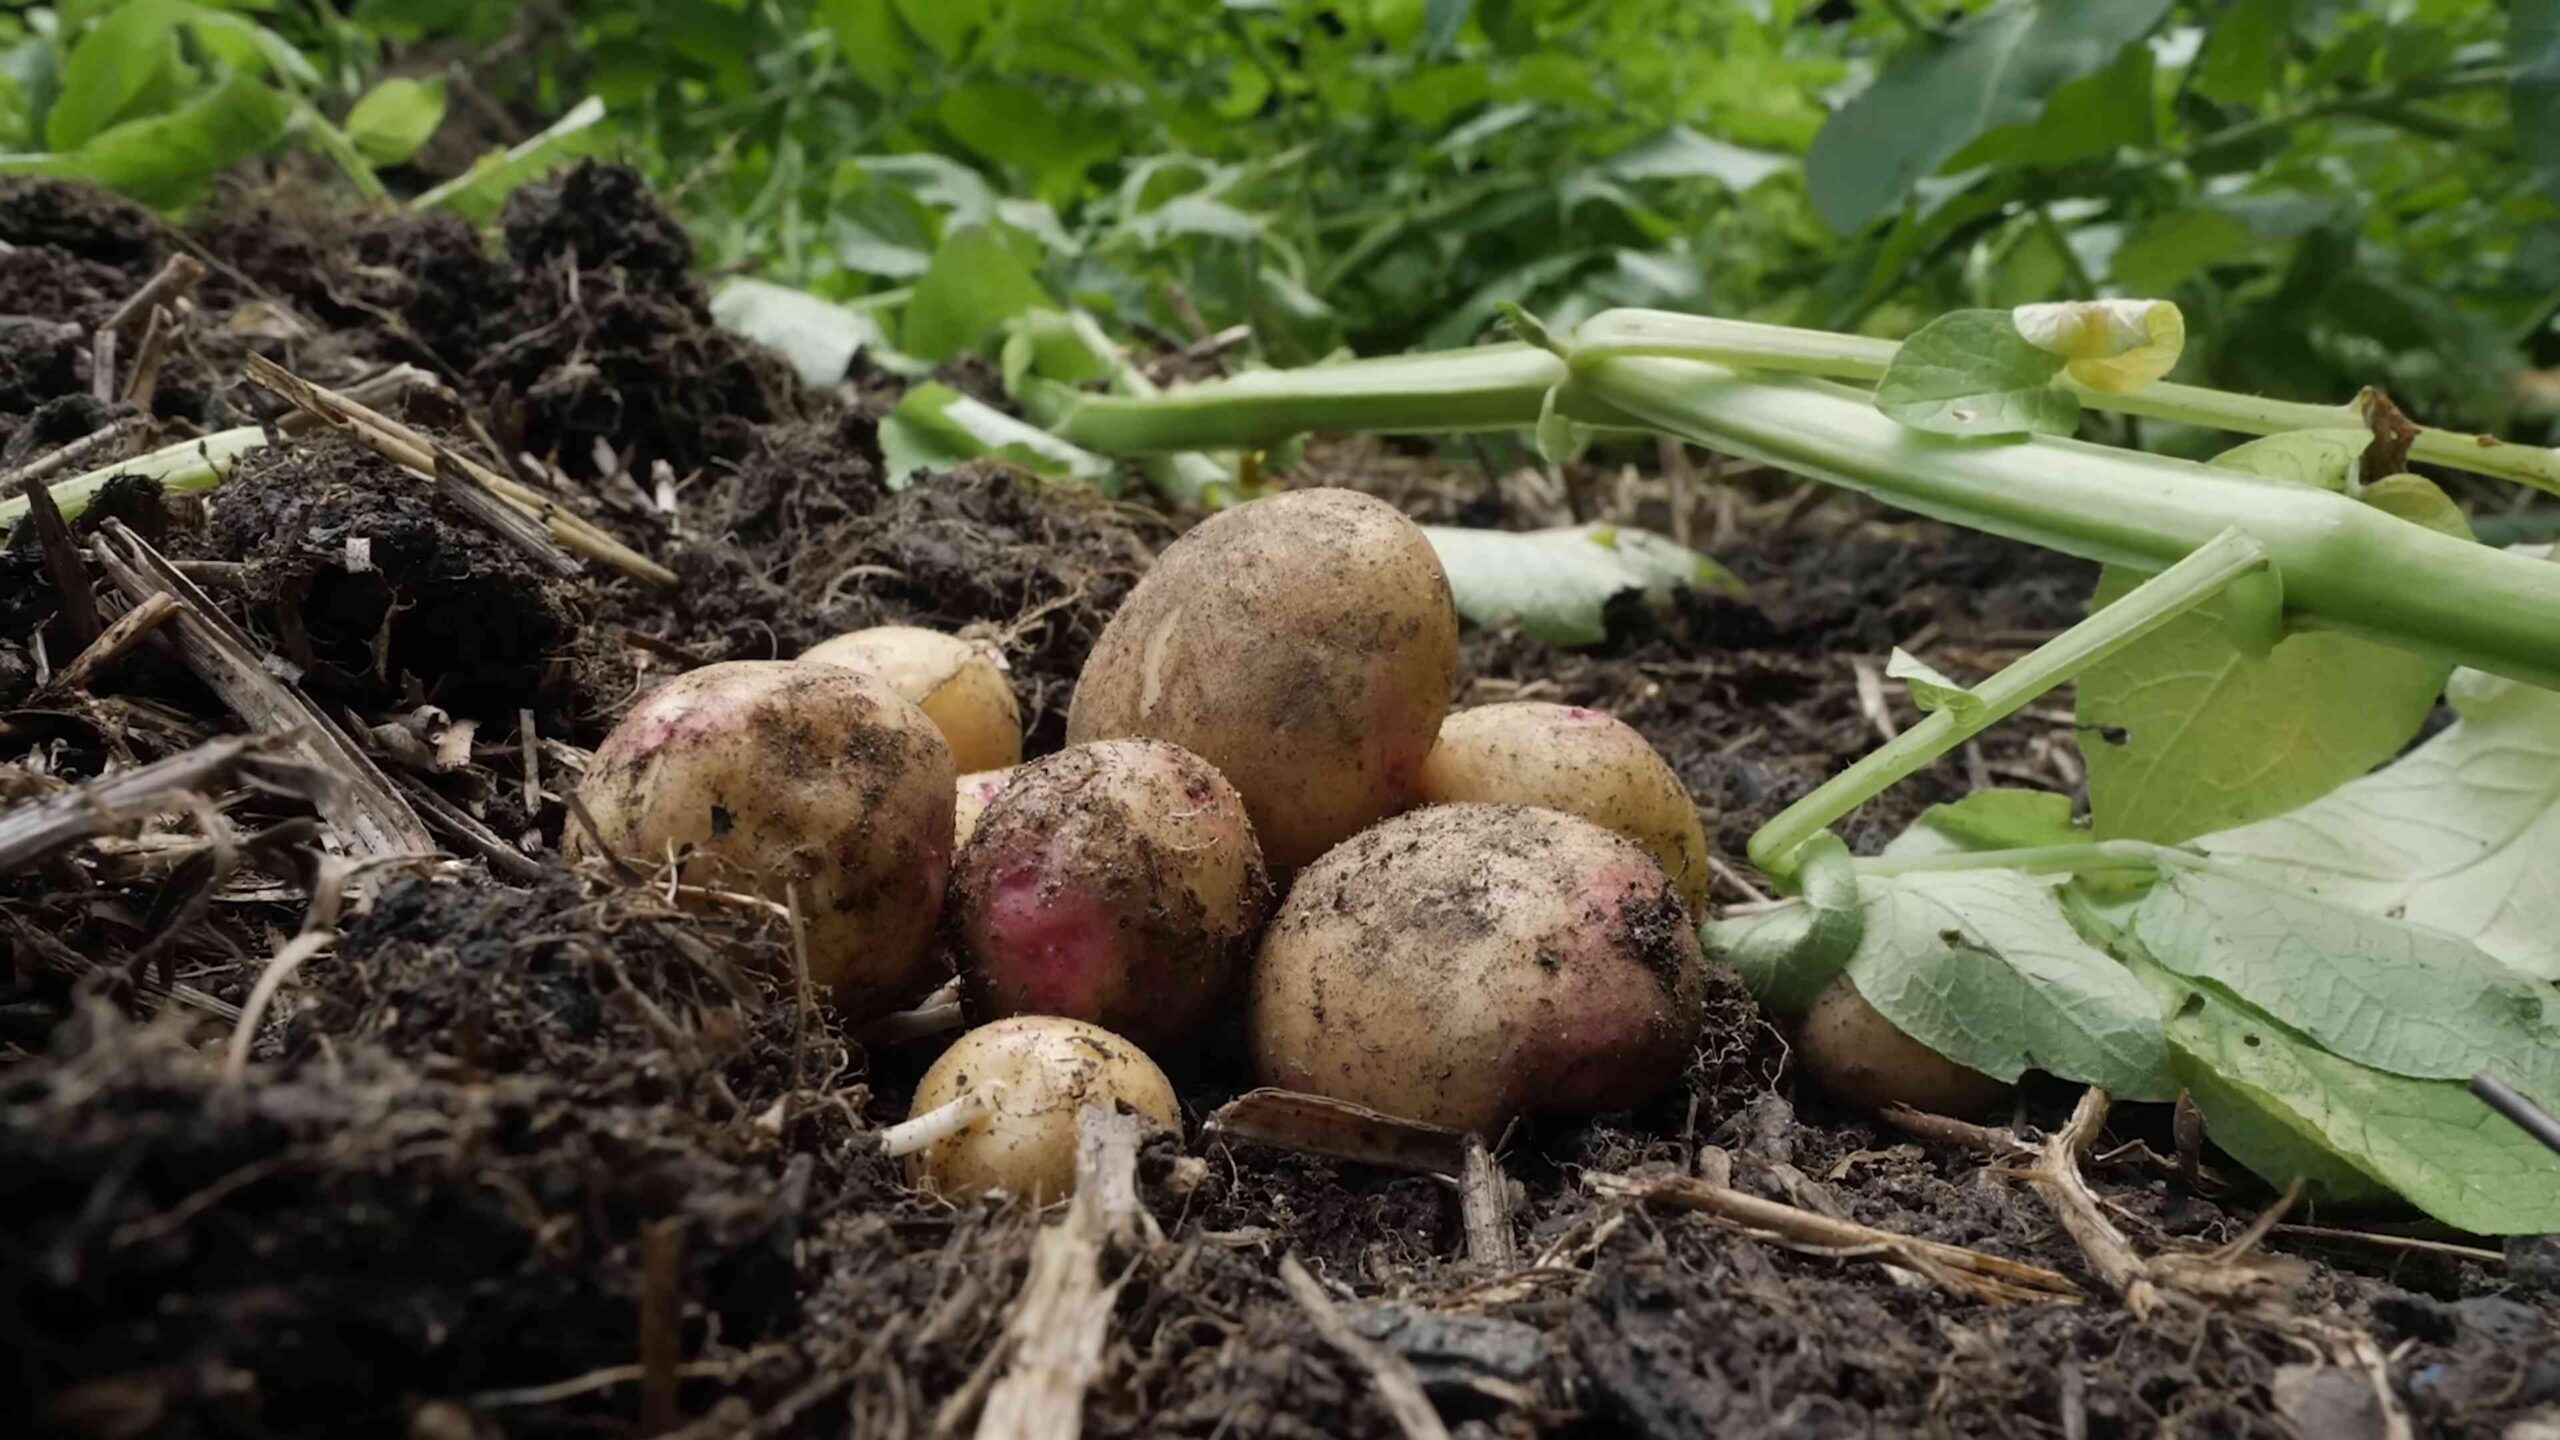
For “new potatoes” (small, tender potatoes), you can start harvesting when the plants begin to flower. Gently dig around the base of the plant and remove a few potatoes, leaving the rest to continue growing.
For mature potatoes, wait until the foliage (leaves and stems) begins to turn yellow and die back. This indicates that the potatoes have stopped growing and are ready to be harvested.
To harvest mature potatoes, carefully dig around the plant with a garden fork or shovel, being careful not to damage the potatoes. Gently lift the plant and remove the potatoes from the soil.
What are some common pests and diseases that affect potato plants, and how can I prevent them?
Potato plants can be susceptible to various pests and diseases, including:
* **Colorado Potato Beetle:** These beetles and their larvae feed on potato foliage, causing significant damage. Handpicking the beetles and larvae, using row covers, or applying organic insecticides (such as neem oil or Bacillus thuringiensis) can help control them.
* **Potato Blight:** A fungal disease that causes brown spots on the leaves and stems, eventually leading to plant death. Prevent blight by planting disease-resistant varieties, providing good air circulation, and avoiding overhead watering. If blight appears, remove infected foliage immediately and apply a fungicide.
* **Aphids:** Small, sap-sucking insects that can weaken potato plants. Control aphids by spraying them with a strong stream of water, using insecticidal soap, or introducing beneficial insects (such as ladybugs).
* **Wireworms:** These soil-dwelling larvae feed on potato tubers, causing tunnels and damage. Prevent wireworms by improving soil drainage, rotating crops, and using soil amendments that contain beneficial nematodes.
Regularly inspect your potato plants for signs of pests and diseases. Early detection and treatment are key to preventing serious problems.
Can I grow potatoes in the same container year after year?
While it’s possible to grow potatoes in the same container for multiple years, it’s generally recommended to rotate your crops to prevent the buildup of soilborne diseases and pests. If you do choose to reuse the same container, be sure to amend the soil with fresh compost and organic matter to replenish nutrients.
What do I do with green potatoes? Are they safe to eat?
Potatoes that have been exposed to light can develop a green color due to the production of solanine, a toxic alkaloid. Green potatoes should not be eaten, as they can cause nausea, vomiting, and diarrhea. If you find green potatoes in your harvest, discard them. To prevent potatoes from turning green, store them in a cool, dark, and dry place.
Leave a Comment