

Growing Potatoes at Home might seem daunting, conjuring images of vast fields and complex machinery. But I’m here to tell you that fresh, homegrown potatoes are absolutely within your reach, even if you only have a small balcony or a sunny corner in your backyard! Forget those bland, store-bought spuds – imagine the taste of freshly dug, earthy potatoes gracing your dinner table.
Potatoes have a rich history, dating back thousands of years to the Andes Mountains in South America, where they were a staple food for the Inca civilization. From their humble beginnings, they’ve spread across the globe, becoming a beloved and versatile ingredient in countless cuisines. But somewhere along the way, we’ve lost touch with the simple joy of cultivating our own.
Why should you bother with this DIY project? Well, for starters, you’ll know exactly where your food is coming from, free from harmful pesticides and chemicals. Plus, growing potatoes at home is incredibly rewarding! There’s nothing quite like the thrill of unearthing your own harvest, a tangible result of your hard work and care. And let’s be honest, with rising grocery prices, a little self-sufficiency can go a long way. So, are you ready to ditch the supermarket potatoes and embark on a fun and fulfilling gardening adventure? Let’s get digging!
Growing Potatoes in Buckets: A Beginner’s Guide
Hey there, fellow gardening enthusiasts! Ever dreamt of harvesting your own homegrown potatoes, fresh from the earth (or, in this case, a bucket)? Well, dream no more! Growing potatoes in buckets is surprisingly easy, even if you don’t have a sprawling garden. It’s a fantastic way to enjoy fresh, delicious potatoes, and it’s super rewarding to watch them grow from tiny seed potatoes to a bountiful harvest. I’m going to walk you through the entire process, step-by-step, so you can enjoy your own bucket-grown potato bounty!
What You’ll Need
Before we dive in, let’s gather our supplies. Here’s a list of everything you’ll need to get started:
* Large Buckets: 5-gallon buckets are ideal, but you can use larger ones if you have them. Make sure they have drainage holes at the bottom.
* Seed Potatoes: These are potatoes specifically grown for planting. You can find them at your local garden center or online. Choose a variety that you enjoy eating!
* Potting Mix: A good quality potting mix is essential. Avoid using garden soil, as it can compact and hinder drainage.
* Compost: Compost adds nutrients and improves soil structure.
* Water: You’ll need a reliable water source to keep your potatoes hydrated.
* Fertilizer (Optional): A balanced fertilizer can help boost growth, but it’s not strictly necessary.
* Sharp Knife: For cutting the seed potatoes (if needed).
* Gloves: To protect your hands.
Preparing Your Seed Potatoes
Okay, let’s get those seed potatoes ready for planting! This is a crucial step, so pay close attention.
1. Chitting (Sprouting): This isn’t mandatory, but it gives your potatoes a head start. A few weeks before planting, place your seed potatoes in a cool, bright location (but not direct sunlight). You’ll notice small sprouts, called “eyes,” starting to grow. This process is called chitting.
2. Cutting (If Necessary): If your seed potatoes are large (bigger than an egg), you can cut them into smaller pieces. Each piece should have at least 2-3 “eyes.” Let the cut pieces dry for a day or two to callous over. This helps prevent rotting. I usually cut mine if they are bigger than my fist.
3. Choosing the Right Pieces: When cutting, make sure each piece has a good number of eyes. These are where the new potato plants will emerge. Discard any pieces that look rotten or diseased.
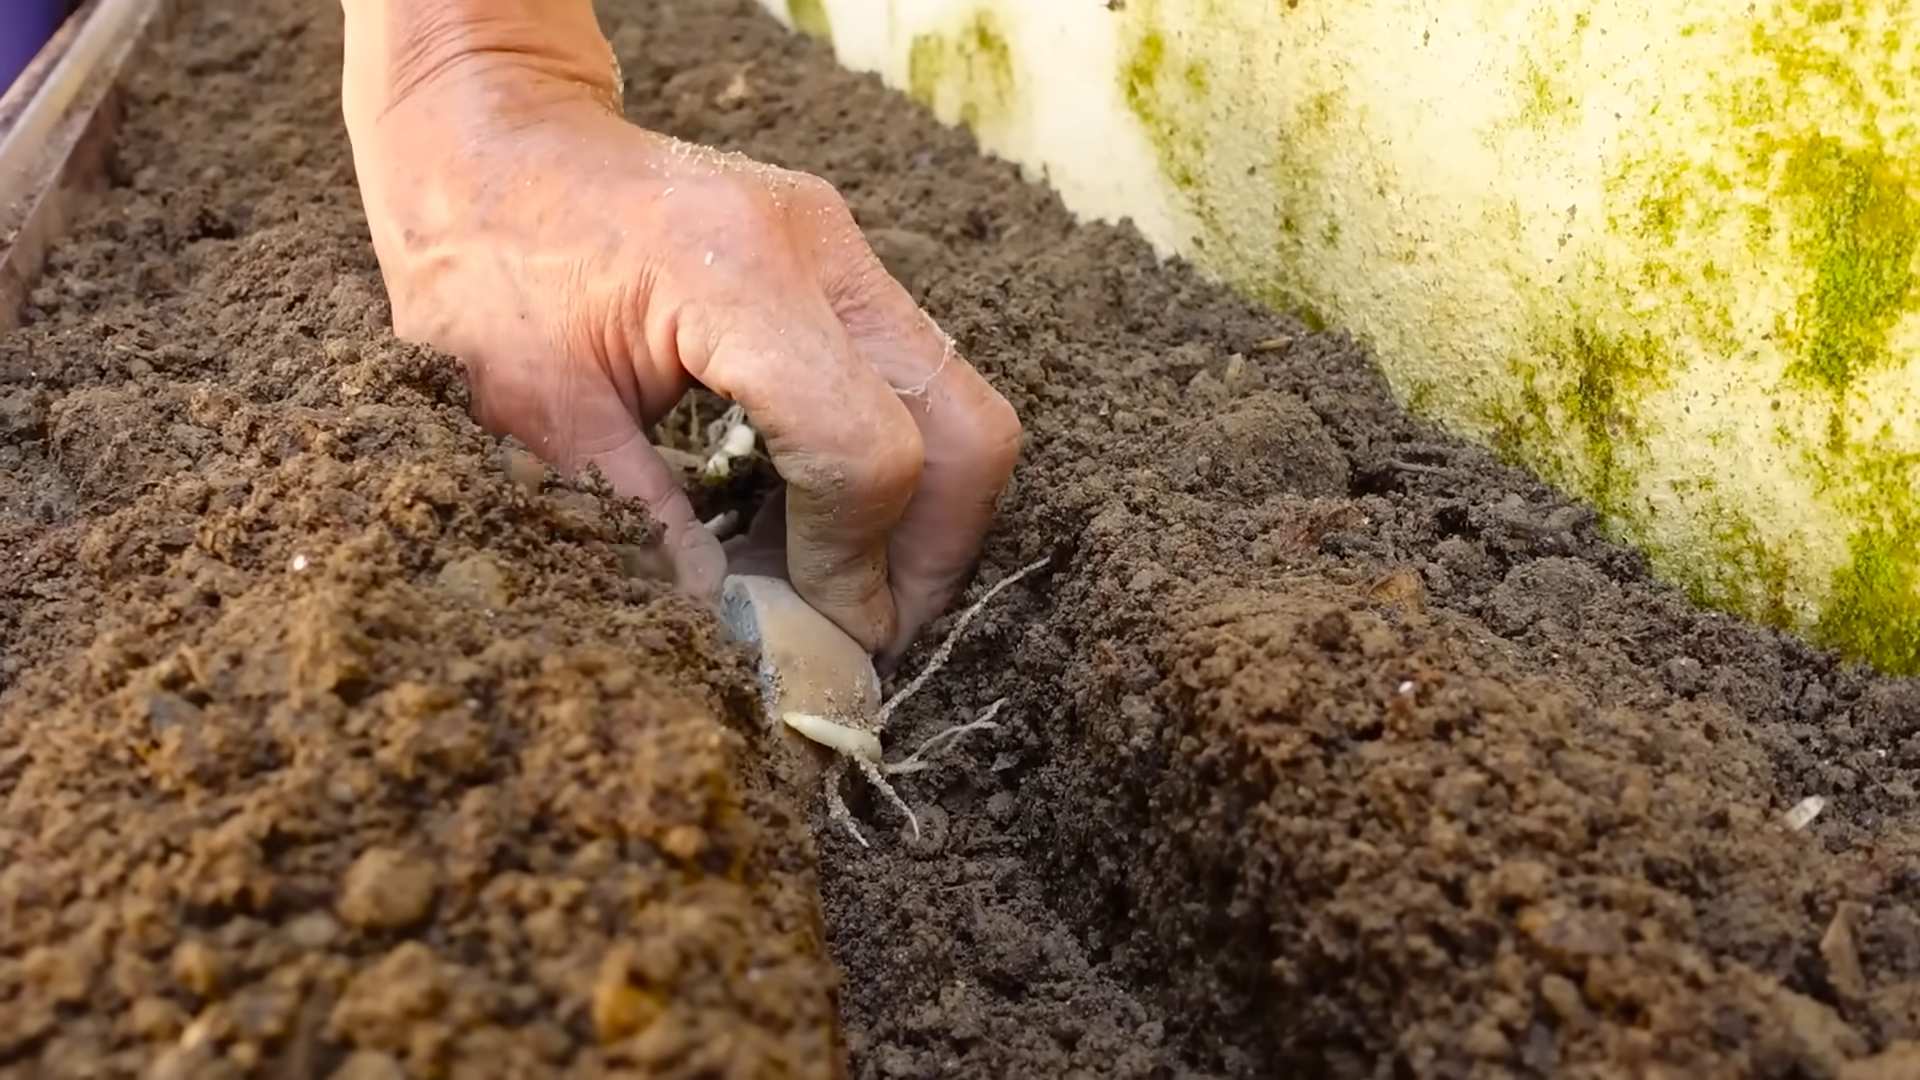
Planting Your Potatoes
Now for the fun part – planting! This is where we transform those seed potatoes into potential potato plants.
1. Prepare the Buckets: Make sure your buckets have drainage holes. If not, drill a few. This is super important to prevent waterlogging, which can rot your potatoes.
2. First Layer of Soil: Fill the bottom of the bucket with about 4-6 inches of potting mix mixed with compost. This will be the initial growing medium for your potatoes.
3. Planting the Seed Potatoes: Place the seed potato pieces (sprouts facing up) on top of the soil, spacing them evenly. If you’re using a large bucket, you can plant 2-3 pieces.
4. Cover with Soil: Cover the seed potatoes with another 4-6 inches of potting mix and compost. Gently water the soil until it’s moist but not soggy.
5. Location, Location, Location: Place your buckets in a sunny location. Potatoes need at least 6-8 hours of sunlight per day to thrive.
“Hilling” Your Potatoes
This is a key technique for maximizing your potato yield. “Hilling” encourages the potato plants to produce more tubers along the stem.
1. Waiting for Growth: As your potato plants grow, they’ll start to emerge from the soil. Wait until the stems are about 6-8 inches tall.
2. Adding More Soil: Add more potting mix and compost to the bucket, covering the stems up to about half their height. This encourages the plant to produce more potatoes along the buried stem.
3. Repeat the Process: Continue “hilling” every few weeks as the plants grow taller. Always leave a few inches of the top leaves exposed. I usually do this 2-3 times during the growing season.
4. Why Hilling Works: Potatoes form along the underground stems of the plant. By covering the stems with soil, you encourage the plant to produce more stems and, therefore, more potatoes.
Caring for Your Potato Plants
Now that your potatoes are planted and growing, it’s important to provide them with the care they need to thrive.
1. Watering: Water your potato plants regularly, especially during dry periods. The soil should be consistently moist but not waterlogged. Check the soil moisture by sticking your finger into the soil. If it feels dry an inch or two down, it’s time to water.
2. Fertilizing (Optional): If you want to give your potatoes a boost, you can fertilize them every few weeks with a balanced fertilizer. Follow the instructions on the fertilizer package. I personally prefer using organic fertilizers like compost tea.
3. Pest Control: Keep an eye out for pests like aphids, potato beetles, and flea beetles. If you spot any pests, you can try using insecticidal soap or neem oil.
4. Sunlight: Ensure your potato plants are getting enough sunlight. If they’re not, they may become leggy and produce fewer potatoes.
5. Rotating the Buckets: If possible, rotate the buckets occasionally to ensure even sunlight exposure.
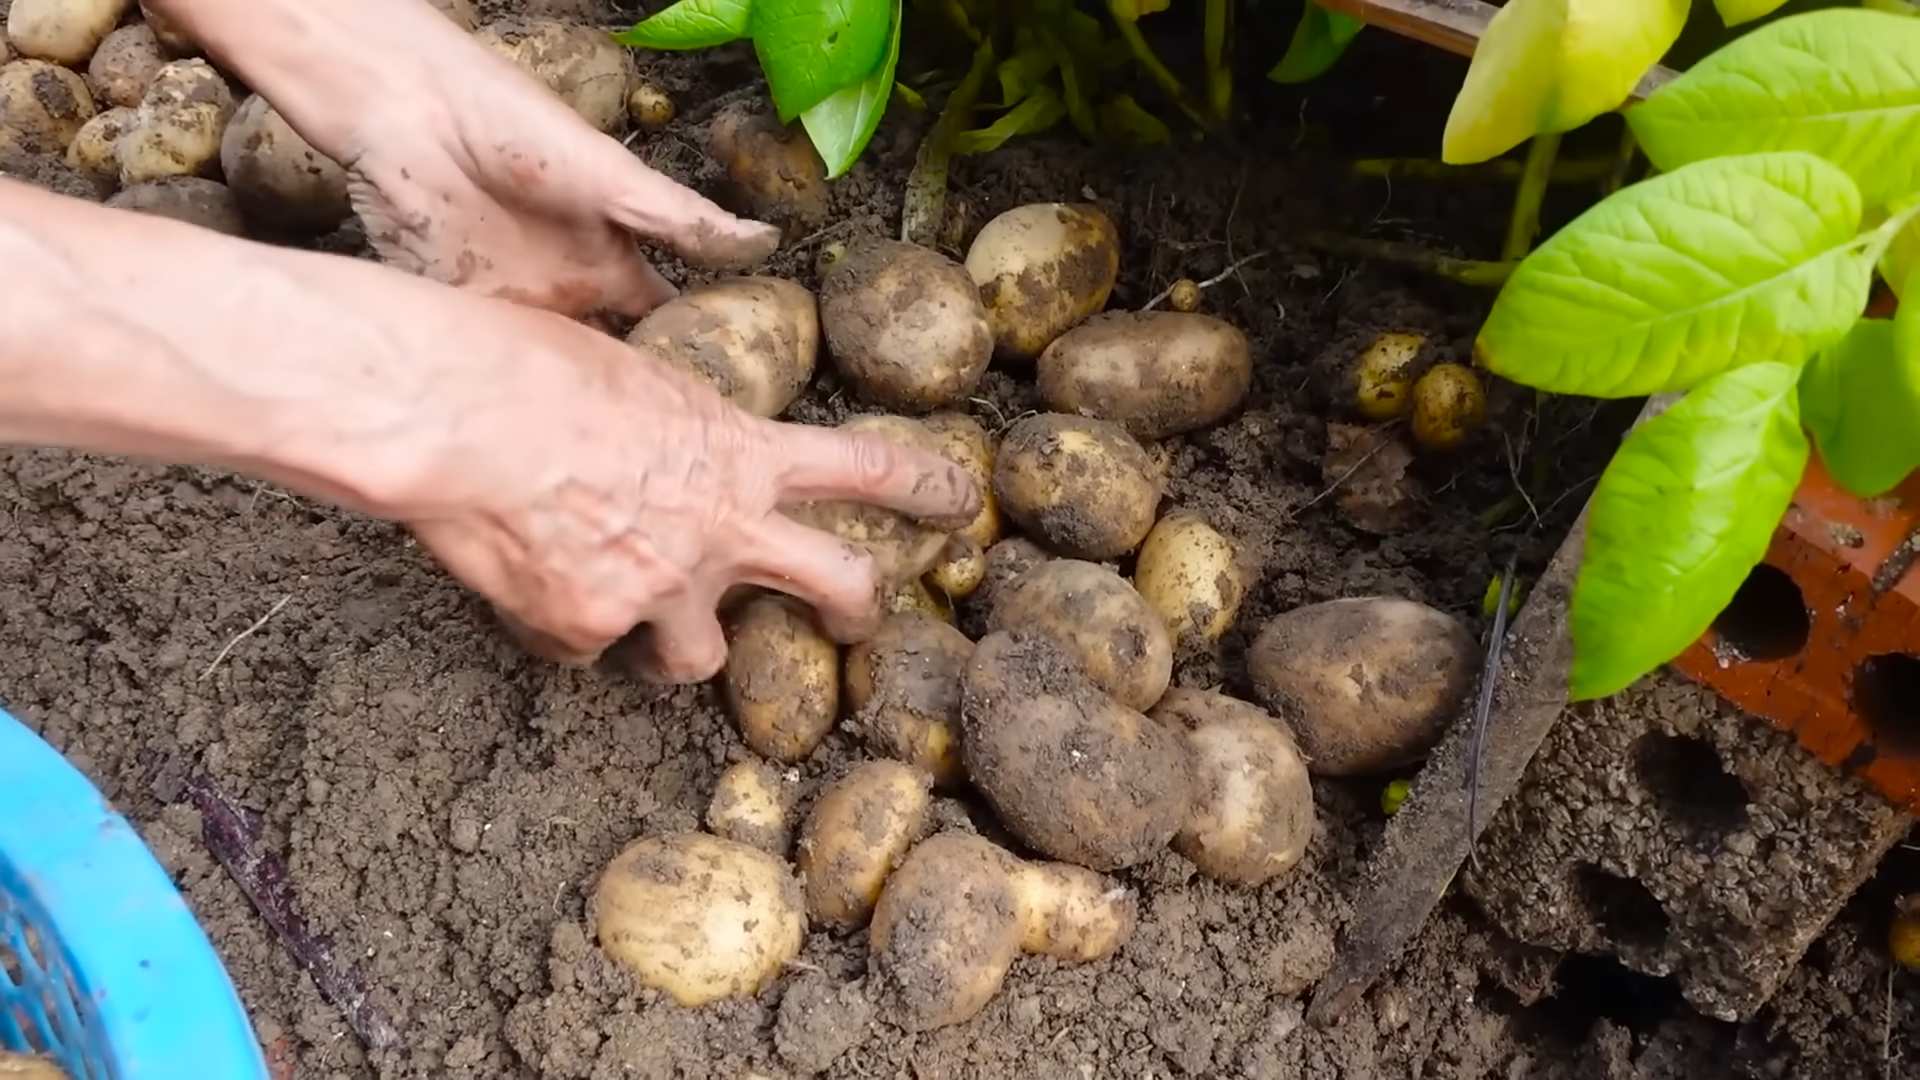
Harvesting Your Potatoes
The moment we’ve all been waiting for – harvesting! This is when you get to reap the rewards of your hard work.
1. When to Harvest: Potatoes are typically ready to harvest about 80-100 days after planting, depending on the variety. The foliage will start to turn yellow and die back.
2. Checking for Readiness: You can gently dig around the base of the plant to check the size of the potatoes. If they’re the size you want, it’s time to harvest.
3. Harvesting Technique: Carefully tip the bucket over and gently remove the soil, being careful not to damage the potatoes. You can also use a garden fork to loosen the soil.
4. Collecting Your Harvest: Pick out the potatoes and brush off any excess soil.
5. Curing (Optional): To improve their storage life, you can cure your potatoes by placing them in a cool, dark, and well-ventilated place for a week or two. This allows the skins to harden.
Storing Your Potatoes
Proper storage is essential for keeping your homegrown potatoes fresh and delicious for as long as possible.
1. Choosing the Right Potatoes: Select potatoes that are free from bruises, cuts, or blemishes for storage. Use any damaged potatoes right away.
2. Cool, Dark, and Dry: Store your potatoes in a cool, dark, and dry place. A basement or root cellar is ideal.
3. Avoid Sunlight: Sunlight can cause potatoes to turn green and produce solanine, a toxic compound.
4. Don’t Wash: Don’t wash your potatoes before storing them. The moisture can promote rotting.
5. Separate from Apples and Onions: Apples and onions release ethylene gas, which can cause potatoes to sprout prematurely.
6. Check Regularly: Check your stored potatoes regularly for signs of spoilage. Remove any rotten potatoes to prevent them from affecting the others.
Troubleshooting
Even with the best care, you might encounter some challenges along the way. Here are a few common problems and how to address them:
* Potato Scab: This is a common soilborne disease that causes rough, scabby patches on the potato skins. To prevent it, use disease-resistant varieties and avoid overwatering.
* Potato Beetles: These pests can defoliate your potato plants. Handpick them off or use insecticidal soap.
* Aphids: These tiny insects can suck the sap from your plants. Spray them with insecticidal soap or neem oil.
* Rotting Potatoes: This can be caused by overwatering or poor drainage. Make sure your buckets have drainage holes and avoid overwatering.
* Lack of Potatoes: This can be caused by insufficient sunlight, poor soil, or inadequate hilling. Make sure your plants are getting enough sunlight, use a good quality potting mix, and hill your potatoes regularly.
Choosing the Right Potato Variety
The type of potato you choose to grow will greatly impact your harvest. Here’s a quick rundown of some popular varieties:
* Russet Potatoes: These are the classic baking potatoes. They have a high starch content and a fluffy texture.
Conclusion
So, there you have it! Growing potatoes at home, while it might seem daunting at first, is a surprisingly rewarding and accessible endeavor. We’ve explored the ins and outs of this process, from selecting the right seed potatoes to harvesting your homegrown bounty. But why should you bother? Why dedicate precious garden space (or even a container on your balcony) to cultivating these humble tubers?
The answer lies in the unparalleled freshness and flavor you simply can’t replicate with store-bought potatoes. Imagine the satisfaction of digging into the earth and unearthing your own organically grown potatoes, bursting with earthy goodness. Think of the delicious meals you can create, knowing exactly where your ingredients came from and how they were grown.
Beyond the taste, growing your own potatoes offers a unique connection to nature and a deeper understanding of the food we consume. It’s a chance to get your hands dirty, learn new skills, and appreciate the miracle of growth. Plus, it’s a fantastic way to reduce your carbon footprint and support sustainable food practices.
But the benefits don’t stop there. Growing potatoes at home allows for incredible customization. Want to try a rare heirloom variety? Go for it! Prefer smaller, “new” potatoes? Harvest them early! Experiment with different soil amendments and growing techniques to find what works best for your climate and preferences.
Consider these variations to elevate your potato-growing game:
* Vertical Potato Towers: If space is limited, build a potato tower using stacked tires, chicken wire, or even burlap sacks. This method maximizes yield in a small footprint.
* Container Gardening: Potatoes thrive in containers, making them perfect for balconies, patios, or small gardens. Choose a large container with drainage holes and use a well-draining potting mix.
* No-Dig Method: Layer cardboard, compost, and straw to create a no-dig potato bed. This method is great for improving soil health and reducing weeding.
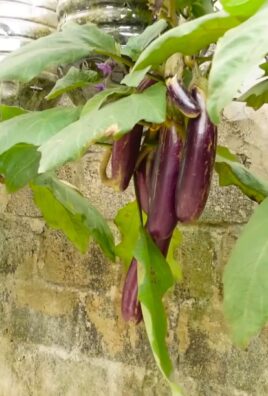
* Companion Planting: Plant potatoes alongside beneficial companions like marigolds (to deter nematodes), beans (to fix nitrogen in the soil), or horseradish (to repel potato beetles).
Don’t be afraid to experiment and adapt these techniques to suit your specific needs and resources. The key is to start small, learn from your mistakes, and enjoy the process.
We wholeheartedly encourage you to give growing potatoes at home a try. It’s an experience that will not only fill your plate with delicious, homegrown potatoes but also enrich your life in countless other ways.
Once you’ve harvested your first crop, we’d love to hear about your experience! Share your tips, tricks, and triumphs in the comments below. Let’s build a community of potato-growing enthusiasts and inspire others to embrace the joy of homegrown food. What variety did you grow? What challenges did you face? What delicious dishes did you create? Your insights will be invaluable to fellow gardeners. So, grab your seed potatoes, get your hands dirty, and embark on this rewarding journey. Happy growing!
Frequently Asked Questions (FAQ)
What are seed potatoes, and where can I get them?
Seed potatoes are potatoes specifically grown to be planted and produce new potato plants. They are different from the potatoes you buy at the grocery store, which may have been treated to prevent sprouting. Seed potatoes are certified disease-free and come in various varieties. You can purchase them from local nurseries, garden centers, or online retailers specializing in gardening supplies. Look for reputable suppliers to ensure you’re getting high-quality seed potatoes.
How do I prepare seed potatoes before planting?
Chitting, or pre-sprouting, seed potatoes can give them a head start. About 4-6 weeks before planting, place the seed potatoes in a cool, bright location (but not in direct sunlight) to encourage them to sprout. A temperature of around 50-60°F (10-15°C) is ideal. Place them in egg cartons or trays with the “eyes” (small buds) facing upwards. Once the sprouts are about 1 inch long, they are ready to be planted. If your seed potatoes are large, you can cut them into smaller pieces, ensuring each piece has at least one or two eyes. Allow the cut pieces to dry for a day or two to callous over, which helps prevent rotting.
What kind of soil is best for growing potatoes?
Potatoes prefer well-drained, loose soil that is rich in organic matter. A slightly acidic soil pH of 6.0 to 6.5 is ideal. Amend your soil with compost, aged manure, or other organic materials to improve drainage, fertility, and water retention. Avoid heavy clay soils, as they can become waterlogged and hinder potato development. If you have clay soil, consider growing potatoes in raised beds or containers.
How deep should I plant seed potatoes?
Plant seed potatoes about 4-6 inches deep, with the sprouts facing upwards. Space them about 12-15 inches apart in rows that are 30-36 inches apart. As the potato plants grow, “hill” the soil around the stems by mounding soil up around the base of the plants. This encourages more potato production along the buried stems.
How often should I water potato plants?
Potato plants need consistent moisture, especially during tuber formation. Water deeply and regularly, aiming for about 1-2 inches of water per week. Avoid overwatering, as this can lead to rot. Check the soil moisture regularly and adjust your watering schedule accordingly. Mulching around the plants can help retain moisture and suppress weeds.
What are common potato pests and diseases, and how can I prevent them?
Common potato pests include potato beetles, aphids, and nematodes. Diseases include blight, scab, and rot. To prevent these problems, practice crop rotation, use disease-resistant varieties, and inspect your plants regularly for signs of pests or diseases. Handpick pests when possible, and use organic pest control methods like insecticidal soap or neem oil if necessary. Ensure good air circulation around the plants to prevent fungal diseases.
When and how do I harvest potatoes?
You can harvest “new” potatoes (small, tender potatoes) about 2-3 weeks after the plants flower. For mature potatoes, wait until the foliage starts to die back, usually about 80-100 days after planting. To harvest, carefully dig around the plants with a garden fork, being careful not to damage the potatoes. Gently lift the potatoes from the soil and brush off any excess dirt.
How do I store potatoes after harvesting?
Cure potatoes for about 1-2 weeks in a cool, dark, and well-ventilated place to allow the skins to harden. This helps prevent rot during storage. Store cured potatoes in a cool, dark, and dry place with good ventilation, ideally at a temperature of around 40-50°F (4-10°C). Avoid storing potatoes near apples or onions, as they release gases that can cause potatoes to sprout or spoil. Properly stored potatoes can last for several months.
Can I grow potatoes in containers?
Yes, potatoes grow very well in containers! Choose a large container (at least 10 gallons) with drainage holes. Fill the container with a well-draining potting mix. Plant seed potatoes as described above, and hill the soil as the plants grow. Water regularly and fertilize as needed. Container-grown potatoes may require more frequent watering and fertilization than those grown in the ground.
What fertilizer should I use for potatoes?
Potatoes benefit from a balanced fertilizer that is rich in phosphorus and potassium. Look for a fertilizer with an NPK ratio of around 5-10-10 or 10-20-20. Apply fertilizer at planting time and again when the plants start to flower. You can also side-dress the plants with compost or aged manure throughout the growing season. Avoid over-fertilizing with nitrogen, as this can promote foliage growth at the expense of tuber development.

Leave a Comment