

Growing Pechay in Pots might seem daunting, especially if you’re short on space, but trust me, it’s easier than you think! Imagine stepping outside your door and harvesting fresh, crisp pechay for your next stir-fry or soup. No more trips to the grocery store for wilted greens! For centuries, cultivating vegetables in small spaces has been a vital practice in many cultures, from ancient rooftop gardens in bustling cities to modern-day urban farming initiatives. This tradition speaks to our innate desire to connect with nature and provide for ourselves, even in the most limited environments.
But why should *you* bother with growing pechay in pots? Well, beyond the sheer convenience of having fresh produce at your fingertips, it’s incredibly rewarding. It’s a fantastic way to reduce your carbon footprint, save money, and even de-stress! Plus, knowing exactly where your food comes from and how it was grown gives you peace of mind. In this article, I’m going to share some simple, effective DIY tricks and hacks that will help you successfully grow pechay in pots, even if you’ve never gardened before. Get ready to unleash your inner green thumb and enjoy the delicious rewards of your own homegrown pechay!
Growing Pechay in Pots: A Beginner’s Guide
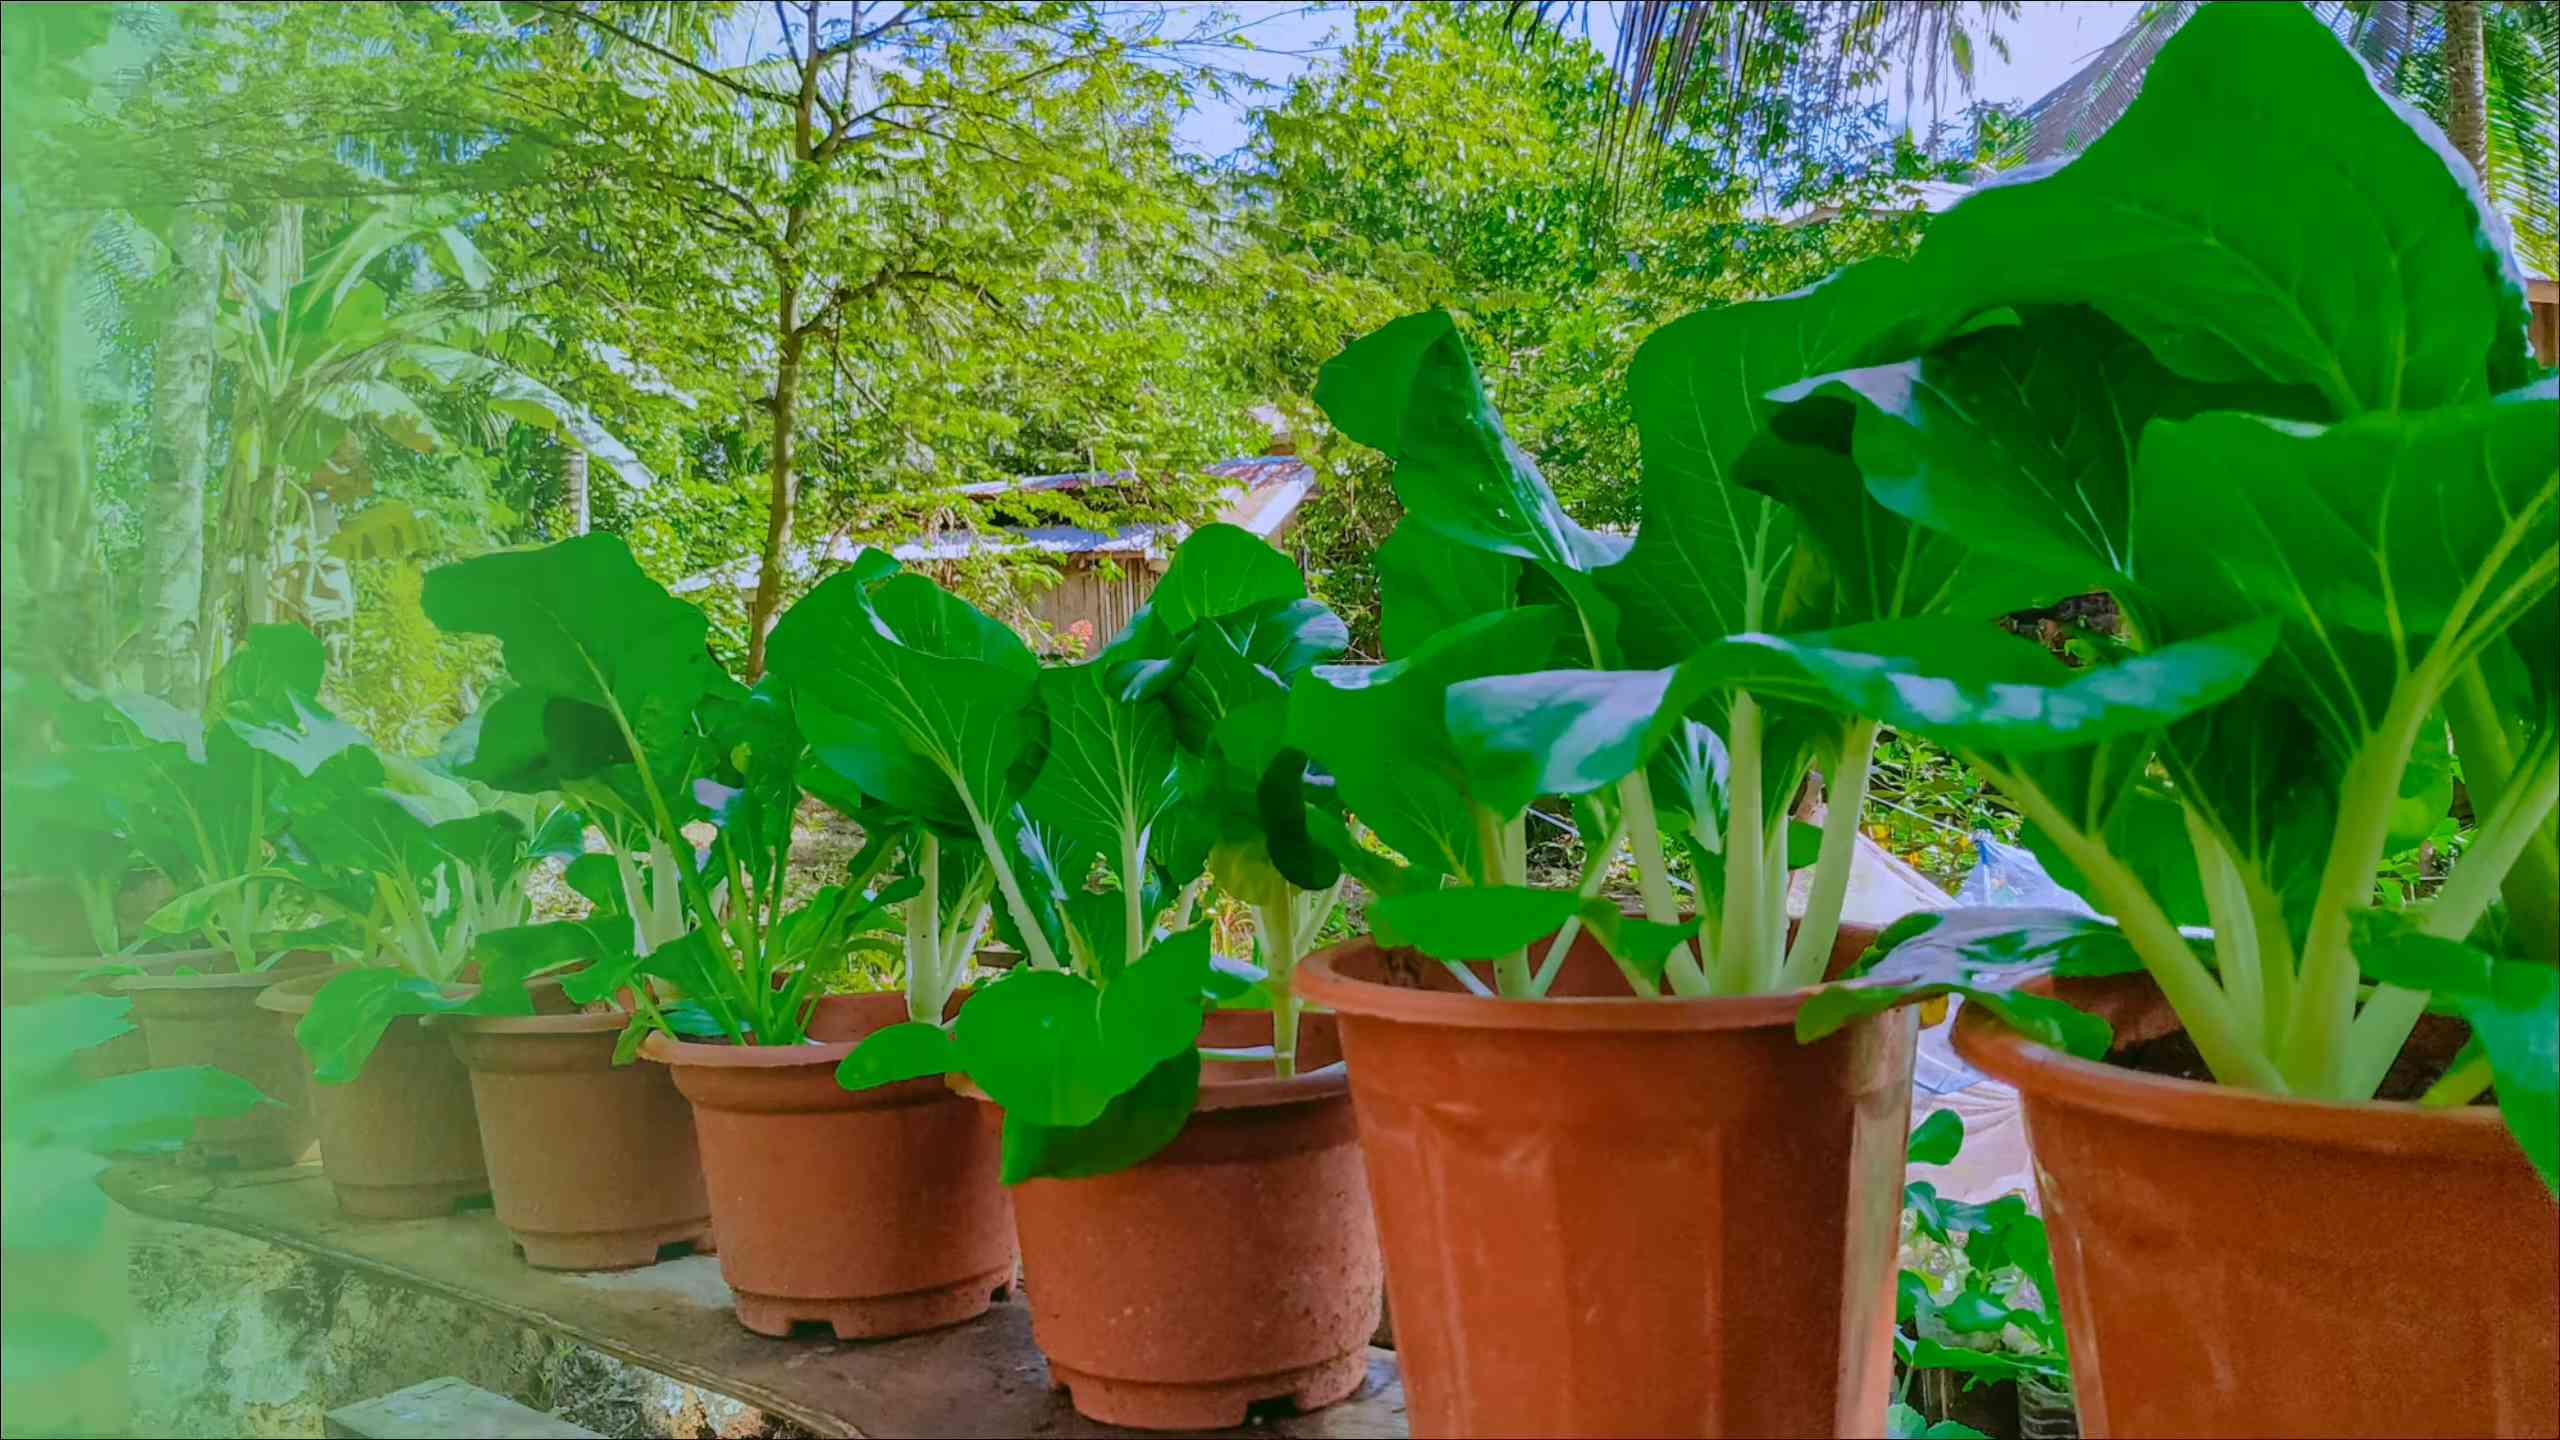
Hey there, fellow gardening enthusiasts! I’m so excited to share my experience with growing pechay (also known as bok choy) in pots. It’s surprisingly easy, even if you’re a complete newbie like I was! Pechay is a delicious and nutritious leafy green that adds a wonderful crunch to stir-fries, soups, and salads. Plus, growing it yourself means you get fresh, organic veggies right at your fingertips. Let’s dive in!
Choosing the Right Pot and Soil
Before we even think about seeds, let’s talk about the foundation of our pechay garden: the pot and the soil.
* Pot Size Matters: Pechay needs room to grow, so don’t skimp on the pot size. I recommend using a pot that’s at least 6-8 inches deep and 6-8 inches in diameter for a single plant. If you’re planning to grow multiple pechay plants in one pot, go for a larger container, like a rectangular planter box. Remember, overcrowding can lead to smaller, less healthy plants.
* Drainage is Key: Make sure your pot has drainage holes! Pechay doesn’t like soggy roots. If your pot doesn’t have drainage holes, you can drill some yourself.
* Soil Selection: Pechay thrives in well-draining, fertile soil. I’ve found that a good quality potting mix works wonders. You can also create your own mix by combining equal parts of garden soil, compost, and perlite or vermiculite. The compost adds nutrients, while the perlite or vermiculite improves drainage. Avoid using heavy clay soil, as it can become waterlogged and suffocate the roots.
Planting Pechay Seeds
Alright, now for the fun part – planting the seeds!
1. Prepare the Soil: Fill your pot with the potting mix, leaving about an inch of space from the top. Gently pat down the soil to remove any air pockets.
2. Sowing the Seeds: Pechay seeds are tiny, so be careful not to plant them too deep. I usually sow them about ¼ inch deep. You can either sprinkle the seeds evenly over the surface of the soil or plant them in rows. If you’re planting in rows, space the seeds about 1-2 inches apart.
3. Cover and Water: Lightly cover the seeds with soil and gently water the pot using a watering can or a spray bottle. Be careful not to wash away the seeds. The soil should be moist but not soggy.
4. Find the Right Spot: Place the pot in a location that receives at least 4-6 hours of sunlight per day. Pechay prefers partial shade, especially during the hottest part of the day. If you live in a very hot climate, you might want to provide some afternoon shade to prevent the leaves from scorching.
5. Germination Time: Be patient! Pechay seeds usually germinate within 5-10 days. Keep the soil consistently moist during this time.
Caring for Your Pechay Plants
Once your pechay seedlings emerge, it’s time to provide them with the care they need to thrive.
1. Thinning the Seedlings: If you planted your seeds close together, you’ll need to thin the seedlings once they have a few true leaves. This means removing some of the weaker seedlings to give the remaining ones more space to grow. I usually thin them to about 4-6 inches apart. Don’t just pull them out! Gently snip them off at the base with scissors to avoid disturbing the roots of the other plants.
2. Watering Regularly: Pechay needs consistent moisture to grow well. Water your plants regularly, especially during hot and dry weather. Check the soil moisture by sticking your finger into the soil. If the top inch feels dry, it’s time to water. Avoid overwatering, as this can lead to root rot.
3. Fertilizing: Pechay is a heavy feeder, so it needs regular fertilization. I like to use a balanced liquid fertilizer, diluted to half strength, every 2-3 weeks. You can also use organic fertilizers like compost tea or fish emulsion.
4. Pest Control: Keep an eye out for pests like aphids, cabbage worms, and slugs. These pests can damage the leaves and stunt the growth of your plants. I prefer to use organic pest control methods, such as handpicking the pests off the plants, spraying them with insecticidal soap, or using diatomaceous earth.
5. Weed Control: Keep your pot free of weeds, as they can compete with your pechay plants for nutrients and water. Hand-pull any weeds that you see.
6. Sunlight Management: As mentioned before, pechay prefers partial shade. If you notice that the leaves are starting to turn yellow or brown, it could be a sign that they’re getting too much sun. Move the pot to a shadier location or provide some shade during the hottest part of the day.
Harvesting Your Pechay
The best part of growing your own pechay is, of course, the harvest!
1. When to Harvest: You can start harvesting your pechay when the leaves are about 6-8 inches long. This usually takes about 45-60 days from planting.
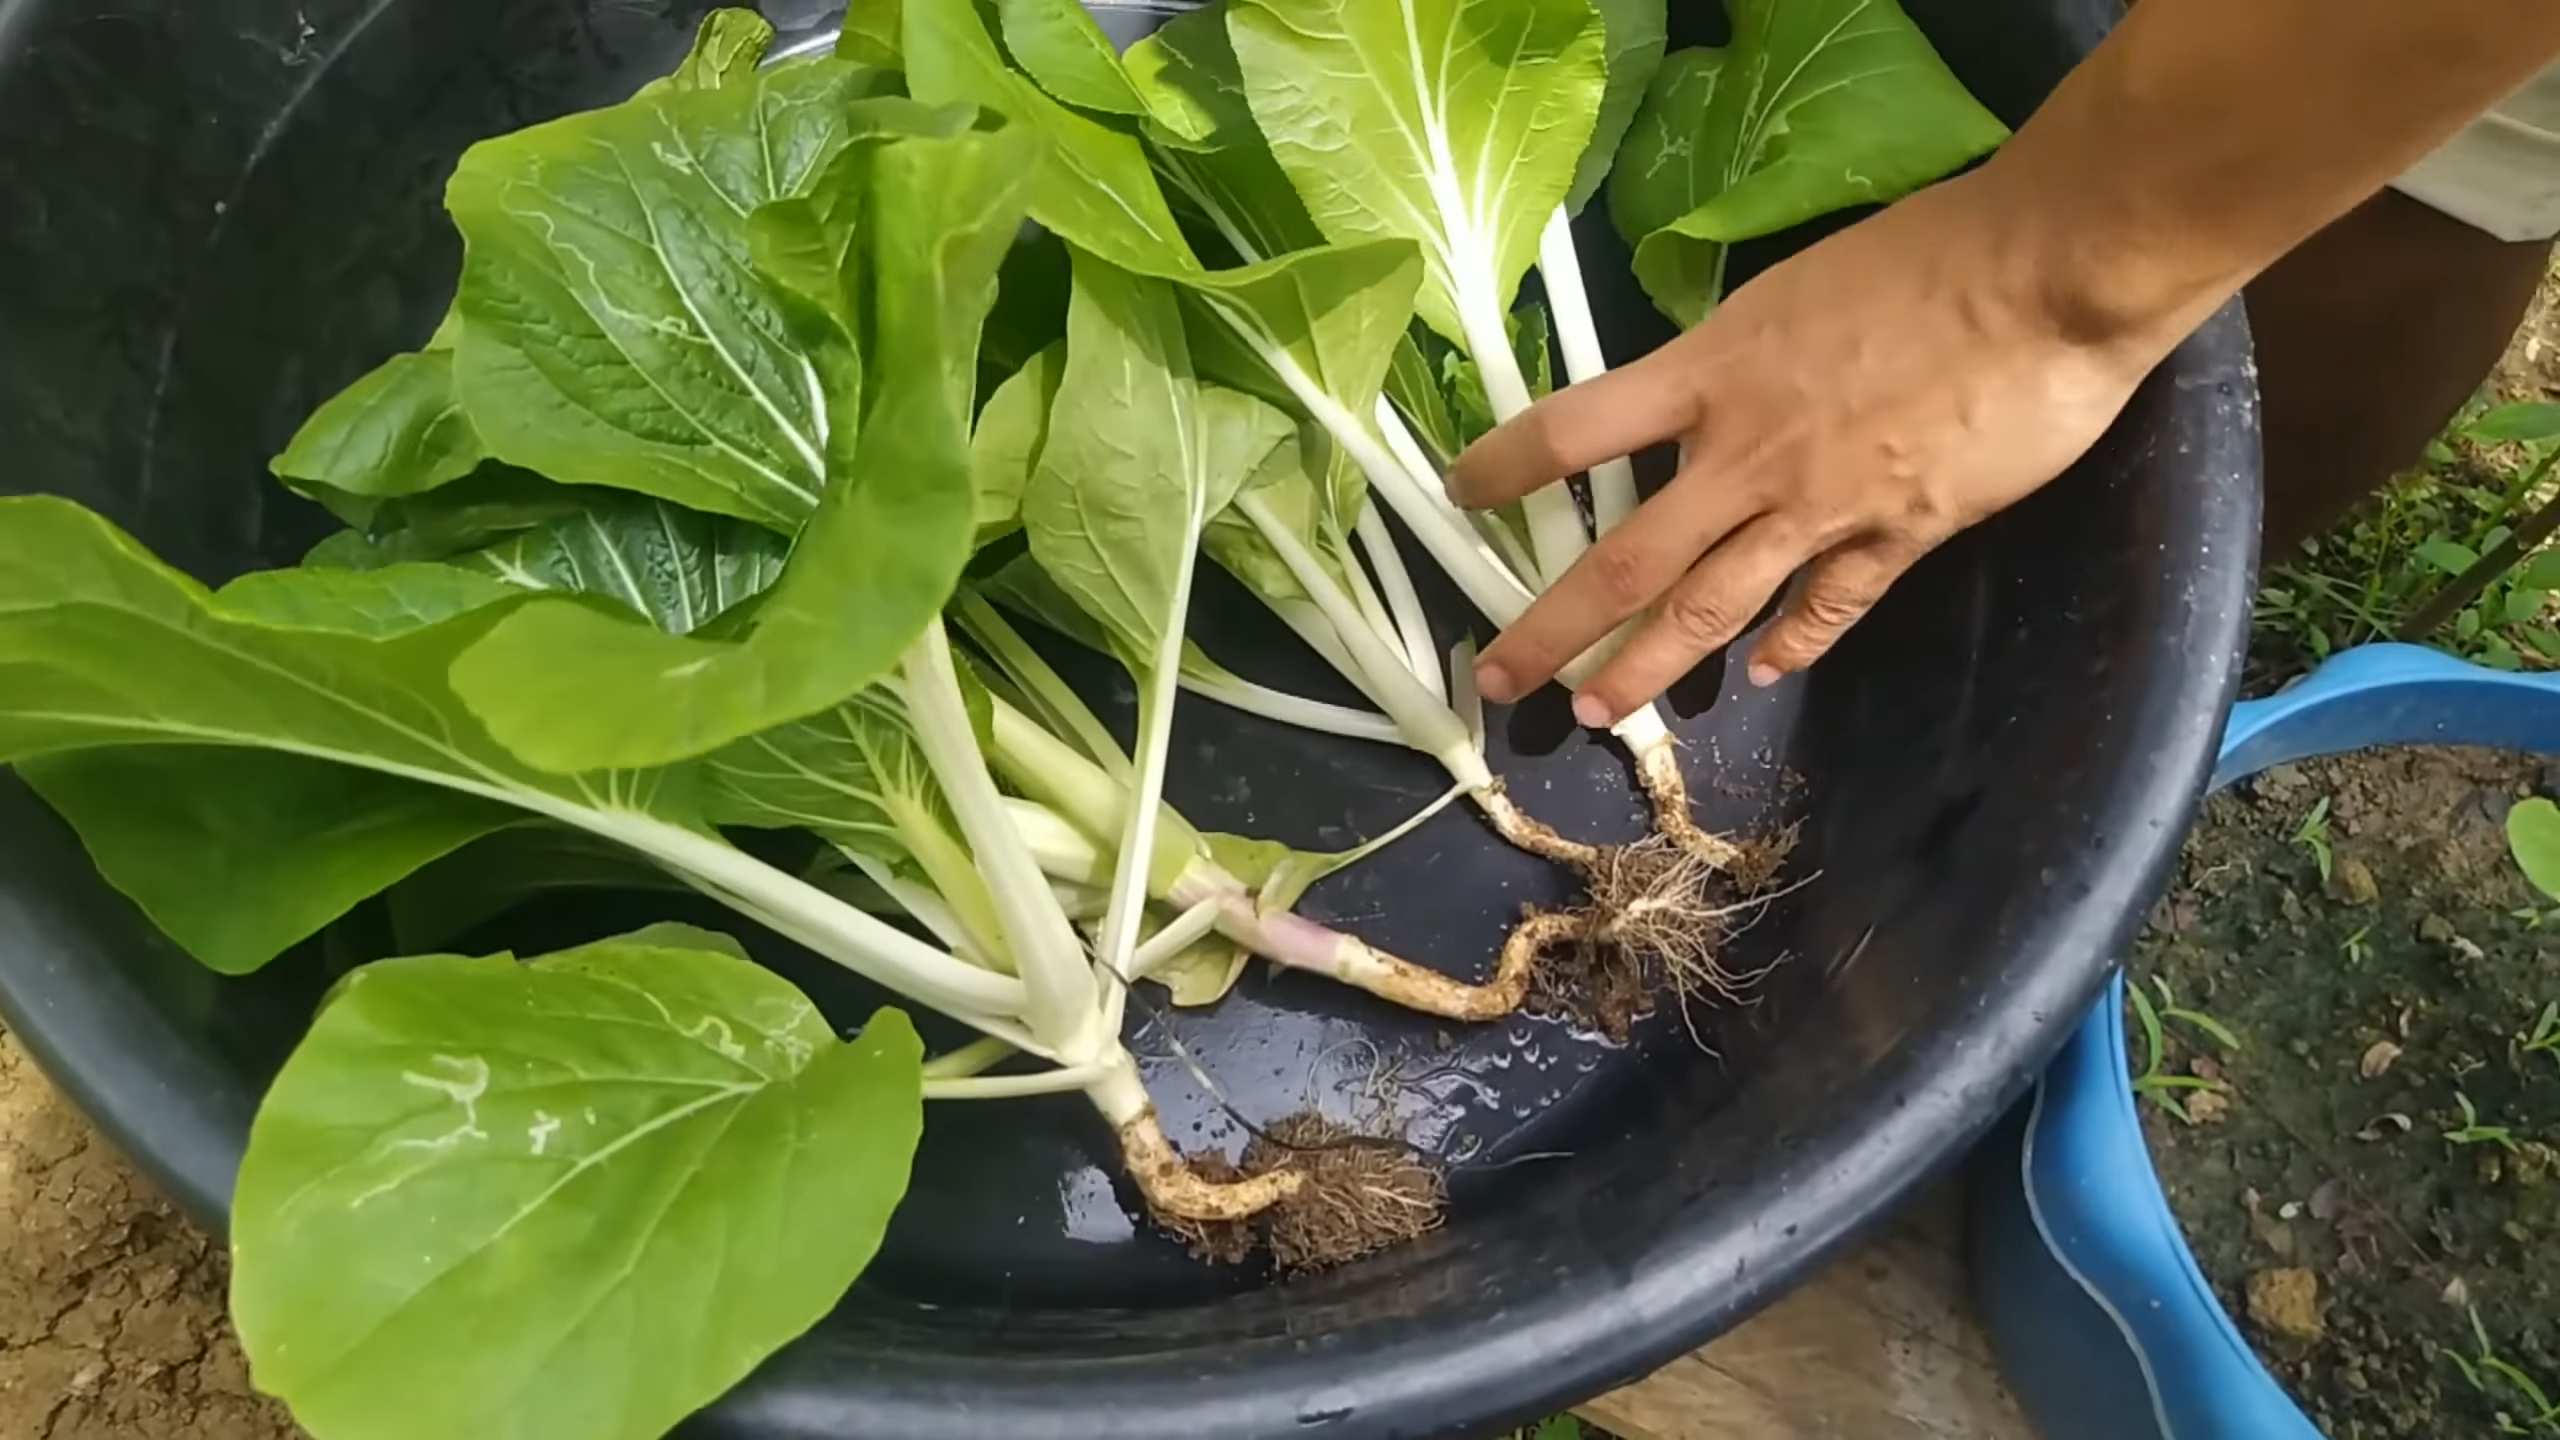
2. How to Harvest: You can either harvest the entire plant at once or harvest individual leaves as needed. If you’re harvesting the entire plant, simply cut it off at the base with a sharp knife. If you’re harvesting individual leaves, start with the outer leaves and work your way inwards. This will allow the inner leaves to continue growing.
3. Storage: Freshly harvested pechay is best used immediately. However, you can store it in the refrigerator for up to a week. To store it, wrap the leaves in a damp paper towel and place them in a plastic bag.
Troubleshooting Common Problems
Even with the best care, you might encounter some problems while growing pechay. Here are a few common issues and how to address them:
* Yellowing Leaves: This could be a sign of overwatering, underwatering, nutrient deficiency, or too much sun. Check the soil moisture, adjust your watering schedule, fertilize your plants, and provide some shade if necessary.
* Stunted Growth: This could be caused by poor soil, lack of sunlight, or pest infestation. Make sure your soil is well-draining and fertile, provide adequate sunlight, and control any pests that you see.
* Holes in Leaves: This is usually a sign of pest damage. Inspect your plants for pests and take appropriate action.
* Bolting: Bolting is when the plant starts to produce flowers and seeds prematurely. This is usually caused by hot weather or stress. To prevent bolting, provide some shade during the hottest part of the day and water your plants regularly.
Choosing Pechay Varieties
There are several different varieties of pechay to choose from, each with its own unique characteristics. Here are a few popular options:
* Shanghai Green: This variety has light green stems and spoon-shaped leaves. It’s known for its mild flavor and tender texture.
* Mei Qing Choi: This variety has dark green leaves and thick, white stems. It’s more heat-tolerant than other varieties.
* Joi Choi: This variety has dark green leaves and thick, white stems. It’s known for its crisp texture and slightly sweet flavor.
* Baby Bok Choy: This is a smaller variety that’s harvested when the leaves are still young and tender. It’s perfect for salads and stir-fries.
Extra Tips for Success
Here are a few extra tips to help you grow the best pechay possible:
* Succession Planting: To ensure a continuous harvest, sow new seeds every 2-3 weeks. This is called succession planting.
* Companion Planting: Plant pechay alongside other vegetables that can benefit its growth. Good companion plants for pechay include lettuce, spinach, radishes, and carrots.
* Use Organic Practices: Avoid using synthetic pesticides and fertilizers. Opt for organic methods instead to protect the environment and your health.
* Observe Your Plants: Pay attention to your plants and learn to recognize the signs of stress or disease. The sooner you identify a problem, the easier it will be to fix it.
Growing pechay in pots is a rewarding experience that allows you to enjoy fresh, homegrown vegetables right at your doorstep. With a little bit of care and attention, you can have a thriving pechay garden in no time. Happy gardening!
Conclusion
So, there you have it! Growing your own pechay in pots is not only achievable, it’s incredibly rewarding. From the vibrant green leaves gracing your balcony or patio to the fresh, crisp taste enhancing your meals, the benefits are undeniable. This DIY trick transforms even the smallest space into a productive garden, bringing a touch of nature and self-sufficiency to your life.
Why is this a must-try? Because it empowers you to control the quality of your food. You know exactly what goes into your pechay – no harmful pesticides, no mysterious fertilizers, just good old-fashioned care and attention. Plus, the flavor of homegrown pechay is simply unmatched. It’s sweeter, more tender, and bursting with freshness in a way that store-bought varieties often lack.
But the advantages extend beyond taste and control. Gardening is therapeutic. The simple act of nurturing a plant, watching it grow, and harvesting its bounty can be incredibly calming and fulfilling. It’s a chance to connect with nature, de-stress, and appreciate the simple things in life. And let’s not forget the satisfaction of serving a meal featuring ingredients you grew yourself – a true testament to your green thumb!
Ready to take your pechay growing to the next level? Consider these variations:
* Succession Planting: Plant new seeds every few weeks to ensure a continuous harvest throughout the growing season.
* Companion Planting: Plant your pechay alongside herbs like dill or chamomile to deter pests and attract beneficial insects. Marigolds are also excellent companions.
* Vertical Gardening: If you’re truly short on space, explore vertical gardening options. Pechay thrives in hanging baskets or stacked planters.
* Different Varieties: Experiment with different varieties of pechay, such as ‘Black Summer’ or ‘Tokyo Bekana’, to discover your favorites.
* Fertilizer Options: While we’ve emphasized organic methods, you can also use balanced liquid fertilizers, following the package instructions carefully.
Don’t be intimidated if you’re a beginner. Growing pechay in pots is a forgiving process. With a little attention and the right conditions, you’ll be harvesting your own delicious greens in no time. The key is to start small, observe your plants closely, and adjust your approach as needed.
We are confident that you will find this DIY trick for growing pechay in pots to be a game-changer. It’s a simple, affordable, and incredibly rewarding way to enjoy fresh, healthy greens right at your fingertips. So, grab your pots, seeds, and soil, and get ready to embark on your pechay-growing adventure!
We can’t wait to hear about your experiences! Share your photos, tips, and challenges in the comments below. Let’s build a community of pechay enthusiasts and inspire others to embrace the joy of homegrown goodness. Happy gardening!
Frequently Asked Questions (FAQ)
What kind of pot is best for growing pechay?
The ideal pot for growing pechay should be at least 6-8 inches deep and wide. This provides enough space for the roots to develop properly. Choose a pot made from breathable materials like terracotta or fabric pots, as they promote good drainage and aeration. Plastic pots are also suitable, but ensure they have adequate drainage holes to prevent waterlogging. Remember that pechay needs space to grow, so avoid overcrowding by using appropriately sized containers.
How often should I water my potted pechay?
Pechay requires consistent moisture, especially during hot weather. Water your potted pechay deeply whenever the top inch of soil feels dry to the touch. This usually translates to watering every day or every other day, depending on the climate and the pot’s drainage. Avoid overwatering, as this can lead to root rot. A good way to check is to stick your finger into the soil – if it feels moist, hold off on watering. In cooler weather, you can reduce the watering frequency.
What kind of soil is best for growing pechay in pots?
Pechay thrives in well-draining, fertile soil that is rich in organic matter. A good potting mix for pechay should consist of a combination of garden soil, compost, and perlite or vermiculite. The compost provides essential nutrients, while the perlite or vermiculite improves drainage and aeration. You can also add a slow-release organic fertilizer to the soil mix to provide a steady supply of nutrients throughout the growing season. Avoid using heavy clay soil, as it can become waterlogged and hinder root growth.
How much sunlight does pechay need?
Pechay requires at least 4-6 hours of direct sunlight per day to thrive. Choose a location for your potted pechay that receives ample sunlight, such as a sunny balcony, patio, or windowsill. If you live in a particularly hot climate, provide some afternoon shade to prevent the leaves from scorching. If you don’t have access to enough natural sunlight, you can supplement with grow lights. Insufficient sunlight can lead to leggy growth and reduced yields.
How do I protect my pechay from pests and diseases?
Pechay is susceptible to various pests and diseases, including aphids, cabbage worms, and fungal infections. To protect your plants, inspect them regularly for signs of infestation or disease. Remove any affected leaves or plants immediately. You can also use organic pest control methods, such as insecticidal soap or neem oil, to control pests. Ensure good air circulation around your plants to prevent fungal diseases. Companion planting with herbs like dill or chamomile can also help deter pests.
When is the best time to harvest pechay?
Pechay is typically ready to harvest 4-6 weeks after planting, depending on the variety and growing conditions. You can harvest the entire plant at once or harvest individual leaves as needed. To harvest the entire plant, cut it off at the base with a sharp knife. To harvest individual leaves, start with the outer leaves, leaving the inner leaves to continue growing. Harvesting regularly encourages continued production. The leaves are most tender and flavorful when they are young and vibrant green.
Can I grow pechay indoors?
Yes, you can grow pechay indoors, but it requires sufficient light. Place your potted pechay near a sunny window that receives at least 4-6 hours of direct sunlight per day. If you don’t have access to enough natural sunlight, you can supplement with grow lights. Ensure good air circulation around your plants to prevent fungal diseases. Monitor the soil moisture regularly and water as needed. Indoor growing can be a great option for those with limited outdoor space or in regions with harsh climates.
What fertilizer should I use for pechay?
Pechay benefits from regular fertilization to promote healthy growth and abundant yields. You can use a balanced organic fertilizer, such as compost tea or fish emulsion, to provide essential nutrients. Apply the fertilizer every 2-3 weeks, following the package instructions carefully. Avoid over-fertilizing, as this can lead to excessive vegetative growth and reduced yields. You can also add a slow-release organic fertilizer to the soil mix at planting time to provide a steady supply of nutrients throughout the growing season.
How do I prevent my pechay from bolting (going to seed)?
Bolting, or going to seed prematurely, can occur when pechay is exposed to high temperatures or long days. To prevent bolting, provide some afternoon shade during hot weather. Choose bolt-resistant varieties of pechay. Ensure consistent watering to prevent stress. Harvest the leaves regularly to encourage continued vegetative growth. If your pechay starts to bolt, harvest the leaves immediately, as they will become bitter.
Can I regrow pechay from scraps?
While not as reliable as starting from seed, you can attempt to regrow pechay from the base of the plant after harvesting. Place the base in a shallow dish of water, ensuring that the cut end is submerged. Change the water every day. After a few days, you should see new roots starting to grow. Once the roots are well-developed, you can transplant the base into a pot filled with well-draining soil. Keep the soil moist and provide ample sunlight. While success is not guaranteed, it’s a fun experiment and a way to potentially extend your harvest.


Leave a Comment