

Growing Okra at Home can seem daunting, but trust me, it’s more rewarding than you might think! Have you ever dreamt of strolling into your backyard and harvesting fresh, vibrant okra pods for a delicious gumbo or a crispy fried side dish? Well, stop dreaming and start doing! This guide is packed with simple, effective DIY tricks and hacks to help you cultivate a thriving okra patch, even if you’re a complete beginner.
Okra, also known as “lady’s fingers,” has a rich history, tracing back to ancient Ethiopia and Egypt. It’s been a staple in Southern cuisine for generations, brought over during the transatlantic slave trade and becoming a symbol of resilience and resourcefulness. But beyond its cultural significance, okra is a nutritional powerhouse, packed with fiber, vitamins, and antioxidants.
Why should you bother with these DIY tricks for growing okra at home? Because store-bought okra simply can’t compare to the flavor and freshness of homegrown! Plus, knowing exactly where your food comes from and how it’s grown gives you peace of mind. We’ll cover everything from seed starting and soil preparation to pest control and harvesting, ensuring you have a bountiful okra harvest. Get ready to roll up your sleeves and transform your garden into an okra oasis!
Growing Okra at Home: A Beginner’s Guide to Bountiful Harvests
Hey there, fellow gardening enthusiasts! I’m so excited to share my experience and tips on growing okra at home. Okra, also known as lady’s fingers, is a warm-season vegetable that’s not only delicious but also packed with nutrients. Plus, those beautiful hibiscus-like flowers are a real treat for the eyes! If you’re looking for a rewarding and relatively easy-to-grow vegetable, okra is definitely worth a try. Let’s dive in!
Choosing the Right Okra Variety
Before you even think about planting, you need to pick the right okra variety for your climate and garden space. Here are a few popular options:
* Clemson Spineless: This is a classic and widely available variety. It’s known for its smooth pods and lack of spines, making harvesting a breeze. It matures in about 55-60 days.
* Emerald: Another spineless variety, Emerald produces dark green, slender pods. It’s a great choice for those who prefer a more compact plant. It matures in about 50-55 days.
* Burgundy: If you’re looking for something a little different, Burgundy okra boasts beautiful red pods that turn green when cooked. It adds a pop of color to your garden and matures in about 60-65 days.
* Dwarf Green Long Pod: Perfect for container gardening or smaller spaces, this variety produces shorter plants with long, green pods. It matures in about 50 days.
Consider your space, climate, and desired pod characteristics when making your choice. I personally love Clemson Spineless because it’s reliable and easy to handle.
Preparing Your Garden for Okra
Okra thrives in warm weather and needs plenty of sunshine. Here’s how to get your garden ready:
* Sunlight: Okra needs at least 6-8 hours of direct sunlight per day. Choose a location in your garden that gets plenty of sun.
* Soil: Okra prefers well-drained, fertile soil with a pH between 6.0 and 7.0. Amend your soil with compost or well-rotted manure to improve drainage and fertility.
* Timing: Okra is a warm-season crop, so wait until the soil has warmed up to at least 65°F (18°C) before planting. This is usually a few weeks after the last frost in your area.
* Spacing: Space okra plants 12-18 inches apart in rows that are 3-4 feet apart. This allows for good air circulation and prevents overcrowding.
Step-by-Step Planting Guide
Now for the fun part – planting! Here’s my tried-and-true method for planting okra seeds:
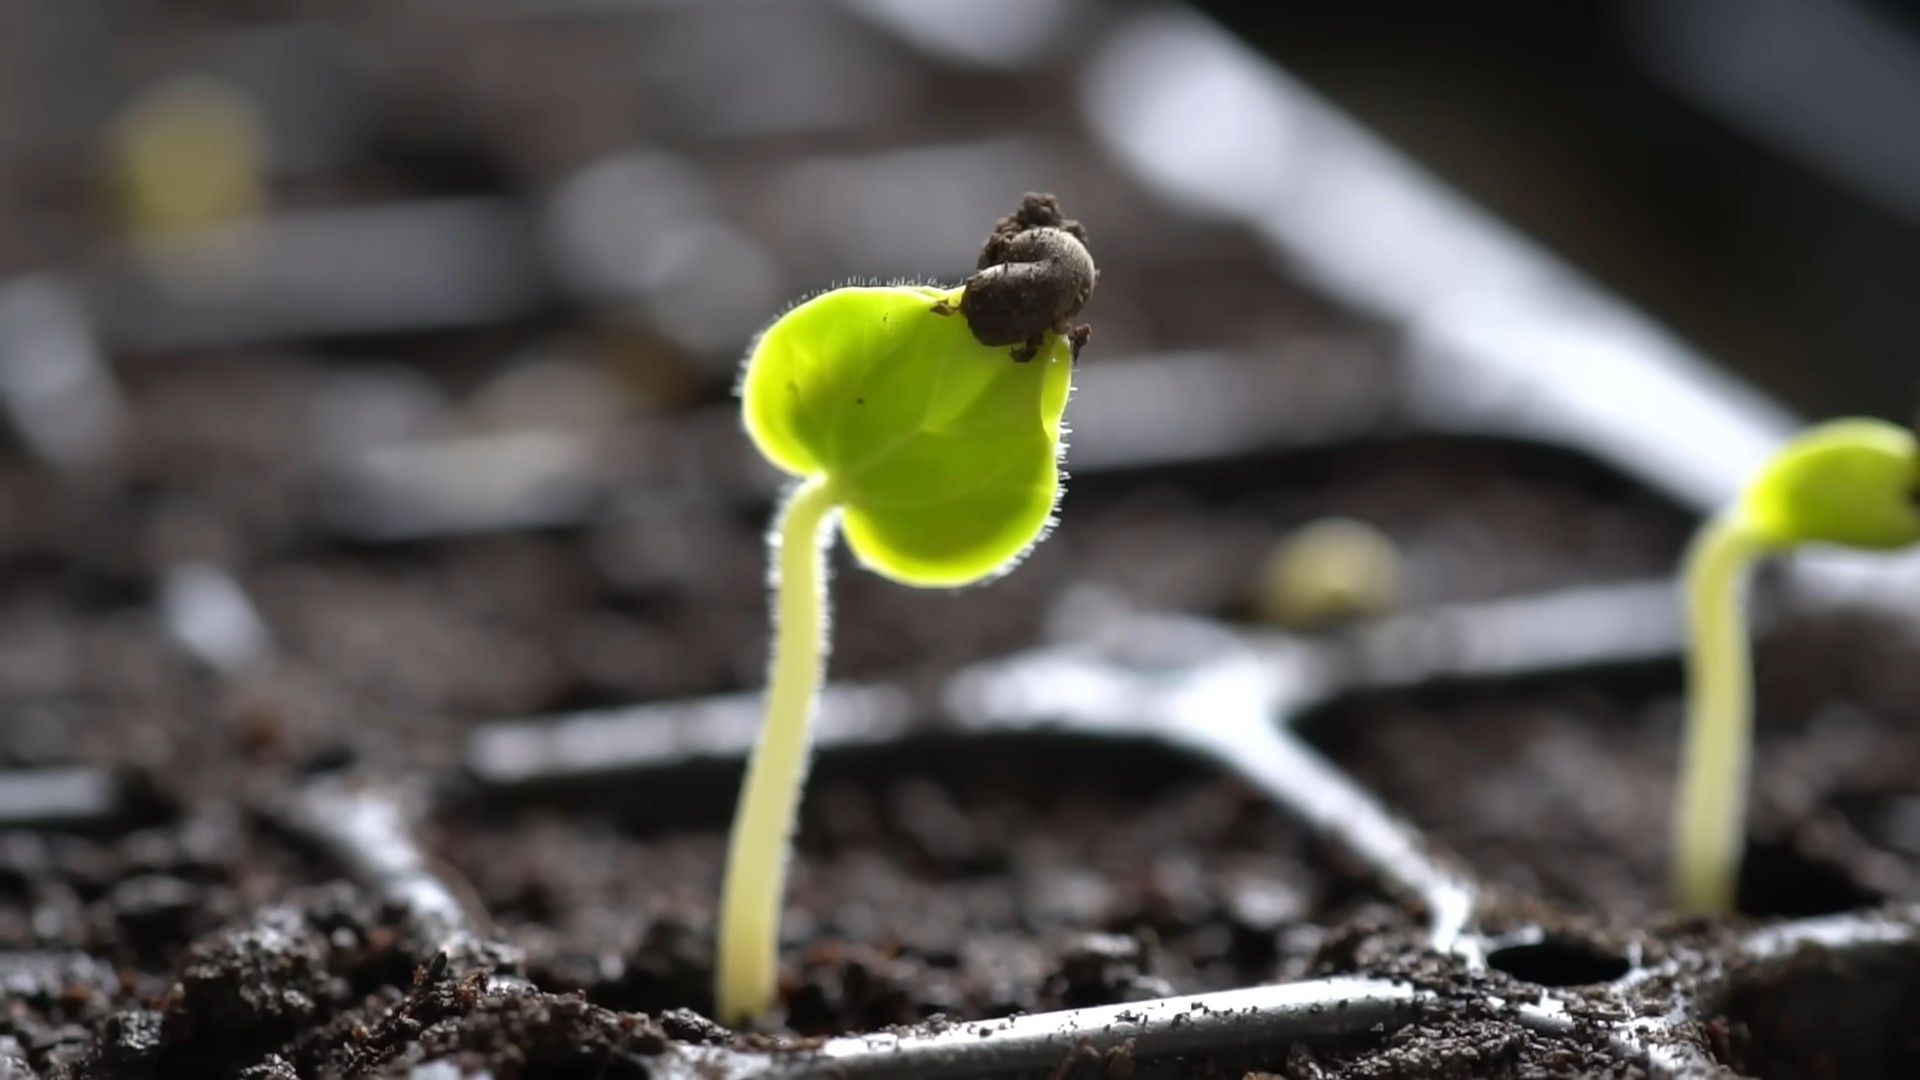
1. Soak the Seeds: To improve germination, soak okra seeds in warm water for 12-24 hours before planting. This helps soften the hard seed coat and encourages sprouting.
2. Prepare the Planting Holes: Dig holes about 1 inch deep and space them according to your chosen variety’s spacing recommendations (usually 12-18 inches apart).
3. Plant the Seeds: Place 2-3 seeds in each hole. This increases the chances of at least one seed germinating.
4. Cover the Seeds: Gently cover the seeds with soil and lightly pat down.
5. Water Thoroughly: Water the planting area thoroughly to moisten the soil.
6. Mark the Rows: Use plant markers to label your okra rows so you know what you’ve planted.
Caring for Your Okra Plants
Once your okra plants are in the ground, it’s important to provide them with the care they need to thrive.
* Watering: Okra needs consistent moisture, especially during hot, dry weather. Water deeply once or twice a week, or more often if the soil dries out quickly. Avoid overhead watering, as this can promote fungal diseases. Soaker hoses or drip irrigation are ideal.
* Fertilizing: Okra is a heavy feeder, so fertilize your plants every 4-6 weeks with a balanced fertilizer (e.g., 10-10-10). You can also side-dress with compost or well-rotted manure.
* Weeding: Keep the area around your okra plants free of weeds. Weeds compete with okra for nutrients and water. Hand-pull weeds or use a hoe to remove them. Mulching can also help suppress weed growth.
* Pest Control: Okra can be susceptible to pests such as aphids, flea beetles, and corn earworms. Inspect your plants regularly for signs of infestation. You can control pests with insecticidal soap, neem oil, or by hand-picking them off the plants.
* Pruning: While not strictly necessary, pruning can help improve air circulation and encourage more pod production. Remove any yellowing or damaged leaves.
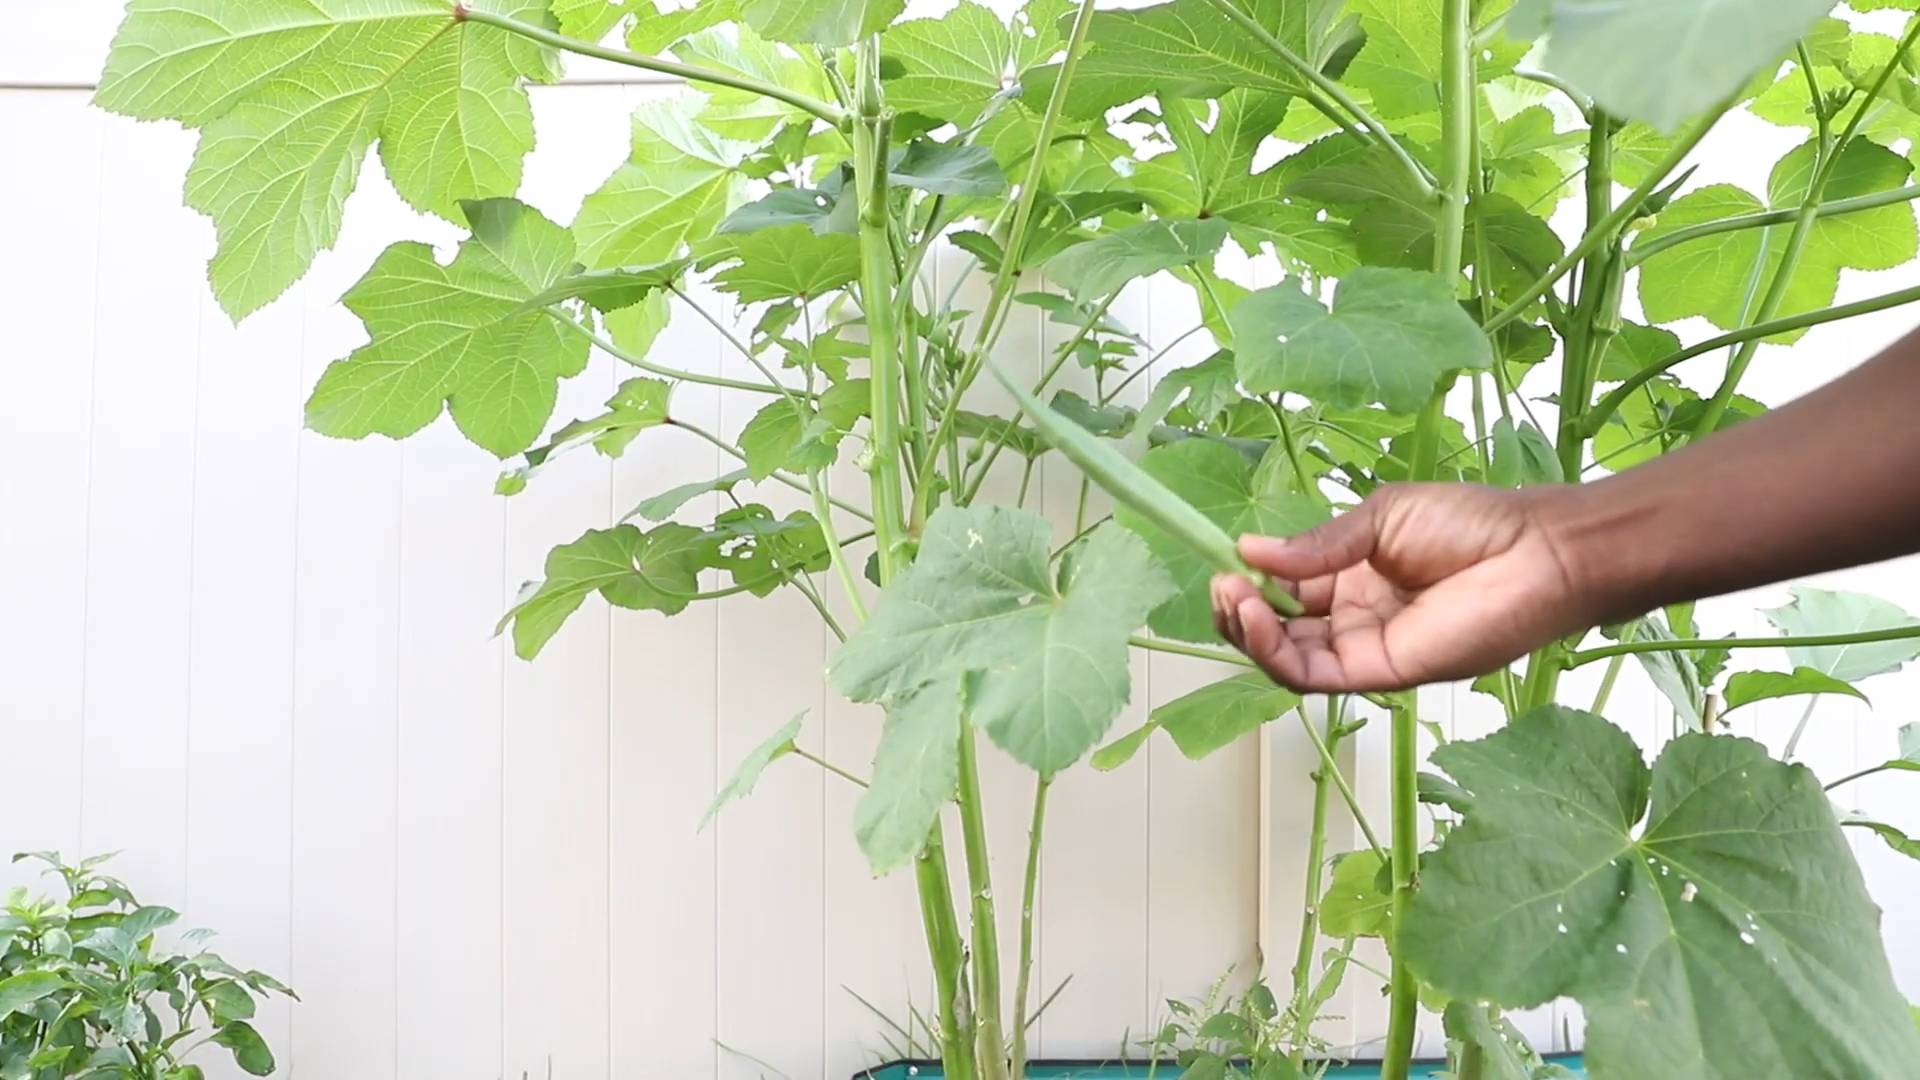
Harvesting Your Okra
Harvesting okra is crucial for maintaining pod tenderness and encouraging continued production.
* Timing: Okra pods are typically ready to harvest 50-65 days after planting, depending on the variety. Harvest pods when they are 2-4 inches long and still tender. Overripe pods become tough and fibrous.
* Technique: Use a sharp knife or pruning shears to cut the pods from the plant. Be careful not to damage the plant. Wear gloves when harvesting, as some okra varieties have spines that can irritate the skin.
* Frequency: Harvest okra pods every 1-2 days during peak season. This encourages the plant to produce more pods.
* Post-Harvest: Okra pods are best used fresh. Store them in the refrigerator for up to a week. You can also freeze or pickle okra for longer storage.
Dealing with Common Okra Problems
Even with the best care, you might encounter some problems while growing okra. Here are a few common issues and how to address them:
* Yellowing Leaves: Yellowing leaves can be a sign of nutrient deficiency, overwatering, or pest infestation. Check the soil pH and nutrient levels, adjust your watering schedule, and inspect the plants for pests.
* Stunted Growth: Stunted growth can be caused by poor soil, lack of sunlight, or root-knot nematodes. Amend the soil with compost, ensure the plants are getting enough sunlight, and consider using a nematode-resistant variety.
* Blossom Drop: Blossom drop (when flowers fall off without producing pods) can be caused by high temperatures, lack of pollination, or nutrient deficiency. Ensure the plants are getting enough water and fertilizer, and consider hand-pollinating the flowers.
* Root Rot: Root rot is a fungal disease that can occur in poorly drained soil. Improve soil drainage by adding compost or perlite. Avoid overwatering.
Tips for a Bountiful Okra Harvest
Here are a few extra tips to help you maximize your okra harvest:
* Succession Planting: Plant okra seeds every 2-3 weeks to ensure a continuous harvest throughout the growing season.
* Mulching: Mulch around your okra plants to conserve moisture, suppress weeds, and regulate soil temperature.
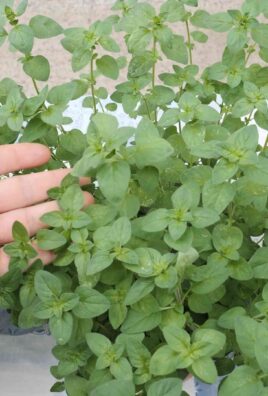
* Companion Planting: Plant okra alongside beneficial plants such as basil, peppers, and tomatoes. These plants can help deter pests and improve pollination.
* Hand-Pollination: If you’re having trouble with blossom drop, try hand-pollinating the flowers. Use a small paintbrush to transfer pollen from one flower to another.
* Save Seeds: At the end of the season, allow a few okra pods to mature and dry on the plant. Harvest the seeds and store them in a cool, dry place for planting next year.
Okra in Containers
Don’t have a garden? No problem! You can still grow okra in containers. Here’s what you need to know:
* Choose the Right Container: Select a large container that is at least 12 inches in diameter and 12 inches deep. Make sure the container has drainage holes.
* Use a Good Potting Mix: Use a high-quality potting mix that is well-draining and contains plenty of organic matter.
* Planting: Plant 2-3 okra seeds in the container, following the same planting instructions as for garden planting.
* Watering: Container-grown okra plants need more frequent watering than garden-grown plants. Water when the top inch of soil feels dry.
* Fertilizing: Fertilize container-grown okra plants every 2-3 weeks with a balanced fertilizer.
* Sunlight: Place the container in a location that gets at least 6-8 hours of direct sunlight per day.
Enjoying Your Okra Harvest
Now that you’ve successfully grown your own okra, it’s time to enjoy the fruits (or rather, pods) of your labor! Okra is a versatile vegetable that can be used in a variety of dishes.
Conclusion
So, there you have it – a comprehensive guide to unlocking the secrets of growing okra at home! We’ve explored everything from seed selection and soil preparation to pest control and harvesting, equipping you with the knowledge and confidence to cultivate your own thriving okra patch. But why should you embark on this journey of homegrown okra?
The answer is simple: freshness, flavor, and fulfillment. Store-bought okra, while convenient, often pales in comparison to the vibrant, tender pods you can harvest straight from your own garden. Imagine the satisfaction of serving a dish made with okra you nurtured from a tiny seed, knowing exactly where it came from and how it was grown. The taste difference alone is a game-changer, with homegrown okra boasting a sweeter, less fibrous texture that elevates any recipe.
Beyond the culinary benefits, growing okra at home is an incredibly rewarding experience. It connects you to nature, teaches you valuable gardening skills, and provides a sustainable source of fresh produce. Plus, okra plants are stunning additions to any garden, with their beautiful hibiscus-like flowers adding a touch of Southern charm.
Don’t be afraid to experiment with different varieties of okra to find your favorites. Clemson Spineless is a classic choice known for its smooth pods and high yields, while Burgundy okra adds a pop of color to your garden and dishes. For those with limited space, dwarf varieties like Baby Bubba are perfect for container gardening.
Consider companion planting to maximize your okra’s growth and deter pests. Basil, marigolds, and peppers are excellent companions that attract beneficial insects and repel harmful ones. You can also try intercropping okra with other vegetables like tomatoes or eggplant to make the most of your garden space.
We understand that gardening can sometimes feel daunting, but with a little patience and attention, you can successfully grow okra at home, even if you’re a beginner. Remember to provide your plants with plenty of sunlight, well-drained soil, and consistent watering. Keep an eye out for common pests like aphids and okra stink bugs, and take action promptly to prevent infestations.
The key to successful okra cultivation lies in consistent care and attention to detail. Don’t be discouraged by setbacks; every gardening experience is a learning opportunity. Embrace the challenges, celebrate the successes, and enjoy the process of nurturing your own okra plants.
Now, it’s your turn to get your hands dirty and experience the joy of growing okra at home. We encourage you to try our tips and techniques, and most importantly, to share your experiences with us. Let us know what varieties you’re growing, what challenges you’ve faced, and what delicious dishes you’ve created with your homegrown okra. Your insights and feedback will help us continue to improve our guide and inspire others to embark on their own okra-growing adventures.
So, grab your seeds, prepare your soil, and get ready to harvest a bounty of fresh, flavorful okra. Happy gardening!
Frequently Asked Questions (FAQ)
What is the best time to plant okra?
The best time to plant okra is in the late spring or early summer, after the last frost has passed and the soil has warmed up to at least 65°F (18°C). Okra thrives in warm weather and requires a long growing season of at least 50-60 days. Planting too early can result in stunted growth or even death of the seedlings. In warmer climates, you can even plant a second crop of okra in mid-summer for a fall harvest. Check your local frost dates to determine the optimal planting time for your region.
How much sunlight does okra need?
Okra needs at least 6-8 hours of direct sunlight per day to thrive. Choose a planting location that receives full sun throughout the day. If your okra plants don’t get enough sunlight, they may become leggy and produce fewer pods. If you’re growing okra in containers, make sure to place them in a sunny spot or supplement with grow lights if necessary.
What type of soil is best for growing okra?
Okra prefers well-drained, fertile soil with a pH between 6.0 and 7.0. Amend your soil with compost or other organic matter to improve drainage and fertility. Avoid planting okra in heavy clay soil, as this can lead to root rot. If your soil is compacted, consider adding sand or perlite to improve drainage. A soil test can help you determine the pH and nutrient levels of your soil and guide you on any necessary amendments.
How often should I water okra plants?
Okra plants need consistent watering, especially during hot, dry weather. Water deeply and regularly, aiming to keep the soil consistently moist but not waterlogged. Avoid overhead watering, as this can promote fungal diseases. A good rule of thumb is to water okra plants 1-2 times per week, depending on the weather conditions. Mulching around the plants can help retain moisture and suppress weeds.
What are some common pests and diseases that affect okra?
Okra can be susceptible to several pests and diseases, including aphids, okra stink bugs, flea beetles, root-knot nematodes, and fungal diseases like powdery mildew and Fusarium wilt. Regularly inspect your plants for signs of pests or diseases and take action promptly to prevent infestations or outbreaks. Use organic pest control methods like insecticidal soap, neem oil, or diatomaceous earth to control pests. Ensure good air circulation and avoid overhead watering to prevent fungal diseases. Crop rotation can also help reduce the risk of soilborne diseases.
How do I harvest okra?
Okra pods are typically ready to harvest 50-60 days after planting. Harvest the pods when they are young and tender, typically 2-4 inches long. Use a sharp knife or pruning shears to cut the pods from the plant, leaving a short stem attached. Harvest okra pods every 1-2 days to encourage continued production. Overripe okra pods become tough and fibrous, so it’s important to harvest them regularly. Wear gloves when harvesting okra, as the pods can be prickly and cause skin irritation.
Can I grow okra in containers?
Yes, you can successfully grow okra in containers, especially if you choose dwarf varieties like Baby Bubba. Use a large container that is at least 12 inches deep and wide to provide enough space for the roots to grow. Fill the container with a well-draining potting mix and provide adequate sunlight and water. Container-grown okra may require more frequent watering and fertilization than okra grown in the ground.
How do I save okra seeds for next year?
To save okra seeds, allow some of the pods to mature fully on the plant. The pods will become dry and brown, and the seeds will harden. Once the pods are completely dry, harvest them and remove the seeds. Store the seeds in an airtight container in a cool, dry place. Okra seeds can remain viable for several years if stored properly.
What are some ways to use homegrown okra?
Homegrown okra can be used in a variety of dishes, including soups, stews, gumbos, stir-fries, and fried okra. It can also be pickled, roasted, or grilled. Okra is a versatile vegetable that adds flavor and texture to many different cuisines. Experiment with different recipes and find your favorite ways to enjoy your homegrown okra.
How can I reduce the sliminess of okra?
Okra is known for its mucilaginous texture, which can be off-putting to some people. To reduce the sliminess of okra, try these tips:
* Cook okra at high heat: High heat helps to break down the mucilage.
* Soak okra in vinegar or lemon juice: Soaking okra in an acidic solution before cooking can help reduce its sliminess.
* Don’t overcrowd the pan: Overcrowding the pan can cause the okra to steam instead of fry, which can increase its sliminess.
* Use dry heat methods: Roasting, grilling, or frying okra can help reduce its sliminess.
* Combine okra with acidic ingredients: Adding tomatoes, vinegar, or lemon juice to okra dishes can help balance the mucilage.


Leave a Comment