

Growing Chives Indoors is easier than you might think, and I’m so excited to share my favorite DIY tricks with you! Imagine fresh, flavorful chives readily available right on your kitchen windowsill, ready to snip and add a burst of oniony goodness to your meals. No more last-minute trips to the grocery store or settling for dried herbs – just vibrant, homegrown flavor at your fingertips.
Chives have a rich history, dating back to ancient Rome where they were believed to ward off evil spirits and were used medicinally. Beyond their folklore, they’ve been a culinary staple for centuries, adding a delicate zest to dishes across various cultures. But let’s be honest, sometimes life gets in the way, and maintaining an outdoor herb garden isn’t always feasible. That’s where the magic of indoor gardening comes in!
In today’s busy world, having access to fresh, healthy ingredients is more important than ever. Growing Chives Indoors not only provides you with a convenient source of flavor but also offers a therapeutic and rewarding experience. This DIY guide will walk you through simple, step-by-step instructions, ensuring you can enjoy a thriving chive plant regardless of your gardening experience or available space. Get ready to transform your kitchen into a mini herb garden and elevate your culinary creations!
Growing Chives Indoors: A Beginner’s Guide to Fresh Flavor Year-Round
Hey there, fellow herb enthusiasts! Ever crave that fresh, oniony zing of chives in the middle of winter? Well, you’re in luck! Growing chives indoors is surprisingly easy, and I’m here to walk you through every step. Get ready to have a constant supply of delicious chives right at your fingertips!
What You’ll Need
Before we dive in, let’s gather our supplies. This is a pretty straightforward project, so you probably have a lot of this stuff already.
* **Chive Seeds or a Chive Plant:** You can start from seeds, which is more economical, or buy a small chive plant from a garden center for quicker results. I’ve done both, and honestly, both work great!
* **Pot with Drainage Holes:** A pot that’s at least 6 inches in diameter is ideal. Good drainage is crucial to prevent root rot.
* **Potting Mix:** Use a good quality potting mix, not garden soil. Potting mix is lighter and drains better.
* **Watering Can or Spray Bottle:** For gentle watering.
* **Sunny Windowsill or Grow Light:** Chives need plenty of light.
* **Optional: Seed Starting Tray (if starting from seeds):** This isn’t essential, but it can help with germination.
* **Optional: Plant Food:** A balanced liquid fertilizer can give your chives a boost.
Starting from Seeds: A Little Patience Goes a Long Way
If you’re opting to start from seeds, here’s how to do it. Don’t worry, it’s not as intimidating as it sounds!
1. **Prepare Your Seed Starting Tray (Optional):** If you’re using a seed starting tray, fill each cell with potting mix. Moisten the soil gently.
2. **Sow the Seeds:** Sprinkle a few chive seeds (3-5) on the surface of each cell or directly into your pot. Cover them lightly with about ¼ inch of potting mix.
3. **Water Gently:** Use a spray bottle to mist the soil. You want it moist, but not soggy.
4. **Cover and Wait:** Cover the seed starting tray (or your pot) with a plastic dome or plastic wrap to create a humid environment. This helps with germination.
5. **Place in a Warm Location:** Put the tray or pot in a warm spot, around 70-75°F (21-24°C).
6. **Monitor and Water:** Check the soil moisture daily. Keep it consistently moist.
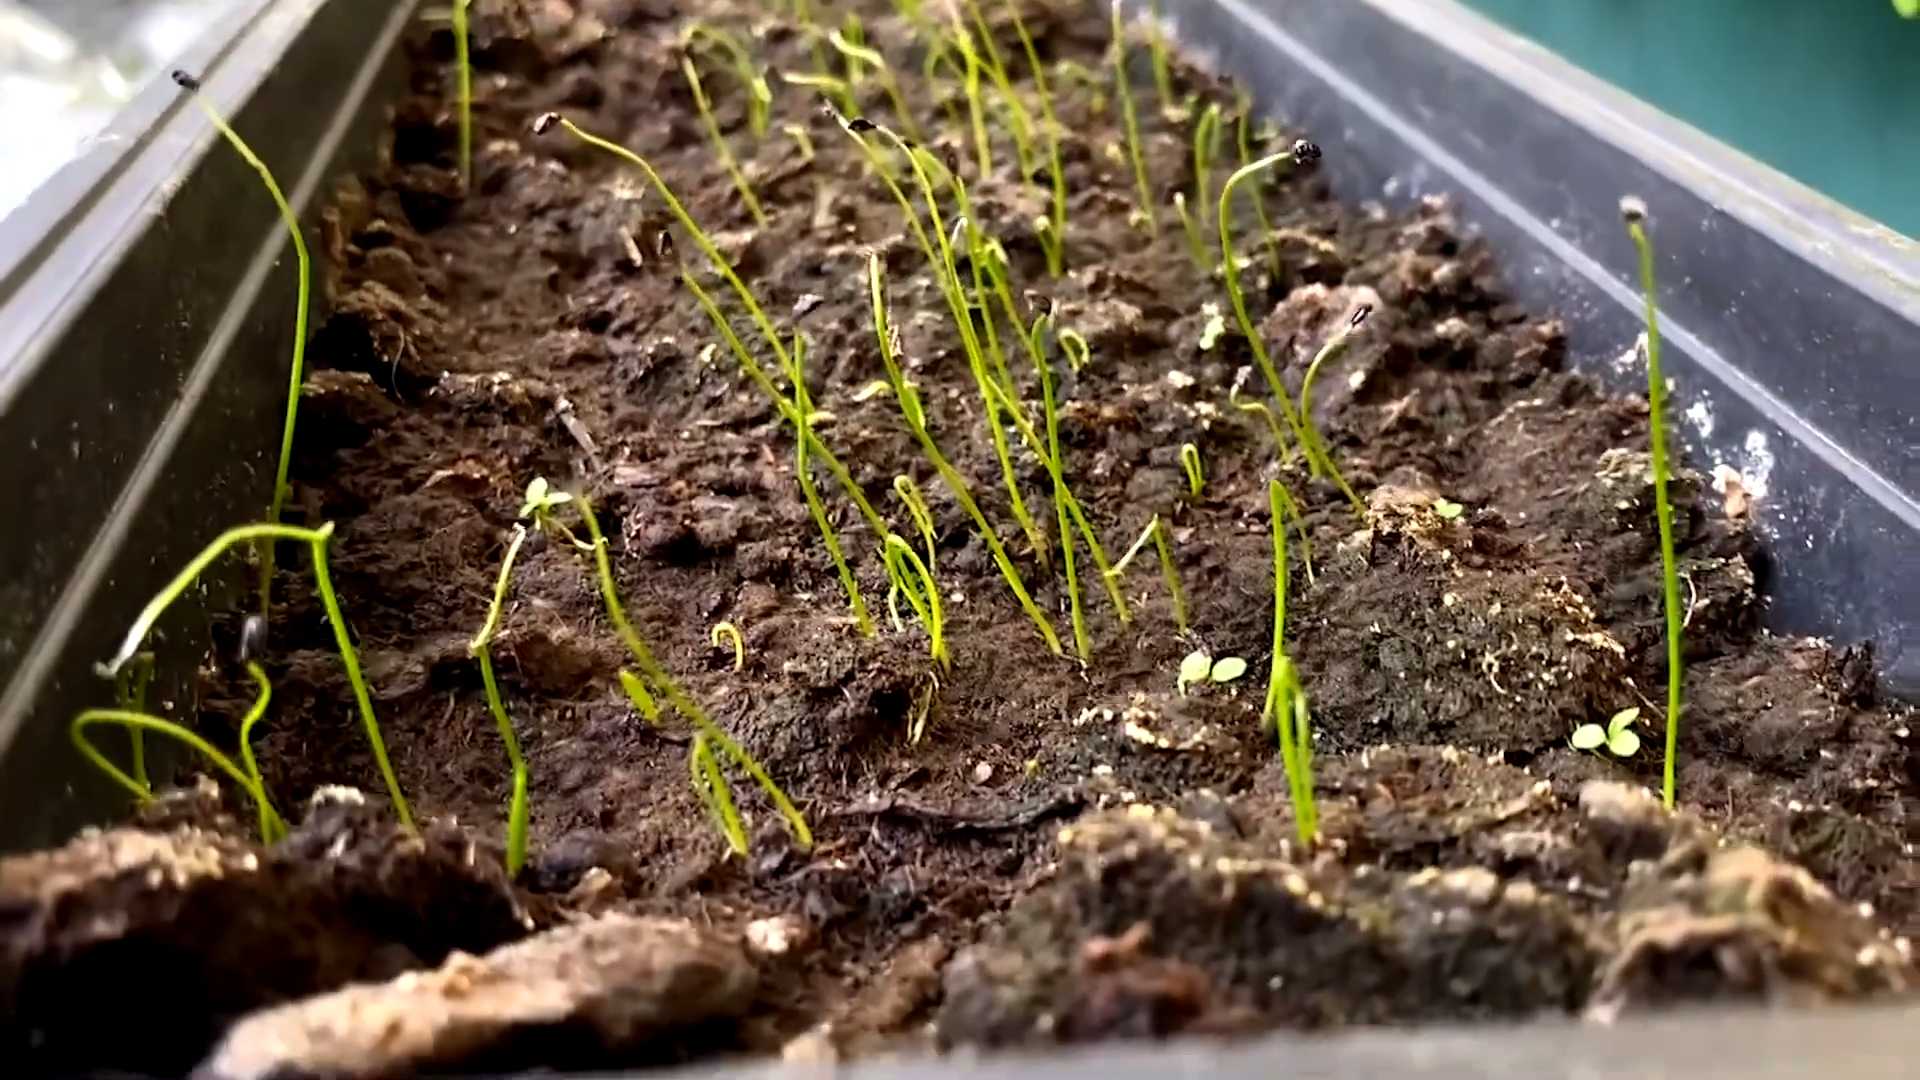
7. **Germination:** Chive seeds typically germinate in 7-14 days. Once you see sprouts, remove the plastic covering.
8. **Provide Light:** Move the seedlings to a sunny windowsill or under a grow light. They need at least 6 hours of light per day.
9. **Thinning (If Necessary):** If you have too many seedlings in one cell or pot, thin them out by snipping off the weaker ones at the soil line. This gives the stronger seedlings more room to grow.
10. **Transplanting (If Starting in a Tray):** Once the seedlings are a few inches tall and have a few sets of true leaves (usually after 4-6 weeks), you can transplant them into your larger pot. Gently remove the seedlings from the tray and plant them in the pot, spacing them about 2-3 inches apart.
Planting a Chive Plant: The Quick and Easy Route
If you’re starting with a chive plant, the process is even simpler!
1. **Prepare Your Pot:** Fill your pot with potting mix, leaving about an inch of space at the top.
2. **Remove the Chive Plant from its Container:** Gently loosen the soil around the edges of the container and carefully remove the chive plant.
3. **Loosen the Roots:** Gently tease apart the roots of the chive plant. This encourages them to spread out and establish themselves in the new pot.
4. **Plant the Chive Plant:** Place the chive plant in the center of the pot, making sure the top of the root ball is level with the soil surface.
5. **Fill with Potting Mix:** Fill in around the plant with potting mix, gently pressing down to secure it.
6. **Water Thoroughly:** Water the chive plant thoroughly until water drains out of the drainage holes.
Caring for Your Indoor Chives: Keeping Them Happy and Healthy
Now that your chives are planted, it’s time to learn how to keep them thriving indoors.
1. **Light:** Chives need at least 6 hours of sunlight per day. A south-facing windowsill is ideal. If you don’t have enough natural light, use a grow light. I’ve found that LED grow lights work really well and don’t use too much energy.
2. **Watering:** Water your chives when the top inch of soil feels dry to the touch. Avoid overwatering, as this can lead to root rot. Make sure the pot has good drainage.
3. **Temperature:** Chives prefer temperatures between 60-70°F (15-21°C).
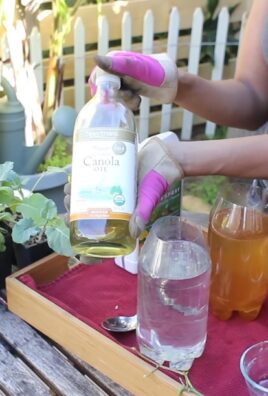
4. **Fertilizing:** Feed your chives with a balanced liquid fertilizer every 2-4 weeks during the growing season (spring and summer). Follow the instructions on the fertilizer label. I usually dilute the fertilizer to half strength to avoid burning the plants.
5. **Pruning:** Regular pruning is essential for keeping your chives healthy and productive. Snip off the tips of the leaves regularly to encourage new growth.
6. **Deadheading:** If your chives start to flower, you can remove the flower heads to encourage more leaf growth. However, the flowers are also edible and have a mild onion flavor, so you can leave them on if you like!
7. **Repotting:** If your chives become root-bound (the roots are circling around the inside of the pot), you may need to repot them into a larger container. This is usually necessary every 1-2 years.
Harvesting Your Chives: The Best Part!
Harvesting your chives is easy and rewarding!
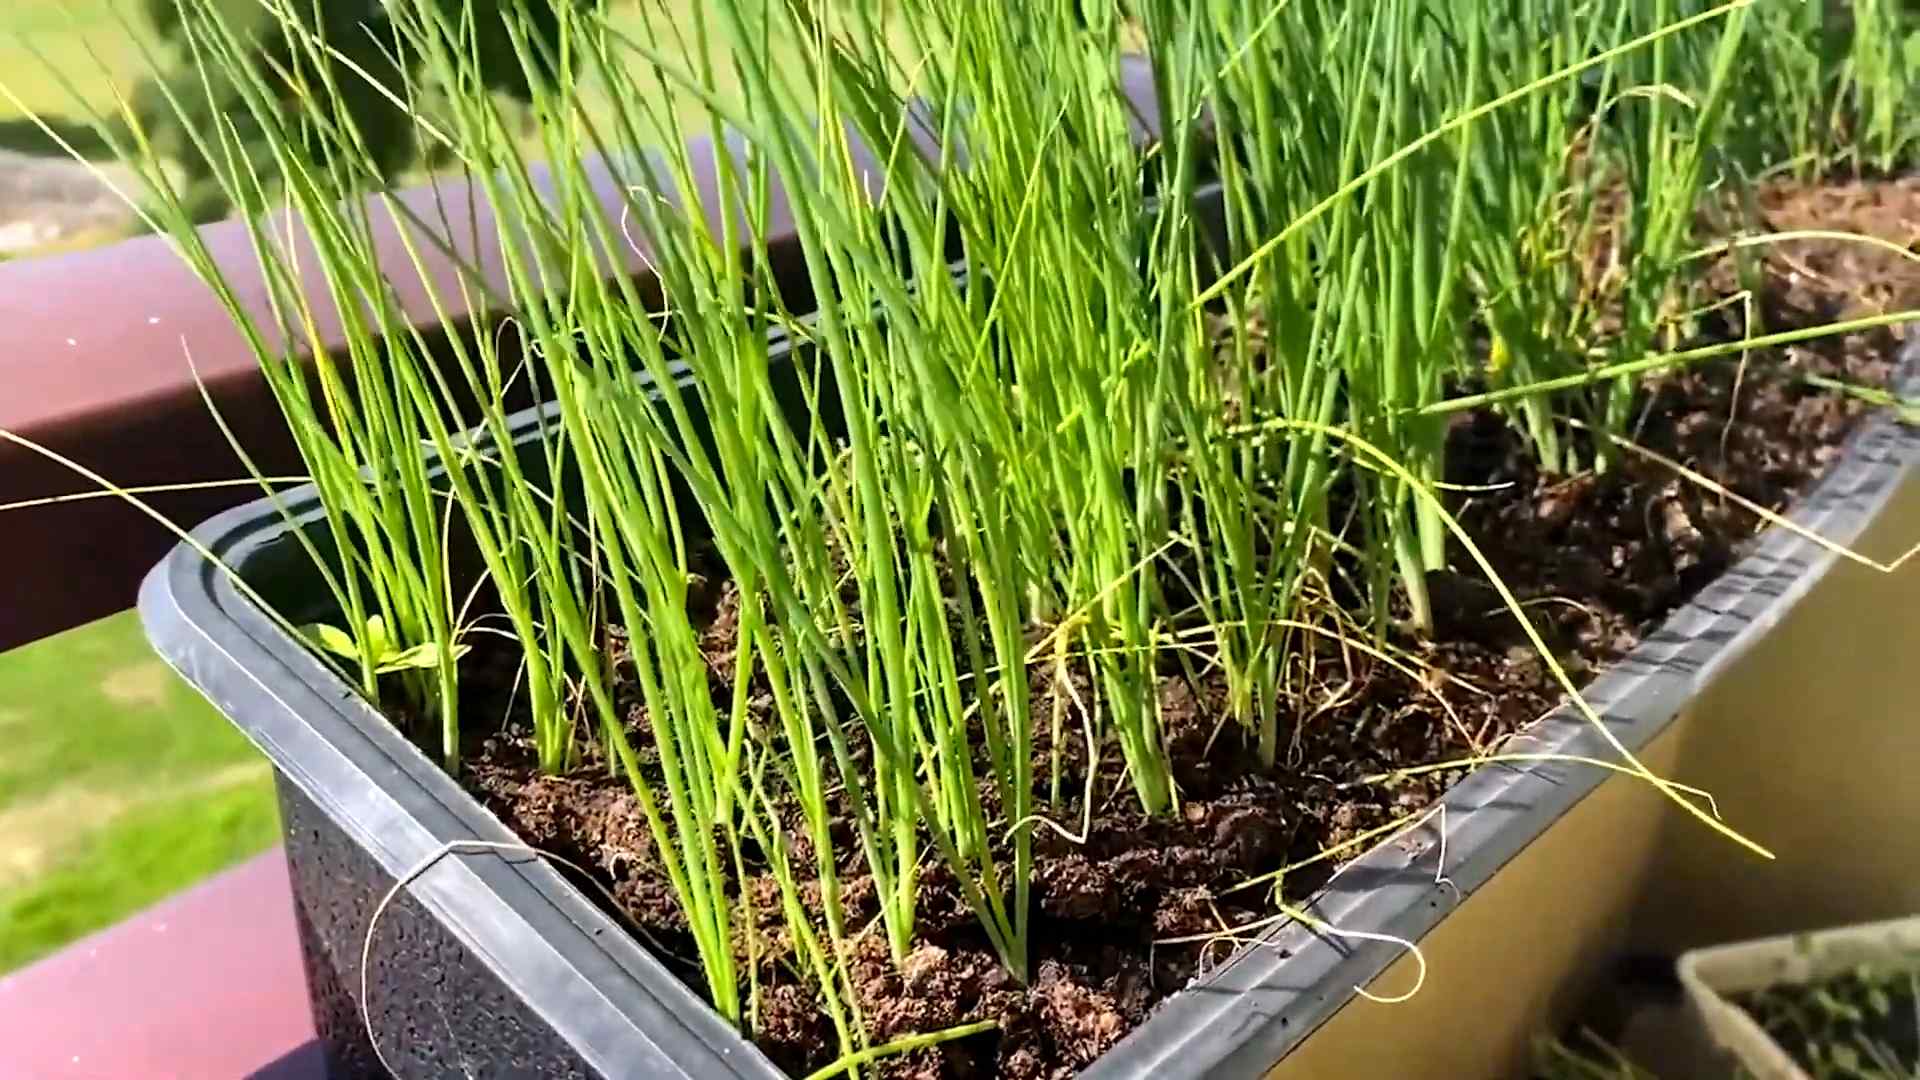
1. **When to Harvest:** You can start harvesting chives when they are about 6 inches tall.
2. **How to Harvest:** Use scissors or kitchen shears to snip off the chives about 1-2 inches above the soil line.
3. **Harvest Regularly:** Regular harvesting encourages new growth and keeps your chives productive.
4. **Using Your Chives:** Freshly harvested chives are best used immediately. You can chop them up and add them to salads, soups, omelets, dips, and more!
Troubleshooting: Common Problems and Solutions
Even with the best care, you might encounter a few problems while growing chives indoors. Here are some common issues and how to fix them:
* **Yellowing Leaves:** This could be a sign of overwatering, underwatering, or nutrient deficiency. Check the soil moisture and adjust your watering accordingly. If the soil is consistently moist, you’re probably overwatering. If it’s dry, you need to water more often. You can also try fertilizing your chives with a balanced liquid fertilizer.
* **Leggy Growth:** This is usually caused by insufficient light. Move your chives to a sunnier location or use a grow light.
* **Pests:** Chives are generally pest-resistant, but they can occasionally be affected by aphids or spider mites. If you notice any pests, try spraying your chives with insecticidal soap.
* **Root Rot:** This is caused by overwatering and poor drainage. Make sure your pot has drainage holes and that you’re not overwatering your chives. If you suspect root rot, you may need to repot your chives into fresh potting mix.
Propagating Chives: Expanding Your Herb Garden
Once you have a thriving chive plant, you can easily propagate it to create more plants!
1. **Division:** The easiest way to propagate chives is by division. This involves separating the plant into smaller clumps and planting them in separate pots.
2. **When to Divide:** The best time to divide chives is in the spring or fall.
3. **How to Divide:** Carefully remove the chive plant from its pot. Gently tease apart the roots and separate the plant into smaller clumps. Make sure each clump has a good amount of roots and foliage.
4. **Plant the Clumps:** Plant the clumps in separate pots filled with potting mix. Water thoroughly.
Enjoying Your Homegrown Chives: Recipes and Ideas
Now that you have a constant supply of fresh chives, it’s time to get creative in the kitchen! Here are a few ideas:
* **Chive Butter:** Mix chopped chives with softened butter and a pinch of salt. Use it on bread, vegetables, or grilled meats.
* **Chive Dip:** Add chopped chives to sour cream or yogurt for a simple and delicious dip.
* **Chive Omelet:** Sprinkle chopped
Conclusion
So, there you have it! Growing chives indoors is not only achievable, but it’s also incredibly rewarding. Imagine fresh, vibrant chives at your fingertips, ready to elevate your culinary creations any time of year. No more sad, wilted supermarket herbs or last-minute dashes to the store. This simple DIY trick empowers you to have a constant supply of this flavorful herb, adding a burst of freshness to everything from omelets and salads to soups and baked potatoes.
The beauty of this method lies in its simplicity and adaptability. Whether you’re a seasoned gardener or a complete novice, you can successfully grow chives indoors with minimal effort. The process is straightforward, requiring only a few basic supplies and a little bit of patience. The satisfaction of harvesting your own homegrown herbs is truly unmatched.
But the fun doesn’t stop there! Feel free to experiment with different varieties of chives. Garlic chives, with their subtle garlic flavor, are a fantastic alternative. You can also try growing your chives in different types of containers, from repurposed mason jars to stylish ceramic pots. Consider adding a small amount of organic fertilizer to the soil every few weeks to boost growth and ensure a continuous harvest.
Don’t be afraid to get creative with your indoor chive garden. You can even incorporate it into a larger herb garden, growing other favorites like basil, parsley, and mint alongside your chives. Imagine the possibilities – a fragrant, thriving indoor garden that provides you with a constant supply of fresh herbs!
Growing chives indoors is a game-changer for any home cook. It’s a sustainable, cost-effective, and incredibly satisfying way to enhance your meals and add a touch of green to your living space. We wholeheartedly encourage you to give this DIY trick a try. You’ll be amazed at how easy it is to grow your own fresh chives and the difference they make in your cooking.
Once you’ve embarked on your indoor chive-growing journey, we’d love to hear about your experience! Share your tips, tricks, and photos in the comments below. Let us know what varieties of chives you’re growing, what containers you’re using, and what delicious dishes you’re creating with your homegrown herbs. Your insights and experiences will inspire others to try this rewarding DIY project and discover the joy of growing their own fresh chives indoors. Happy gardening!
Frequently Asked Questions (FAQ)
1. What kind of soil is best for growing chives indoors?
The best soil for growing chives indoors is a well-draining potting mix. Avoid using garden soil, as it can be too heavy and may not drain properly, leading to root rot. A good quality potting mix will provide the necessary nutrients and drainage for healthy chive growth. You can also amend your potting mix with perlite or vermiculite to improve drainage and aeration. Look for potting mixes specifically formulated for herbs or vegetables for optimal results.
2. How much sunlight do indoor chives need?
Chives thrive in bright, indirect sunlight. Aim for at least 6-8 hours of sunlight per day. If you don’t have a sunny windowsill, you can supplement with a grow light. Place the grow light a few inches above the chives and keep it on for 12-14 hours per day. Insufficient sunlight can lead to leggy growth and reduced flavor. Rotate your chives regularly to ensure even exposure to sunlight.
3. How often should I water my indoor chives?
Water your chives when the top inch of soil feels dry to the touch. Avoid overwatering, as this can lead to root rot. Ensure that your container has drainage holes to allow excess water to escape. During the warmer months, you may need to water more frequently. In the winter, when growth slows down, you can reduce watering. Check the soil moisture regularly and adjust your watering schedule accordingly.
4. How do I harvest chives without killing the plant?
The key to harvesting chives without harming the plant is to cut the leaves from the outside of the clump, leaving the inner leaves to continue growing. Use sharp scissors or pruning shears to cut the leaves about an inch above the soil line. Avoid cutting all the leaves at once, as this can weaken the plant. Regular harvesting encourages new growth and keeps your chives producing fresh leaves.
5. Can I grow chives from seed indoors?
Yes, you can absolutely grow chives from seed indoors. Start by sowing the seeds in a seed-starting tray or small pots filled with seed-starting mix. Keep the soil moist and warm (around 70-75°F) until the seeds germinate, which usually takes about 7-14 days. Once the seedlings have developed a few sets of true leaves, you can transplant them into larger pots. Growing chives from seed takes a bit longer than starting with established plants, but it’s a cost-effective way to grow a large quantity of chives.
6. My chives are turning yellow. What’s wrong?
Yellowing chives can be caused by several factors, including overwatering, underwatering, nutrient deficiencies, or pests. Check the soil moisture to ensure that you’re not overwatering or underwatering. If the soil is consistently wet, allow it to dry out before watering again. If the soil is dry, water thoroughly. You can also try fertilizing your chives with a balanced liquid fertilizer to address any nutrient deficiencies. Inspect the leaves for signs of pests, such as aphids or spider mites. If you find pests, treat them with an appropriate insecticide or insecticidal soap.
7. Can I freeze chives for later use?
Yes, freezing chives is a great way to preserve them for later use. To freeze chives, wash and dry them thoroughly. Then, chop them into small pieces and spread them out on a baking sheet lined with parchment paper. Freeze for a few hours until solid, then transfer the frozen chives to a freezer bag or airtight container. Frozen chives can be stored in the freezer for up to six months. They’re best used in cooked dishes, as they may lose some of their texture when thawed.
8. Are there any pests or diseases that commonly affect indoor chives?
While indoor chives are generally pest-resistant, they can occasionally be affected by aphids, spider mites, or fungal diseases. Aphids and spider mites can be treated with insecticidal soap or neem oil. To prevent fungal diseases, ensure good air circulation around your chives and avoid overwatering. If you notice any signs of disease, remove the affected leaves immediately.
9. How long will my indoor chives last?
With proper care, your indoor chives can last for several years. Regularly harvesting the leaves will encourage new growth and keep your chives producing fresh leaves. Repot your chives every year or two to provide them with fresh soil and more space to grow. By following these tips, you can enjoy a continuous supply of fresh chives for years to come.
10. Can I grow chives indoors year-round?
Absolutely! One of the biggest advantages of growing chives indoors is that you can enjoy fresh herbs year-round, regardless of the weather outside. By providing your chives with adequate sunlight, water, and nutrients, you can keep them growing and producing fresh leaves throughout the year. This makes growing chives indoors a sustainable and convenient way to add flavor to your meals.

Leave a Comment