

Growing bell peppers backyard can feel like a daunting task, but trust me, it’s more achievable (and rewarding!) than you might think. Have you ever dreamt of strolling into your backyard and plucking a vibrant, perfectly ripe bell pepper straight from the vine? Imagine the fresh, crisp flavor in your salads, stir-fries, or even just enjoyed as a healthy snack. That dream can become a reality with a few simple DIY tricks and hacks!
Bell peppers have a rich history, originating in South America and spreading throughout the world thanks to explorers. They’ve been a staple in various cuisines for centuries, adding color and flavor to dishes from Spain’s paella to Mexico’s stuffed peppers. But you don’t need a fancy greenhouse or years of experience to enjoy the fruits (or rather, vegetables!) of your labor.
In today’s world, where we’re increasingly conscious of where our food comes from, growing bell peppers backyard offers a fantastic way to connect with nature, reduce your carbon footprint, and ensure you’re eating healthy, pesticide-free produce. Plus, let’s be honest, there’s something incredibly satisfying about nurturing a plant from seed to harvest. This article is packed with easy-to-follow DIY tips and tricks that will help you cultivate a thriving bell pepper patch, even if you’re a complete beginner. So, grab your gardening gloves, and let’s get started!
Growing Bell Peppers Like a Pro: My Backyard Guide
Hey there, fellow gardening enthusiasts! I’m so excited to share my tried-and-true method for growing plump, juicy bell peppers right in your own backyard. Forget those bland, overpriced peppers from the grocery store – with a little love and attention, you can harvest a bounty of colorful, flavorful peppers all season long. This guide is packed with everything I’ve learned over the years, from choosing the right varieties to troubleshooting common problems. Let’s get started!
Choosing the Right Bell Pepper Varieties
Before you even think about planting, it’s crucial to pick the right bell pepper varieties for your climate and preferences. Here’s what I consider:
* Climate: If you live in a region with short summers, opt for early-maturing varieties like ‘Ace’ or ‘Early Sweet’. For warmer climates, you have more flexibility and can choose later-maturing varieties like ‘California Wonder’ or ‘Jupiter’.
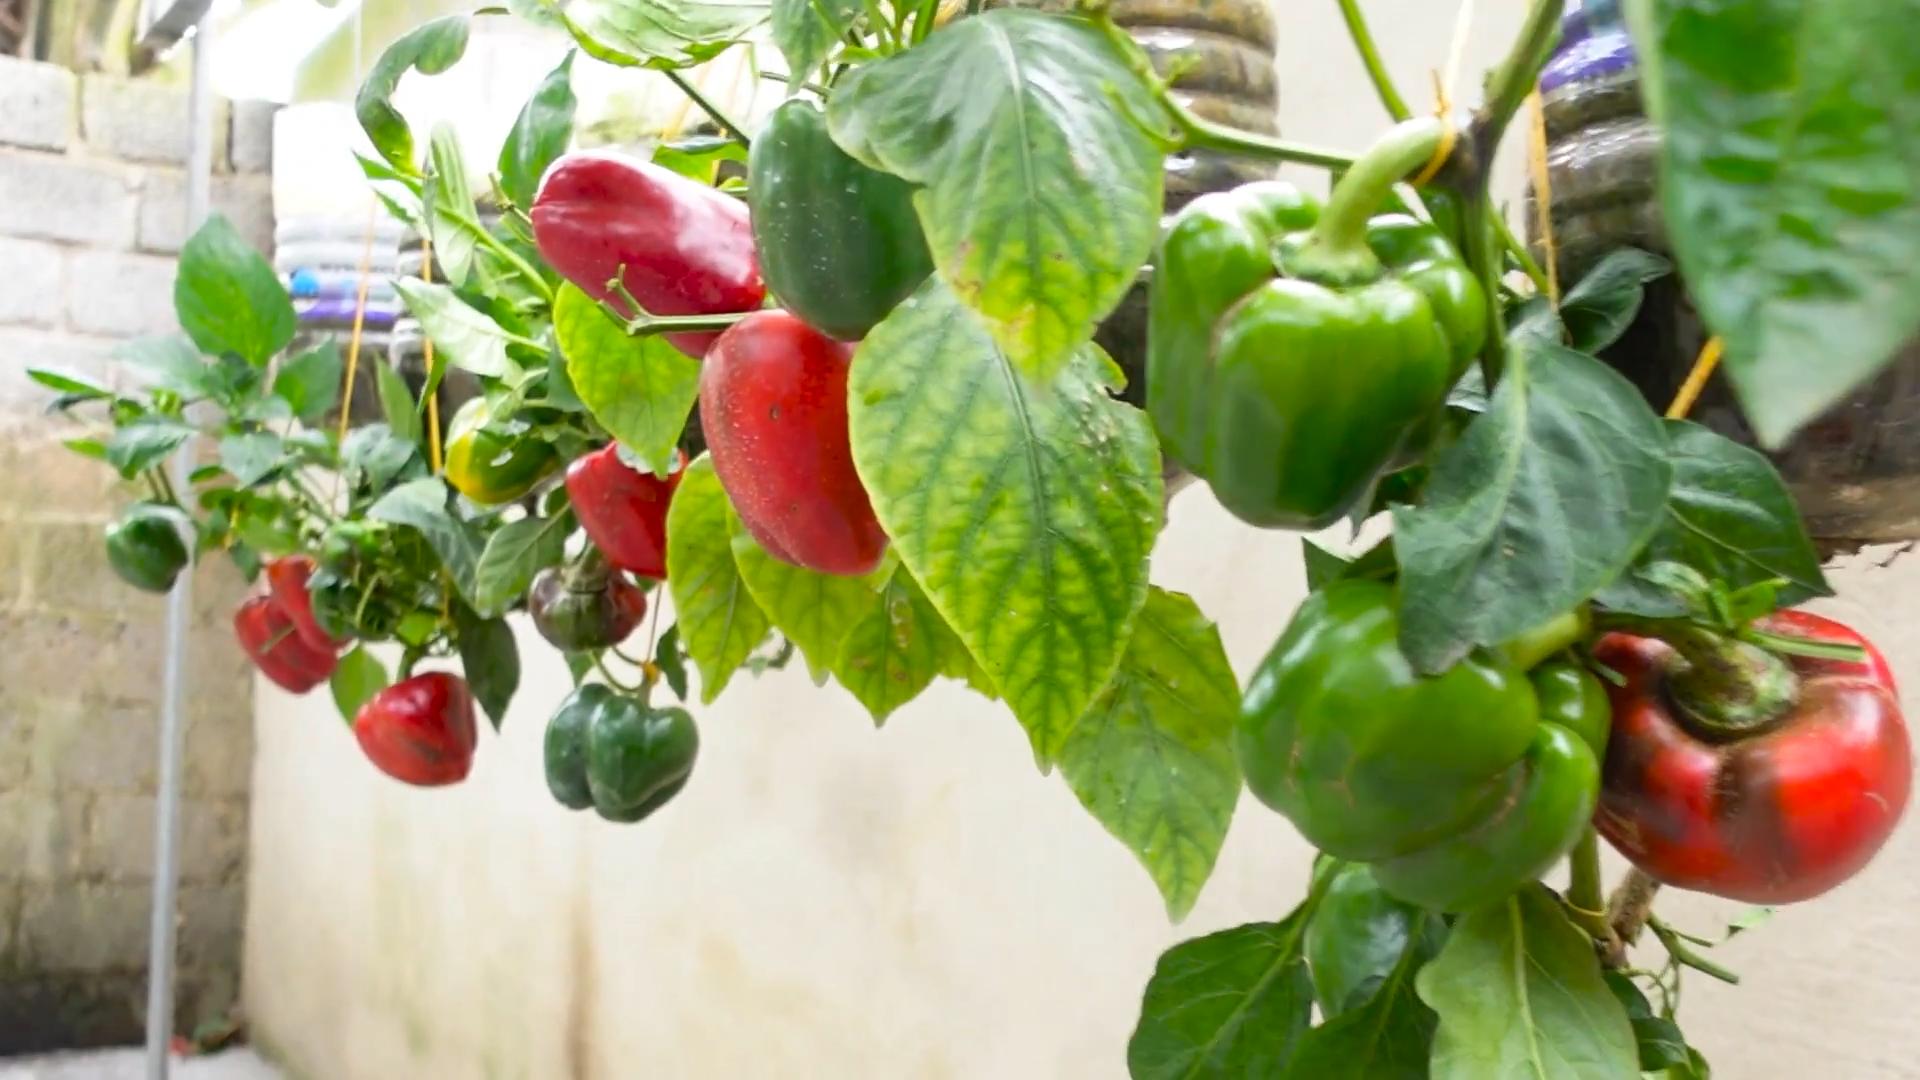
* Color: Bell peppers come in a rainbow of colors – green, red, yellow, orange, and even purple! Each color has a slightly different flavor profile. Green peppers are often a bit more bitter, while red, yellow, and orange peppers are sweeter.
* Size: Consider the size of the peppers you want. Some varieties produce smaller, snack-sized peppers, while others yield large, blocky peppers perfect for stuffing.
* Disease Resistance: Look for varieties that are resistant to common pepper diseases like Tobacco Mosaic Virus (TMV) and bacterial leaf spot. This can save you a lot of headaches down the road.
My personal favorites are ‘California Wonder’ (a classic red bell pepper), ‘Golden Bell’ (a sweet yellow pepper), and ‘Purple Beauty’ (a unique and beautiful purple pepper). I usually grow a mix of these to add variety to my garden and my meals.
Starting Your Bell Pepper Seeds (or Buying Transplants)
You have two options here: starting your own seeds indoors or buying transplants from a local nursery. Starting seeds gives you more control over the process and allows you to choose from a wider range of varieties. However, it requires a bit more time and effort.
Starting Seeds Indoors (My Preferred Method)
I always prefer starting my bell pepper seeds indoors about 6-8 weeks before the last expected frost. This gives them a head start and ensures a longer growing season.
1. Gather Your Supplies: You’ll need seed starting trays or small pots, seed starting mix (a light, sterile soil mix), bell pepper seeds, a spray bottle, and a heat mat (optional but recommended).
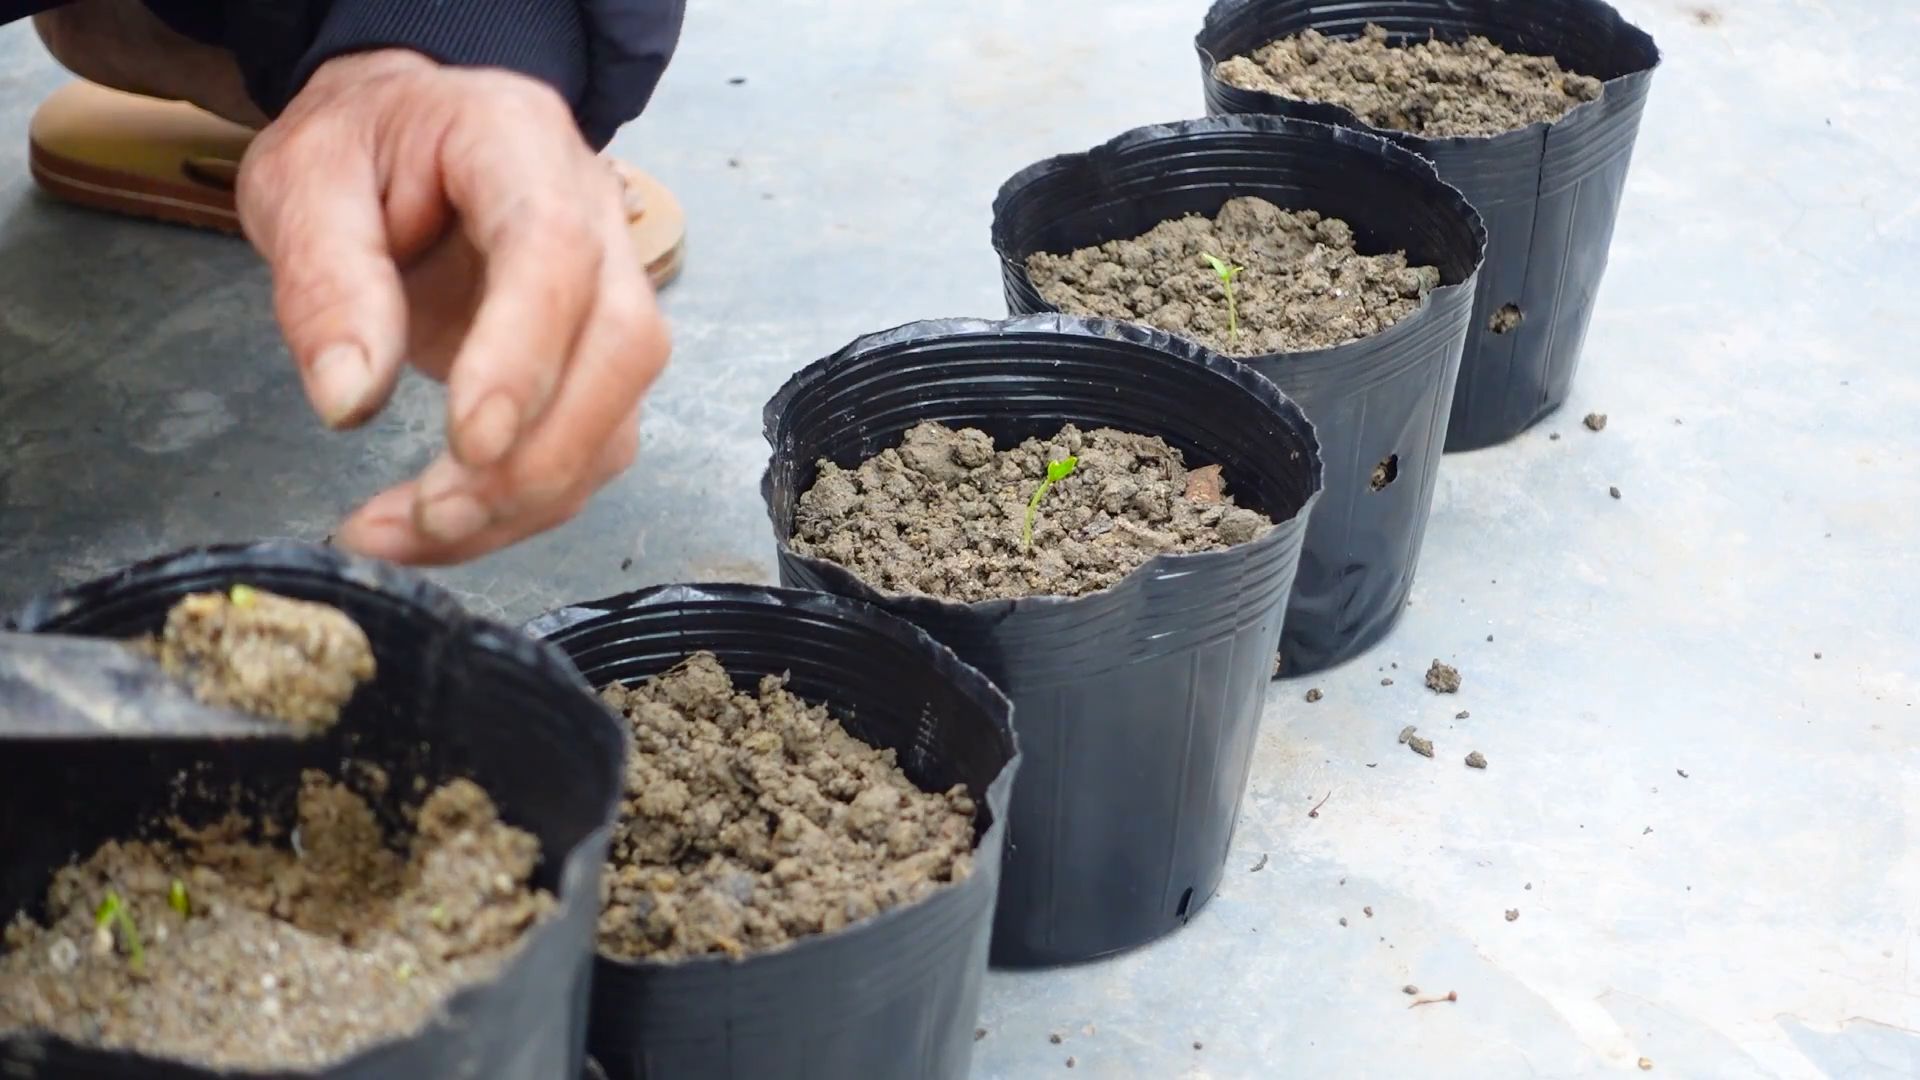
2. Sow the Seeds: Fill your seed starting trays or pots with seed starting mix. Moisten the mix with the spray bottle until it’s damp but not soggy. Sow the bell pepper seeds about ¼ inch deep, placing 2-3 seeds per cell or pot.
3. Provide Warmth and Light: Bell pepper seeds need warmth to germinate. Place the seed starting trays on a heat mat set to around 75-80°F (24-27°C). Cover the trays with a humidity dome or plastic wrap to retain moisture. Place the trays under grow lights or in a sunny window.
4. Keep the Soil Moist: Check the soil moisture daily and mist with the spray bottle as needed to keep it damp. Avoid overwatering, which can lead to damping off (a fungal disease that kills seedlings).
5. Thin the Seedlings: Once the seedlings emerge (usually in 7-14 days), remove the humidity dome or plastic wrap. If you planted multiple seeds per cell or pot, thin them to one seedling per cell or pot by snipping off the weaker seedlings at the soil line.
6. Harden Off the Seedlings: About a week before you plan to transplant the seedlings outdoors, you’ll need to harden them off. This process gradually acclimates the seedlings to outdoor conditions. Start by placing the trays outdoors in a sheltered location for a few hours each day, gradually increasing the amount of time they spend outdoors. Protect them from direct sunlight and strong winds.
Buying Transplants
If you don’t have the time or space to start your own seeds, buying transplants is a perfectly fine option. Just make sure to choose healthy-looking plants with sturdy stems and no signs of disease or pests.
Preparing Your Garden Bed
Bell peppers need a sunny location and well-drained soil to thrive. I always choose a spot in my garden that gets at least 6-8 hours of direct sunlight per day.
1. Choose a Sunny Location: As I mentioned, sunlight is key! Make sure your chosen spot gets plenty of it.
2. Test Your Soil: Before planting, it’s a good idea to test your soil’s pH. Bell peppers prefer a slightly acidic soil with a pH of 6.0-6.8. You can buy a soil testing kit at most garden centers.
3. Amend the Soil: If your soil is heavy clay or sandy, amend it with compost or other organic matter to improve drainage and fertility. I usually add a generous amount of compost to my garden bed before planting.
4. Prepare the Planting Holes: Dig holes that are slightly larger than the root balls of your seedlings or transplants. Space the holes about 18-24 inches apart.
Transplanting Your Bell Peppers
Now comes the fun part – planting your bell peppers in the garden!
1. Water the Seedlings/Transplants: Before transplanting, water the seedlings or transplants thoroughly. This will help them adjust to their new environment.
2. Carefully Remove the Plants: Gently remove the seedlings from their seed starting trays or the transplants from their pots. Be careful not to damage the roots.
3. Plant the Peppers: Place the seedlings or transplants in the prepared holes, making sure the top of the root ball is level with the soil surface. Backfill the holes with soil and gently firm the soil around the plants.
4. Water Thoroughly: Water the newly transplanted peppers thoroughly to help settle the soil.
5. Add Mulch: Apply a layer of mulch around the plants to help retain moisture, suppress weeds, and regulate soil temperature. I like to use straw or shredded leaves.
Caring for Your Bell Peppers
Once your bell peppers are planted, they’ll need regular care to thrive.
* Watering: Water your bell peppers regularly, especially during hot, dry weather. Aim to keep the soil consistently moist but not soggy. I usually water deeply once or twice a week, depending on the weather.
* Fertilizing: Bell peppers are heavy feeders, so they’ll benefit from regular fertilization. I like to use a balanced organic fertilizer every 2-3 weeks. You can also side-dress the plants with compost or aged manure.
* Staking or Caging: As your bell peppers grow, they may need staking or caging to support the heavy fruit. This is especially important for larger varieties. I use tomato cages to support my bell pepper plants.
* Pruning: Pruning bell peppers can help improve air circulation and encourage fruit production. Remove any suckers (small shoots that grow from the base of the plant) and any yellowing or diseased leaves.
* Pest and Disease Control: Keep an eye out for common pepper pests like aphids, flea beetles, and pepper hornworms. You can control these pests with insecticidal soap or neem oil. Prevent diseases by providing good air circulation and avoiding overhead watering.
Harvesting Your Bell Peppers
The moment you’ve been waiting for! Bell peppers are typically ready to harvest 60-90 days after transplanting, depending on the variety.
* Check for Ripeness: Bell peppers are ripe when they reach their mature color (green, red, yellow, orange, or purple) and are firm to the touch.
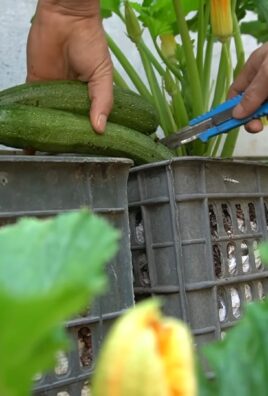
* Harvest Carefully: Use a sharp knife or pruning shears to cut the peppers from the plant, leaving a short stem attached.
* Enjoy Your Harvest: Bell peppers can be eaten fresh, cooked, or preserved. They’re delicious in salads, stir-fries, soups, and stews. You can also roast, grill, or stuff them.
Troubleshooting Common Problems
Even with the best care, you may encounter some problems while growing bell peppers. Here are a few common issues and how to address them:
* Blossom End Rot: This is a common problem caused by calcium deficiency. The bottom of the pepper develops a dark, sunken spot. To prevent blossom end rot, make sure your soil is rich in calcium and water your plants consistently. You can also add calcium to the soil by mixing in bone meal or crushed eggshells.
* Sunscald: This occurs when the peppers are exposed to too much direct sunlight, causing them to develop white or tan patches. To prevent sunscald, provide some shade for your plants during the hottest part of the day. You can use shade cloth or plant taller crops nearby.
* Pest Infestations: As mentioned earlier, aphids, flea beetles, and pepper hornworms can
Conclusion
So, there you have it! Growing bell peppers in your backyard isn’t just a gardening project; it’s an investment in fresh, flavorful ingredients, a connection to nature, and a surprisingly rewarding experience. We’ve walked you through the essential steps, from selecting the right varieties to troubleshooting common problems, and hopefully, demystified the process along the way.
But why is this DIY approach a must-try? Beyond the obvious benefit of having readily available, vine-ripened bell peppers, consider the control you gain over the entire process. You know exactly what goes into your plants – no mystery chemicals or questionable practices. You’re nurturing them from seed (or seedling) to harvest, ensuring the highest quality and the most vibrant flavor. Plus, let’s be honest, there’s a certain satisfaction that comes from biting into a bell pepper you’ve grown yourself. It’s a taste of accomplishment, a tangible reward for your efforts.
Don’t be afraid to experiment! This guide provides a solid foundation, but the beauty of gardening lies in its adaptability. Try different bell pepper varieties to discover your favorites. Perhaps you’ll fall in love with the sweetness of a yellow bell pepper, the mild heat of a poblano, or the unique shape of a Marconi. Consider companion planting to naturally deter pests and improve soil health. Marigolds, basil, and carrots are all excellent choices for growing alongside your bell peppers.
For those with limited space, container gardening is a fantastic option. Choose a large pot (at least 5 gallons) and use a high-quality potting mix. Dwarf bell pepper varieties are particularly well-suited for containers. You can even bring your potted bell peppers indoors during colder months to extend the growing season.
And if you’re feeling adventurous, why not try saving seeds from your best bell peppers to plant next year? It’s a great way to preserve your favorite varieties and become even more self-sufficient. Just be aware that cross-pollination can occur, so you might end up with some interesting hybrids!
We wholeheartedly encourage you to give this DIY trick a try. Growing bell peppers in your backyard is easier than you might think, and the rewards are well worth the effort. We’re confident that you’ll be enjoying delicious, homegrown bell peppers in no time.
But don’t just take our word for it! We want to hear about your experiences. Share your successes, your challenges, and your tips in the comments below. Let’s create a community of bell pepper enthusiasts and learn from each other. What varieties are you growing? What techniques have you found most effective? What are your favorite ways to use your homegrown bell peppers? Your insights could help other gardeners achieve their bell pepper dreams. So, get your hands dirty, embrace the process, and let’s grow some amazing bell peppers together! Remember, the best bell peppers are the ones you grow yourself!
Frequently Asked Questions (FAQ)
What is the best time to start growing bell peppers?
The ideal time to start growing bell peppers depends on your climate. In warmer regions with long growing seasons, you can start seeds indoors 8-10 weeks before the last expected frost or purchase seedlings from a local nursery in the spring. In cooler climates with shorter growing seasons, starting seeds indoors is crucial to give your plants enough time to mature and produce fruit. Generally, you want to transplant your bell pepper seedlings outdoors when the soil temperature reaches at least 60°F (15°C) and all danger of frost has passed. A good rule of thumb is to wait until after Mother’s Day in many northern regions.
How much sunlight do bell peppers need?
Bell peppers are sun-loving plants and require at least 6-8 hours of direct sunlight per day to thrive. Insufficient sunlight can lead to leggy growth, reduced fruit production, and smaller, less flavorful peppers. Choose a location in your backyard that receives ample sunlight throughout the day. If you’re growing bell peppers in containers, you can move them around to ensure they get enough sun.
What kind of soil is best for growing bell peppers?
Bell peppers prefer well-draining, fertile soil with a slightly acidic to neutral pH (6.0-7.0). Amend your soil with compost or other organic matter to improve drainage, fertility, and water retention. Avoid heavy clay soils, as they can become waterlogged and suffocate the roots. If you have clay soil, consider growing bell peppers in raised beds or containers with a suitable potting mix.
How often should I water my bell pepper plants?
Water your bell pepper plants regularly, especially during hot, dry weather. Aim to keep the soil consistently moist but not waterlogged. Water deeply at the base of the plant, avoiding wetting the foliage, which can increase the risk of fungal diseases. A good rule of thumb is to water when the top inch of soil feels dry to the touch. Mulching around your bell pepper plants can help retain moisture and suppress weeds.
What are some common pests and diseases that affect bell peppers?
Bell peppers can be susceptible to various pests and diseases, including aphids, flea beetles, spider mites, blossom-end rot, and fungal diseases like powdery mildew and anthracnose. Regularly inspect your plants for signs of pests or diseases. Use organic pest control methods, such as insecticidal soap or neem oil, to control infestations. Ensure good air circulation around your plants to prevent fungal diseases. Blossom-end rot is caused by calcium deficiency and can be prevented by ensuring adequate calcium levels in the soil and consistent watering.
How do I fertilize my bell pepper plants?
Bell peppers are heavy feeders and benefit from regular fertilization. Use a balanced fertilizer (e.g., 10-10-10) at planting time and then side-dress with a nitrogen-rich fertilizer every few weeks during the growing season. You can also use organic fertilizers, such as compost tea or fish emulsion. Avoid over-fertilizing, as this can lead to excessive foliage growth at the expense of fruit production.
When are bell peppers ready to harvest?
Bell peppers are typically ready to harvest 60-90 days after transplanting, depending on the variety. The peppers will change color from green to their mature color (red, yellow, orange, or purple) and feel firm to the touch. You can harvest green bell peppers earlier, but they will be less sweet and flavorful. Use pruning shears or a sharp knife to cut the peppers from the plant, leaving a short stem attached.
Can I grow bell peppers in containers?
Yes, bell peppers can be successfully grown in containers. Choose a large pot (at least 5 gallons) with drainage holes and use a high-quality potting mix. Dwarf bell pepper varieties are particularly well-suited for containers. Place the container in a sunny location and water regularly. You may need to fertilize more frequently when growing bell peppers in containers, as nutrients can leach out more quickly.
How can I prevent blossom-end rot on my bell peppers?
Blossom-end rot is a common problem in bell peppers, characterized by a dark, leathery spot on the bottom of the fruit. It is caused by calcium deficiency, which can be due to insufficient calcium in the soil, inconsistent watering, or high soil salinity. To prevent blossom-end rot, ensure that your soil has adequate calcium levels by adding lime or gypsum. Water your plants consistently to maintain even soil moisture. Avoid over-fertilizing with nitrogen, as this can interfere with calcium uptake.
Can I save seeds from my bell peppers to plant next year?
Yes, you can save seeds from your bell peppers to plant next year. However, be aware that bell peppers can cross-pollinate, so the seeds may not produce plants that are true to type. To save seeds, allow the peppers to fully ripen on the plant. Remove the seeds from the pepper and dry them thoroughly on a paper towel. Store the dried seeds in an airtight container in a cool, dark place.
Leave a Comment