

Grow Watermelons Backyard – sounds like a dream, right? Imagine stepping out your back door and harvesting your own juicy, sweet watermelons. It’s more achievable than you think! For centuries, cultivating watermelons has been a symbol of summer abundance and a refreshing treat enjoyed across cultures. From ancient Egypt, where they were depicted in hieroglyphics, to modern-day backyard gardens, watermelons have held a special place in our hearts (and stomachs!).
But let’s be honest, the thought of growing these giants can be intimidating. Where do you even start? That’s where this DIY guide comes in! I’m here to share some simple, effective tricks and hacks that will empower you to grow watermelons backyard, even if you’re a beginner gardener.
In today’s world, where we’re increasingly conscious of where our food comes from, growing your own produce is more appealing than ever. Not only will you enjoy the unparalleled taste of homegrown watermelons, but you’ll also reduce your carbon footprint and save money. Plus, there’s nothing quite like the satisfaction of nurturing a tiny seed into a thriving plant that yields delicious fruit. So, let’s dive in and unlock the secrets to a bountiful watermelon harvest right in your own backyard!
Growing Watermelons in Your Backyard: A Comprehensive DIY Guide
Hey there, fellow gardening enthusiasts! Ever dreamt of biting into a juicy, homegrown watermelon on a hot summer day? Well, you’re in the right place! I’m going to walk you through everything you need to know to successfully grow watermelons right in your own backyard. It might seem daunting, but trust me, with a little planning and effort, you’ll be harvesting your own sweet treats in no time.
Choosing the Right Watermelon Variety
Before we even think about digging in the dirt, let’s talk about watermelon varieties. Not all watermelons are created equal, and some are definitely better suited for backyard gardens than others. Consider your climate, space limitations, and personal preferences when making your choice.
* Space Savers: If you’re short on space, look for bush or dwarf varieties like ‘Bush Sugar Baby’ or ‘Garden Baby’. These compact plants produce smaller melons but still pack a flavorful punch.
* Classic Favorites: For that classic watermelon experience, ‘Crimson Sweet’ is a reliable choice. It’s known for its sweet, red flesh and good disease resistance.
* Unique Options: Want to try something different? Consider ‘Yellow Doll’ for its vibrant yellow flesh or ‘Moon and Stars’ for its striking rind pattern.
* Seedless Wonders: Seedless watermelons like ‘Triploid’ are popular for their convenience, but they require a bit more attention. You’ll need to start them indoors and ensure proper pollination.
Preparing Your Garden Bed
Watermelons are hungry plants, so preparing your garden bed is crucial for success. They need plenty of sunshine, well-drained soil, and lots of nutrients.
* Sunlight: Watermelons need at least 6-8 hours of direct sunlight per day. Choose a location in your yard that gets plenty of sunshine throughout the growing season.
* Soil: Watermelons thrive in well-drained, sandy loam soil with a pH between 6.0 and 6.8. If your soil is heavy clay, amend it with plenty of organic matter like compost or aged manure to improve drainage and aeration.
* Nutrients: Watermelons are heavy feeders, so you’ll need to enrich your soil with plenty of nutrients. Incorporate compost, aged manure, or a balanced fertilizer (like 10-10-10) into the soil before planting.
Planting Your Watermelon Seeds or Seedlings
Now for the fun part – planting! You can either start your watermelon seeds indoors or direct sow them in your garden bed.
* Starting Seeds Indoors: This is a good option if you live in a cooler climate or want to get a head start on the growing season.
1. Start your seeds about 4-6 weeks before the last expected frost.
2. Sow the seeds in peat pots or biodegradable containers filled with seed-starting mix.
3. Keep the soil moist and warm (around 80-85°F) until the seeds germinate. A heat mat can be helpful.
4. Once the seedlings emerge, provide them with plenty of light. A grow light is ideal, but a sunny windowsill can also work.
5. Harden off the seedlings by gradually exposing them to outdoor conditions for a week before transplanting them into your garden bed.
* Direct Sowing: If you live in a warmer climate with a long growing season, you can direct sow your watermelon seeds directly into your garden bed.
1. Wait until the soil has warmed up to at least 70°F before planting.
2. Sow the seeds about 1 inch deep and 2-3 feet apart.
3. Keep the soil moist until the seeds germinate.
* Transplanting Seedlings: Whether you started your seeds indoors or purchased seedlings from a nursery, transplant them into your garden bed after the last frost.
1. Dig a hole that is slightly larger than the root ball of the seedling.
2. Gently remove the seedling from its container and loosen the roots.
3. Place the seedling in the hole and backfill with soil.
4. Water thoroughly.
5. Space the seedlings 2-3 feet apart, depending on the variety.
Caring for Your Watermelon Plants
Once your watermelon plants are in the ground, it’s important to provide them with the care they need to thrive.
* Watering: Watermelons need consistent moisture, especially during fruit development. Water deeply and regularly, aiming for about 1-2 inches of water per week. Avoid overhead watering, as this can promote fungal diseases. Drip irrigation or soaker hoses are ideal.
* Fertilizing: Watermelons are heavy feeders, so you’ll need to fertilize them regularly. Apply a balanced fertilizer (like 10-10-10) every 2-3 weeks, or use a fertilizer specifically formulated for melons.
* Weeding: Keep your garden bed free of weeds, as they can compete with your watermelon plants for nutrients and water. Hand-pull weeds regularly or use a hoe to cultivate the soil.
* Mulching: Apply a layer of mulch around your watermelon plants to help retain moisture, suppress weeds, and regulate soil temperature. Straw, wood chips, or black plastic mulch are all good options.
* Pollination: Watermelons require pollination to produce fruit. Bees are the primary pollinators, so encourage them to visit your garden by planting flowers nearby. If you’re not seeing enough bee activity, you may need to hand-pollinate your watermelon flowers.
1. Identify the male and female flowers. Male flowers have a long, thin stem, while female flowers have a small, immature fruit at the base.
2. Use a small paintbrush or cotton swab to collect pollen from the male flower.
3. Gently transfer the pollen to the stigma of the female flower.
4. Repeat this process for several female flowers.
Protecting Your Watermelons from Pests and Diseases
Watermelons are susceptible to a variety of pests and diseases, so it’s important to take steps to protect your plants.
* Common Pests:
* Aphids: These tiny insects suck sap from plant leaves, causing them to curl and distort. Control aphids with insecticidal soap or neem oil.
* Cucumber Beetles: These beetles feed on plant leaves and can transmit diseases. Control cucumber beetles with row covers or insecticides.
* Squash Bugs: These bugs suck sap from plant leaves and can cause them to wilt and die. Control squash bugs by hand-picking them off the plants or using insecticides.
* Vine Borers: These pests bore into the stems of watermelon plants, causing them to wilt and die. Prevent vine borers by wrapping the base of the stems with aluminum foil or using insecticides.
* Common Diseases:
* Powdery Mildew: This fungal disease causes a white, powdery coating on plant leaves. Control powdery mildew with fungicides or by improving air circulation.
* Fusarium Wilt: This fungal disease causes plants to wilt and die. Prevent fusarium wilt by planting disease-resistant varieties and practicing crop rotation.
* Anthracnose: This fungal disease causes dark, sunken lesions on plant leaves and fruit. Control anthracnose with fungicides and by removing infected plant debris.
Harvesting Your Watermelons
The moment you’ve been waiting for – harvesting your watermelons! Knowing when a watermelon is ripe can be tricky, but here are a few telltale signs:
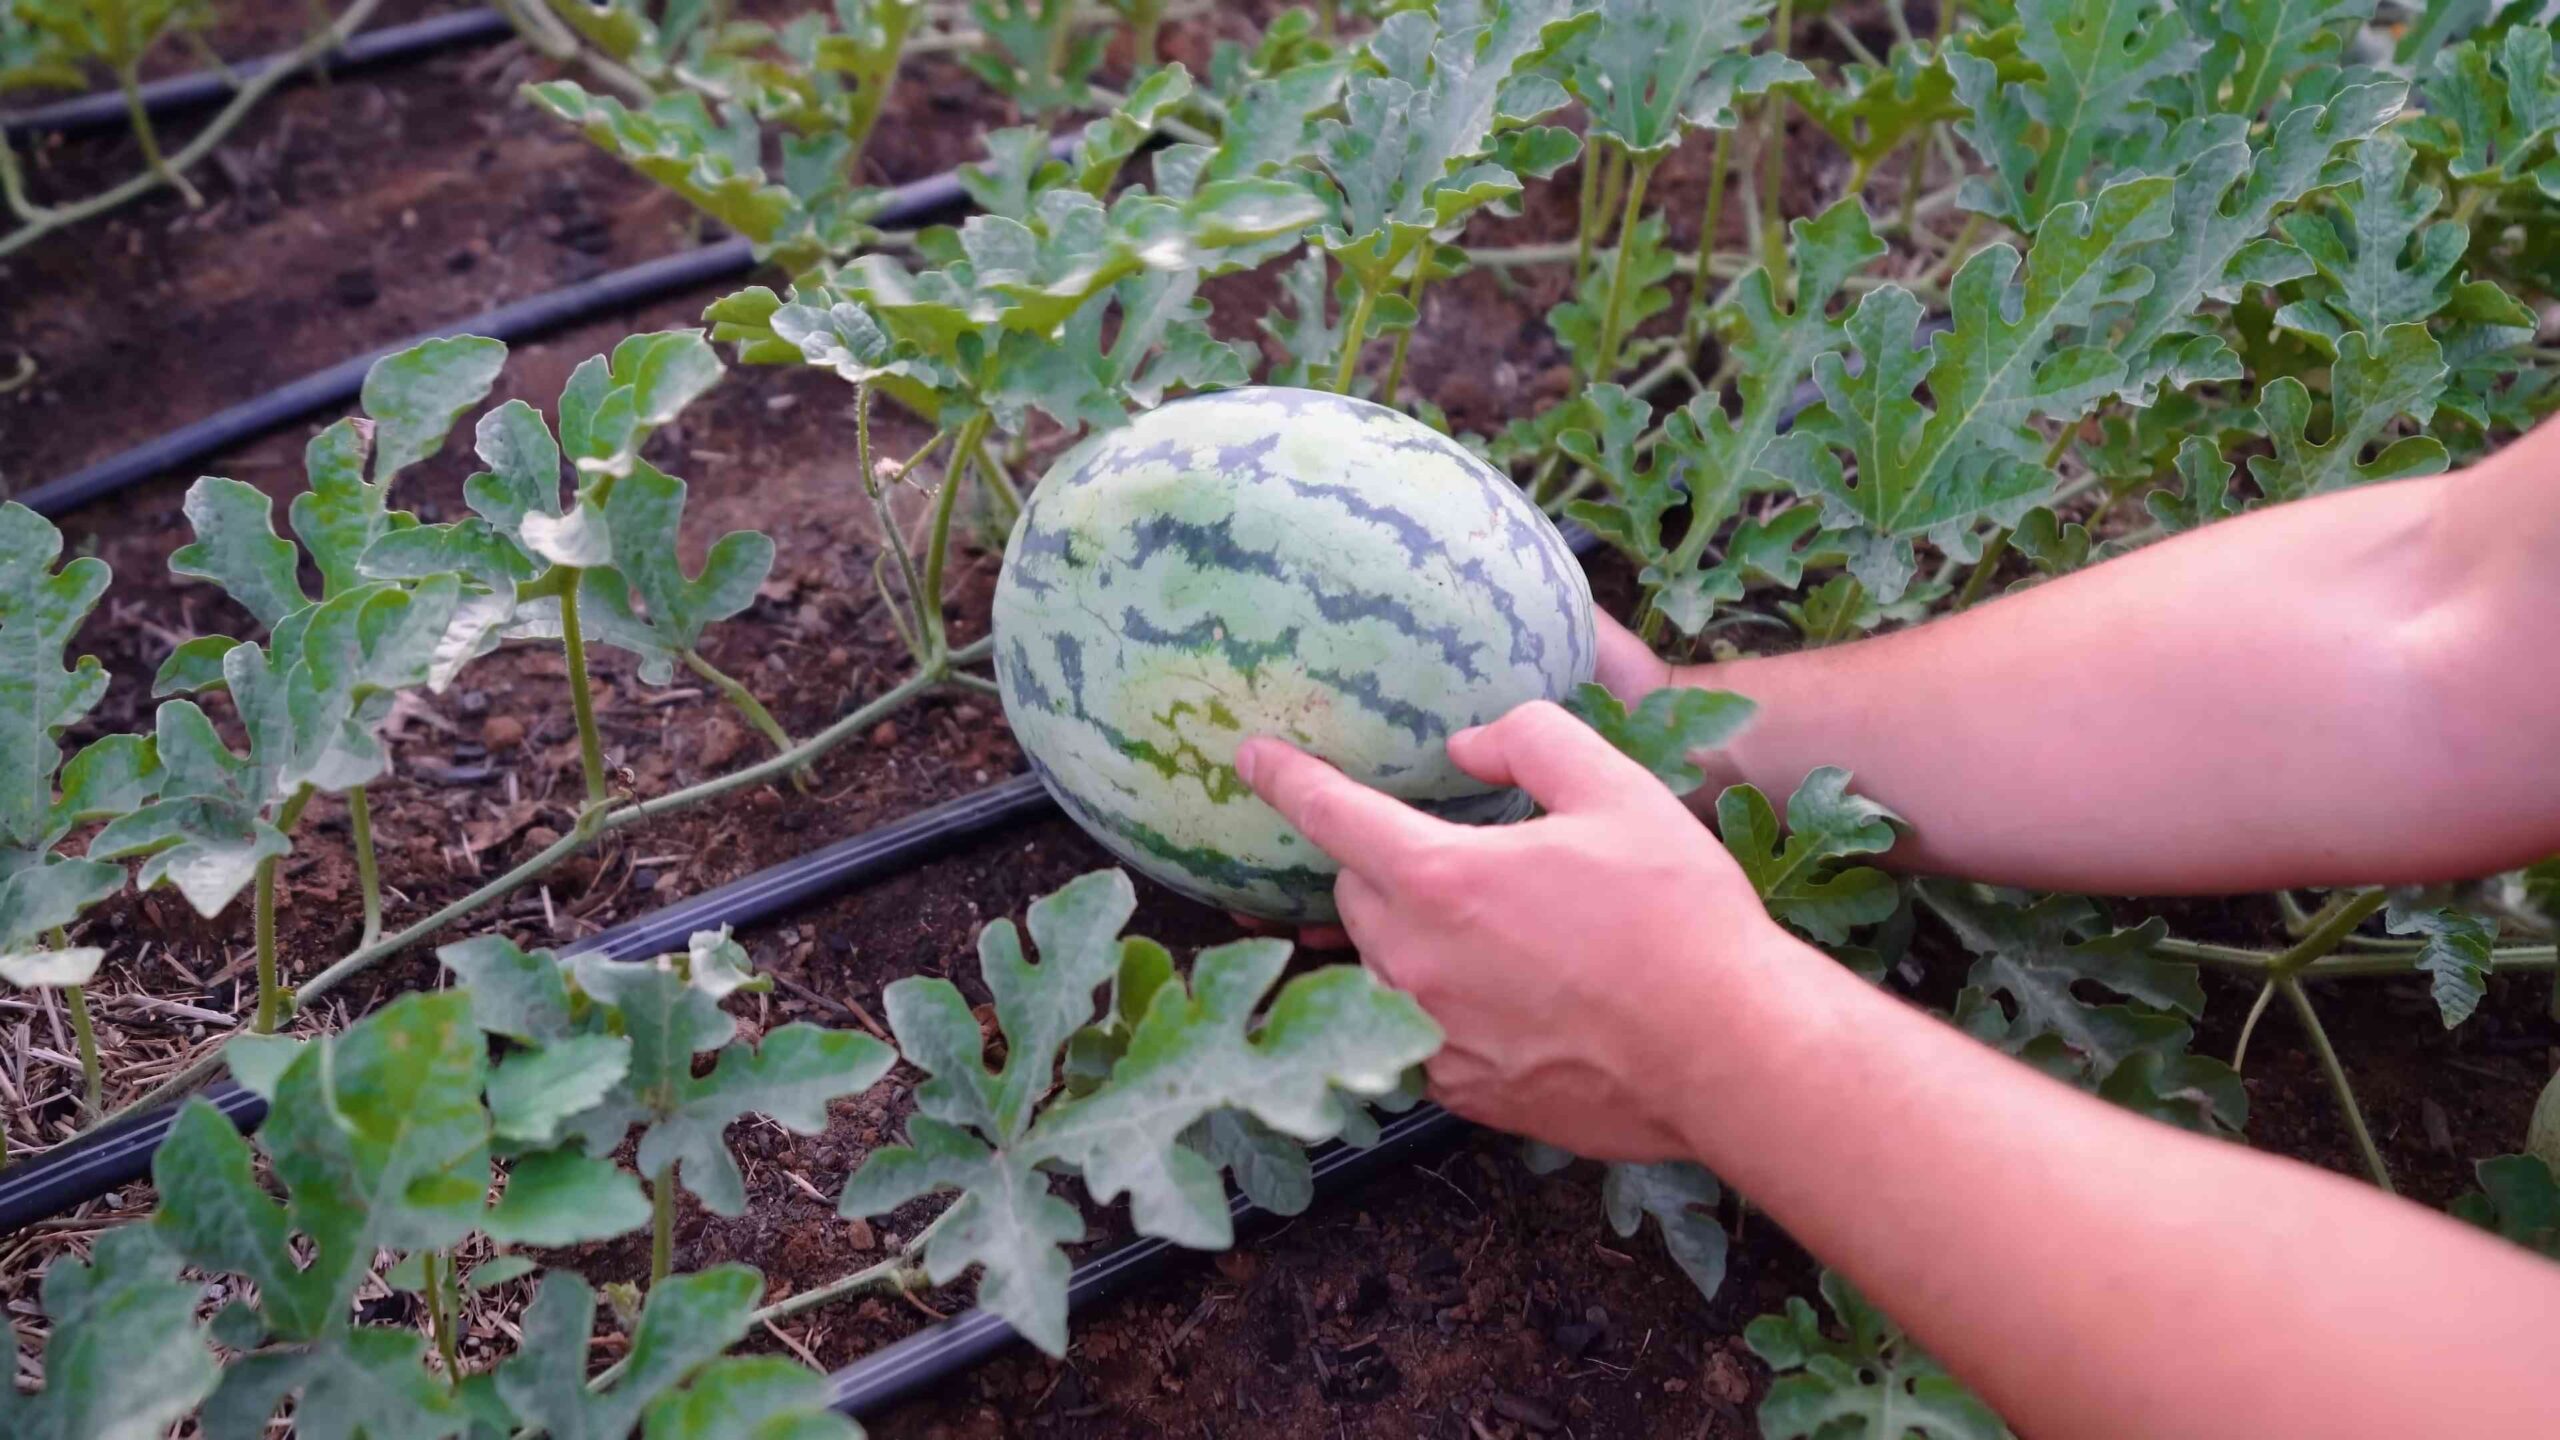
* The Tendril Test: The tendril closest to the fruit stem should be brown and dry.
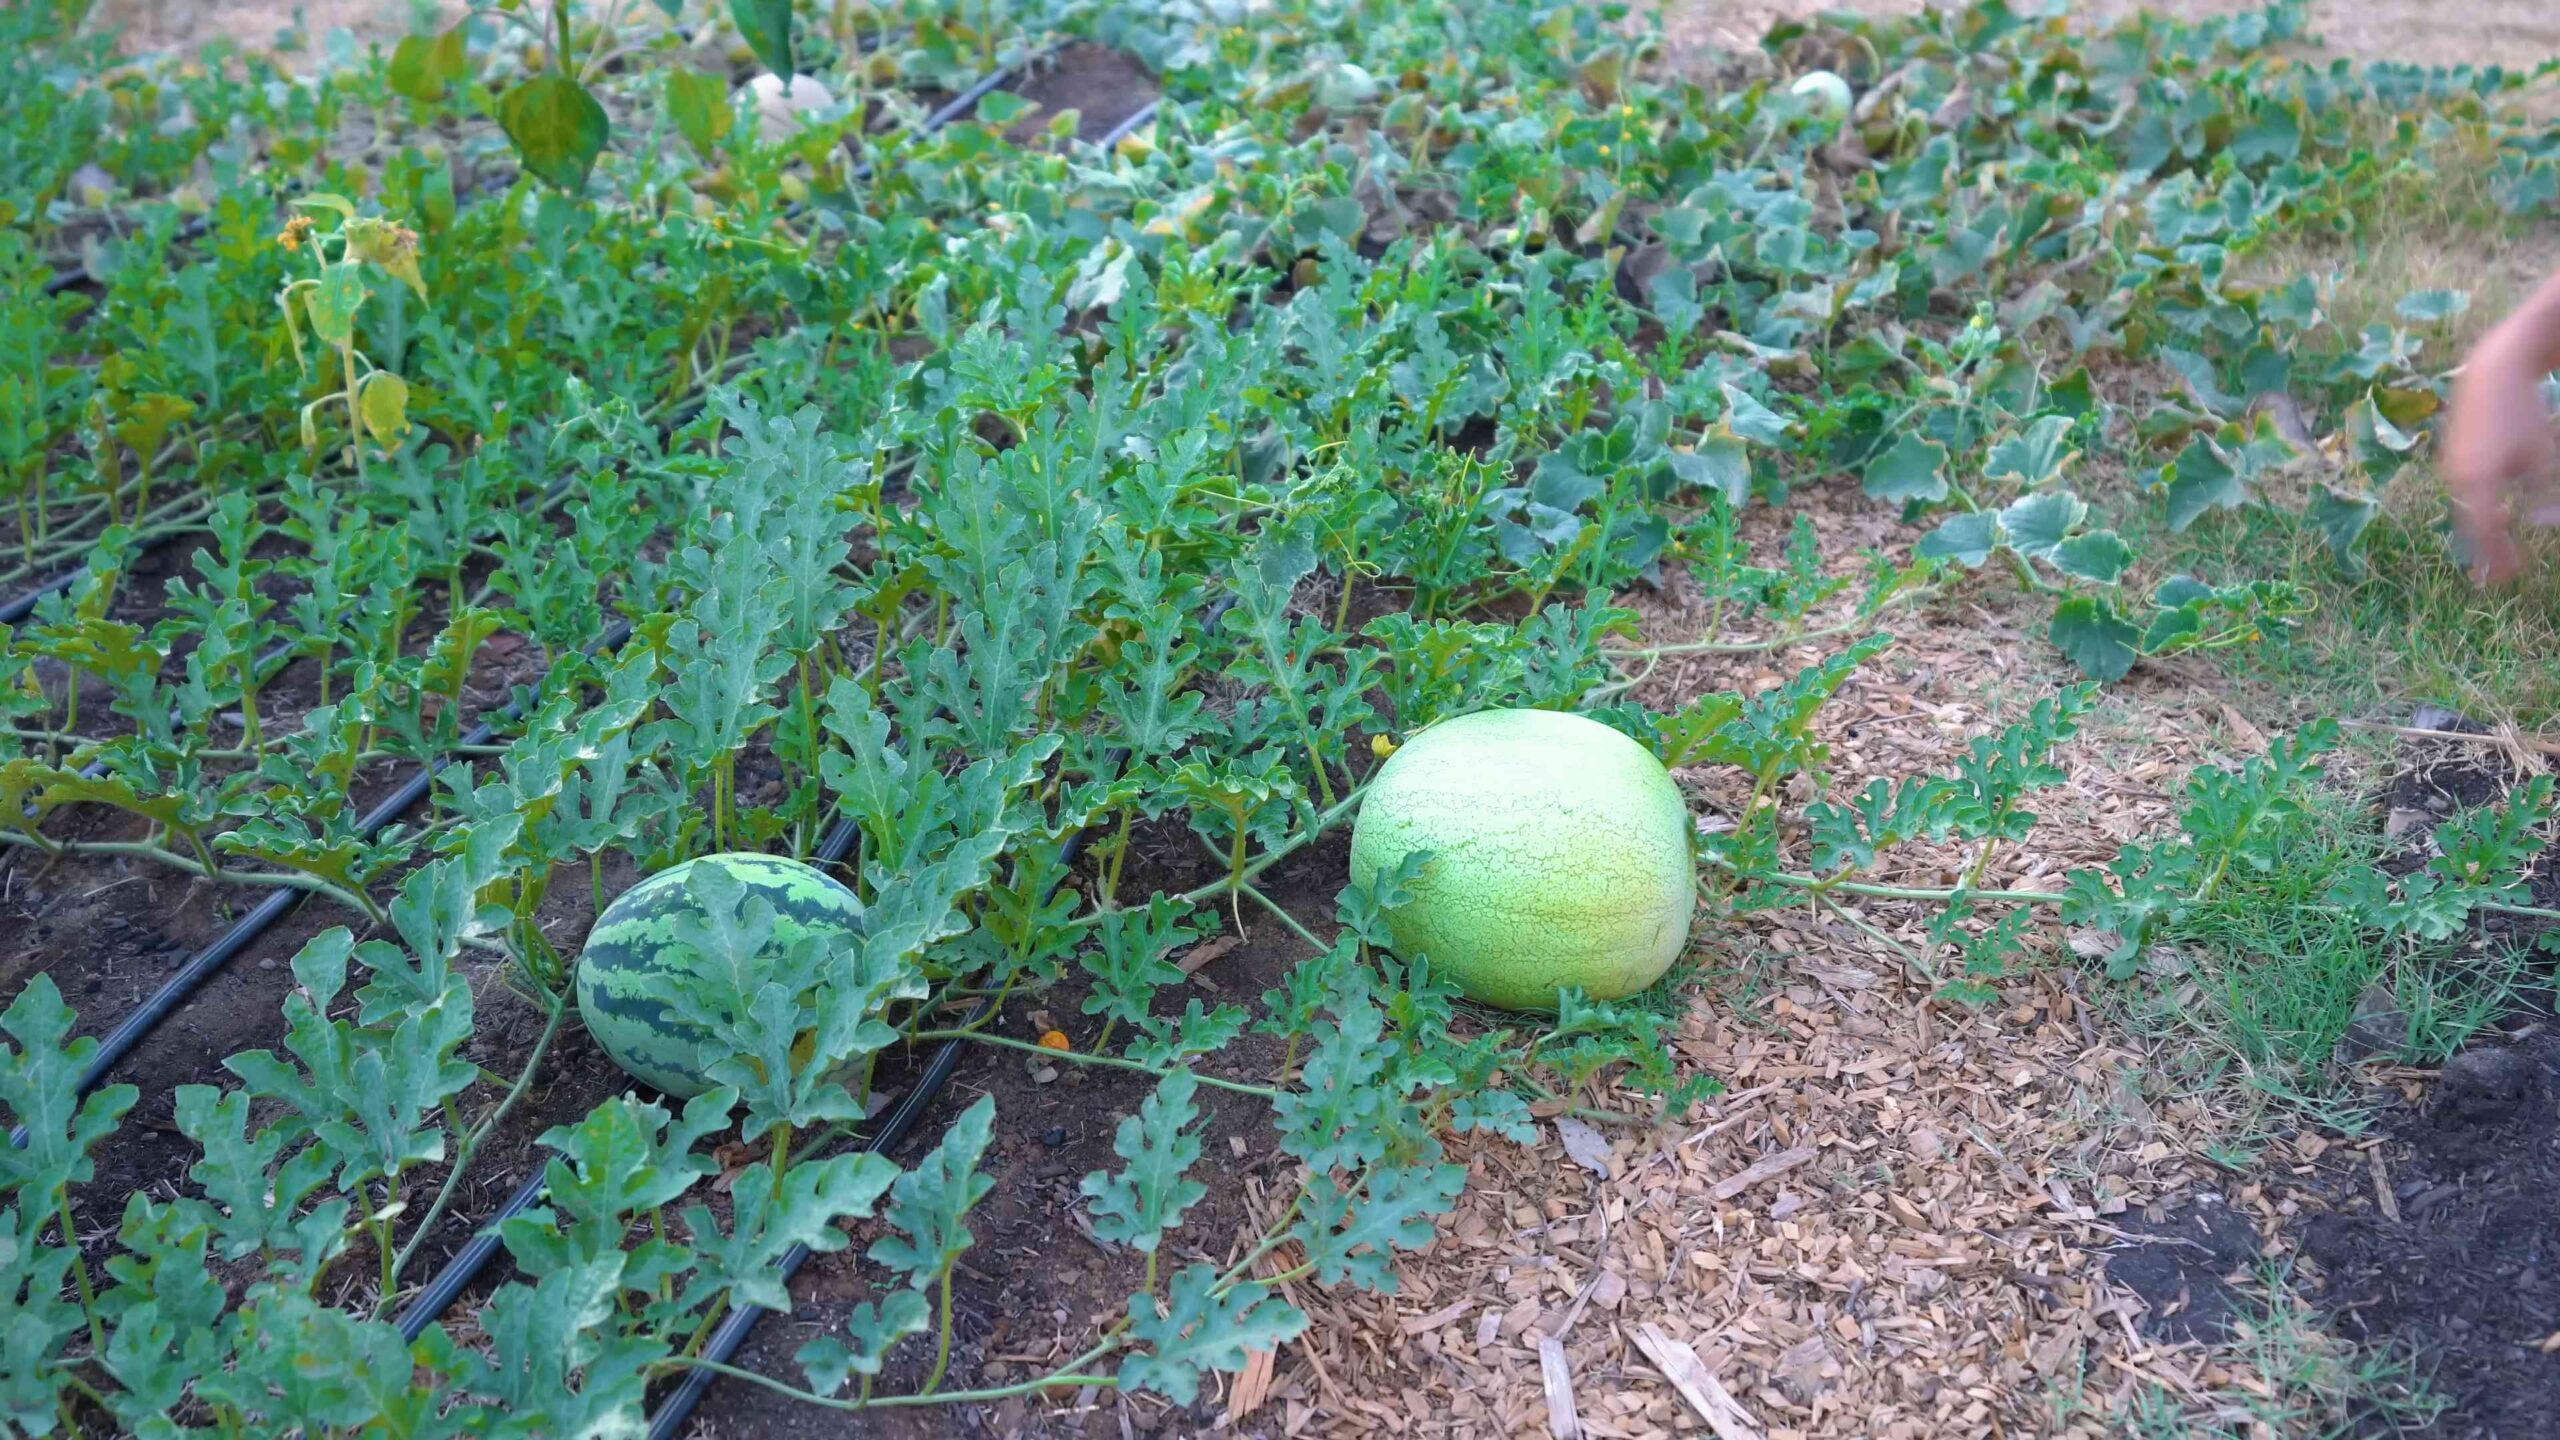
* The Ground Spot: The spot where the watermelon rests on the ground should be yellow or cream-colored.
* The Thump Test: A ripe watermelon will sound hollow when you thump it.
* Days to Maturity: Check the seed packet or plant tag for the expected days to maturity. This is a good guideline, but it can vary depending on the weather and growing conditions.
Once you’re confident that your watermelon is ripe, use a sharp knife to cut it from the vine, leaving a few inches of stem attached.
Enjoying Your Homegrown Watermelons
Congratulations! You’ve successfully grown your own watermelons. Now it’s time to enjoy the fruits (or rather, vegetables) of your labor. Slice it up and enjoy it fresh, or use it in salads, smoothies, or desserts. The possibilities are endless!
Tips for Extra Sweet Watermelons:
* Limit Watering Before Harvest: Reduce watering a week or two before you plan to harvest. This concentrates the sugars in the fruit.
* Provide Potassium: Potassium is essential for sugar development. Use a fertilizer high in potassium during fruit development.
* Protect from Sunburn: If your watermelons are exposed to intense sunlight, cover them with shade cloth or straw to
Conclusion
So, there you have it! Growing watermelons in your backyard might seem daunting at first, but with these simple, effective DIY tricks, you’re well on your way to enjoying juicy, homegrown goodness. We’ve covered everything from optimizing your soil to protecting your precious melons from pests and diseases, all with readily available materials and minimal fuss.
Why is this a must-try? Because nothing beats the taste of a watermelon you’ve nurtured from seed to fruit. The satisfaction of harvesting your own produce, knowing exactly what went into it (or rather, what *didn’t* go into it – no harmful chemicals here!), is unparalleled. Plus, think of the bragging rights! Imagine serving slices of your own backyard-grown watermelon at your next summer barbecue. Your friends and family will be amazed.
But the benefits extend beyond just taste and bragging rights. Growing your own food is a fantastic way to connect with nature, reduce your carbon footprint, and save money on groceries. It’s a rewarding hobby that can bring joy and a sense of accomplishment to your life.
Now, let’s talk variations. While we’ve focused on general techniques, feel free to experiment with different watermelon varieties. Consider trying a smaller, icebox-type watermelon if you have limited space, or a yellow-fleshed variety for a unique twist. You can also adapt these techniques to other vine crops like cantaloupe or honeydew. The principles of soil preparation, pest control, and watering remain largely the same.
Don’t be afraid to get creative with your support structures. Instead of traditional trellises, you could repurpose old ladders or create a DIY hammock for your growing watermelons. The possibilities are endless!
The key to successful watermelon growing is observation and adaptation. Pay close attention to your plants, monitor the weather, and adjust your techniques as needed. If you notice signs of pests or diseases, act quickly to address the problem. Remember, even experienced gardeners encounter challenges, so don’t get discouraged if things don’t go perfectly according to plan.
We are confident that with a little effort and these DIY tricks, you can successfully grow watermelons in your backyard. It’s a rewarding experience that will bring you joy and delicious fruit for years to come.
So, what are you waiting for? Grab your seeds, prepare your soil, and get growing! We can’t wait to hear about your experiences. Share your photos, tips, and challenges in the comments below. Let’s build a community of backyard watermelon growers and learn from each other. Happy gardening!
Frequently Asked Questions (FAQ)
Q: What is the best time to start growing watermelons?
A: The best time to start growing watermelons depends on your climate. Watermelons are warm-season crops and require a long growing season of at least 70-90 days. In general, you should start seeds indoors 6-8 weeks before the last expected frost. If you live in a warmer climate with a longer growing season, you can direct sow seeds outdoors after the soil has warmed up to at least 70°F (21°C). Check your local frost dates and adjust your planting schedule accordingly.
Q: What kind of soil is best for growing watermelons?
A: Watermelons thrive in well-drained, sandy loam soil that is rich in organic matter. The soil should have a pH between 6.0 and 6.8. Before planting, amend your soil with compost, aged manure, or other organic materials to improve drainage and fertility. Avoid heavy clay soils, as they can retain too much moisture and lead to root rot. If you have clay soil, consider growing your watermelons in raised beds or containers.
Q: How much sunlight do watermelons need?
A: Watermelons need at least 6-8 hours of direct sunlight per day to thrive. Choose a planting location that receives full sun throughout the day. If your garden is partially shaded, try to plant your watermelons in the sunniest spot. Insufficient sunlight can result in smaller fruits and reduced yields.
Q: How often should I water my watermelons?
A: Watermelons need consistent moisture, especially during fruit development. Water deeply and regularly, aiming for about 1-2 inches of water per week. Avoid overhead watering, as it can promote fungal diseases. Instead, water at the base of the plants using a soaker hose or drip irrigation system. Reduce watering as the fruits ripen to prevent them from cracking.
Q: How do I know when my watermelons are ripe?
A: There are several indicators that a watermelon is ripe. First, look at the tendril closest to the fruit stem. When this tendril turns brown and dries out, it’s a good sign that the watermelon is ready to harvest. Second, check the underside of the watermelon where it rests on the ground. This spot, known as the ground spot, should turn from white to a creamy yellow color. Finally, thump the watermelon with your knuckles. A ripe watermelon will sound hollow and deep.
Q: What are some common pests and diseases that affect watermelons?
A: Common pests that affect watermelons include aphids, squash bugs, cucumber beetles, and vine borers. Diseases include powdery mildew, fusarium wilt, and anthracnose. To prevent pests and diseases, practice good garden hygiene, such as removing weeds and debris, and rotate your crops regularly. You can also use organic pest control methods, such as insecticidal soap or neem oil, to control pests. For diseases, consider using a copper fungicide or other appropriate treatment.
Q: Can I grow watermelons in containers?
A: Yes, you can grow watermelons in containers, but you’ll need a large container with good drainage. Choose a dwarf or bush variety of watermelon that is specifically bred for container growing. Use a high-quality potting mix and fertilize regularly. Watermelons grown in containers may require more frequent watering than those grown in the ground. Also, provide support for the vines as they grow.
Q: How can I improve pollination of my watermelons?
A: Watermelons require pollination to produce fruit. If you’re not seeing many bees in your garden, you can hand-pollinate your watermelons. To do this, use a small paintbrush to transfer pollen from the male flowers to the female flowers. Female flowers have a small, immature watermelon at the base of the flower, while male flowers do not. Pollinate in the morning when the flowers are open.
Q: What kind of fertilizer should I use for watermelons?
A: Watermelons benefit from regular fertilization. Use a balanced fertilizer with equal amounts of nitrogen, phosphorus, and potassium (e.g., 10-10-10) at planting time. Once the plants start to flower, switch to a fertilizer that is higher in phosphorus and potassium to promote fruit development. You can also use organic fertilizers, such as compost tea or fish emulsion.
Q: How do I store harvested watermelons?
A: Store harvested watermelons in a cool, dry place. Whole watermelons can be stored at room temperature for up to two weeks. For longer storage, refrigerate them. Cut watermelons should be wrapped tightly in plastic wrap and stored in the refrigerator. They will last for about 3-5 days.
Leave a Comment