

Grow Pears at Home? Absolutely! Imagine stepping into your backyard and plucking a juicy, sun-ripened pear straight from your own tree. Sounds like a dream, right? Well, it doesn’t have to be! This DIY guide is packed with simple, effective tricks to help you cultivate your very own pear paradise, even if you’re a complete beginner.
For centuries, pears have been cherished for their delicious flavor and nutritional benefits. Originating in ancient Europe and Asia, they’ve been cultivated and enjoyed by civilizations across the globe. From the royal gardens of France to the humble orchards of the American countryside, the pear tree has always held a special place in our hearts (and stomachs!).
But why should you bother learning to grow pears at home? Let’s face it, store-bought pears often lack the vibrant flavor and satisfying texture of homegrown fruit. Plus, knowing exactly where your food comes from and how it’s grown is incredibly rewarding. This DIY article will empower you to take control of your food source, reduce your carbon footprint, and enjoy the unparalleled taste of freshly picked pears. We’ll cover everything from choosing the right variety for your climate to protecting your precious trees from pests and diseases. Get ready to embark on a fruitful adventure – literally!
Growing Pears at Home: A DIY Guide to a Bountiful Harvest
Okay, so you want to grow pears at home? Awesome! I’m here to guide you through the whole process, from choosing the right tree to harvesting those juicy fruits. It might seem daunting at first, but trust me, with a little patience and effort, you’ll be enjoying homegrown pears in no time.
Choosing the Right Pear Tree
This is arguably the most important step. You can’t just pick any pear tree and expect it to thrive. Here’s what you need to consider:
* Climate: Pears generally need a period of cold dormancy (chilling hours) to produce fruit. Make sure the variety you choose is suitable for your local climate. Check with your local nursery or agricultural extension office to find out which pear varieties are best suited for your area.
* Pollination: Most pear trees are not self-pollinating, meaning they need another pear tree of a different variety nearby to produce fruit. Research which varieties are good pollinators for the one you want to grow. Consider planting two different varieties that bloom at the same time.
* Rootstock: The rootstock affects the tree’s size, disease resistance, and fruit production. Common rootstocks include dwarf, semi-dwarf, and standard. Dwarf rootstocks are great for smaller gardens, while standard rootstocks produce larger trees.
* Disease Resistance: Some pear varieties are more resistant to diseases like fire blight than others. If fire blight is a problem in your area, choose a resistant variety.
* Space: Consider the mature size of the tree. Dwarf varieties can be planted closer together than standard varieties. Make sure you have enough space for the tree to grow without crowding other plants.
Preparing the Planting Site
Before you even bring your pear tree home, you need to prepare the planting site. This will give your tree the best possible start.
* Sunlight: Pears need at least 6-8 hours of sunlight per day. Choose a location that gets plenty of sun.
* Soil: Pears prefer well-drained soil that is slightly acidic (pH 6.0-7.0). If your soil is heavy clay or sandy, amend it with compost or other organic matter.
* Drainage: Poor drainage can lead to root rot. If your soil doesn’t drain well, consider planting the tree on a raised mound.
* Protection: Choose a location that is protected from strong winds, which can damage the tree and its fruit.
Planting Your Pear Tree
Alright, you’ve got your tree and your site is ready. Let’s get planting!
1. Dig the Hole: Dig a hole that is twice as wide as the root ball and just as deep.
2. Prepare the Roots: Gently loosen the roots of the tree. If the tree is root-bound (the roots are circling around the pot), carefully cut through some of the roots to encourage them to grow outward.
3. Place the Tree: Place the tree in the hole, making sure the top of the root ball is level with the ground.
4. Backfill the Hole: Backfill the hole with soil, gently tamping it down as you go.
5. Water Thoroughly: Water the tree thoroughly after planting.
6. Mulch: Apply a layer of mulch around the base of the tree to help retain moisture and suppress weeds. Keep the mulch a few inches away from the trunk to prevent rot.
7. Stake (Optional): If the tree is young and spindly, you may want to stake it to provide support.
Caring for Your Pear Tree
Planting is just the beginning. You need to provide ongoing care to keep your pear tree healthy and productive.
* Watering: Water your pear tree regularly, especially during dry periods. Young trees need more frequent watering than established trees.
* Fertilizing: Fertilize your pear tree in the spring with a balanced fertilizer. Follow the instructions on the fertilizer label.
* Pruning: Prune your pear tree annually to maintain its shape, remove dead or diseased branches, and encourage fruit production. The best time to prune is in late winter or early spring, before the tree starts to grow.
* Pest and Disease Control: Monitor your pear tree for pests and diseases. Common pests include aphids, pear psylla, and codling moths. Common diseases include fire blight, pear scab, and leaf spot. Treat any problems promptly with appropriate pesticides or fungicides. Always follow the instructions on the product label.
* Thinning: Thinning the fruit is important for producing larger, higher-quality pears. When the fruit is about the size of a dime, remove some of the pears so that they are spaced about 6-8 inches apart. This will allow the remaining pears to grow larger and prevent the branches from breaking under the weight of the fruit.
Pruning Your Pear Tree: A Detailed Guide
Pruning can seem intimidating, but it’s essential for a healthy and productive pear tree. Here’s a breakdown of how to do it:
Young Trees (Years 1-3)
The goal in the first few years is to establish a strong framework for the tree.
1. Central Leader: Choose a strong, upright branch to be the central leader. This will be the main trunk of the tree.
2. Scaffold Branches: Select 3-5 well-spaced branches to be the scaffold branches. These will be the main branches that produce fruit. Choose branches that are growing at a wide angle from the trunk.
3. Remove Competing Branches: Remove any branches that are competing with the central leader or the scaffold branches.
4. Head Back: Head back the central leader and the scaffold branches to encourage branching. Cut back to a bud that is facing outward.
Mature Trees (Years 4+)
Once the tree is established, the goal is to maintain its shape, remove dead or diseased branches, and encourage fruit production.
1. Remove Dead, Diseased, or Damaged Branches: This is the most important part of pruning. Remove any branches that are dead, diseased, or damaged.
2. Remove Crossing Branches: Remove any branches that are crossing or rubbing against each other.
3. Thin Out Crowded Branches: Thin out any branches that are too crowded. This will allow more sunlight to reach the fruit and improve air circulation.
4. Spur Pruning: Pears produce fruit on spurs, which are short, stubby branches. Prune the spurs to encourage fruit production. Shorten overly long spurs and remove any spurs that are too crowded.
5. Water Sprouts and Suckers: Remove any water sprouts (vigorous, upright shoots that grow from the trunk or branches) and suckers (shoots that grow from the roots).
Dealing with Common Pear Tree Problems
Even with the best care, your pear tree may encounter some problems. Here’s how to deal with some common issues:
* Fire Blight: This bacterial disease can kill branches and even entire trees. Symptoms include blackened, scorched-looking leaves and branches. Prune out infected branches immediately, cutting back to healthy wood. Disinfect your pruning tools between cuts.
* Pear Scab: This fungal disease causes dark, scabby spots on the leaves and fruit. Apply a fungicide in the spring to prevent pear scab.
* Aphids: These small, sap-sucking insects can weaken the tree and cause distorted leaves. Spray with insecticidal soap or neem oil.
* Pear Psylla: These small, jumping insects can cause honeydew and sooty mold. Spray with insecticidal soap or horticultural oil.
* Codling Moths: These moths lay eggs on the fruit, and the larvae burrow into the pears. Use pheromone traps to monitor codling moth populations and apply an insecticide if necessary.
Harvesting Your Pears
Finally, the moment you’ve been waiting for! Harvesting your pears is the reward for all your hard work.
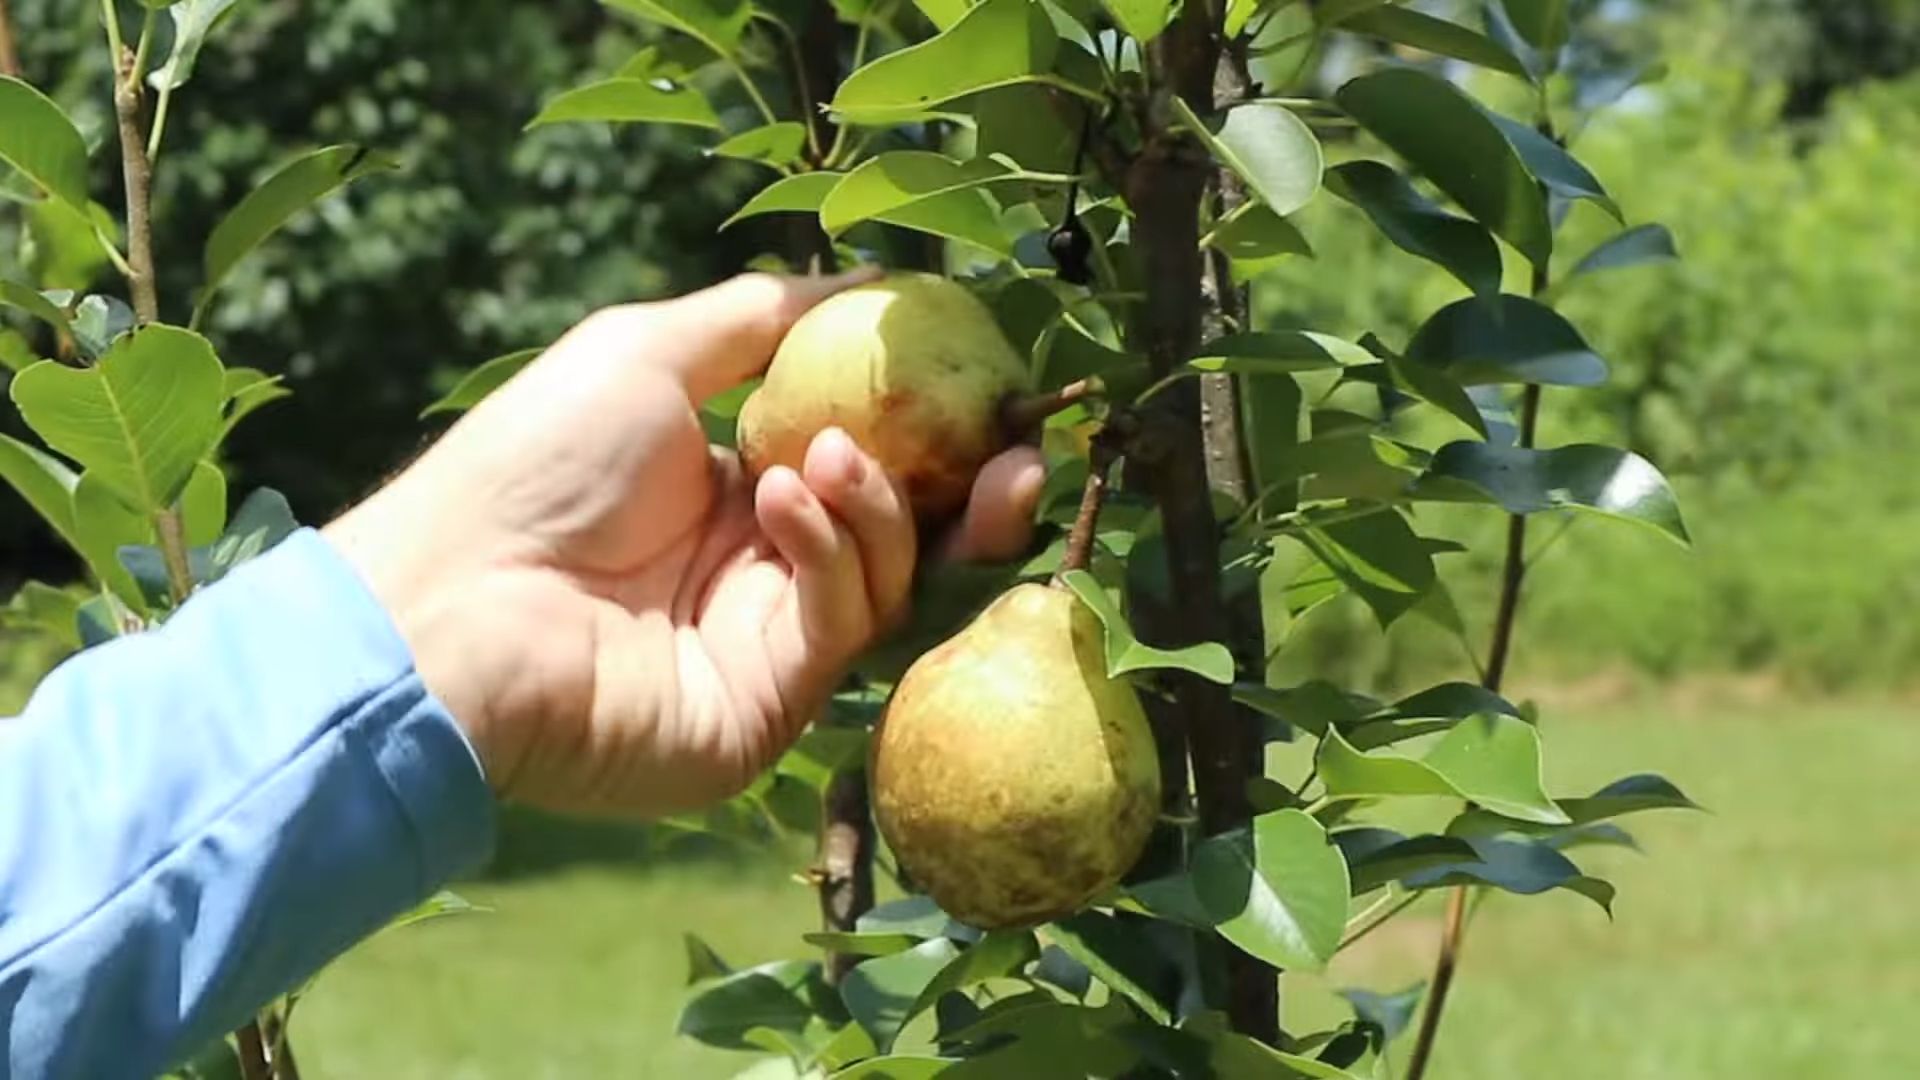
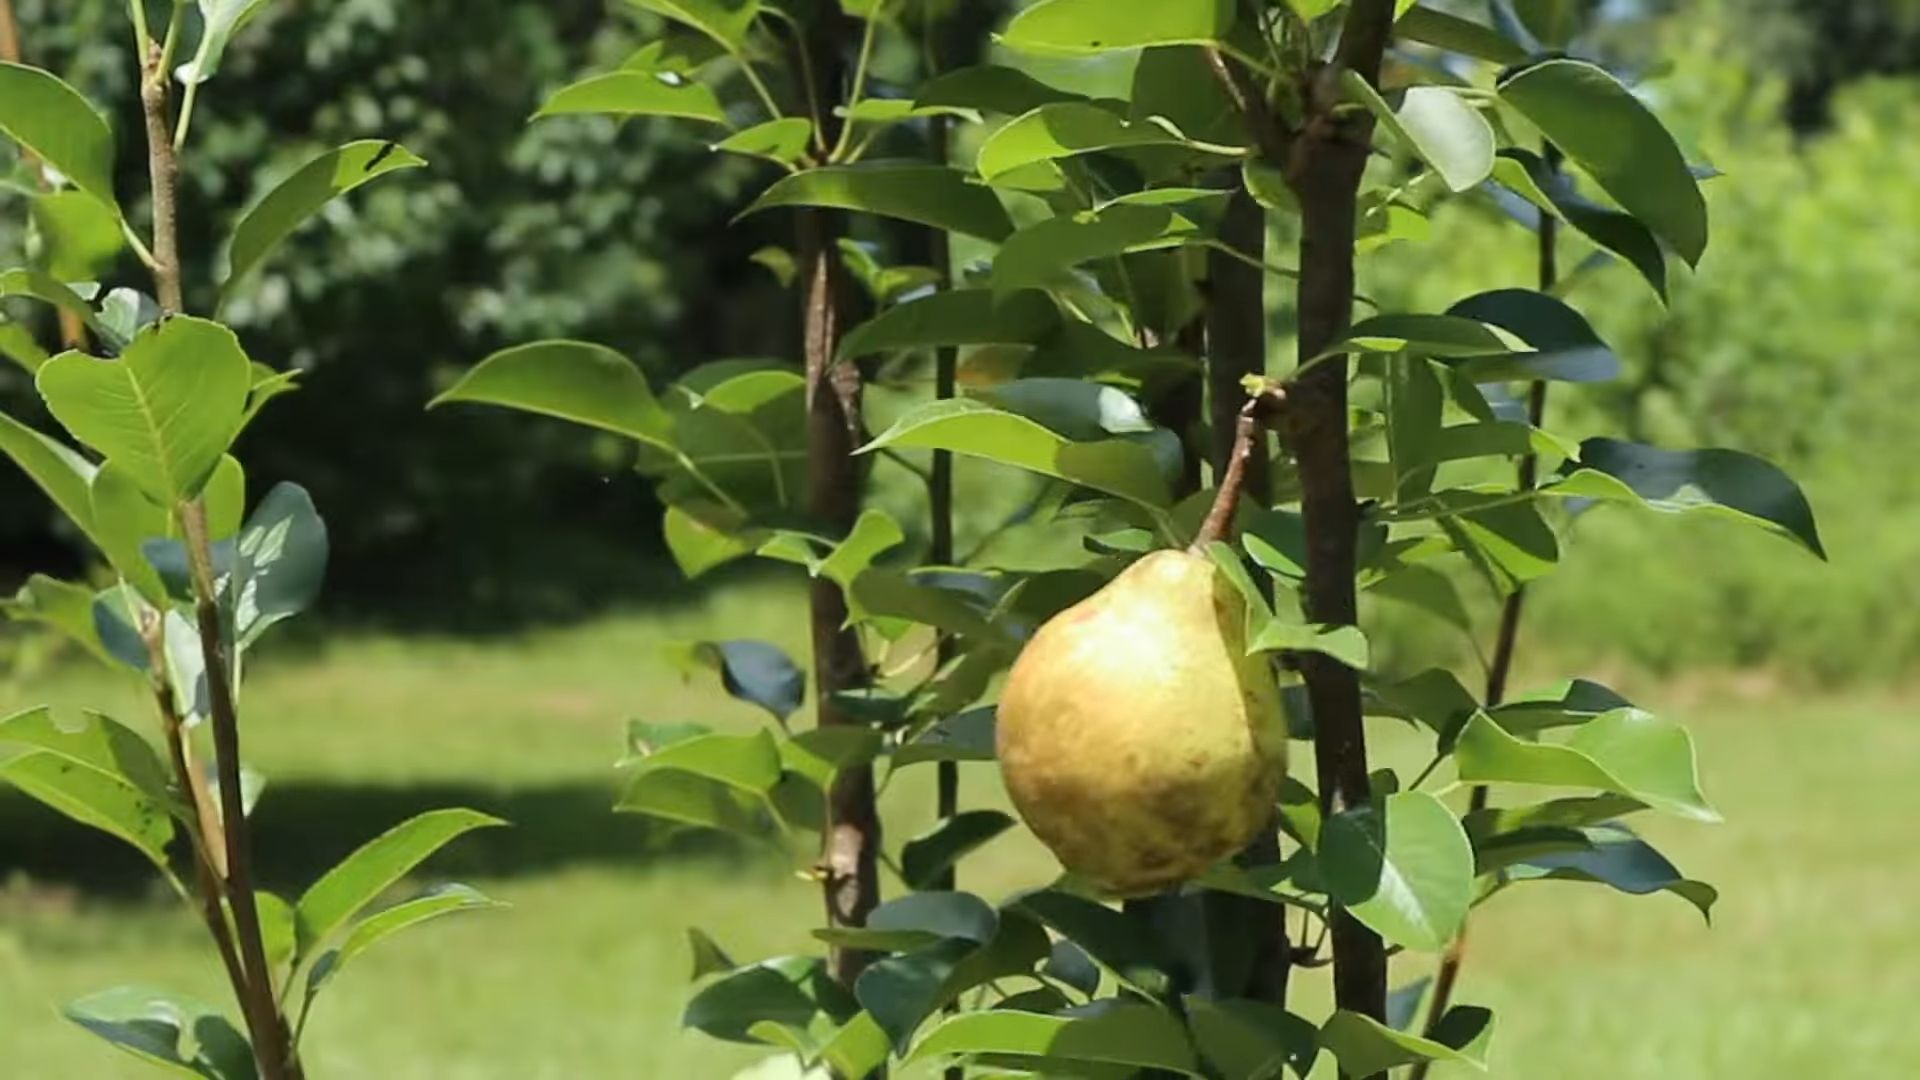
1. Timing: Pears are best harvested when they are mature but still firm. They will ripen off the tree. The exact timing depends on the variety, but generally, pears are ready to harvest in late summer or early fall.
2. Testing for Ripeness: Gently lift a pear and twist it. If it comes off the tree easily, it’s ready to harvest. You can also check the color of the pear. It should be slightly lighter than when it was growing.
3. Harvesting: Harvest the pears carefully to avoid bruising them.
4. Ripening: Place the pears in a cool, dark place to ripen. They should ripen in a few days to a week. You can speed up the ripening process by placing the pears in a paper bag with a ripe banana or apple.
5. Storage: Ripe pears can be stored in the refrigerator for a few weeks.
Enjoying Your Homegrown Pears
Congratulations! You’ve successfully grown pears
Conclusion
So, there you have it! Growing pears at home might seem like a daunting task at first, but with a little patience, the right knowledge, and this simple DIY trick, you’ll be biting into juicy, homegrown pears sooner than you think. This method, focusing on careful selection and nurturing, truly unlocks the potential of your backyard orchard.
Why is this a must-try? Because store-bought pears, while convenient, often lack the intense flavor and satisfying texture of a pear you’ve nurtured yourself. Plus, there’s an undeniable sense of accomplishment that comes with harvesting your own fruit. You know exactly where your food comes from, what went into growing it, and you can be confident that it’s free from unwanted chemicals. Beyond the taste and satisfaction, growing your own pears is an environmentally friendly choice, reducing your carbon footprint and supporting local biodiversity.
But don’t stop there! Experiment with different pear varieties to find your absolute favorite. Consider planting multiple varieties that pollinate each other for an even more abundant harvest. You can also explore different training methods, like espalier, to maximize space and create a beautiful, productive living fence. Think about companion planting – certain herbs and flowers can deter pests and attract beneficial insects, further enhancing your pear tree’s health and yield.
This DIY trick isn’t just about growing pears; it’s about connecting with nature, learning new skills, and enjoying the fruits (literally!) of your labor. It’s about creating a sustainable food source right in your own backyard. It’s about experiencing the joy of watching a tiny sapling transform into a thriving tree, laden with delicious, homegrown pears.
We wholeheartedly encourage you to give this DIY trick a try. Don’t be afraid to get your hands dirty, to experiment, and to learn from your mistakes. Growing pears at home is a journey, not a destination. And we’re confident that you’ll find it to be a rewarding and delicious one.
Once you’ve harvested your first crop of homegrown pears, we’d love to hear about your experience! Share your photos, tips, and stories in the comments below. Let’s build a community of home pear growers and inspire others to embark on this fruitful adventure. What variety did you choose? What challenges did you face, and how did you overcome them? Your insights could be invaluable to someone just starting out. Let’s celebrate the success of growing pears at home together!
Frequently Asked Questions (FAQ)
What is the best time of year to plant a pear tree?
The ideal time to plant a pear tree is during the dormant season, either in late fall or early spring. This allows the tree to establish its roots before the stresses of the growing season. In areas with harsh winters, spring planting is often preferred to avoid root damage from freezing temperatures. If you live in a milder climate, fall planting can give the tree a head start on root development. Regardless of when you plant, be sure to provide adequate water and protection from extreme weather.
What kind of soil is best for growing pears?
Pear trees thrive in well-drained, loamy soil with a slightly acidic to neutral pH (between 6.0 and 7.0). Good drainage is crucial, as pear trees are susceptible to root rot in soggy conditions. If your soil is heavy clay, amend it with organic matter like compost or well-rotted manure to improve drainage and aeration. Sandy soils can be improved by adding organic matter to help retain moisture and nutrients. A soil test can help you determine the pH and nutrient levels of your soil and guide you in making necessary amendments.
How much sunlight do pear trees need?
Pear trees require at least 6-8 hours of direct sunlight per day to produce a good crop of fruit. Choose a planting location that receives full sun throughout the growing season. Insufficient sunlight can lead to reduced fruit production, smaller fruit size, and increased susceptibility to diseases. Observe the area throughout the day to ensure that it is not shaded by buildings, other trees, or fences.
Do I need to plant more than one pear tree for pollination?
Most pear varieties require cross-pollination to produce fruit. This means that you need to plant at least two different pear varieties that are compatible pollinators. Some pear varieties are self-pollinating, but even these will often produce a larger and more consistent crop when cross-pollinated. When selecting pear varieties, check with your local nursery or extension office to ensure that they are compatible pollinators and that they are suited to your climate.
How often should I water my pear tree?
Newly planted pear trees need regular watering to establish their root systems. Water deeply and frequently, especially during dry periods. Once the tree is established, you can reduce the frequency of watering, but still provide supplemental water during extended droughts. Avoid overwatering, as this can lead to root rot. A good rule of thumb is to water when the top inch of soil feels dry to the touch. Mulching around the base of the tree can help retain moisture and suppress weeds.
What are some common pests and diseases that affect pear trees?
Pear trees are susceptible to a variety of pests and diseases, including aphids, pear psylla, codling moths, fire blight, and pear scab. Regularly inspect your tree for signs of pests or diseases. Early detection and treatment are crucial to preventing serious damage. Use organic pest control methods whenever possible, such as insecticidal soap, horticultural oil, and beneficial insects. Prune your tree regularly to improve air circulation and reduce the risk of fungal diseases. Consult with your local extension office for specific recommendations on pest and disease management in your area.
How do I prune a pear tree?
Pruning is essential for maintaining the health and productivity of your pear tree. Prune during the dormant season to remove dead, damaged, or diseased branches. Also, prune to shape the tree and improve air circulation. The goal is to create an open, vase-shaped structure that allows sunlight to penetrate the canopy. Remove any suckers that grow from the base of the tree and any water sprouts that grow straight up from the branches. Consult with a pruning guide or your local extension office for specific instructions on pruning pear trees.
How long does it take for a pear tree to produce fruit?
The time it takes for a pear tree to produce fruit depends on the variety, the rootstock, and the growing conditions. Standard-sized pear trees can take 4-6 years to begin producing fruit, while dwarf varieties may start producing fruit in 2-3 years. Proper care, including adequate watering, fertilization, and pruning, can help to speed up the fruiting process. Be patient, and your pear tree will eventually reward you with a bountiful harvest.
How do I know when my pears are ripe?
Pears are best harvested when they are mature but not fully ripe. They will ripen off the tree. To determine if a pear is mature, gently lift it and twist it. If it separates easily from the branch, it is ready to be harvested. The color of the pear may also change slightly as it matures. Once harvested, store the pears in a cool, dark place to ripen. You can also place them in a paper bag with an apple or banana to speed up the ripening process.
Can I grow pears in containers?
Yes, you can grow dwarf pear varieties in containers. Choose a large container with good drainage and use a well-draining potting mix. Container-grown pear trees will need more frequent watering and fertilization than those grown in the ground. Protect the container from freezing temperatures during the winter. Container growing is a great option for those with limited space or poor soil conditions.
Leave a Comment