

Grow Napa Cabbage at Home? Absolutely! Imagine stepping into your backyard and harvesting crisp, delicious Napa cabbage, ready to be transformed into kimchi, stir-fries, or slaws. It’s easier than you think, and this DIY guide is your secret weapon to achieving gardening success, even if you’re a complete beginner.
For centuries, Napa cabbage has been a staple in Asian cuisine, particularly in Korea and China, where it’s revered not just for its taste but also for its nutritional benefits. From humble farmsteads to royal kitchens, this versatile vegetable has nourished generations. Now, you can bring that rich history and flavor right to your own table.
Why should you learn this DIY trick? Well, store-bought Napa cabbage can sometimes be expensive and lack the freshness of homegrown produce. Plus, there’s nothing quite like the satisfaction of nurturing a plant from seed to harvest. I’m going to show you simple, effective techniques to grow Napa Cabbage at Home, saving you money, ensuring quality, and connecting you with nature. Get ready to roll up your sleeves and discover the joy of homegrown goodness!

Growing Napa Cabbage at Home: A DIY Guide
Hey there, fellow gardening enthusiasts! I’m so excited to share my experience growing Napa cabbage right in my backyard. It’s surprisingly easy, and the fresh, crisp taste of homegrown Napa cabbage is unbeatable. This guide will walk you through every step, from seed to harvest, so you can enjoy your own delicious Napa cabbage too!
Choosing the Right Variety and Timing
Before we dive into the nitty-gritty, let’s talk about choosing the right Napa cabbage variety and timing your planting. This is crucial for success!
* Variety Selection: Look for varieties that are well-suited to your climate. Some popular choices include ‘Blues’, ‘China Pride’, and ‘Optiko’. Read the seed packet descriptions carefully to understand their maturity time and disease resistance. I personally love ‘China Pride’ because it’s relatively heat-tolerant.
* Timing is Everything: Napa cabbage is a cool-season crop, meaning it thrives in cooler temperatures. Planting at the wrong time can lead to bolting (premature flowering) and bitter-tasting cabbage.
* Spring Planting: If you’re in a region with mild winters, you can start seeds indoors 6-8 weeks before the last expected frost. Transplant them outdoors 2-3 weeks before the last frost.
* Fall Planting: For most regions, fall planting is the way to go. Sow seeds directly into the garden 8-10 weeks before the first expected frost. This gives the cabbage enough time to mature before winter sets in. I usually aim for late July or early August for my fall crop.
* Succession Planting: To extend your harvest, consider succession planting. Sow seeds every 2-3 weeks for a continuous supply of Napa cabbage.
Preparing the Soil
Napa cabbage needs rich, well-drained soil to thrive. Here’s how I prepare my garden bed:
* Soil Testing: Ideally, get your soil tested to determine its pH and nutrient levels. Napa cabbage prefers a slightly acidic to neutral pH (6.0-7.5).
* Amending the Soil:
* Compost: Add plenty of compost to the soil. Compost improves drainage, adds nutrients, and helps retain moisture. I usually incorporate about 2-3 inches of compost into the top 6-8 inches of soil.
* Well-rotted Manure: If you have access to well-rotted manure, that’s another excellent amendment. Just be sure it’s fully composted to avoid burning the plants.
* Fertilizer: A balanced fertilizer (like 10-10-10) can also be added to the soil. Follow the instructions on the fertilizer package. I prefer using organic fertilizers whenever possible.
* Drainage: Ensure the soil drains well. Napa cabbage doesn’t like soggy roots. If your soil is heavy clay, consider adding sand or perlite to improve drainage.
* Sunlight: Choose a location that receives at least 6 hours of sunlight per day.
Starting Seeds Indoors (Optional)
If you’re starting seeds indoors, here’s what you’ll need:
* Seed Starting Trays or Pots: Use seed starting trays or small pots with drainage holes.
* Seed Starting Mix: Use a sterile seed starting mix to prevent diseases.
* Seeds: Of course!
* Watering Can or Spray Bottle: For gentle watering.
* Grow Lights (Optional): Grow lights can help prevent leggy seedlings.
Step-by-Step Instructions:
1. Sow the Seeds: Fill the seed starting trays or pots with seed starting mix. Moisten the mix thoroughly. Sow 2-3 seeds per cell or pot, about ¼ inch deep.
2. Water Gently: Water the seeds gently with a watering can or spray bottle. Avoid overwatering.
3. Provide Warmth: Keep the seeds in a warm location (around 70-75°F). A heat mat can help speed up germination.
4. Provide Light: Once the seeds germinate (usually in 5-10 days), provide them with plenty of light. If you’re using grow lights, keep them a few inches above the seedlings.
5. Thin the Seedlings: Once the seedlings have their first true leaves (the second set of leaves), thin them to one seedling per cell or pot. Snip off the weaker seedlings at the soil line.
6. Harden Off the Seedlings: Before transplanting the seedlings outdoors, you need to harden them off. This means gradually exposing them to outdoor conditions. Start by placing them outdoors for a few hours each day, gradually increasing the amount of time they spend outside over a week or two.
Direct Sowing Seeds Outdoors
Direct sowing is my preferred method, especially for fall crops. It’s less work and the plants tend to be stronger.
Step-by-Step Instructions:
1. Prepare the Seedbed: Rake the soil smooth and remove any rocks or debris.
2. Sow the Seeds: Sow the seeds about ½ inch deep and 1-2 inches apart in rows that are 18-24 inches apart.
3. Water Gently: Water the seeds gently but thoroughly.
4. Keep the Soil Moist: Keep the soil consistently moist until the seeds germinate.
5. Thin the Seedlings: Once the seedlings have their first true leaves, thin them to 12-18 inches apart. This gives them enough room to grow.
Transplanting Seedlings (If Starting Indoors)
If you started your seeds indoors, here’s how to transplant them:
Step-by-Step Instructions:
1. Choose a Cloudy Day: Transplant on a cloudy day or in the late afternoon to minimize stress on the seedlings.
2. Dig Holes: Dig holes that are slightly larger than the root balls of the seedlings. Space the holes 12-18 inches apart.
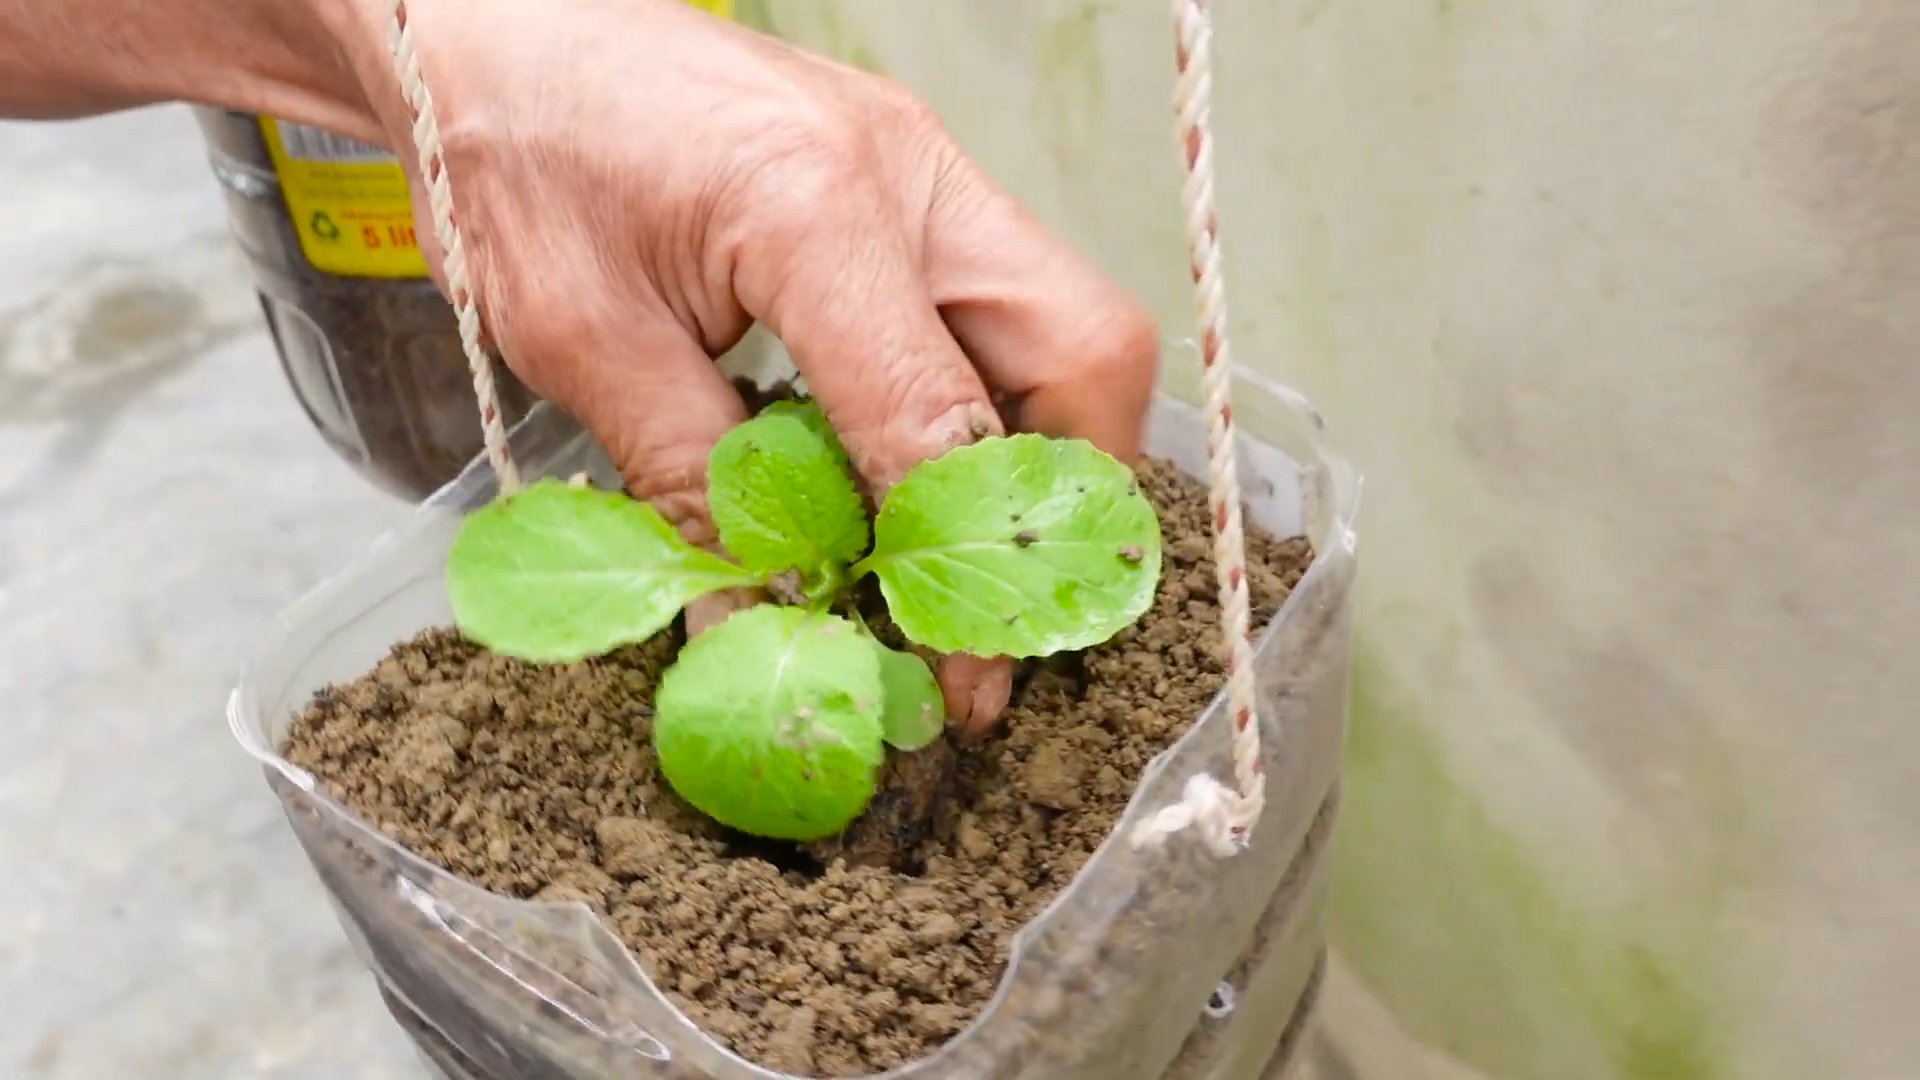
3. Carefully Remove the Seedlings: Gently remove the seedlings from their pots or trays. Be careful not to damage the roots.
4. Place the Seedlings in the Holes: Place the seedlings in the holes and backfill with soil.
5. Water Thoroughly: Water the seedlings thoroughly after transplanting.
6. Protect from Pests: Cover the seedlings with row covers to protect them from pests like flea beetles and cabbage moths.
Caring for Your Napa Cabbage
Once your Napa cabbage plants are established, here’s how to care for them:
* Watering: Water regularly, especially during dry periods. Napa cabbage needs consistent moisture to thrive. Aim for about 1 inch of water per week.
* Fertilizing: Side-dress the plants with a nitrogen-rich fertilizer every 2-3 weeks. Fish emulsion or compost tea are great organic options.
* Weeding: Keep the garden bed free of weeds. Weeds compete with the cabbage plants for nutrients and water.
* Pest Control:
* Cabbage Moths and Cabbage White Butterflies: These pests lay eggs that hatch into caterpillars that can devour your cabbage leaves. Use row covers to prevent them from reaching your plants. You can also handpick the caterpillars off the plants or use Bacillus thuringiensis (Bt), a biological insecticide.
* Flea Beetles: Flea beetles are tiny jumping beetles that can create small holes in the leaves. Row covers can also help prevent flea beetle damage. You can also use insecticidal soap or diatomaceous earth.
* Aphids: Aphids are small, sap-sucking insects that can weaken your plants. Spray them off with a strong stream of water or use insecticidal soap.
* Disease Control:
* Clubroot: Clubroot is a soilborne disease that can cause swollen, distorted roots. To prevent clubroot, ensure your soil is well-drained and has a pH of 6.8 or higher. Rotate your crops and avoid planting brassicas (like cabbage, broccoli, and cauliflower) in the same location year after year.
* Downy Mildew: Downy mildew is a fungal disease that can cause yellow spots on the leaves. To prevent downy mildew, provide good air circulation and avoid overhead watering.
Harvesting Your Napa Cabbage
Harvest time is the most rewarding part!
* When to Harvest: Napa cabbage is typically ready to harvest 70-80 days after planting. The heads should be firm and compact.
* How to Harvest: Use a sharp knife to cut the head of cabbage off at the base.
* Storage: Store Napa cabbage in the refrigerator for up to 2 weeks. Wrap it loosely in plastic wrap or a plastic bag.
Troubleshooting
Even with the best care, you might encounter some problems. Here are a few common issues and how
Conclusion
So, there you have it! Growing Napa cabbage at home is not only achievable, but it’s also incredibly rewarding. From the crisp, tender leaves perfect for slaws and stir-fries to the satisfaction of nurturing your own food from seed to harvest, this DIY project is a must-try for any home gardener, regardless of experience level. Forget relying solely on grocery store produce; imagine stepping into your backyard and harvesting fresh, vibrant Napa cabbage whenever you need it.
The benefits extend beyond just fresh ingredients. You’ll have complete control over the growing process, ensuring your cabbage is free from unwanted pesticides and herbicides. Plus, growing your own food is a fantastic way to connect with nature and learn more about the cycles of life. It’s a therapeutic activity that can reduce stress and boost your overall well-being.
Don’t be afraid to experiment with different varieties of Napa cabbage. Some are more compact, ideal for smaller gardens or containers, while others offer unique flavor profiles. Consider succession planting, sowing seeds every few weeks, to ensure a continuous harvest throughout the growing season. You can also try companion planting, pairing your Napa cabbage with herbs like dill or chamomile, which can help deter pests and attract beneficial insects. Another variation is to try growing Napa cabbage indoors during the colder months, using grow lights to supplement natural sunlight. This allows you to enjoy fresh Napa cabbage year-round, regardless of your climate.
Growing Napa cabbage at home is easier than you think! With a little planning and care, you can enjoy a bountiful harvest of this delicious and versatile vegetable. We encourage you to give it a try. Start small, learn as you go, and don’t be discouraged by initial setbacks. Gardening is a journey, and every mistake is an opportunity to learn and improve.
We’re confident that you’ll be amazed by the results. Once you’ve harvested your first head of homegrown Napa cabbage, we’d love to hear about your experience. Share your tips, tricks, and photos with us in the comments below. Let’s build a community of home gardeners and inspire others to embrace the joy of growing their own food. What are you waiting for? Get those seeds started and embark on your Napa cabbage growing adventure today!
Frequently Asked Questions (FAQ)
What is the best time of year to plant Napa cabbage?
The best time to plant Napa cabbage depends on your climate. Napa cabbage is a cool-season crop, meaning it thrives in temperatures between 60°F and 70°F (15°C and 21°C). In most regions, this means planting in early spring or late summer for a fall harvest. For spring planting, start seeds indoors 6-8 weeks before the last expected frost. For fall planting, direct sow seeds in the garden 8-10 weeks before the first expected frost. Pay attention to your local weather patterns and adjust planting times accordingly. If you live in a region with mild winters, you may even be able to grow Napa cabbage throughout the winter months.
How much sunlight does Napa cabbage need?
Napa cabbage requires at least 6 hours of direct sunlight per day to thrive. Choose a planting location that receives ample sunlight throughout the day. If you’re growing Napa cabbage indoors, use grow lights to supplement natural sunlight and ensure your plants receive adequate light exposure. Insufficient sunlight can lead to leggy growth and reduced head formation.
What type of soil is best for growing Napa cabbage?
Napa cabbage prefers well-drained, fertile soil that is rich in organic matter. Amend your soil with compost or well-rotted manure before planting to improve drainage and nutrient content. The ideal soil pH for Napa cabbage is between 6.0 and 7.5. You can test your soil pH using a soil testing kit and adjust it accordingly with lime or sulfur.
How often should I water Napa cabbage?
Napa cabbage needs consistent moisture to grow properly. Water deeply and regularly, especially during dry periods. Aim to keep the soil consistently moist but not waterlogged. Overwatering can lead to root rot, while underwatering can stunt growth. Mulching around your plants can help retain moisture in the soil and reduce the need for frequent watering.
What are some common pests and diseases that affect Napa cabbage?
Napa cabbage is susceptible to several pests and diseases, including cabbage worms, aphids, flea beetles, and clubroot. Regularly inspect your plants for signs of infestation or disease. Use organic pest control methods, such as handpicking pests, using insecticidal soap, or applying Bacillus thuringiensis (Bt), to control pests. To prevent clubroot, practice crop rotation and ensure your soil is well-drained. Choose disease-resistant varieties of Napa cabbage whenever possible.
How do I harvest Napa cabbage?
Napa cabbage is ready to harvest when the head is firm and compact. The exact time to harvest will depend on the variety and growing conditions, but generally, it takes about 70-80 days from planting to harvest. To harvest, cut the head at the base with a sharp knife. You can store harvested Napa cabbage in the refrigerator for several weeks.
Can I grow Napa cabbage in containers?
Yes, you can grow Napa cabbage in containers, especially if you choose a compact variety. Select a large container with drainage holes and fill it with a well-draining potting mix. Provide adequate sunlight and water regularly. Container-grown Napa cabbage may require more frequent fertilization than plants grown in the ground.
How can I prevent my Napa cabbage from bolting (going to seed)?
Bolting occurs when Napa cabbage is exposed to prolonged periods of cold weather or stress. To prevent bolting, plant at the appropriate time of year and provide consistent moisture and nutrients. Choose bolt-resistant varieties of Napa cabbage. If you experience unexpected cold snaps, protect your plants with row covers or blankets.
What are some good companion plants for Napa cabbage?
Good companion plants for Napa cabbage include dill, chamomile, rosemary, thyme, and marigolds. These plants can help deter pests, attract beneficial insects, and improve the overall health of your Napa cabbage plants. Avoid planting Napa cabbage near other members of the brassica family, such as broccoli, cauliflower, and kale, as they can attract the same pests and diseases.
How do I store Napa cabbage after harvesting?
To store Napa cabbage after harvesting, remove any damaged or yellowing outer leaves. Wrap the head loosely in plastic wrap or place it in a perforated plastic bag. Store it in the refrigerator crisper drawer. Napa cabbage can be stored for several weeks under these conditions.


Leave a Comment