

Grow Mint at Home with ease! Have you ever dreamt of stepping outside your door and snipping fresh, fragrant mint leaves for your morning tea or a refreshing mojito? It’s easier than you think, and this DIY guide will show you exactly how to make that dream a reality. Mint, with its vibrant history stretching back to ancient Egypt where it was used for medicinal purposes and in religious ceremonies, has always been a beloved herb. Today, it’s a staple in cuisines worldwide and a fantastic addition to any home garden.
But why should you learn to grow mint at home? Well, store-bought mint can be expensive and often wilts quickly. Plus, growing your own ensures you have a constant supply of fresh, organic mint whenever you need it. Imagine the satisfaction of creating delicious dishes and drinks with ingredients you’ve nurtured yourself! This DIY article will equip you with simple, effective tricks and hacks to cultivate a thriving mint patch, even if you have limited space or a less-than-green thumb. Let’s get started and unlock the secrets to a flourishing mint garden!
Growing Mint Like a Pro: A DIY Guide to a Bountiful Harvest
Hey there, fellow plant enthusiasts! I’m so excited to share my secrets to growing mint at home. Mint is such a versatile herb – perfect for teas, cocktails, cooking, and even just adding a fresh scent to your home. And the best part? It’s surprisingly easy to grow, even if you don’t have a green thumb! Let’s dive in!
Choosing Your Mint Variety
Before we get started, let’s talk about the different types of mint. There’s spearmint, peppermint, chocolate mint, apple mint, and so many more! Each variety has its own unique flavor and aroma. I personally love spearmint for its classic minty taste and peppermint for its refreshing kick.
* Spearmint: The most common type, with a mild, sweet flavor. Great for teas and mojitos.
* Peppermint: A stronger, more intense flavor due to its higher menthol content. Perfect for candies and digestive aids.
* Chocolate Mint: A delightful combination of mint and chocolate flavors. Delicious in desserts and hot chocolate.
* Apple Mint: A fruity and slightly sweet mint with a hint of apple. Wonderful in salads and fruit dishes.
Consider what you’ll be using your mint for and choose a variety that suits your needs. You can even grow multiple varieties!
Getting Started: Propagation Methods
There are a few ways to propagate mint: from seeds, cuttings, or division. I find that cuttings and division are the easiest and fastest methods, so that’s what we’ll focus on.
* From Cuttings: This involves taking a stem cutting from an existing mint plant and rooting it in water or soil.
* From Division: This involves separating the roots of an established mint plant into multiple smaller plants.
Taking Mint Cuttings
This is my go-to method because it’s so simple and reliable.
1. Gather Your Supplies: You’ll need a healthy mint plant (borrow from a friend or buy one from a nursery), clean scissors or pruning shears, a glass or jar of water, and optionally, rooting hormone.
2. Select a Healthy Stem: Choose a stem that’s about 4-6 inches long and has several leaves. Avoid stems that are flowering or look damaged.
3. Make the Cut: Using your clean scissors or shears, make a clean cut just below a leaf node (the point where a leaf grows from the stem).
4. Remove Lower Leaves: Gently remove the leaves from the bottom 1-2 inches of the stem. This is where the roots will grow.
5. Place in Water: Put the cutting in a glass or jar of water, making sure that the bottom portion of the stem (where you removed the leaves) is submerged.
6. Wait for Roots: Place the jar in a bright, indirect light location. Change the water every few days to keep it fresh. You should start to see roots forming in about a week or two.
7. Plant the Cutting: Once the roots are about an inch long, you can plant the cutting in a pot filled with well-draining potting mix.
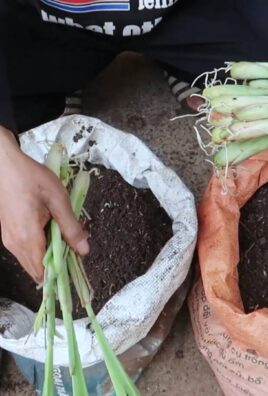
Dividing an Existing Mint Plant
If you already have a mint plant that’s getting a bit crowded, division is a great way to create new plants.
1. Gather Your Supplies: You’ll need a mature mint plant, a trowel or shovel, a pot or garden bed, and well-draining potting mix.
2. Dig Up the Plant: Carefully dig up the entire mint plant, being sure to get as much of the root system as possible.
3. Separate the Roots: Gently separate the root ball into smaller sections. Each section should have several stems and a good amount of roots. You can use your hands or a sharp knife to divide the roots.
4. Plant the Divisions: Plant each division in its own pot or in a garden bed, spacing them about 12-18 inches apart.
5. Water Well: Water the newly planted divisions thoroughly.
Choosing the Right Pot and Soil
Mint can be quite invasive, so I highly recommend growing it in a container to prevent it from taking over your garden.
* Pot Size: Choose a pot that’s at least 12 inches in diameter. This will give the mint plenty of room to grow.
* Drainage: Make sure the pot has drainage holes to prevent waterlogging.
* Soil: Use a well-draining potting mix. You can also add some compost or other organic matter to improve the soil’s fertility.
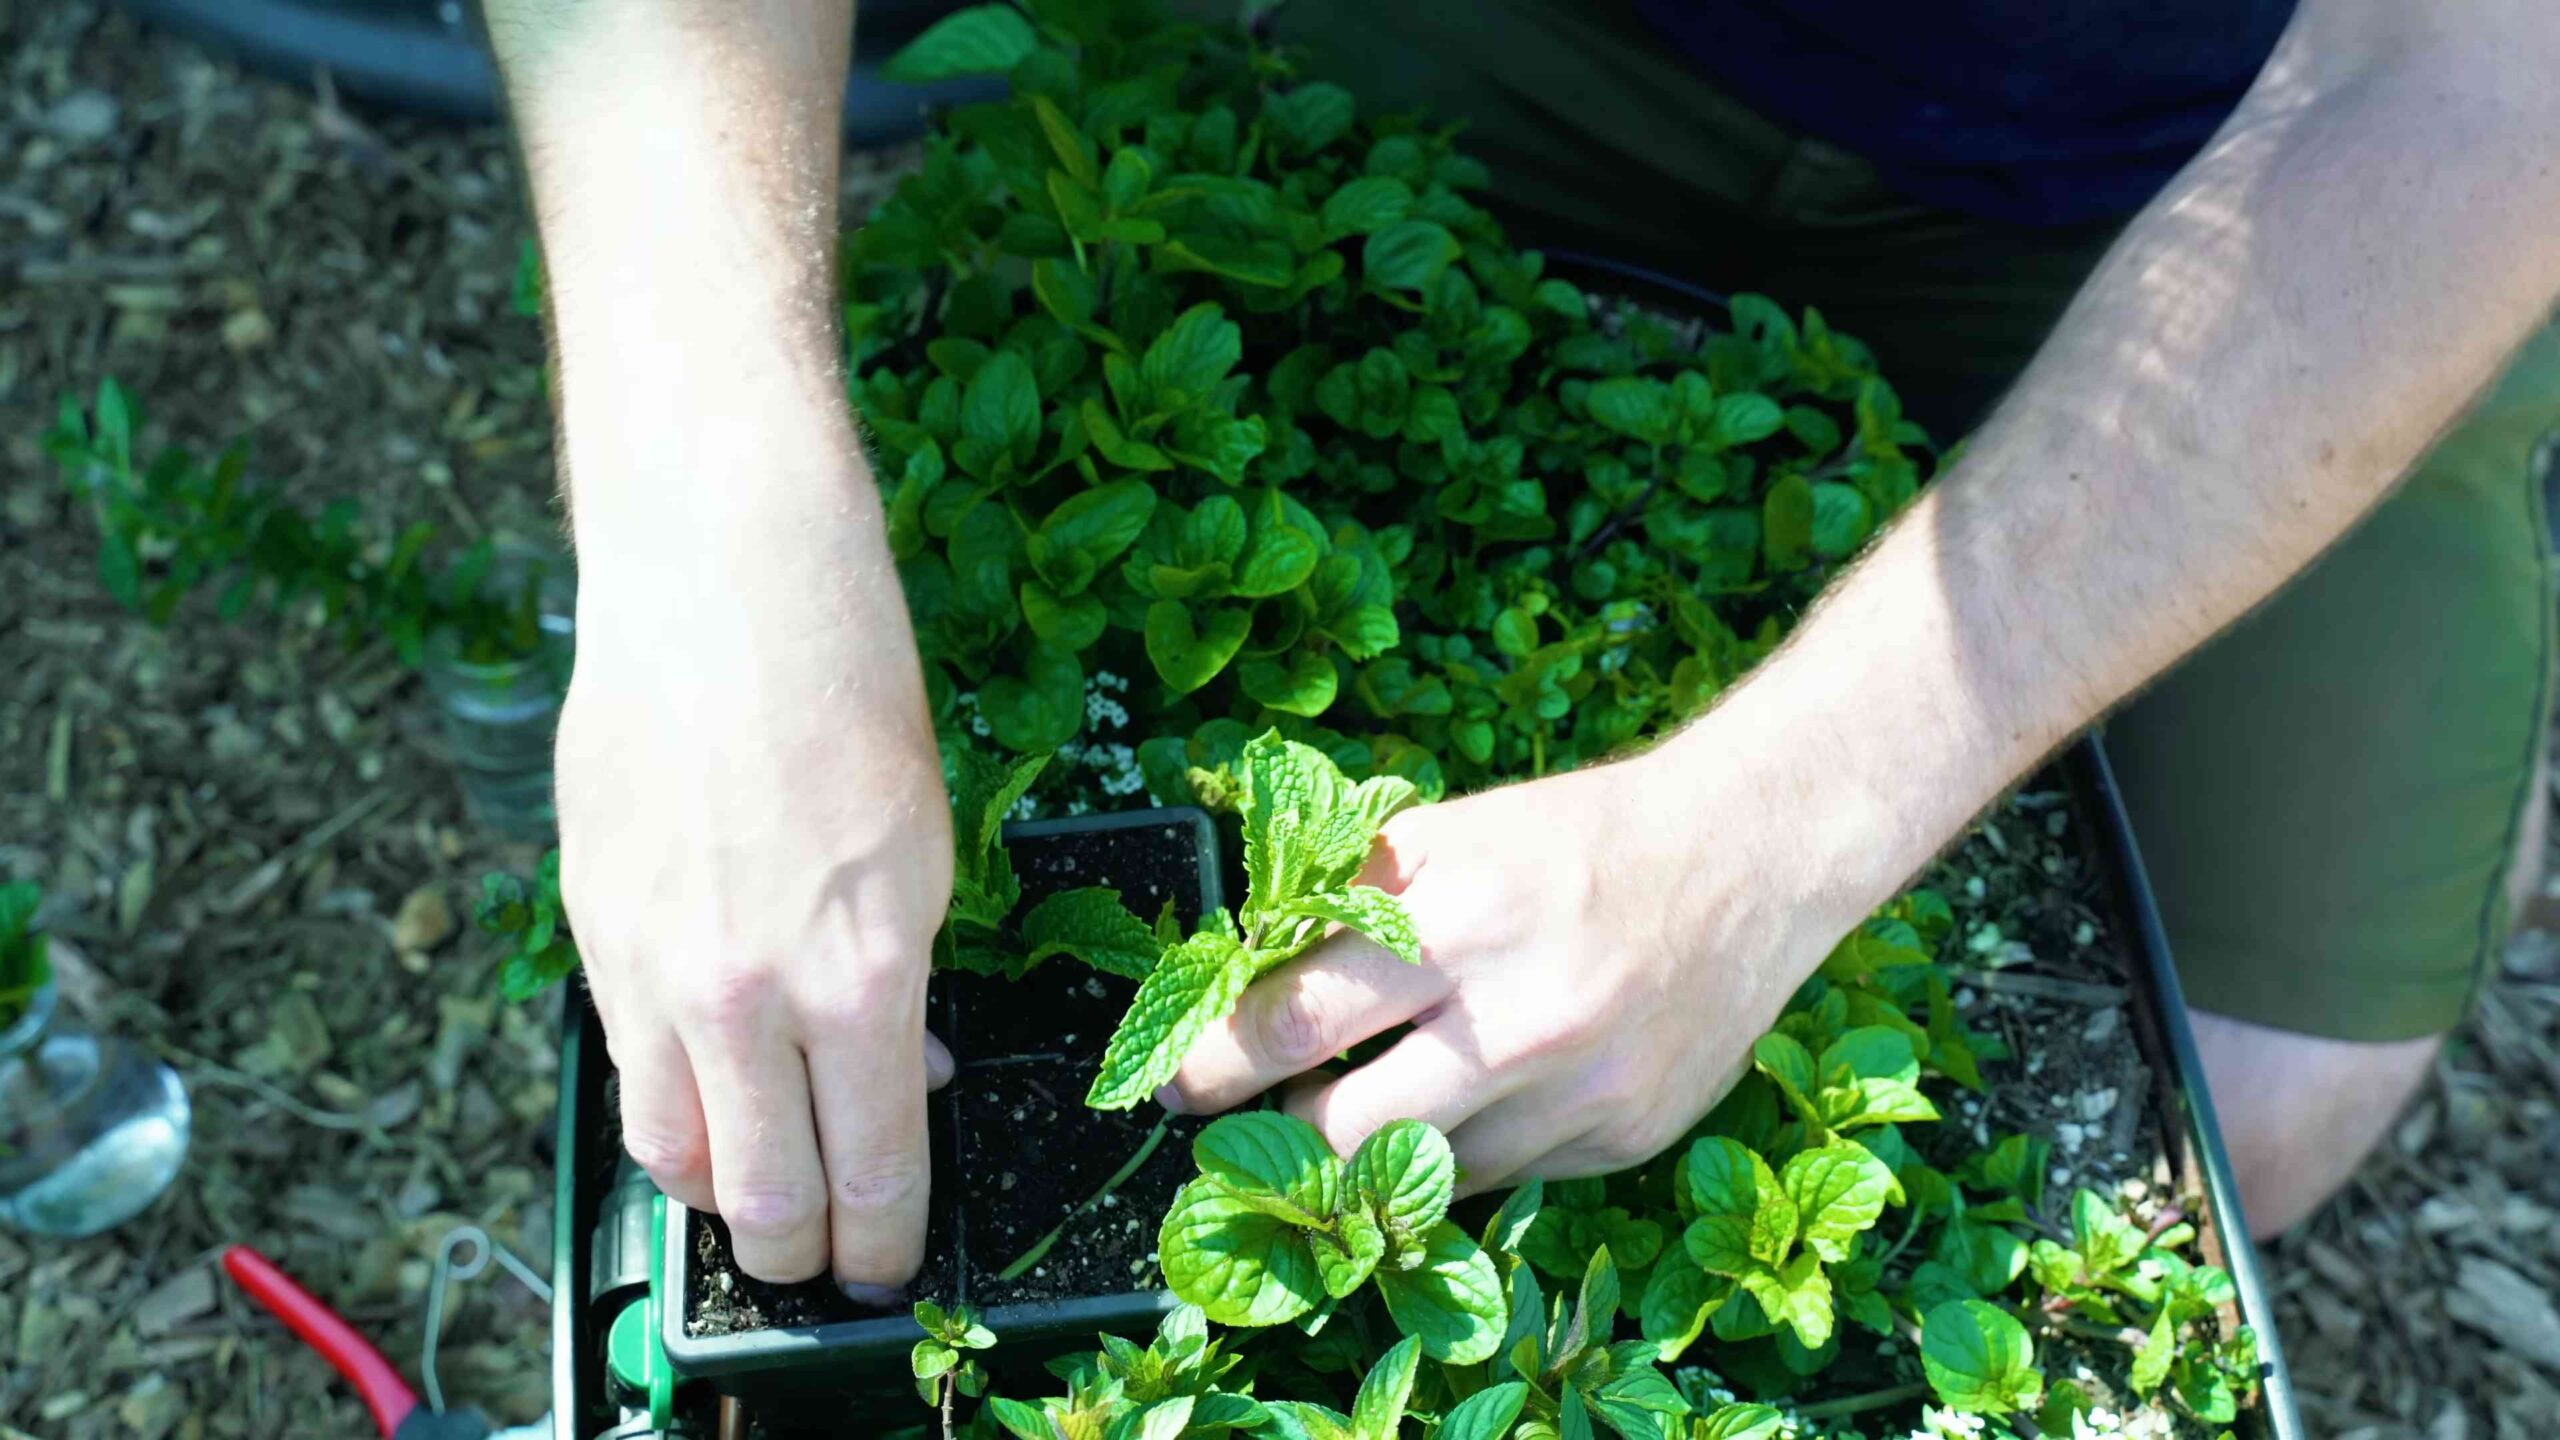
Planting Your Mint
Now that you have your cuttings or divisions, it’s time to plant them!
1. Fill the Pot: Fill the pot with your chosen potting mix, leaving about an inch of space at the top.
2. Make a Hole: Dig a small hole in the center of the pot.
3. Plant the Mint: Gently place the mint cutting or division into the hole, making sure that the roots are covered with soil.
4. Water Thoroughly: Water the plant thoroughly until the water drains out of the bottom of the pot.
Caring for Your Mint Plant
Mint is relatively low-maintenance, but here are a few tips to keep it thriving:
* Sunlight: Mint prefers partial shade to full sun. In hot climates, it’s best to provide some afternoon shade to prevent the leaves from scorching.
* Watering: Water regularly, especially during hot, dry weather. The soil should be consistently moist, but not waterlogged.
* Fertilizing: Feed your mint plant with a balanced fertilizer every few weeks during the growing season.
* Pruning: Prune your mint plant regularly to encourage bushier growth and prevent it from flowering. Flowering can reduce the flavor of the leaves. Simply pinch off the top leaves of the stems.
* Pest Control: Mint is generally pest-resistant, but it can sometimes be affected by aphids or spider mites. If you notice any pests, you can spray the plant with insecticidal soap.
* Overwintering: In colder climates, mint may die back in the winter. You can either bring the pot indoors or mulch around the plant to protect it from the cold.
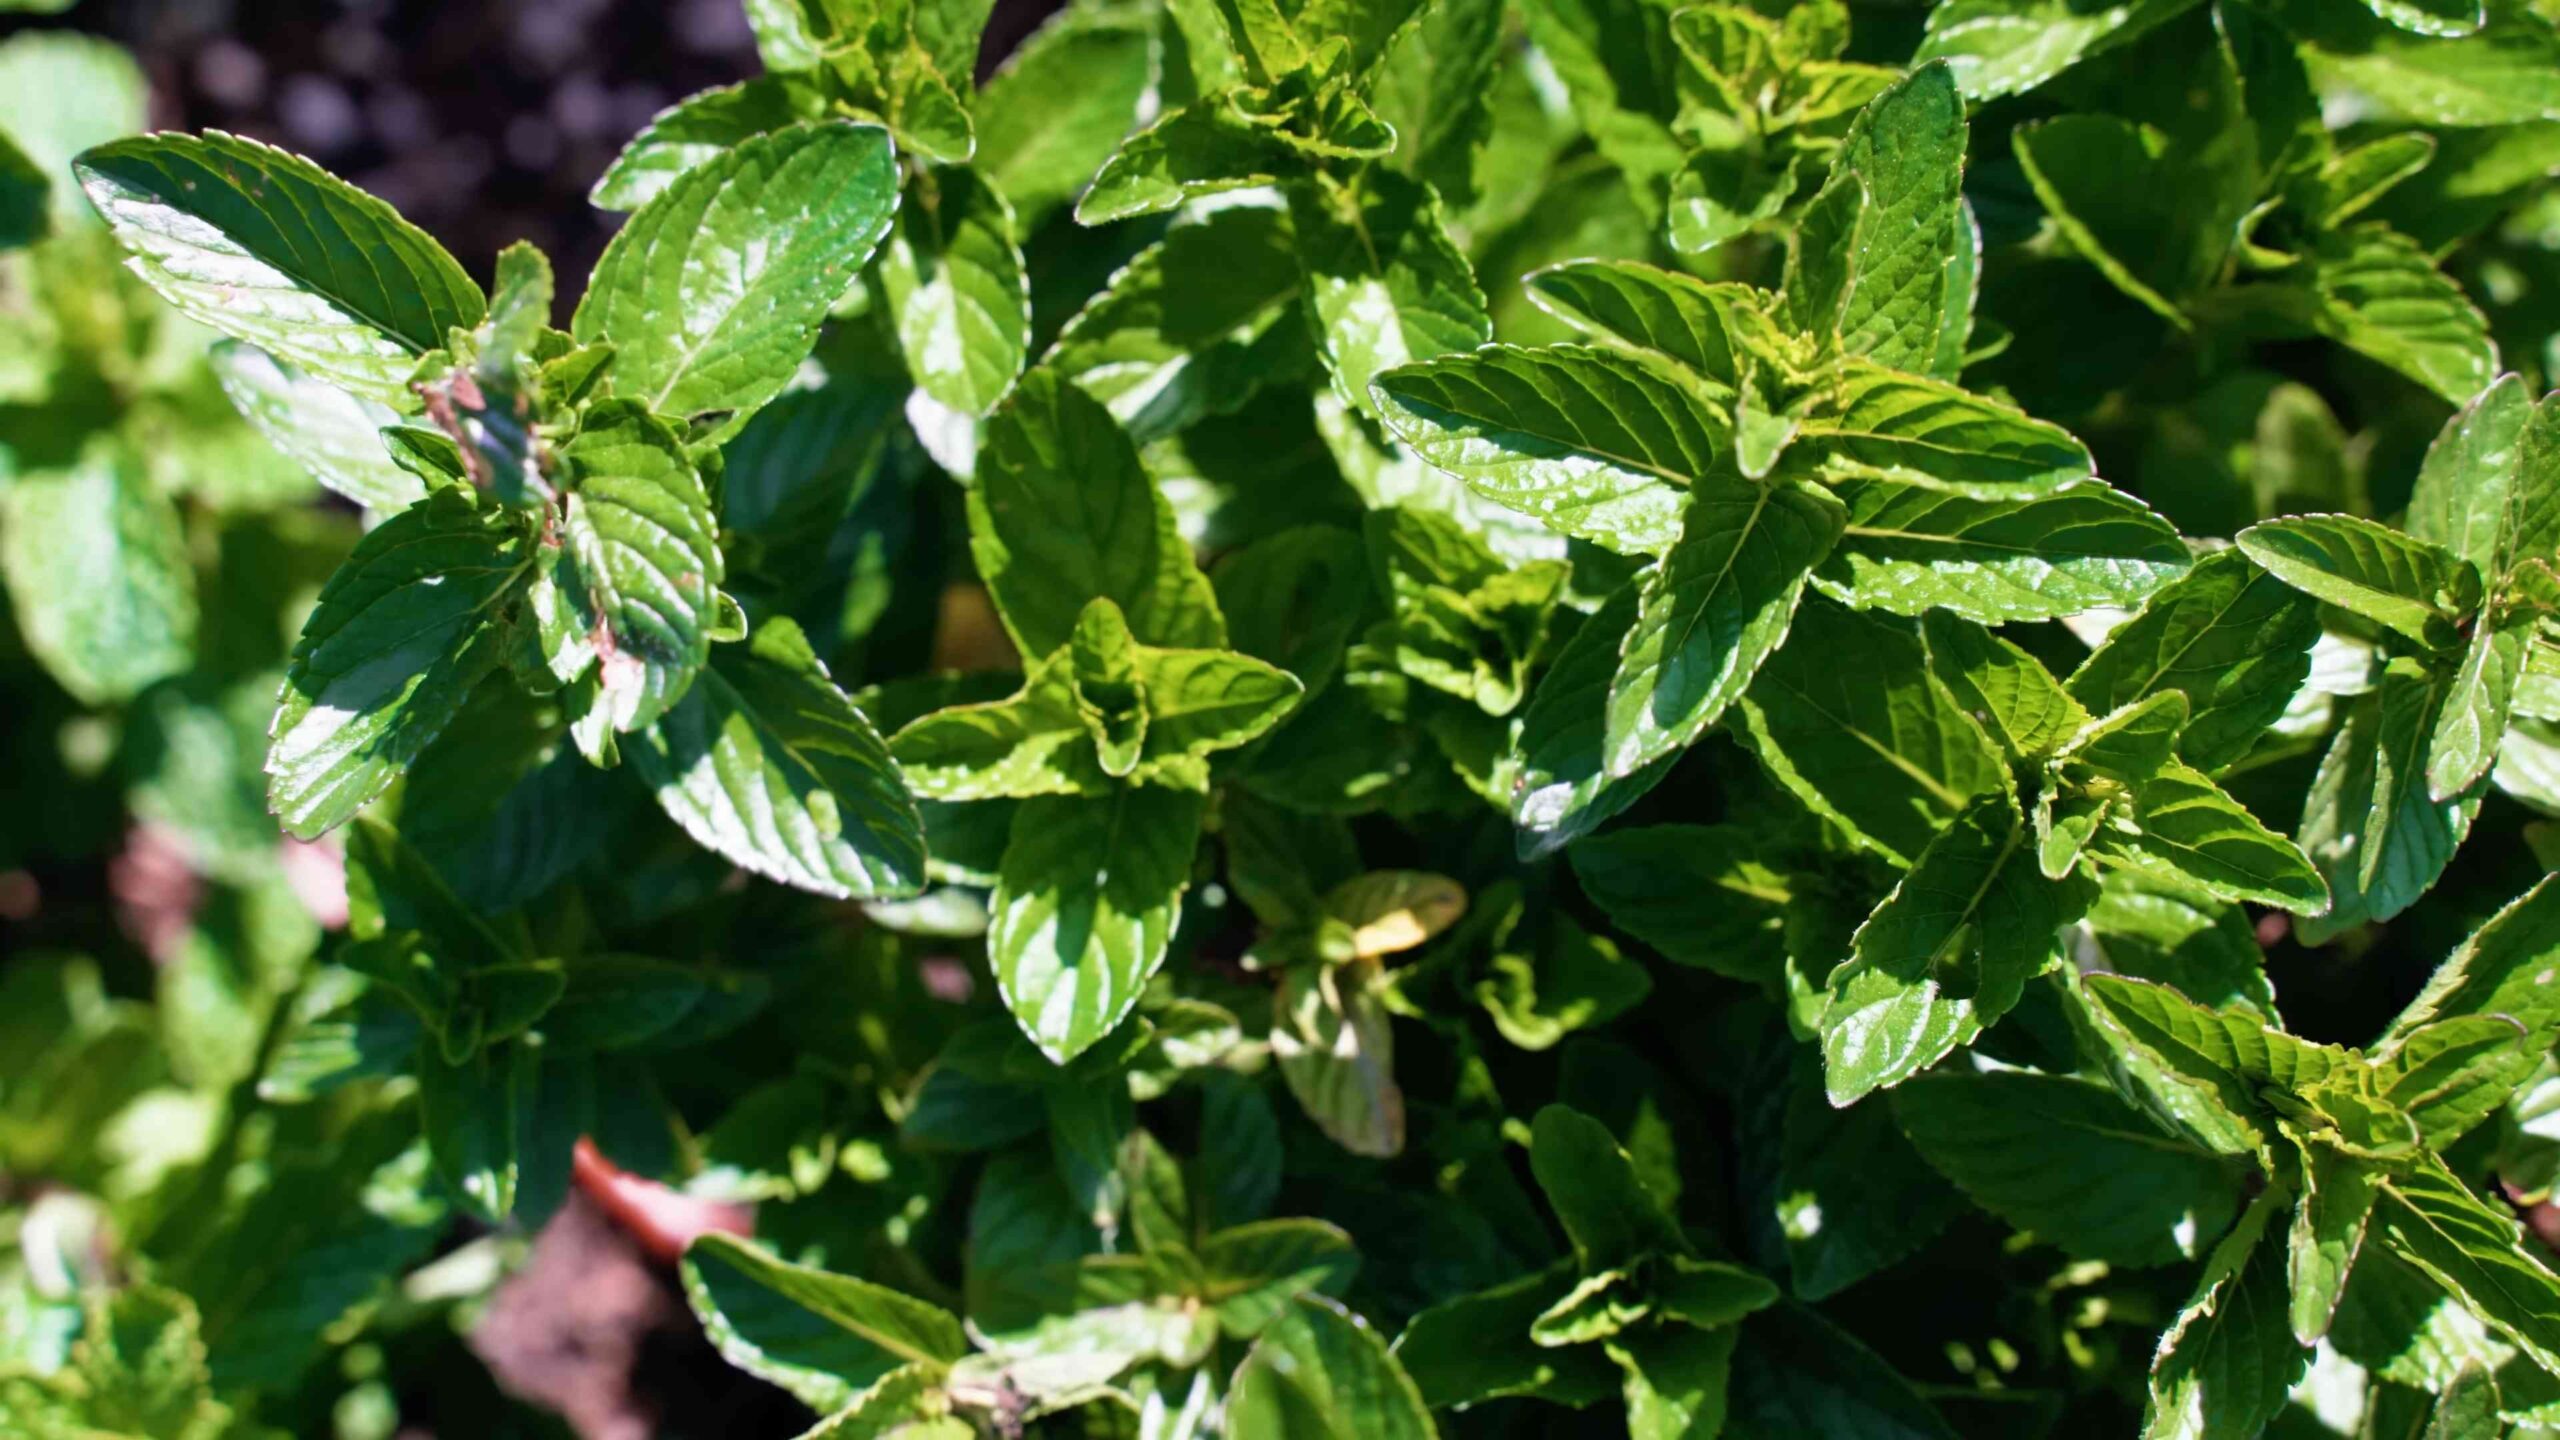
Harvesting Your Mint
You can start harvesting mint leaves as soon as the plant is established.
1. Harvesting: Simply pinch off the leaves or cut the stems with scissors.
2. Best Time to Harvest: The best time to harvest mint is in the morning, after the dew has dried.
3. Drying Mint: To dry mint, hang the stems upside down in a cool, dry place. Once the leaves are dry, you can crumble them and store them in an airtight container.
Troubleshooting Common Mint Problems
Even with the best care, you might encounter a few problems while growing mint. Here are some common issues and how to fix them:
* Yellowing Leaves: This could be caused by overwatering, underwatering, or nutrient deficiency. Adjust your watering schedule and fertilize the plant if necessary.
* Leggy Growth: This is usually caused by insufficient sunlight. Move the plant to a brighter location.
* Powdery Mildew: This is a fungal disease that can cause a white, powdery coating on the leaves. Improve air circulation around the plant and spray with a fungicide if necessary.
* Pests: As mentioned earlier, aphids and spider mites can sometimes be a problem. Spray the plant with insecticidal soap.
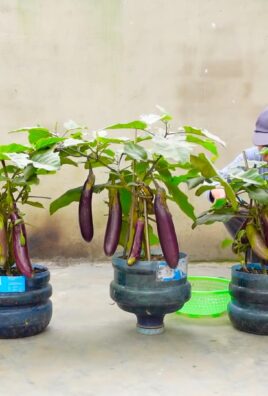
Mint in the Garden: Companion Planting
Mint is a great companion plant for many vegetables and herbs. Its strong scent can help to repel pests like aphids, cabbage moths, and ants. Some good companion plants for mint include:
* Tomatoes: Mint can help to repel tomato hornworms and other pests.
* Cabbage: Mint can help to deter cabbage moths.
* Broccoli: Mint can help to repel aphids.
* Rosemary: Mint and rosemary are a great combination for attracting beneficial insects.
However, it’s important to keep mint contained, as it can quickly spread and become invasive.
Creative Uses for Your Homegrown Mint
Now that you have a bountiful supply of fresh mint, here are some creative ways to use it:
* Teas: Mint tea is a refreshing and soothing beverage. Simply steep fresh or dried mint leaves in hot water.
* Cocktails: Mint is a key ingredient in many popular cocktails, such as mojitos and mint juleps.
* Cooking: Mint can be used to add a fresh, vibrant flavor to a variety of dishes, such as salads, soups, and sauces.
* Desserts: Mint is a delicious addition to desserts like ice cream, chocolate cake, and fruit salads.
* Aromatherapy: The scent of mint can be
Conclusion
So, there you have it! Growing mint at home isn’t just a fun project; it’s a game-changer for your culinary adventures, your home’s ambiance, and even your well-being. We’ve walked you through the simple steps, debunked common myths, and armed you with the knowledge to cultivate your own thriving mint patch, regardless of your gardening experience.
Why is this DIY trick a must-try? Because fresh mint, readily available at your fingertips, elevates everything. Imagine the vibrant mojitos you can whip up on a summer evening, the fragrant teas you can brew on a chilly morning, or the exquisite garnish you can add to your dishes to impress your guests. Store-bought mint simply can’t compare to the intense flavor and aroma of homegrown. Plus, you’re saving money, reducing plastic waste, and connecting with nature in a small but meaningful way.
But the benefits extend beyond the kitchen. Mint is a natural air freshener, its invigorating scent filling your home with a refreshing and uplifting aroma. It’s also known for its calming properties, making it a wonderful addition to your relaxation routine. And let’s not forget the sheer joy of nurturing a plant and watching it flourish under your care.
Feeling adventurous? Don’t be afraid to experiment with different varieties of mint. Peppermint, spearmint, chocolate mint, orange mint – the possibilities are endless! Each variety offers a unique flavor profile and aroma, allowing you to tailor your mint garden to your specific preferences. You can also try different growing methods. While we focused on container gardening, you can also grow mint in raised beds or even directly in the ground (with proper containment, of course!).
Consider companion planting. Mint is known to repel certain pests, making it a valuable addition to your vegetable garden. Plant it near your tomatoes, cabbage, or broccoli to keep unwanted visitors at bay. You can also use your homegrown mint to create your own natural pest repellent spray. Simply steep a handful of mint leaves in hot water, strain, and spray the solution on your plants.
We’ve given you the tools; now it’s time to put them to use. Embrace the challenge, get your hands dirty, and experience the satisfaction of growing your own mint at home. We are confident that you’ll be amazed at how easy and rewarding it is.
Don’t just take our word for it. Try it yourself! We encourage you to embark on this green journey and discover the magic of homegrown mint. And most importantly, share your experience with us! We’d love to hear about your successes, your challenges, and your creative uses for your homegrown mint. Post pictures of your mint plants, share your favorite mint recipes, and let us know what you’ve learned along the way. Let’s create a community of mint enthusiasts and inspire others to embrace the joys of growing their own herbs. Your insights could be invaluable to someone just starting out. So, go ahead, get growing, and let’s celebrate the abundance of fresh, homegrown mint together!
Frequently Asked Questions (FAQ)
Why should I bother growing mint at home when I can just buy it at the store?
While store-bought mint is convenient, it simply can’t compare to the flavor and freshness of homegrown mint. Homegrown mint is significantly more aromatic and flavorful because it hasn’t been sitting in a warehouse or on a store shelf for days. You also have control over the growing conditions, ensuring that your mint is free from pesticides and other harmful chemicals. Plus, growing your own mint is a sustainable and cost-effective way to enjoy this versatile herb. You’ll always have a fresh supply on hand, ready to enhance your culinary creations and beverages. Finally, there’s the satisfaction of nurturing a plant and enjoying the fruits (or, in this case, leaves) of your labor.
Is it really that easy to grow mint? I’ve heard it can be invasive.
Yes, growing mint is surprisingly easy, especially in containers. The key to preventing it from becoming invasive is to confine it to a pot or raised bed. Mint spreads rapidly through its roots, so if you plant it directly in the ground, it can quickly take over your garden. However, when grown in a container, its growth is contained, and you can easily manage its spread. Choose a pot that is at least 12 inches in diameter and make sure it has drainage holes. Use a well-draining potting mix and water regularly. With a little care, you’ll have a thriving mint plant in no time.
What kind of sunlight does mint need?
Mint thrives in partial shade to full sun. Ideally, it should receive at least 4-6 hours of sunlight per day. However, in hotter climates, it’s best to provide some afternoon shade to prevent the leaves from scorching. If you’re growing mint indoors, place it near a sunny window or use a grow light to supplement the natural light. Observe your plant closely and adjust its location as needed to ensure it’s getting the right amount of sunlight.
How often should I water my mint plant?
Mint prefers consistently moist soil, but it doesn’t like to be waterlogged. Water your mint plant when the top inch of soil feels dry to the touch. During hot weather, you may need to water it more frequently. Be sure to water thoroughly, allowing the excess water to drain out of the bottom of the pot. Avoid overwatering, as this can lead to root rot.
What kind of soil is best for growing mint?
Mint prefers well-draining soil that is rich in organic matter. A good potting mix for mint should contain a blend of peat moss, perlite, and vermiculite. You can also add some compost or aged manure to improve the soil’s fertility. Avoid using heavy clay soil, as it can retain too much moisture and lead to root rot.
How do I harvest mint leaves?
Harvesting mint leaves is easy. Simply pinch or cut off the stems just above a leaf node. This will encourage the plant to produce new growth. You can harvest mint leaves throughout the growing season. For the best flavor, harvest the leaves in the morning, after the dew has dried.
Can I grow different varieties of mint together in the same pot?
While it’s possible to grow different varieties of mint together in the same pot, it’s generally not recommended. Mint varieties can cross-pollinate, which can result in offspring with unpredictable flavors and characteristics. Additionally, some varieties of mint are more vigorous than others and may outcompete their neighbors. If you want to grow multiple varieties of mint, it’s best to keep them in separate pots.
My mint plant is looking leggy and sparse. What should I do?
If your mint plant is looking leggy and sparse, it may not be getting enough sunlight. Move it to a sunnier location or supplement the natural light with a grow light. You can also prune the plant back to encourage bushier growth. Simply cut off the stems just above a leaf node. This will stimulate the plant to produce new shoots.
How do I propagate mint?
Mint is very easy to propagate from cuttings. Simply cut off a stem that is about 4-6 inches long and remove the lower leaves. Place the cutting in a glass of water and wait for roots to develop. Once the roots are about an inch long, you can plant the cutting in a pot of soil. You can also propagate mint by dividing the root ball. Simply dig up the plant and carefully separate the roots into smaller clumps. Plant each clump in a separate pot.
Can I dry mint leaves for later use?
Yes, you can easily dry mint leaves for later use. There are several ways to dry mint leaves. You can hang them upside down in a cool, dry place, spread them out on a screen or baking sheet, or use a dehydrator. Once the leaves are completely dry, store them in an airtight container in a cool, dark place. Dried mint leaves can be used in teas, seasonings, and other culinary applications.
Leave a Comment