

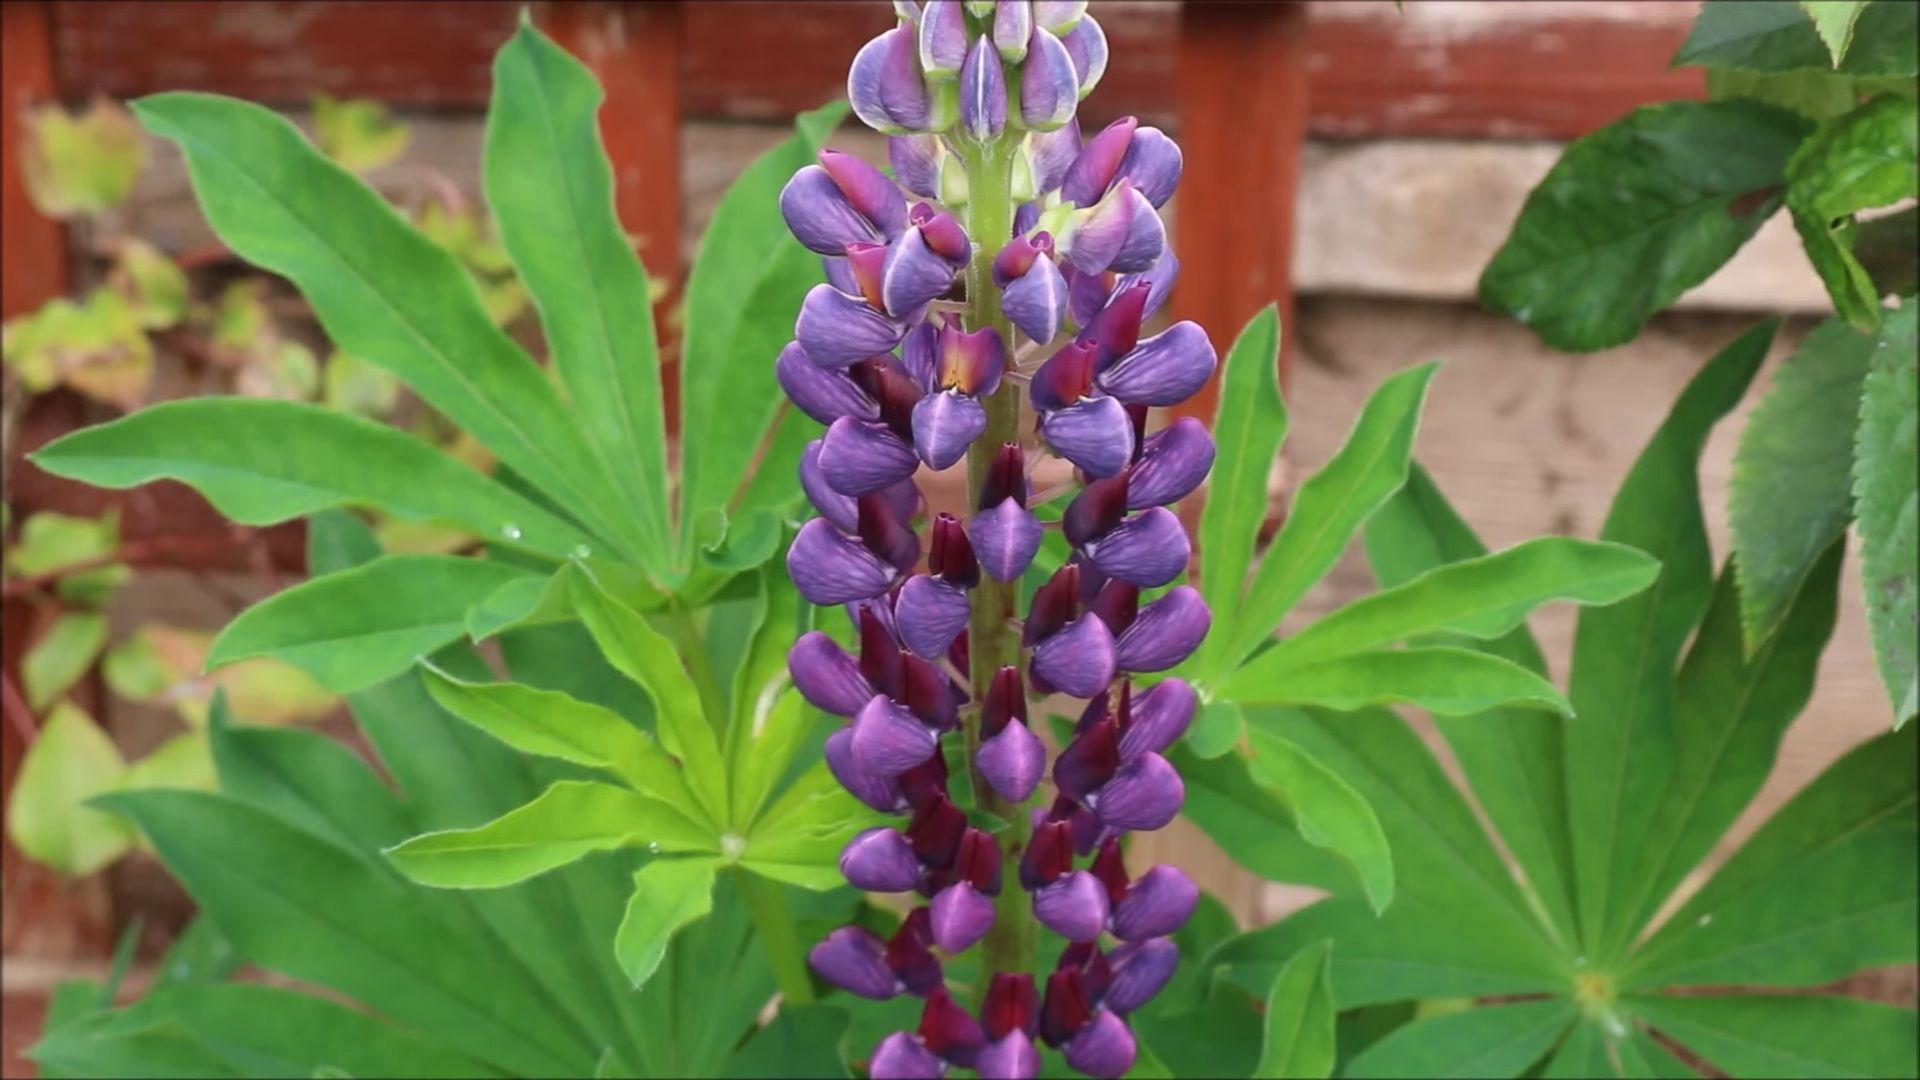
Grow Lupins from Seed and unlock a world of vibrant color and architectural beauty in your very own garden! Have you ever gazed upon a field of lupins, their spires reaching for the sky in a symphony of blues, purples, pinks, and whites, and thought, “I wish I could do that?” Well, guess what? You absolutely can! This comprehensive guide will empower you to cultivate these stunning flowers from the tiniest of seeds, transforming your outdoor space into a pollinator paradise.
Lupins have a rich history, dating back to ancient times when they were cultivated as a food source. While modern varieties are primarily grown for their ornamental value, their legacy as a versatile and beneficial plant remains. For centuries, gardeners have admired lupins for their ability to enrich the soil with nitrogen, making them a valuable addition to any garden ecosystem.
But why should *you* learn to grow lupins from seed? Let’s be honest, buying established lupin plants can be expensive, and you’re often limited to the varieties available at your local garden center. Starting from seed gives you complete control over the colors, sizes, and types of lupins you cultivate. Plus, there’s something incredibly rewarding about nurturing a plant from its very beginning, watching it sprout, grow, and eventually burst into bloom. I’m excited to share my tried-and-true methods for successfully germinating and growing these beauties, ensuring you’ll have a garden overflowing with lupin magic in no time!
Growing Lupines from Seed: A Comprehensive DIY Guide
Hey there, fellow gardening enthusiasts! I’m so excited to share my tried-and-true method for growing lupines from seed. These stunning, spire-like flowers are a real showstopper in any garden, and starting them from seed is surprisingly easy and rewarding. Let’s dive in!
Understanding Lupines
Before we get our hands dirty, let’s talk a little about lupines. They belong to the legume family and are known for their nitrogen-fixing abilities, which means they can actually improve your soil! They come in a rainbow of colors, from vibrant blues and purples to sunny yellows and rosy pinks.
* Hardiness: Most lupine varieties are perennials, meaning they’ll come back year after year in the right conditions. They generally thrive in USDA hardiness zones 3-8.
* Sunlight: Lupines love sunshine! Aim for at least six hours of direct sunlight per day.
* Soil: Well-drained soil is crucial. Lupines don’t like soggy feet! A slightly acidic to neutral pH is ideal.
* Height: Depending on the variety, lupines can grow anywhere from 1 to 5 feet tall. Keep this in mind when planning your garden layout.
Materials You’ll Need
Okay, let’s gather our supplies. Here’s what you’ll need to successfully grow lupines from seed:
* Lupine seeds (choose your favorite colors!)
* Small pots or seed trays
* Seed starting mix (a light, well-draining mix is best)
* Watering can or spray bottle
* A warm, sunny location (or grow lights)
* Small knife or nail file
* Gloves (optional, but recommended)
* Plant labels
* Pencil or marker
Scarification and Stratification: Preparing Your Lupine Seeds
Lupine seeds have a tough outer coating that can make it difficult for them to germinate. To help them along, we need to perform two important steps: scarification and stratification.
Scarification: Nicking the Seed Coat
Scarification involves gently damaging the seed coat to allow water to penetrate. Here’s how I do it:
1. Gather your seeds and tools: Place your lupine seeds on a clean surface. Grab your small knife or nail file.
2. Gently nick the seed coat: Carefully rub the seed coat with the knife or nail file. You’re not trying to cut the seed in half, just create a small nick or scratch. Be careful not to damage the inside of the seed.
3. Inspect your work: Check each seed to make sure you’ve created a small opening in the seed coat.
Stratification: Simulating Winter
Stratification mimics the cold, moist conditions that lupine seeds would naturally experience over winter. This helps break dormancy and encourages germination.
1. Moisten your seed starting mix: Lightly dampen your seed starting mix. It should be moist but not soggy.
2. Mix seeds with the mix: Place the scarified seeds in a plastic bag or container. Add the moist seed starting mix.
3. Seal and refrigerate: Seal the bag or container and place it in your refrigerator for 2-4 weeks. This cold period is essential for breaking dormancy. Make sure the refrigerator temperature is between 35-40°F (2-4°C).
4. Check moisture levels: Periodically check the moisture level of the seed starting mix. If it starts to dry out, lightly mist it with water.
Sowing Your Lupine Seeds
After scarification and stratification, your lupine seeds are ready to be sown!
1. Fill your pots or seed trays: Fill your pots or seed trays with seed starting mix. Leave about half an inch of space at the top.
2. Sow the seeds: Make a small hole in the center of each pot or cell, about ¼ to ½ inch deep. Place one or two seeds in each hole.
3. Cover the seeds: Gently cover the seeds with seed starting mix.
4. Water gently: Water the pots or seed trays gently using a watering can or spray bottle. Avoid overwatering, as this can lead to rot.
5. Label your pots: Don’t forget to label your pots with the variety of lupine you’re growing and the date you sowed the seeds. This will help you keep track of everything.
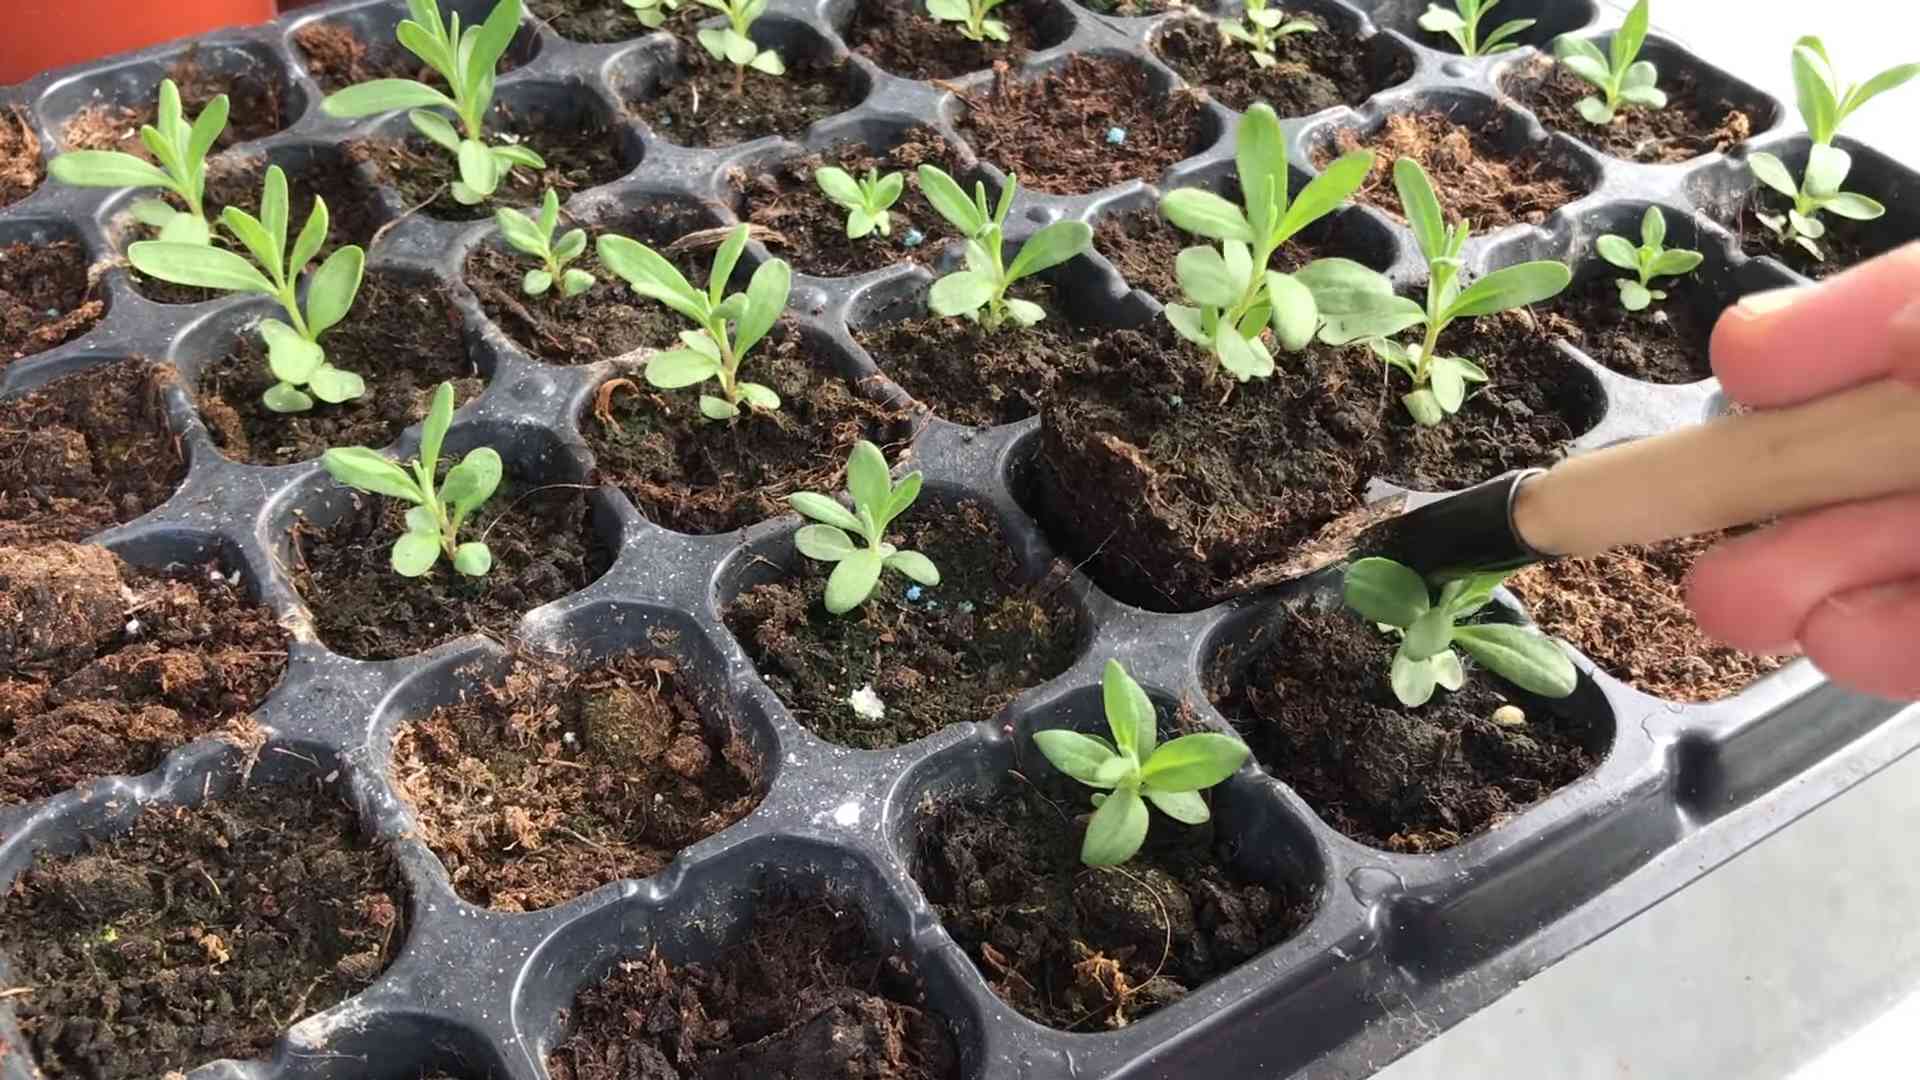
Caring for Your Lupine Seedlings
Now comes the fun part: watching your lupine seedlings grow!
1. Provide warmth and light: Place your pots or seed trays in a warm, sunny location. If you don’t have enough natural light, you can use grow lights. Aim for at least 14-16 hours of light per day.
2. Keep the soil moist: Keep the soil consistently moist, but not soggy. Water when the top inch of soil feels dry to the touch.
3. Thin the seedlings: Once the seedlings have developed a few sets of true leaves, thin them out so that only one strong seedling remains in each pot or cell. To thin, simply snip off the weaker seedlings at the soil line with scissors.
4. Fertilize lightly: Once the seedlings have developed several sets of true leaves, you can start fertilizing them lightly with a balanced liquid fertilizer. Follow the instructions on the fertilizer label.
5. Harden off the seedlings: Before transplanting your lupine seedlings outdoors, you’ll need to harden them off. This process gradually acclimates them to outdoor conditions. Start by placing the seedlings outdoors in a sheltered location for a few hours each day, gradually increasing the amount of time they spend outdoors over the course of a week or two.
Transplanting Your Lupine Seedlings
Once your lupine seedlings have been hardened off, they’re ready to be transplanted into your garden!
1. Choose a sunny location: Select a location in your garden that receives at least six hours of direct sunlight per day.
2. Prepare the soil: Amend the soil with compost or other organic matter to improve drainage and fertility.
3. Dig holes: Dig holes that are slightly larger than the root balls of your lupine seedlings. Space the holes about 1-2 feet apart, depending on the variety.
4. Gently remove the seedlings from their pots: Carefully remove the seedlings from their pots, being careful not to damage the roots.
5. Place the seedlings in the holes: Place the seedlings in the holes and backfill with soil. Gently firm the soil around the base of the plants.
6. Water thoroughly: Water the newly transplanted seedlings thoroughly.
7. Mulch around the plants: Apply a layer of mulch around the base of the plants to help retain moisture and suppress weeds.
Caring for Your Mature Lupines
Once your lupines are established in your garden, they’re relatively low-maintenance.
1. Water regularly: Water your lupines regularly, especially during dry spells.
2. Fertilize occasionally: Fertilize your lupines occasionally with a balanced fertilizer.
3. Deadhead spent flowers: Deadhead spent flowers to encourage more blooms. Simply snip off the faded flower spikes at the base.
4. Provide support: Taller lupine varieties may need support to prevent them from flopping over. You can use stakes or plant supports to keep them upright.
5. Watch out for pests and diseases: Keep an eye out for common lupine pests and diseases, such as aphids, slugs, and powdery mildew. Treat any problems promptly.
6. Divide clumps: Every few years, you can divide your lupine clumps to rejuvenate them and prevent them from becoming overcrowded. Dig up the clumps in the spring or fall and divide them into smaller sections, each with its own roots and shoots. Replant the divisions in new locations.
Troubleshooting
Sometimes, things don’t go exactly as planned. Here are a few common problems you might encounter when growing lupines from seed, and how to fix them:
* Seeds not germinating: If your seeds aren’t germinating, make sure you’ve properly scarified and stratified them. Also, ensure that the soil is warm enough and that you’re not overwatering.
* Seedlings damping off: Damping off is a fungal disease that can kill young seedlings. To prevent damping off, use a sterile seed starting mix, avoid overwatering, and provide good air circulation.
* Yellowing leaves: Yellowing leaves can be a sign of nutrient deficiency. Try fertilizing your lupines with a balanced fertilizer.
* Powdery mildew: Powdery mildew is a fungal disease that can cause a white, powdery coating on the leaves. To prevent powdery mildew, provide good air circulation and avoid overhead watering. Treat affected plants with a fungicide.
* Aphids: Aphids are small, sap-sucking insects
Conclusion
So, there you have it! Growing lupins from seed might seem a little daunting at first, but with a little patience and these simple steps, you’ll be rewarded with a vibrant display of these stunning flowers in your garden. This DIY trick isn’t just about saving money; it’s about connecting with nature, understanding the life cycle of a plant, and experiencing the immense satisfaction of nurturing something beautiful from a tiny seed.
Why is this a must-try? Because lupins are not only visually captivating, adding height and drama to any border, but they also enrich your soil with nitrogen, acting as a natural fertilizer for your other plants. Plus, the sheer variety of colors available – from deep purples and blues to vibrant pinks, yellows, and whites – means you can create a truly personalized and breathtaking display.
Consider these variations to personalize your lupin growing experience:
* Color Combinations: Plan your garden layout to create harmonious color combinations. Group similar shades together for a calming effect, or mix contrasting colors for a bold and energetic display.
* Succession Planting: Sow seeds at intervals of a few weeks to extend the flowering season. This way, you’ll have a continuous bloom of lupins throughout the summer.
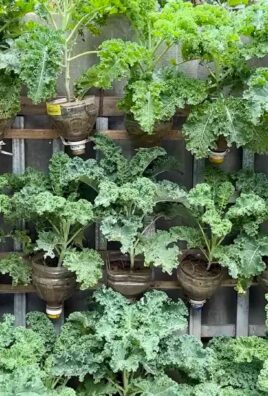
* Container Gardening: While lupins thrive in the ground, they can also be grown in large containers. Choose a pot that’s at least 12 inches in diameter and ensure it has good drainage. Use a high-quality potting mix and water regularly.
* Companion Planting: Plant lupins alongside other plants that benefit from their nitrogen-fixing properties, such as vegetables like beans and peas. They also look stunning when paired with other cottage garden favorites like delphiniums, foxgloves, and roses.
* Deadheading for Extended Bloom: Regularly remove spent flower spikes to encourage the plant to produce more blooms. This will prolong the flowering season and keep your lupins looking their best.
Don’t be afraid to experiment and find what works best for you and your garden. Remember to keep an eye out for pests like aphids and slugs, and take action promptly if you notice any problems.
We wholeheartedly encourage you to give this DIY trick a try. Growing lupins from seed is a rewarding experience that will bring beauty and joy to your garden for years to come. And most importantly, we want to hear about your success! Share your photos, tips, and experiences in the comments below. Let’s create a community of lupin lovers and inspire others to embrace the magic of growing these magnificent flowers from seed. We are confident that with a little effort, you’ll be enjoying a spectacular display of your very own home-grown lupins in no time. So, grab your seeds, get your hands dirty, and let the lupin adventure begin!
Frequently Asked Questions (FAQ)
Q: When is the best time to sow lupin seeds?
A: The best time to sow lupin seeds is either in early spring (March-April) or late summer/early autumn (August-September). Spring sowing will give you flowers in the same year, while autumn sowing will result in stronger plants that flower earlier the following year. Autumn sown plants often establish a better root system before the harsh summer heat arrives.
Q: Do I need to soak lupin seeds before planting?
A: Yes, soaking lupin seeds before planting is highly recommended. This helps to soften the hard seed coat and encourages faster germination. Soak the seeds in lukewarm water for 12-24 hours before sowing. You can also gently scarify the seeds by lightly rubbing them with sandpaper to further aid germination.
Q: What type of soil is best for growing lupins?
A: Lupins prefer well-drained soil that is slightly acidic to neutral. They don’t thrive in heavy clay soils or soils that are prone to waterlogging. Amend heavy soils with plenty of organic matter, such as compost or well-rotted manure, to improve drainage. If your soil is very alkaline, you can add sulfur to lower the pH.
Q: How deep should I plant lupin seeds?
A: Plant lupin seeds about 1/2 inch (1.25 cm) deep. Sow them directly into the ground or in seed trays filled with seed starting mix. If sowing in seed trays, transplant the seedlings into larger pots once they have developed a few sets of true leaves.
Q: How much sunlight do lupins need?
A: Lupins need at least six hours of sunlight per day to thrive. They will tolerate partial shade, but they may not flower as profusely. Choose a sunny location in your garden where they will receive plenty of direct sunlight.
Q: How often should I water lupins?
A: Water lupins regularly, especially during dry periods. Keep the soil consistently moist, but avoid overwatering, as this can lead to root rot. Water deeply at the base of the plant, rather than overhead, to prevent fungal diseases.
Q: Do lupins need fertilizer?
A: Lupins are relatively low-maintenance plants and don’t require a lot of fertilizer. However, you can give them a boost by adding a slow-release fertilizer to the soil at planting time. Avoid using fertilizers that are high in nitrogen, as this can promote leafy growth at the expense of flowers.
Q: How do I prevent lupins from flopping over?
A: Lupins can sometimes become top-heavy and flop over, especially after heavy rain or wind. To prevent this, provide support for the plants by staking them or using plant supports. You can also plant them in a sheltered location where they are protected from strong winds.
Q: Are lupins susceptible to any pests or diseases?
A: Yes, lupins can be susceptible to pests such as aphids, slugs, and snails. They can also be affected by fungal diseases such as powdery mildew and rust. Inspect your plants regularly for signs of pests or diseases and take action promptly. Use organic pest control methods, such as insecticidal soap or slug pellets, to control pests. Improve air circulation around the plants to prevent fungal diseases.
Q: Are lupins perennial or annual?
A: Lupins are generally considered to be short-lived perennials. They typically live for 3-5 years. However, they can be easily propagated from seed, so you can keep them going in your garden indefinitely.
Q: Can I collect seeds from my lupins to grow more plants?
A: Yes, you can collect seeds from your lupins to grow more plants. Allow the seed pods to dry on the plant, then harvest them and extract the seeds. Store the seeds in a cool, dry place until you are ready to sow them. Keep in mind that seeds from hybrid lupins may not come true to type, meaning that the offspring may not look exactly like the parent plant.
Q: Are lupins poisonous?
A: Yes, all parts of the lupin plant are poisonous if ingested. Keep them away from children and pets. Wear gloves when handling lupin plants to avoid skin irritation.


Leave a Comment