

Grow Java Plums at Home? Absolutely! Imagine stepping into your backyard and plucking a juicy, sweet Java Plum straight from your own tree. Sounds like a tropical dream, right? Well, it’s more attainable than you think! For centuries, the Java Plum, also known as Jambolan, has been cherished in Southeast Asia and beyond, not just for its delicious fruit, but also for its medicinal properties. It’s a fruit deeply woven into the cultural fabric of many communities.
But why should you bother learning how to grow Java Plums at home? Well, think about it: fresh, organic fruit right at your fingertips, avoiding those supermarket prices and questionable origins. Plus, the satisfaction of nurturing a tree from sapling to fruit-bearing beauty is incredibly rewarding. I know, I’ve been there! This DIY guide is packed with simple, effective tricks and hacks that will empower you to successfully grow Java Plums at home, even if you don’t have a green thumb. We’ll cover everything from choosing the right variety to protecting your precious tree from pests. So, let’s get started and transform your backyard into a tropical paradise!
Grow Your Own Delicious Java Plums at Home: A DIY Guide
Hey there, fellow gardening enthusiasts! Ever dreamt of plucking juicy, sweet Java plums straight from your own backyard? Well, dream no more! I’m here to guide you through the process of growing these tropical delights right at home. It might seem daunting, but trust me, with a little patience and the right know-how, you’ll be enjoying homegrown Java plums in no time.
Choosing the Right Java Plum Variety
Before we dive into the nitty-gritty, let’s talk about varieties. While there aren’t a ton of distinct Java plum cultivars readily available to the home gardener, understanding the general characteristics is key.
* Seedling vs. Grafted Trees: You’ll typically find Java plum trees grown from seed or grafted onto rootstock. Seedling trees can take longer to fruit (sometimes 5-7 years or more) and the fruit quality can be variable. Grafted trees, on the other hand, usually fruit sooner (within 2-3 years) and the fruit is more likely to be true to type, meaning it will resemble the parent tree. I highly recommend opting for a grafted tree if possible.
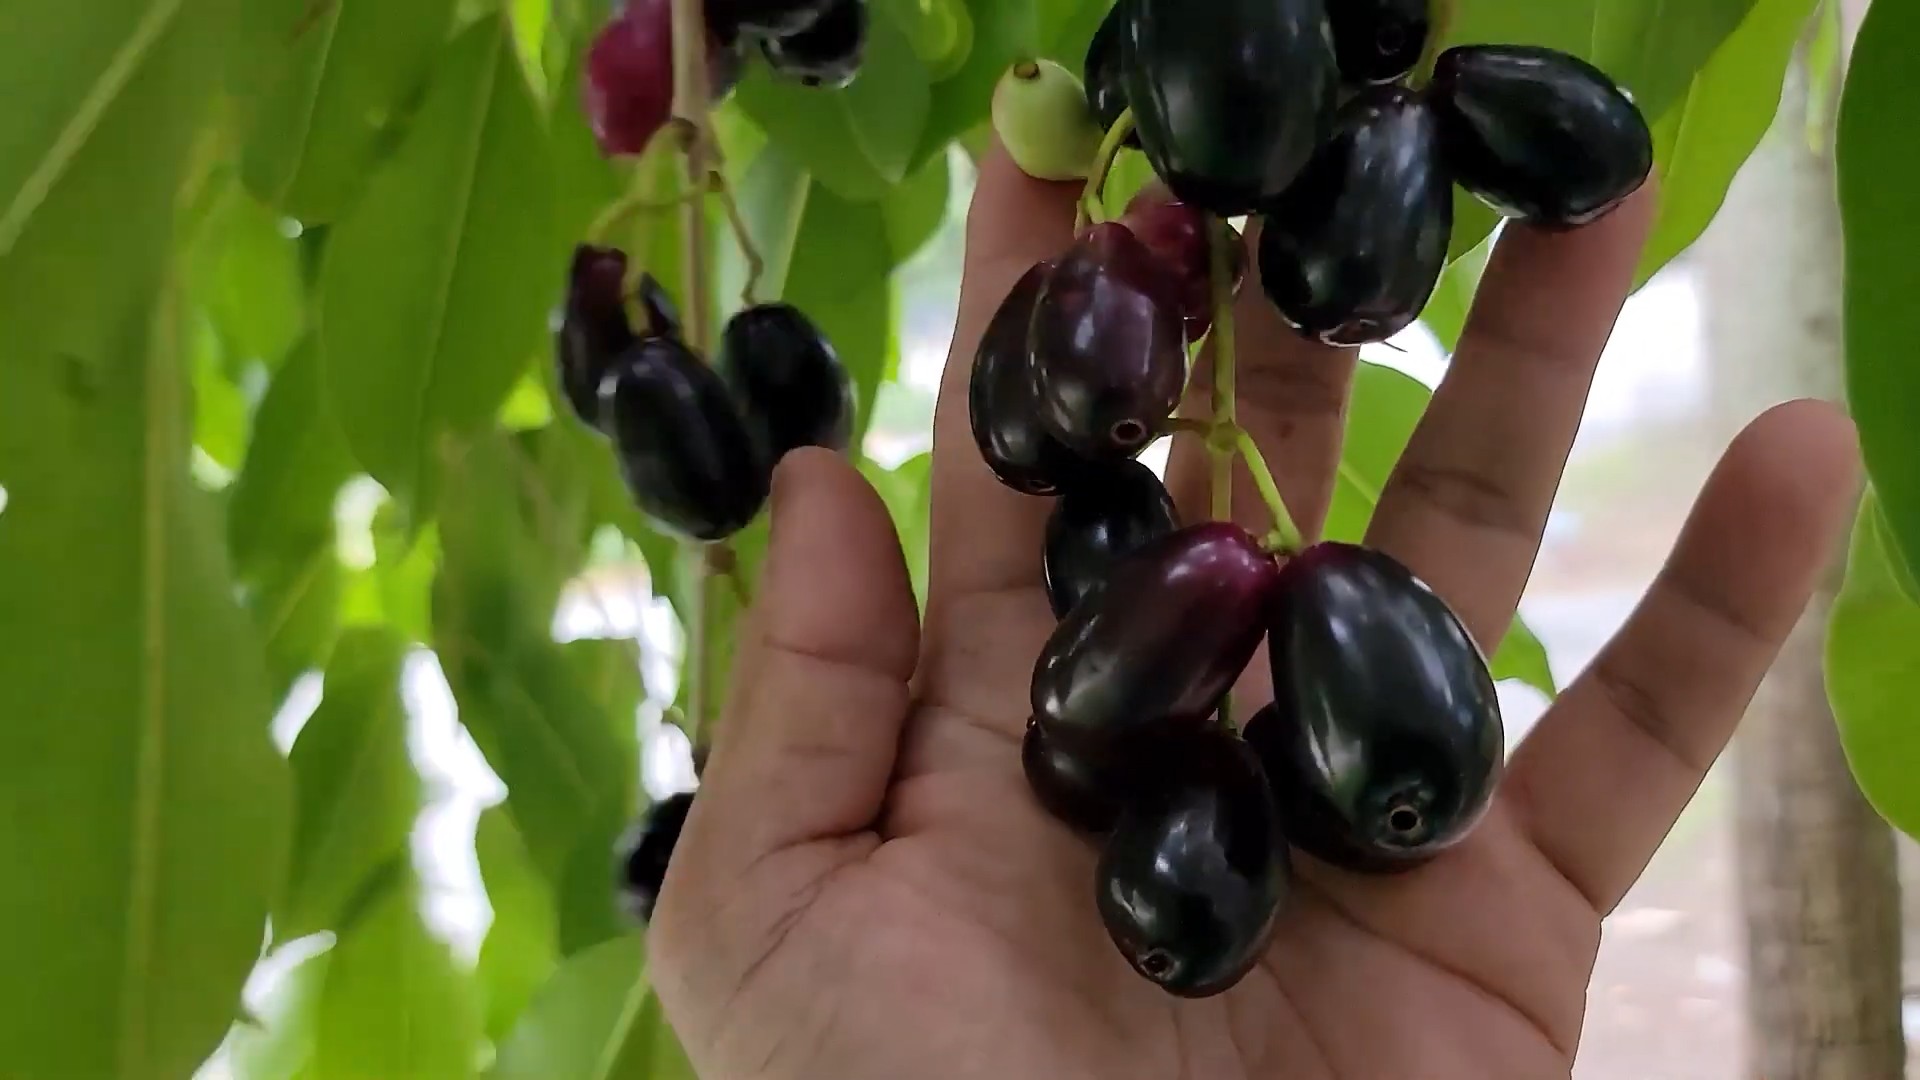
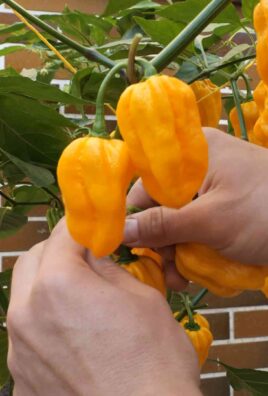
* Fruit Color and Size: Java plums come in various shades of purple, from light reddish-purple to almost black. The size can also vary. When purchasing a tree, try to find out as much as possible about the fruit characteristics. Ask the nursery about the fruit size, color, and taste.
* Climate Considerations: Java plums thrive in warm, tropical and subtropical climates. They can tolerate brief periods of cool weather, but prolonged exposure to frost can be damaging. Make sure your climate is suitable before investing in a tree.
Getting Started: Planting Your Java Plum Tree
Okay, let’s get our hands dirty! This is where the magic begins.
1. Choosing the Right Location: Java plums need plenty of sunshine – at least 6-8 hours a day. Select a spot in your yard that gets ample sunlight. Also, consider the mature size of the tree. Java plums can grow quite large (up to 30-50 feet tall and wide), so make sure you have enough space. Avoid planting near power lines or structures.
2. Preparing the Soil: Java plums aren’t too picky about soil type, but they do prefer well-draining soil. If your soil is heavy clay, amend it with plenty of organic matter, such as compost, well-rotted manure, or peat moss. This will improve drainage and aeration. I like to dig a hole that’s twice as wide and just as deep as the root ball of the tree.
3. Planting the Tree: Gently remove the Java plum tree from its container. If the roots are circling the pot, gently loosen them with your fingers. Place the tree in the hole, making sure the top of the root ball is level with the surrounding soil. Backfill the hole with the amended soil, gently tamping it down as you go.
4. Watering and Mulching: Water the newly planted tree thoroughly. This will help settle the soil and get the roots established. After watering, apply a layer of mulch around the base of the tree. Mulch helps retain moisture, suppress weeds, and regulate soil temperature. I use about 3-4 inches of organic mulch, like wood chips or shredded bark, keeping it a few inches away from the trunk to prevent rot.
5. Staking (Optional): If your tree is young and the trunk is thin, you may want to stake it for support. This will help prevent it from being blown over by strong winds. Use soft ties to attach the tree to the stake, making sure not to constrict the trunk.
Caring for Your Java Plum Tree: The Key to Success
Now that your Java plum tree is planted, it’s time to focus on providing it with the care it needs to thrive.
1. Watering: Java plums need regular watering, especially during the first year after planting. Water deeply whenever the top inch of soil feels dry to the touch. Established trees are more drought-tolerant, but they still benefit from regular watering during dry spells. Avoid overwatering, as this can lead to root rot.
2. Fertilizing: Java plums benefit from regular fertilization. I recommend using a balanced fertilizer, such as 10-10-10, in the spring and summer. Follow the instructions on the fertilizer label for application rates. You can also use organic fertilizers, such as compost tea or fish emulsion.
3. Pruning: Pruning is important for maintaining the shape and health of your Java plum tree. Prune in late winter or early spring, before new growth begins. Remove any dead, damaged, or crossing branches. You can also prune to shape the tree and encourage fruit production. I like to prune to create an open canopy, which allows sunlight to penetrate and air to circulate.
4. Pest and Disease Control: Java plums are generally resistant to pests and diseases, but they can occasionally be affected by problems such as aphids, scale, and fungal diseases. Inspect your tree regularly for signs of pests or diseases. If you spot any problems, take action promptly. You can use insecticidal soap or horticultural oil to control pests. For fungal diseases, use a fungicide. Always follow the instructions on the product label.
5. Protecting from Frost: If you live in an area with occasional frost, you’ll need to protect your Java plum tree during cold snaps. Wrap the trunk with burlap or blankets to insulate it. You can also cover the entire tree with a frost blanket. If a hard freeze is predicted, consider watering the soil around the tree. This can help protect the roots from freezing.
Harvesting Your Java Plums: The Sweet Reward
After all your hard work, it’s finally time to harvest your Java plums!
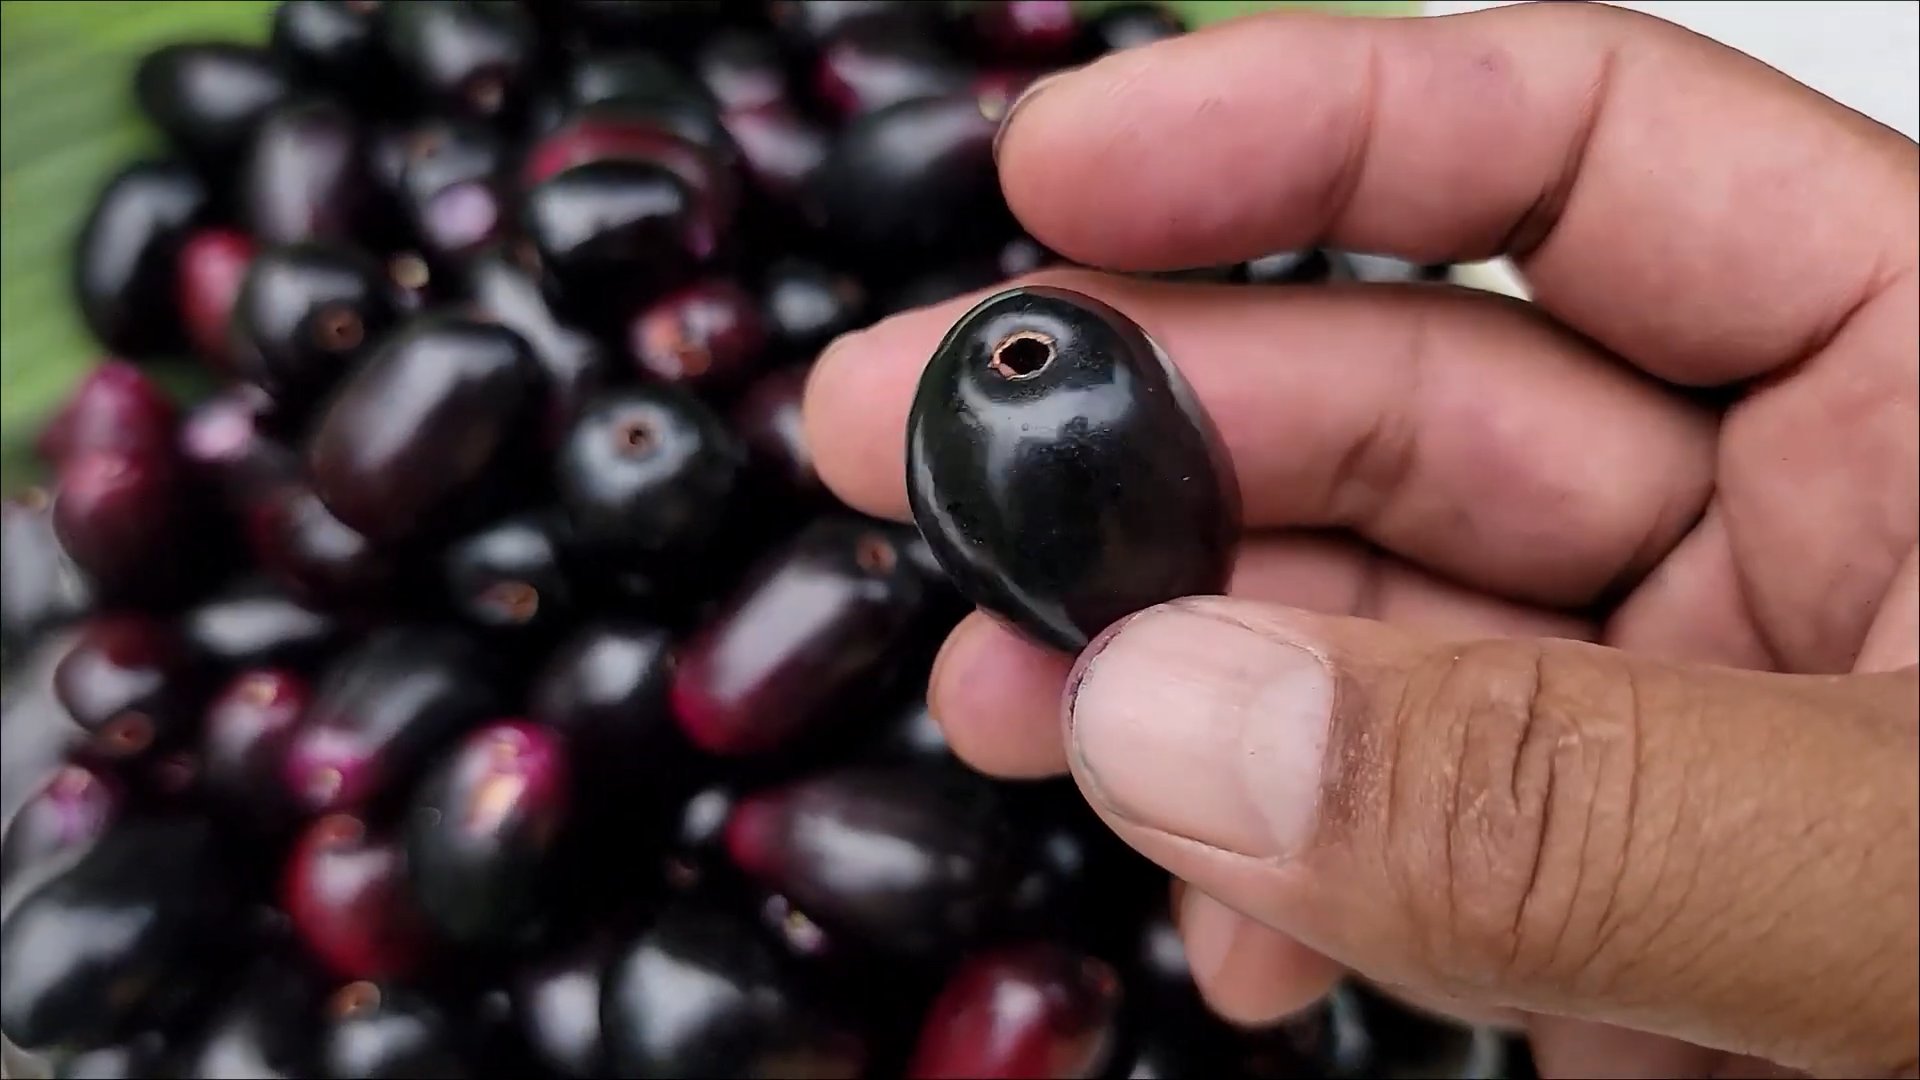
1. Knowing When to Harvest: Java plums are typically ready to harvest in late summer or early fall. The fruit will turn a deep purple or almost black color when ripe. They should also be slightly soft to the touch.
2. Harvesting Techniques: Gently pluck the ripe plums from the tree. Be careful not to damage the branches. You can also shake the tree to dislodge ripe plums.
3. Storing Your Harvest: Java plums are best eaten fresh, but they can also be stored in the refrigerator for a few days. You can also freeze them for longer storage. Java plums can be used to make jams, jellies, and other preserves.
Troubleshooting Common Java Plum Problems
Even with the best care, you might encounter some challenges along the way. Here are a few common problems and how to address them:
* Lack of Fruit: If your Java plum tree isn’t producing fruit, there could be several reasons. It might be too young (seedling trees take longer to fruit). It might not be getting enough sunlight. It might not be getting enough water or fertilizer. Or it might need to be pollinated. Java plums are self-pollinating, but cross-pollination can improve fruit set. Consider planting another Java plum tree nearby.
* Leaf Drop: Leaf drop can be caused by a variety of factors, including drought, overwatering, nutrient deficiencies, and pests or diseases. Identify the cause of the leaf drop and take appropriate action.
* Yellowing Leaves: Yellowing leaves can be a sign of nutrient deficiencies, especially iron deficiency. Amend the soil with iron chelate or use a fertilizer that contains micronutrients.
* Pest Infestations: Keep an eye out for common pests like aphids, scale, and mealybugs. Treat infestations promptly with insecticidal soap or horticultural oil.
Propagating Java Plums: Expanding Your Orchard
If you’re feeling ambitious, you can try propagating your own Java plum trees. Here are a few methods:
* Seed Propagation: Java plums can be grown from seed, but the resulting trees may not be true to type. To propagate from seed, collect ripe plums and remove the pulp. Allow the seeds to dry for a few days, then plant them in pots filled with well-draining potting mix. Keep the soil moist and warm. The seeds should germinate in a few weeks.
* Cuttings: Java plums can also be propagated from cuttings. Take softwood cuttings in the spring or summer. Dip the cuttings in rooting hormone and plant them in pots filled with well-draining potting mix. Keep the soil moist and warm. The cuttings should root in a few weeks.
* Grafting: Grafting is the most reliable way to propagate Java plums and ensure that the resulting trees are true to type. Grafting involves joining a scion (a piece of a desired Java plum variety) to a rootstock (a seedling Java plum tree). Grafting is a more advanced technique, but it’s worth learning if you want to propagate your own trees.
Enjoying Your Homegrown Java Plums
Growing your own Java plums is a rewarding experience. Not only will you have access to fresh, delicious fruit, but you’ll also enjoy the satisfaction of knowing that you grew it yourself. So, get out there, plant a Java plum tree, and start enjoying the fruits of
Conclusion
So, there you have it! Growing Java Plums at home is not only achievable but also incredibly rewarding. This DIY trick, focusing on proper seed preparation, soil composition, and consistent care, unlocks the potential to cultivate your own supply of these delicious and nutritious fruits. Forget relying solely on store-bought options; imagine stepping into your backyard and harvesting fresh, juicy Java Plums whenever you desire.
The beauty of this method lies in its adaptability. While we’ve outlined a specific approach, feel free to experiment with variations. For instance, if you live in a region with particularly acidic soil, consider amending it with lime to achieve the optimal pH level. Alternatively, if you’re short on space, explore container gardening options, ensuring you select a large enough pot to accommodate the tree’s root system. You could even try grafting your Java Plum seedling onto a more established rootstock for faster fruit production.
This DIY Java Plum growing method is a must-try for several compelling reasons:
* Freshness and Flavor: Homegrown Java Plums offer unparalleled freshness and flavor compared to store-bought varieties, which often travel long distances and may be picked before they’re fully ripe.
* Cost-Effectiveness: Over time, growing your own Java Plums can save you money, especially if you consume them regularly.
* Sustainability: By growing your own fruit, you reduce your carbon footprint associated with transportation and packaging.
* Personal Satisfaction: There’s immense satisfaction in nurturing a plant from seed to fruit, witnessing its growth, and enjoying the fruits of your labor.
* Control Over Growing Practices: You have complete control over the growing environment, ensuring your Java Plums are free from harmful pesticides and chemicals.
Don’t be intimidated by the process. While it requires patience and attention, the steps are straightforward and manageable. Start small, learn as you go, and don’t be afraid to make mistakes. Every gardener, regardless of experience level, encounters challenges along the way. The key is to persevere, adapt, and enjoy the journey.
We are confident that with a little effort and dedication, you can successfully grow Java Plums at home and reap the many benefits they offer. So, gather your supplies, prepare your seeds, and embark on this exciting gardening adventure.
We’re eager to hear about your experiences! Share your successes, challenges, and any variations you try in the comments section below. Let’s create a community of Java Plum enthusiasts and learn from each other. Your insights could be invaluable to other aspiring home gardeners. Happy growing!
Frequently Asked Questions (FAQ)
What is the best time of year to plant Java Plum seeds?
The ideal time to plant Java Plum seeds is during the late spring or early summer, after the last frost has passed. This allows the seedlings to benefit from the warm weather and longer days, promoting healthy growth. However, if you live in a tropical or subtropical climate with consistently warm temperatures, you can plant them year-round. The key is to ensure the seedlings have adequate warmth and sunlight to thrive.
How long does it take for a Java Plum tree to bear fruit?
Java Plum trees typically take several years to bear fruit when grown from seed. You can expect to wait anywhere from 5 to 8 years before your tree starts producing plums. Grafting can significantly reduce this timeframe, potentially yielding fruit in as little as 2 to 3 years. Patience is key when growing from seed, but the eventual reward of homegrown Java Plums is well worth the wait.
What type of soil is best for growing Java Plums?
Java Plums thrive in well-draining soil that is rich in organic matter. A slightly acidic to neutral pH (around 6.0 to 7.0) is ideal. Amend heavy clay soils with compost, sand, and other organic materials to improve drainage. Sandy soils can be improved by adding compost and other organic matter to help retain moisture and nutrients. Regular soil testing can help you determine the specific needs of your soil and make necessary adjustments.
How much sunlight do Java Plum trees need?
Java Plum trees require at least 6 to 8 hours of direct sunlight per day to thrive and produce fruit. Choose a planting location that receives ample sunlight throughout the day. If you live in a particularly hot climate, some afternoon shade may be beneficial to prevent scorching of the leaves. Insufficient sunlight can lead to poor growth, reduced fruit production, and increased susceptibility to pests and diseases.
How often should I water my Java Plum tree?
Water your Java Plum tree regularly, especially during the first few years after planting. Keep the soil consistently moist but not waterlogged. Water deeply and less frequently, allowing the soil to dry out slightly between waterings. During periods of drought or extreme heat, you may need to water more frequently. Mulching around the base of the tree can help retain moisture and reduce the need for frequent watering.
What are some common pests and diseases that affect Java Plum trees?
Java Plum trees can be susceptible to various pests and diseases, including aphids, scale insects, fruit flies, and fungal infections like anthracnose. Regularly inspect your tree for signs of infestation or disease. Use organic pest control methods, such as insecticidal soap or neem oil, to manage pests. Prune away any infected branches or leaves to prevent the spread of disease. Ensure good air circulation around the tree to minimize the risk of fungal infections.
Can I grow Java Plums in a container?
Yes, you can grow Java Plums in a container, especially if you have limited space. Choose a large container with drainage holes to accommodate the tree’s root system. Use a well-draining potting mix that is rich in organic matter. Container-grown Java Plum trees may require more frequent watering and fertilization than those grown in the ground. Be sure to provide adequate sunlight and protect the tree from extreme temperatures.
How do I prune my Java Plum tree?
Pruning is essential for maintaining the health and productivity of your Java Plum tree. Prune during the dormant season (late winter or early spring) to remove any dead, damaged, or diseased branches. Thin out the canopy to improve air circulation and sunlight penetration. Shape the tree to encourage a strong central leader and well-spaced branches. Regular pruning can help promote fruit production and prevent the tree from becoming overgrown.
What kind of fertilizer should I use for my Java Plum tree?
Fertilize your Java Plum tree regularly with a balanced fertilizer that is specifically formulated for fruit trees. Apply fertilizer in the spring and again in the summer, following the instructions on the fertilizer label. Avoid over-fertilizing, as this can lead to excessive vegetative growth at the expense of fruit production. Organic fertilizers, such as compost and manure, can also be used to improve soil fertility and provide essential nutrients.
How do I know when my Java Plums are ripe?
Java Plums are typically ripe when they turn a deep purple or black color and are slightly soft to the touch. The fruit should easily detach from the tree when gently pulled. Taste a few plums to ensure they are sweet and flavorful. Ripe Java Plums can be eaten fresh, used in jams and jellies, or added to desserts.
Is it necessary to scarify the Java Plum seeds before planting?
Yes, scarifying Java Plum seeds is highly recommended to improve germination rates. The hard outer shell of the seed can prevent water from penetrating, hindering the germination process. Gently scarifying the seed by nicking it with a knife or rubbing it with sandpaper allows water to enter more easily, promoting faster and more uniform germination.
Can I grow Java Plums in colder climates?
Java Plums are best suited for tropical and subtropical climates. They are not very cold-hardy and can be damaged by frost. If you live in a colder climate, you can try growing Java Plums in a container and bringing them indoors during the winter months. However, it may be challenging to provide the necessary conditions for fruit production in colder climates.
Leave a Comment