

Grow Dill Windowsill: Imagine fresh, fragrant dill readily available right at your fingertips, no matter the season! Forget those sad, wilted bunches from the grocery store. I’m going to show you how to cultivate your own thriving dill patch indoors, bringing a touch of summer to your kitchen all year round.
For centuries, dill has been more than just a culinary herb. Ancient Egyptians used it for medicinal purposes, and Romans believed it brought good fortune. Today, while we might not be warding off evil spirits with it, dill remains a beloved ingredient in cuisines worldwide, adding a bright, herbaceous note to everything from pickles to creamy sauces.
But let’s face it, buying fresh herbs can be expensive and often wasteful. How many times have you bought a bunch, used a sprig or two, and watched the rest slowly turn to mush in your fridge? That’s where this DIY trick comes in! Learning how to grow dill windowsill style is not only cost-effective and reduces waste, but it’s also incredibly rewarding. There’s something truly special about snipping fresh herbs you’ve nurtured yourself. Plus, it adds a vibrant splash of green to your home. So, ditch the store-bought herbs and let’s get started on creating your own indoor dill garden!
Growing Dill Indoors: A Beginner’s Guide to Fresh Herbs Year-Round
Hey there, fellow herb enthusiasts! Ever dreamt of having fresh, fragrant dill right at your fingertips, no matter the season? Well, you’re in luck! Growing dill indoors is surprisingly easy and incredibly rewarding. I’m going to walk you through everything you need to know to cultivate your own little dill paradise on your windowsill. Let’s get started!
What You’ll Need: Your Dill-Growing Arsenal
Before we dive into the nitty-gritty, let’s gather our supplies. Here’s a checklist of everything you’ll need to successfully grow dill indoors:
* Dill Seeds: Obviously! You can find these at most garden centers or online. Look for varieties specifically suited for container growing, if possible.
* Potting Mix: Don’t just grab any old soil! Dill needs well-draining soil. A good quality potting mix specifically designed for containers is your best bet.
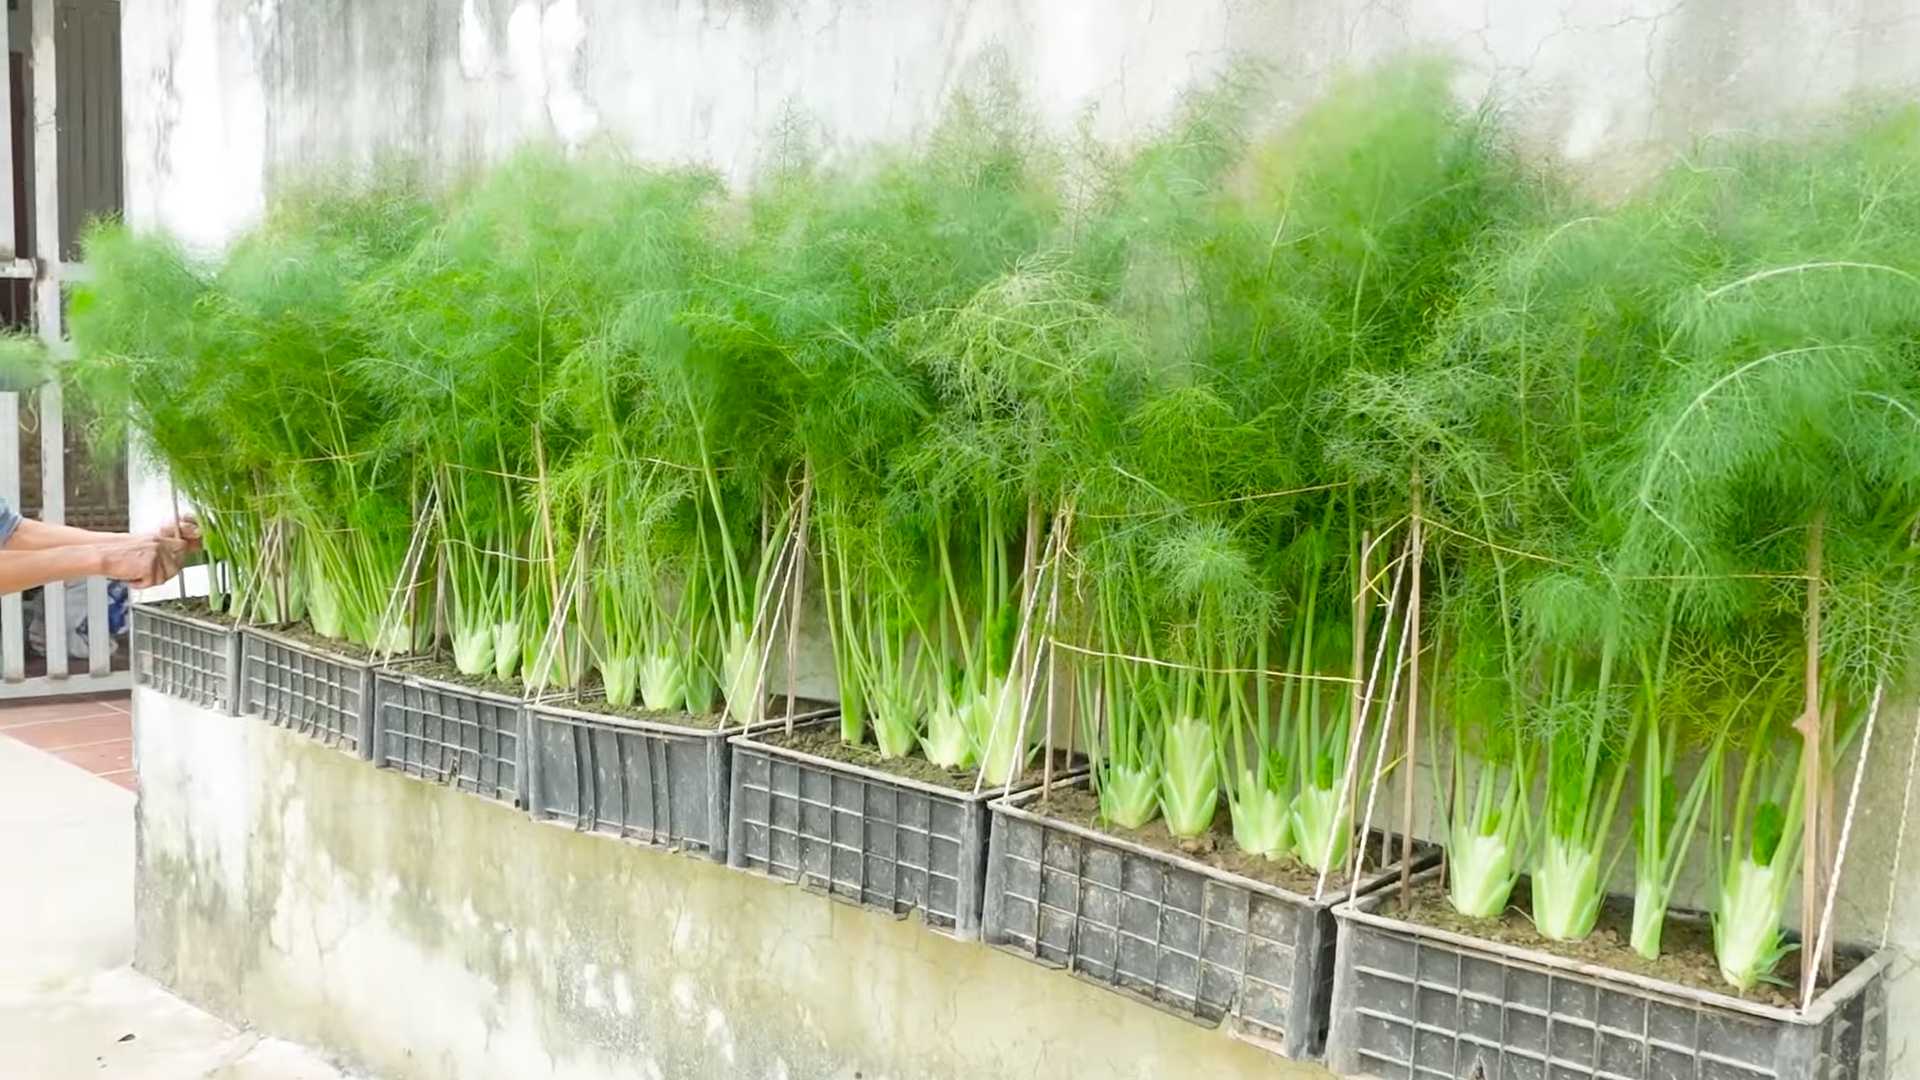
* A Container: Choose a pot that’s at least 6 inches deep and wide. Dill has a taproot, so it needs room to grow downwards. Make sure your pot has drainage holes!
* Grow Lights (Optional, but Recommended): Dill needs a lot of sunlight, and sometimes a windowsill just isn’t enough, especially during the winter months. Grow lights can make a huge difference.
* Watering Can or Spray Bottle: For gentle watering.
* Small Shovel or Trowel: For planting your seeds.
* Plant Labels (Optional): To keep track of what you’ve planted, especially if you’re growing multiple herbs.
Planting Your Dill Seeds: Getting Started
Okay, now for the fun part! Planting your dill seeds is super simple. Just follow these steps:
1. Prepare Your Pot: Fill your chosen container with potting mix, leaving about an inch of space at the top. Gently pat down the soil to remove any large air pockets.
2. Sow the Seeds: Sprinkle the dill seeds evenly over the surface of the soil. You don’t need to bury them too deep; about ¼ inch is perfect. I usually aim for about 5-6 seeds per pot, knowing that not all of them will germinate.
3. Cover the Seeds: Lightly cover the seeds with a thin layer of potting mix.
4. Water Gently: Use your watering can or spray bottle to gently moisten the soil. Be careful not to overwater! You want the soil to be damp, not soggy.
5. Find a Sunny Spot: Place your pot in a sunny location, ideally a south-facing windowsill. Dill needs at least 6 hours of sunlight per day. If you don’t have enough natural light, consider using grow lights.
Caring for Your Dill: Nurturing Your Herb Garden
Once your dill seeds are planted, it’s time to focus on providing them with the care they need to thrive. Here’s what you need to do:
1. Watering: Keep the soil consistently moist, but not waterlogged. Water when the top inch of soil feels dry to the touch. Overwatering can lead to root rot, so be careful! I usually water my dill every 2-3 days, but this will depend on the temperature and humidity in your home.
2. Light: As I mentioned earlier, dill needs a lot of sunlight. If you’re not getting enough natural light, supplement with grow lights. Position the grow lights about 6-12 inches above the plants.
3. Temperature: Dill prefers temperatures between 60-70°F (15-21°C). Avoid placing your dill near drafts or extreme temperature fluctuations.
4. Fertilizing: Dill doesn’t need a lot of fertilizer, but a light feeding every few weeks can help it grow stronger. Use a balanced liquid fertilizer diluted to half strength. I like to use an organic fertilizer for my herbs.
5. Thinning (Optional): Once your dill seedlings have sprouted and have a few sets of true leaves, you may need to thin them out. This means removing some of the weaker seedlings to give the stronger ones more room to grow. If you planted 5-6 seeds, you might want to thin down to 2-3 plants per pot.
6. Pinching: Pinching back the tips of your dill plants can encourage them to grow bushier. Simply snip off the top inch or so of the stem. This will also delay flowering, which can make the leaves taste bitter.
Harvesting Your Dill: Enjoying the Fruits (or Leaves!) of Your Labor
The best part of growing dill indoors is, of course, harvesting it and using it in your cooking! Here’s how to harvest your dill:
1. When to Harvest: You can start harvesting dill leaves as soon as the plants are about 6 inches tall.
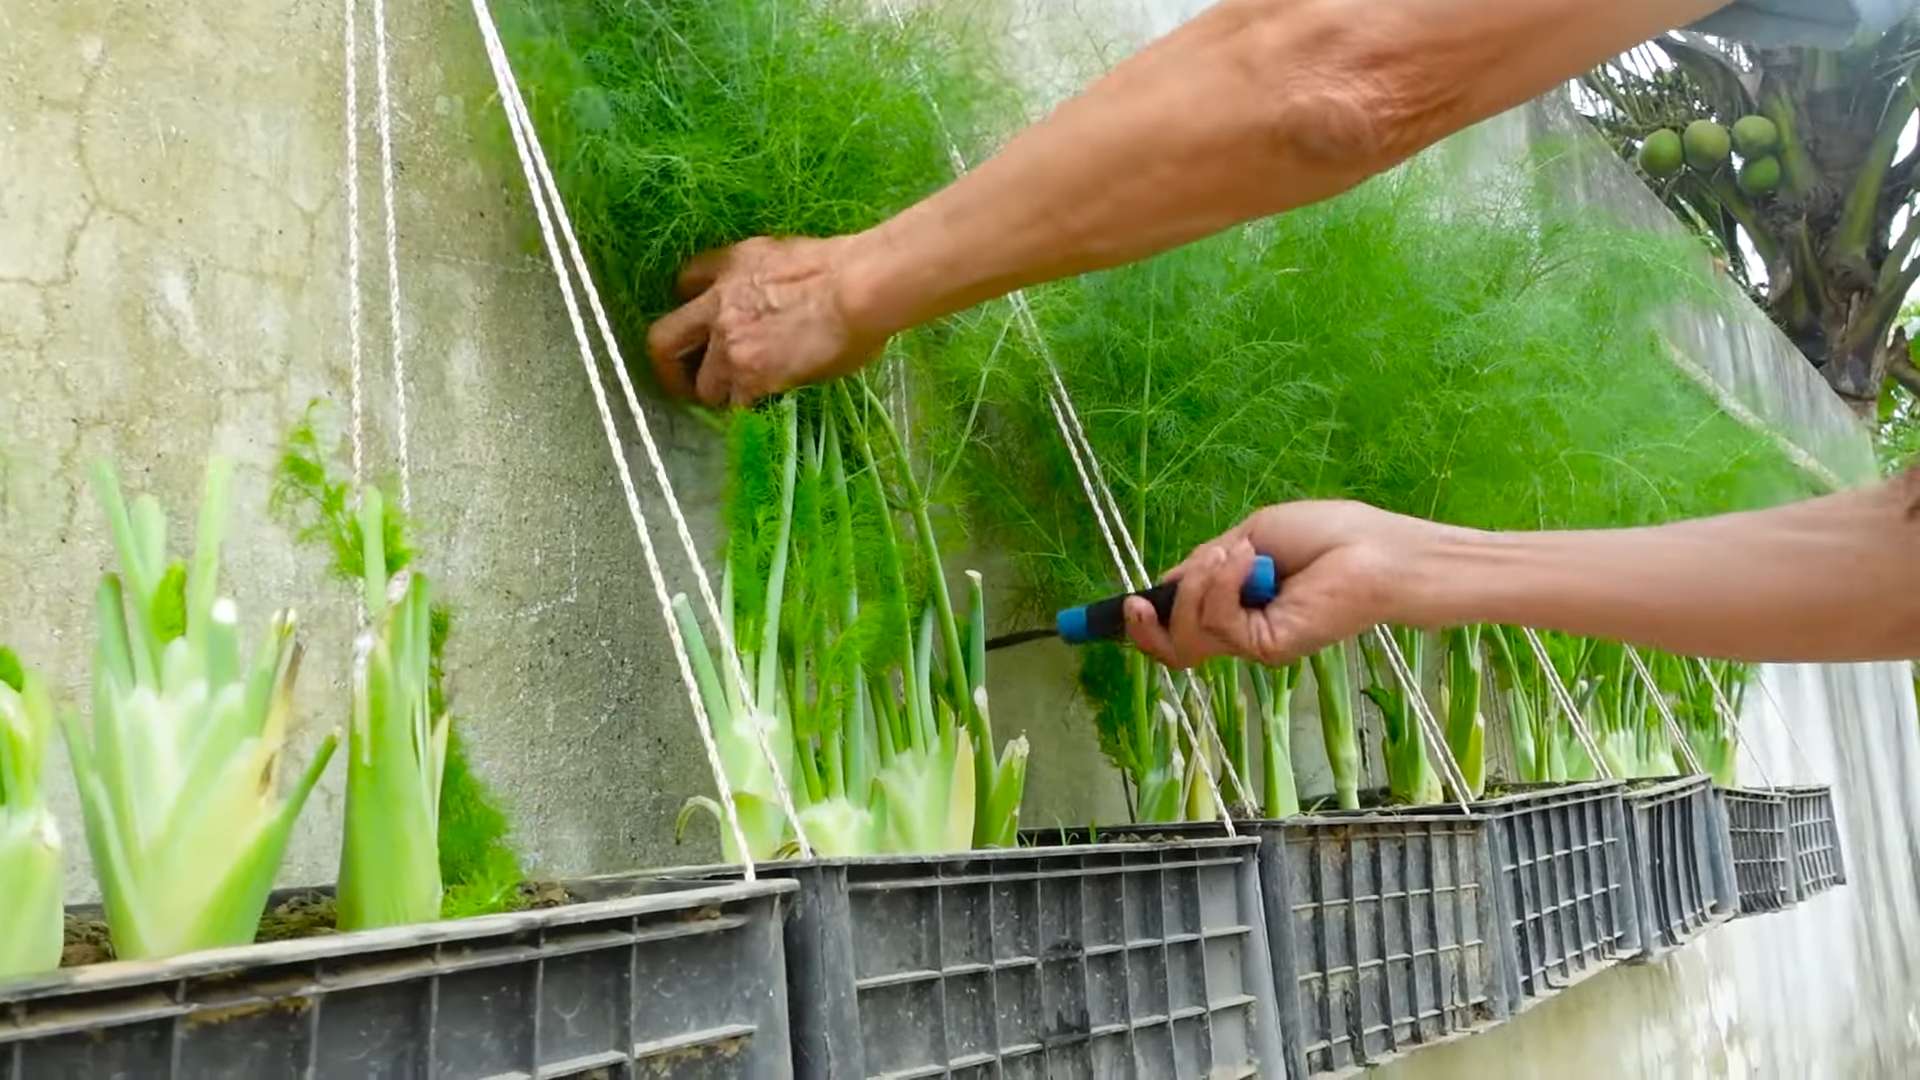
2. How to Harvest: Use scissors or pruning shears to snip off the leaves. You can harvest individual leaves or entire stems. I usually harvest from the top of the plant, which encourages it to grow bushier.
3. Harvesting Seeds: If you want to harvest dill seeds, let the plant flower and go to seed. Once the seed heads have dried and turned brown, you can cut them off and collect the seeds.
4. Using Your Dill: Fresh dill is delicious in salads, soups, sauces, and dips. It’s also a great addition to fish and vegetable dishes. You can also dry dill leaves for later use.
Troubleshooting: Common Dill-Growing Problems
Even with the best care, you might encounter some problems while growing dill indoors. Here are a few common issues and how to address them:
* Yellowing Leaves: This could be a sign of overwatering, underwatering, or nutrient deficiency. Check the soil moisture and adjust your watering accordingly. If the soil is dry, water more frequently. If the soil is soggy, water less frequently. You may also need to fertilize your dill.
* Leggy Growth: This means your dill plants are stretching towards the light. This is usually a sign that they’re not getting enough sunlight. Move your dill to a sunnier location or supplement with grow lights.
* Pests: Dill can be susceptible to pests like aphids and spider mites. Inspect your plants regularly for signs of infestation. If you find pests, you can try spraying them with insecticidal soap or neem oil.
* Powdery Mildew: This is a fungal disease that can affect dill. It appears as a white, powdery coating on the leaves. To prevent powdery mildew, make sure your dill has good air circulation and avoid overwatering. If you see signs of powdery mildew, you can try spraying your plants with a fungicide.
Extending Your Harvest: Keeping the Dill Coming
Dill is an annual plant, meaning it completes its life cycle in one year. However, you can extend your harvest by succession planting. This means planting new dill seeds every few weeks. This will ensure that you always have a fresh supply of dill.
Here’s how to succession plant dill:
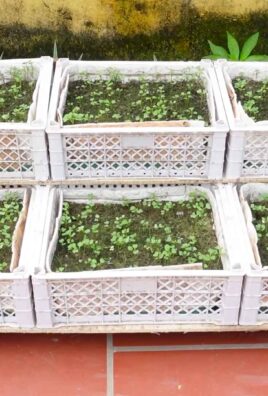
1. Start New Seeds: Every 2-3 weeks, start a new batch of dill seeds in a separate pot.
2. Transplant Seedlings: Once the seedlings have sprouted and have a few sets of true leaves, you can transplant them into a larger pot.
3. Replace Old Plants: As your older dill plants start to decline, you can replace them with the new seedlings.
Dill Varieties for Indoor Growing: Choosing the Right One
While most dill varieties can be grown indoors, some are better suited for container gardening than others. Here are a few varieties to consider:
* Dwarf Dill: As the name suggests, this variety is compact and well-suited for growing in small spaces.
* Fernleaf Dill: This variety has feathery leaves and a compact growth habit.
* Bouquet Dill: This variety is known for its strong flavor and aroma.
Beyond the Basics: Advanced Dill-Growing Techniques
Once you’ve mastered the basics of growing dill indoors, you can experiment with some more advanced techniques:
* Hydroponics: Growing dill hydroponically can be a fun and rewarding experience. Hydroponics is a method of growing plants without soil, using nutrient-rich water solutions.
* Aquaponics: Aquaponics is a system that combines aquaculture (raising fish) and hydroponics. The fish waste provides nutrients for the plants, and the plants filter the water for the fish.
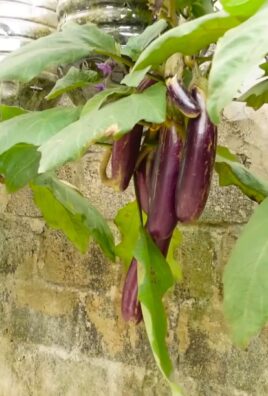
* Companion Planting: Dill is a good companion plant for many vegetables, including cucumbers, tomatoes, and lettuce. Planting dill near these vegetables can help to repel pests and improve their growth.
Final Thoughts: Enjoying Your Homegrown Dill
Growing dill indoors is a simple and satisfying way to add fresh flavor to your meals. With a little bit of care and attention, you can enjoy a continuous supply of dill year-round. So, grab some seeds, get your hands dirty, and
Conclusion
So, there you have it! Growing dill on your windowsill isn’t just a charming addition to your home; it’s a game-changer for anyone who loves fresh, flavorful cooking. Forget those sad, wilted bunches from the grocery store. With a little effort, you can have a constant supply of vibrant, aromatic dill right at your fingertips.
Why is this DIY trick a must-try? Because it’s incredibly rewarding. Imagine snipping fresh dill to garnish your creamy potato salad, adding a burst of flavor to your salmon, or infusing your homemade pickles with that distinctive, herbaceous note. The difference between store-bought dried dill and freshly grown dill is night and day. The aroma alone is enough to convince you! Plus, it’s a sustainable and cost-effective way to enjoy your favorite herb. You’re reducing your reliance on pre-packaged herbs, minimizing waste, and saving money in the long run.
But the benefits don’t stop there. Growing dill indoors is also a fantastic way to bring a touch of nature into your home, especially during the colder months when access to fresh herbs might be limited. It’s a simple project that can brighten up your kitchen and add a touch of greenery to your living space.
Feeling adventurous? Try experimenting with different varieties of dill. ‘Bouquet’ dill is a popular choice for its abundant foliage, while ‘Dukat’ dill offers a more intense flavor. You can also play around with different containers. While a standard pot works perfectly well, consider using a repurposed mason jar or even a hanging basket for a more decorative touch.
Don’t be afraid to get creative! You can even companion plant your dill with other herbs like parsley or chives in the same container, creating a mini herb garden on your windowsill. Just be sure to research the specific needs of each herb to ensure they thrive together.
Ready to embark on your indoor dill-growing adventure? We wholeheartedly encourage you to give it a try. It’s a simple, satisfying, and delicious way to elevate your cooking and bring a little bit of the garden indoors.
And most importantly, we want to hear about your experience! Share your photos, tips, and tricks in the comments below. Let us know what worked for you, what challenges you faced, and what delicious dishes you created with your homegrown dill. Together, we can build a community of indoor herb enthusiasts and inspire others to discover the joy of growing their own food. So, grab a pot, some seeds, and get ready to grow dill on your windowsill! You won’t regret it.
Frequently Asked Questions (FAQ)
What kind of soil should I use for growing dill indoors?
Dill thrives in well-draining soil that is rich in organic matter. A good quality potting mix specifically formulated for herbs is ideal. You can also create your own mix by combining equal parts of potting soil, perlite, and compost. The perlite helps with drainage, while the compost provides essential nutrients. Avoid using garden soil, as it can be too heavy and may contain pests or diseases.
How much sunlight does dill need when grown indoors?
Dill requires at least 6 hours of direct sunlight per day to thrive. A south-facing windowsill is usually the best location. If you don’t have access to enough natural light, you can supplement with a grow light. Position the grow light a few inches above the dill plants and keep it on for 12-14 hours per day. Insufficient light can lead to leggy, weak growth and reduced flavor.
How often should I water my indoor dill plants?
Water your dill plants when the top inch of soil feels dry to the touch. Avoid overwatering, as this can lead to root rot. Ensure that your pot has drainage holes to allow excess water to escape. During the warmer months, you may need to water more frequently. Check the soil moisture regularly and adjust your watering schedule accordingly.
How do I harvest dill from my windowsill garden?
You can start harvesting dill leaves once the plants are about 6-8 inches tall. Simply snip off the leaves with scissors or pruning shears. Avoid removing more than one-third of the plant at a time, as this can stunt its growth. Regular harvesting encourages the plant to produce more leaves. You can also harvest the dill seeds once the flower heads have dried and turned brown.
What are some common problems I might encounter when growing dill indoors?
Some common problems include aphids, spider mites, and powdery mildew. Aphids and spider mites can be controlled with insecticidal soap or neem oil. Powdery mildew is a fungal disease that can be prevented by ensuring good air circulation and avoiding overwatering. If you notice any signs of pests or diseases, treat them promptly to prevent them from spreading.
Can I grow dill from seed or should I buy a seedling?
You can grow dill from either seed or seedling. Growing from seed is generally more cost-effective, but it takes longer to establish the plants. If you choose to grow from seed, sow the seeds directly into the pot, as dill doesn’t transplant well. Keep the soil moist until the seeds germinate, which usually takes about 7-14 days. If you opt for a seedling, choose a healthy, vigorous plant with no signs of pests or diseases.
How long will my indoor dill plant last?
Dill is an annual herb, meaning it completes its life cycle in one growing season. However, with proper care, you can extend its lifespan and enjoy fresh dill for several months. Once the plant starts to flower, it will begin to decline. To prolong its life, you can pinch off the flower buds as they appear. You can also save the seeds from the flowers to plant next season.
Can I dry or freeze my homegrown dill?
Yes, you can dry or freeze your homegrown dill to preserve it for later use. To dry dill, hang the stems upside down in a cool, dry place until the leaves are brittle. You can also use a dehydrator. To freeze dill, chop the leaves and place them in ice cube trays with water or olive oil. Once frozen, transfer the cubes to a freezer bag. Dried dill will have a more concentrated flavor, while frozen dill will retain more of its fresh taste.
Is dill safe for pets?
Dill is generally considered safe for pets in small quantities. However, it’s always a good idea to consult with your veterinarian before introducing any new foods to your pet’s diet. Some pets may be allergic to dill, so watch for any signs of an allergic reaction, such as itching, vomiting, or diarrhea.
What are some creative ways to use my homegrown dill?
Besides the classic uses in potato salad, salmon, and pickles, there are many other creative ways to use your homegrown dill. Add it to omelets, soups, stews, and sauces. Use it to flavor dips, dressings, and marinades. Sprinkle it on roasted vegetables or grilled meats. Infuse it into olive oil or vinegar. The possibilities are endless! Let your imagination run wild and experiment with different flavor combinations.
Leave a Comment