

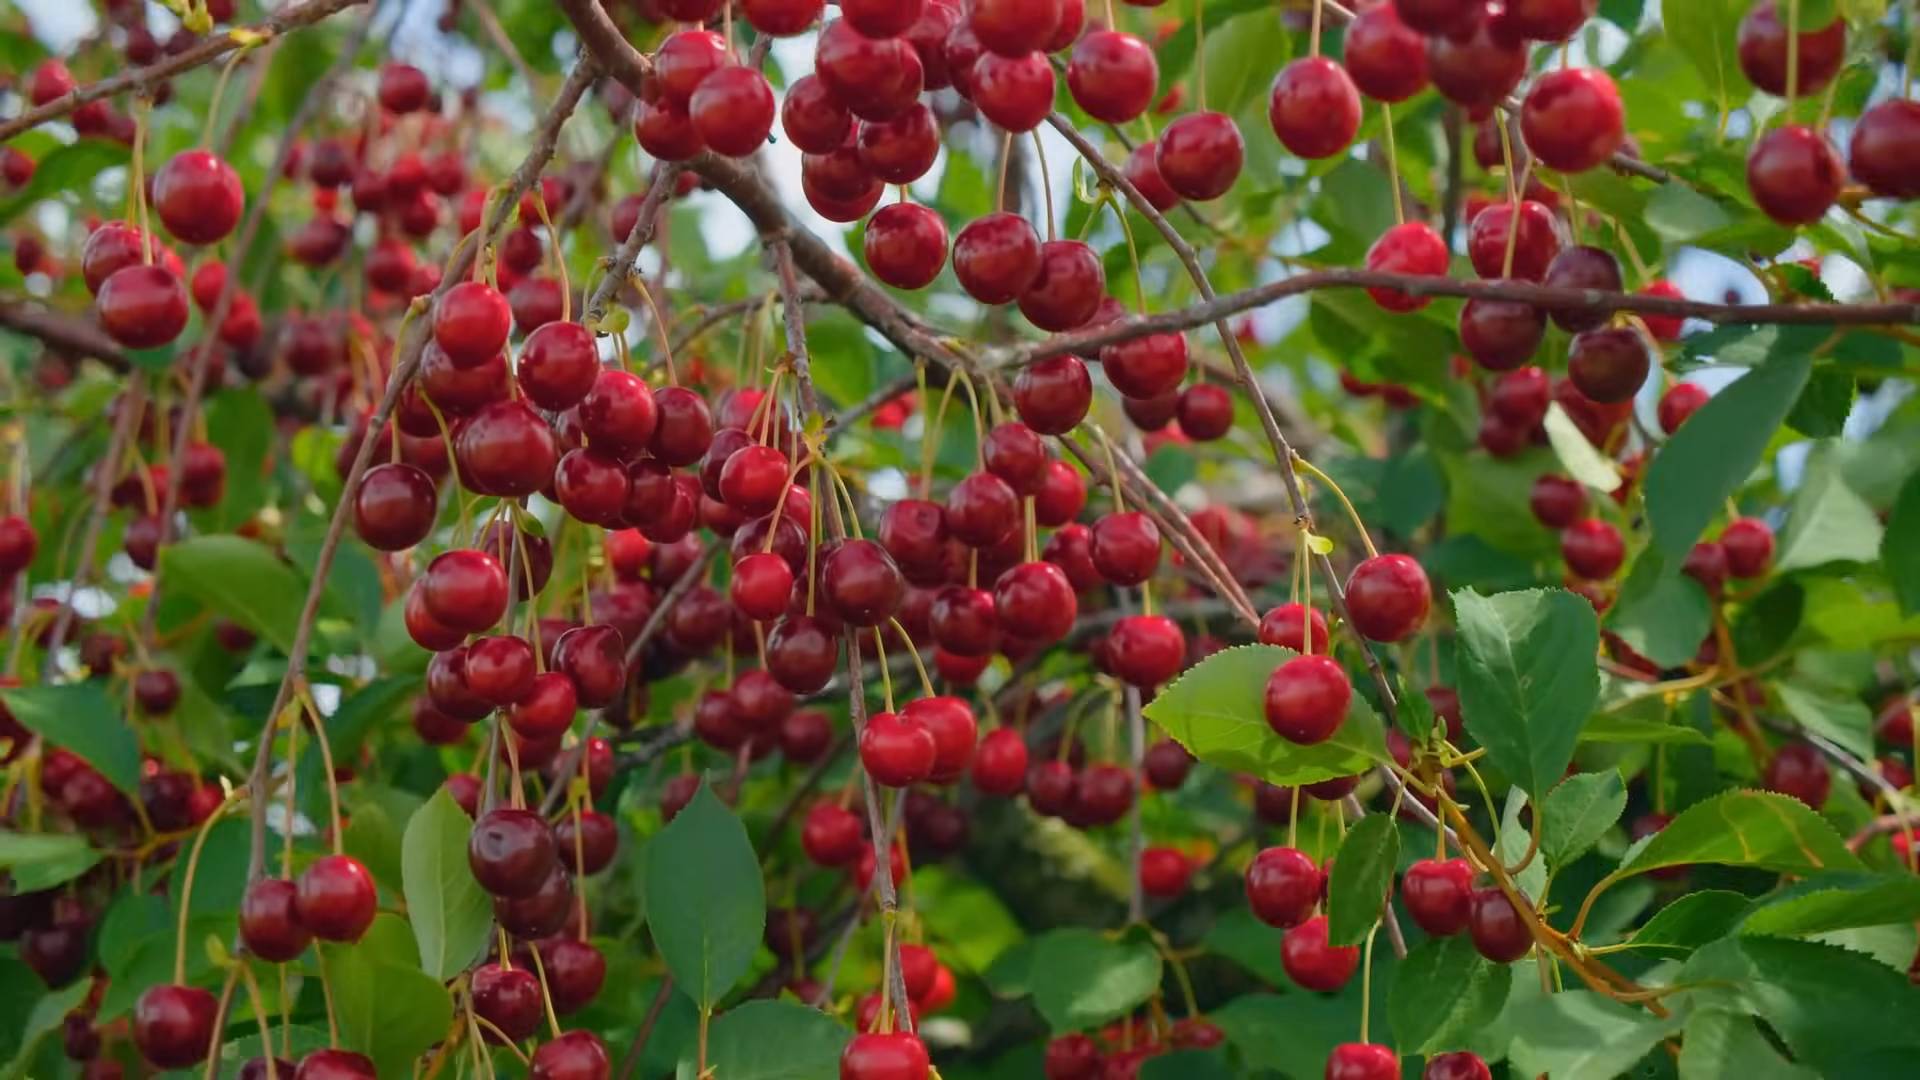
Grow Cherry Tree Backyard dreams can absolutely become a reality, even if you think you don’t have the space or the green thumb! Have you ever imagined stepping outside your back door and plucking a juicy, ripe cherry straight from your own tree? It’s a surprisingly achievable goal, and this guide is packed with DIY tricks and hacks to make it happen.
For centuries, cherry trees have held a special place in cultures around the world, symbolizing beauty, renewal, and good fortune. From the iconic cherry blossom festivals of Japan to the bountiful cherry harvests in orchards across Europe and North America, these trees have captivated us with their splendor and delicious fruit. I believe you can create your own little piece of that magic right in your backyard.
Many people shy away from the idea of growing fruit trees, thinking it’s too complicated or time-consuming. But I’m here to tell you that with the right knowledge and a few clever DIY solutions, you can successfully grow cherry tree backyard and enjoy the sweet rewards for years to come. This article will break down the process into manageable steps, offering practical tips on everything from choosing the right variety for your climate to protecting your precious tree from pests and diseases. So, let’s get started and transform your backyard into a cherry-filled paradise!
Growing Your Own Cherry Tree: A DIY Guide to Sweet Success
Okay, so you want to grow your own cherry tree? Awesome! I’m here to tell you, it’s totally doable, and the reward of fresh, juicy cherries right from your backyard is absolutely worth the effort. It might seem a little daunting at first, but trust me, with a little planning and some elbow grease, you’ll be picking your own cherries in no time. Let’s dive in!
Choosing the Right Cherry Tree
Before we even think about digging a hole, we need to pick the right cherry tree for your area and your needs. This is super important, so don’t skip this step!
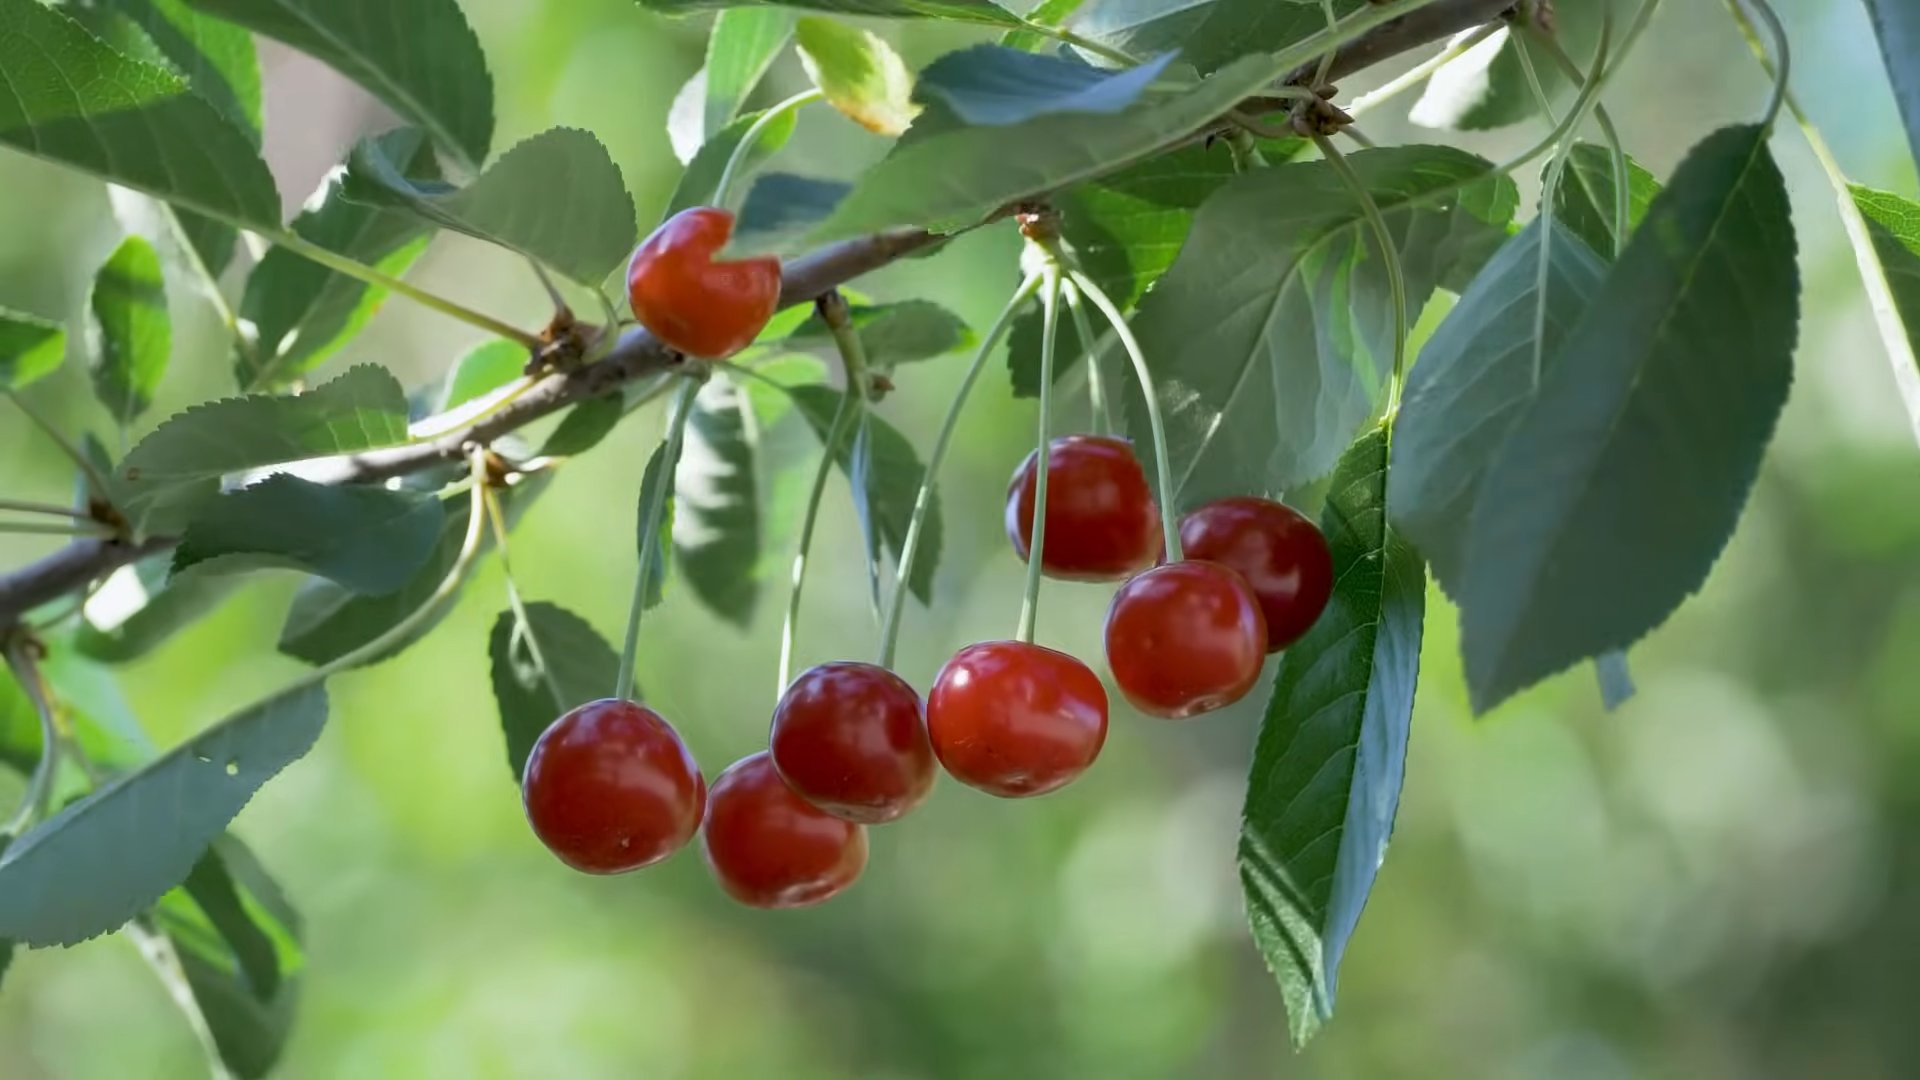
* Sweet vs. Sour: This is the big one. Sweet cherries are what you typically eat fresh. Sour cherries (also called tart cherries) are best for pies, jams, and preserves. Think about what you want to *do* with your cherries.
* Self-Pollinating vs. Cross-Pollinating: Some cherry trees are self-pollinating, meaning they can produce fruit with their own pollen. Others need a different variety of cherry tree nearby to pollinate them. If you only have space for one tree, definitely go for a self-pollinating variety. Stella, Lapins, and Compact Stella are popular self-pollinating sweet cherry options. For sour cherries, Montmorency is a reliable self-pollinator.
* Chill Hours: This refers to the number of hours below 45°F (7°C) that a tree needs during the winter to properly break dormancy and produce fruit. Make sure the variety you choose is suited to your climate’s chill hour requirements. Your local nursery can help you with this!
* Size: Cherry trees can get pretty big! Consider the mature size of the tree and make sure you have enough space in your yard. You can also look for dwarf or semi-dwarf varieties if space is limited. These are often grafted onto special rootstocks that control their size.
* Disease Resistance: Some cherry varieties are more resistant to common cherry tree diseases like leaf spot and brown rot. Choosing a disease-resistant variety can save you a lot of headaches (and fungicide applications) down the road.
Preparing the Planting Site
Alright, tree chosen? Great! Now let’s get your planting site ready. This is where your cherry tree will spend its life, so we want to make sure it’s a happy home.
* Sunlight: Cherry trees need at least 6-8 hours of direct sunlight per day. Choose a spot in your yard that gets plenty of sun.
* Soil: Cherry trees prefer well-drained soil. They don’t like to sit in soggy soil, which can lead to root rot. If your soil is heavy clay, you’ll need to amend it with organic matter like compost or well-rotted manure.
* Drainage Test: To check the drainage, dig a hole about 1 foot deep and fill it with water. If the water drains away within a few hours, your drainage is good. If it takes longer than 24 hours, you need to improve the drainage.
* Soil pH: Cherry trees prefer a slightly acidic to neutral soil pH (around 6.0-7.0). You can test your soil pH with a soil testing kit from your local garden center. If your soil is too alkaline, you can amend it with sulfur. If it’s too acidic, you can add lime.
* Clear the Area: Remove any grass, weeds, or rocks from the planting area. You want to give your cherry tree a clean slate to start with.
Planting Your Cherry Tree: Step-by-Step
Okay, the moment we’ve been waiting for! Let’s get that cherry tree in the ground.
1. Dig the Hole: Dig a hole that is twice as wide as the root ball and just as deep. You want the top of the root ball to be level with the surrounding soil. Don’t dig too deep!
2. Prepare the Root Ball: Gently remove the cherry tree from its container. If the roots are circling around the root ball (pot-bound), gently loosen them with your fingers or a small trowel. This will encourage them to grow outward into the surrounding soil.
3. Position the Tree: Place the cherry tree in the center of the hole. Make sure the top of the root ball is level with the surrounding soil.
4. Backfill the Hole: Backfill the hole with the soil you removed, gently tamping it down as you go. Be careful not to compact the soil too much, as this can restrict root growth.
5. Water Thoroughly: Water the newly planted cherry tree thoroughly. This will help settle the soil and get rid of any air pockets around the roots.
6. Mulch: Apply a layer of mulch around the base of the tree, keeping it a few inches away from the trunk. Mulch helps retain moisture, suppress weeds, and regulate soil temperature. Wood chips, shredded bark, or straw are all good options.
7. Stake (Optional): If your cherry tree is young and spindly, you may want to stake it for the first year or two. This will help protect it from wind damage and encourage it to grow straight. Use soft ties to attach the tree to the stake, and make sure the ties aren’t too tight.
Caring for Your Cherry Tree
Planting is just the beginning! Now you need to take care of your cherry tree to ensure it thrives and produces lots of delicious fruit.
* Watering: Water your cherry tree regularly, especially during dry periods. Young trees need more frequent watering than established trees. Water deeply and less frequently, rather than shallowly and often.
* Fertilizing: Fertilize your cherry tree in the spring with a balanced fertilizer. Follow the instructions on the fertilizer label. Avoid over-fertilizing, as this can damage the tree.
* Pruning: Prune your cherry tree in late winter or early spring, before the buds start to swell. Pruning helps to shape the tree, remove dead or diseased branches, and improve air circulation.
* Pest and Disease Control: Keep an eye out for pests and diseases. Common cherry tree pests include aphids, cherry fruit flies, and Japanese beetles. Common diseases include leaf spot, brown rot, and powdery mildew. Treat any problems promptly with appropriate insecticides or fungicides. Always follow the instructions on the product label.
* Protecting from Birds: Birds love cherries just as much as we do! To protect your crop, you may need to cover your tree with netting when the cherries start to ripen. This can be a bit of a hassle, but it’s worth it to save your fruit.
* Weed Control: Keep the area around your cherry tree free of weeds. Weeds compete with the tree for water and nutrients. You can control weeds by hand-pulling, hoeing, or applying a herbicide. Be careful not to damage the tree’s roots when weeding.
Pruning Your Cherry Tree: A Deeper Dive
Pruning can seem intimidating, but it’s a crucial part of cherry tree care. Here’s a more detailed look:
* Why Prune? Pruning helps to:
* Shape the tree for optimal sunlight penetration.
* Remove dead, damaged, or diseased branches.
* Improve air circulation, reducing the risk of disease.
* Encourage fruit production.
* Maintain a manageable size.
* When to Prune: The best time to prune cherry trees is in late winter or early spring, before the buds begin to swell. Avoid pruning during the growing season, as this can stress the tree.
* Tools You’ll Need:
* Hand Pruners: For small branches (up to about 1/2 inch in diameter).
* Loppers: For larger branches (up to about 2 inches in diameter).
* Pruning Saw: For branches larger than 2 inches in diameter.
* Gloves: To protect your hands.
* Eye Protection: To protect your eyes from flying debris.
* Pruning Techniques:
* Heading Cuts: These cuts shorten a branch, encouraging new growth below the cut. Use heading cuts to shape the tree and encourage branching.
* Thinning Cuts: These cuts remove an entire branch at its point of origin. Use thinning cuts to improve air circulation and remove dead or diseased branches.
* Suckers: These are shoots that grow from the base of the tree or from the roots. Remove suckers as soon as you see them, as they can steal energy from the tree.
* Water Sprouts: These are vigorous, upright shoots that grow from the branches. Remove water sprouts as they can block sunlight and reduce fruit production.
* Pruning Young Trees:
* The goal of pruning young trees is to establish a strong framework of branches.
Conclusion
So, there you have it! Growing your own cherry tree in your backyard might seem daunting at first, but with a little patience and the right approach, you can be harvesting delicious, homegrown cherries before you know it. This DIY trick, focusing on proper soil preparation, strategic planting, and consistent care, is a game-changer for anyone dreaming of fresh cherries right outside their door.
Why is this a must-try? Because store-bought cherries simply can’t compare to the flavor and satisfaction of picking your own. Plus, you control the entire process, ensuring your cherries are grown without harmful pesticides or chemicals. You’re not just growing fruit; you’re creating a sustainable and rewarding experience.
But don’t stop there! Experiment with different cherry varieties to find your perfect flavor profile. Consider adding companion plants around your cherry tree to attract pollinators and deter pests naturally. You could even try grafting different cherry varieties onto a single tree for a diverse harvest. The possibilities are endless!
Remember, success in growing a cherry tree in your backyard hinges on consistent effort and attention to detail. Don’t be afraid to get your hands dirty, ask questions, and learn from your experiences. The reward of biting into a juicy, sun-ripened cherry that you grew yourself is well worth the effort.
We’re confident that this DIY approach will empower you to cultivate a thriving cherry tree in your backyard. Now it’s your turn! Give it a try, and don’t forget to share your experiences with us. We’d love to hear about your successes, challenges, and any variations you discover along the way. Share your photos and stories in the comments below – let’s build a community of backyard cherry growers! Let us know what worked for you and what didn’t. Your insights could help other aspiring cherry tree enthusiasts achieve their goals. Happy growing!
Frequently Asked Questions (FAQs)
Q: What is the best time of year to plant a cherry tree?
A: The best time to plant a cherry tree is typically in the early spring or late fall, when the tree is dormant. This allows the tree to establish its roots before the stresses of summer heat or winter cold set in. Spring planting is ideal in regions with harsh winters, while fall planting works well in milder climates. Avoid planting during the heat of summer or when the ground is frozen.
Q: What kind of soil is best for cherry trees?
A: Cherry trees thrive in well-drained soil that is rich in organic matter. The ideal soil pH is between 6.0 and 7.0. Before planting, it’s a good idea to conduct a soil test to determine the pH level and nutrient content. Amend the soil with compost or other organic matter to improve drainage and fertility. Avoid heavy clay soils, as they can lead to root rot. If you have clay soil, consider planting your cherry tree on a raised bed to improve drainage.
Q: How much sunlight does a cherry tree need?
A: Cherry trees need at least 6-8 hours of direct sunlight per day to produce a good crop of fruit. Choose a planting location that receives full sun throughout the day. If your tree is shaded for part of the day, it may not produce as many cherries.
Q: How often should I water my cherry tree?
A: Newly planted cherry trees need regular watering to help them establish their roots. Water deeply once or twice a week, depending on the weather conditions. Established cherry trees are more drought-tolerant, but they still need to be watered during dry spells. Water deeply and less frequently, rather than shallowly and often. Avoid overwatering, as this can lead to root rot. A good rule of thumb is to water when the top inch of soil feels dry to the touch.
Q: Do cherry trees need to be pollinated?
A: Most sweet cherry varieties require cross-pollination from another compatible cherry variety to produce fruit. Sour cherry varieties are typically self-pollinating. If you’re planting a sweet cherry tree, make sure to choose a compatible pollinator variety and plant it nearby. Consult with your local nursery to determine the best pollinator varieties for your region.
Q: How do I protect my cherry tree from pests and diseases?
A: Cherry trees are susceptible to a variety of pests and diseases, including aphids, cherry fruit flies, brown rot, and powdery mildew. Regularly inspect your tree for signs of pests or diseases. Use organic pest control methods, such as insecticidal soap or neem oil, to control aphids and other pests. Prune your tree regularly to improve air circulation and reduce the risk of fungal diseases. Consider using a fruit tree spray to protect your cherries from pests and diseases. Always follow the instructions on the product label carefully.
Q: How do I prune my cherry tree?
A: Pruning is essential for maintaining the health and productivity of your cherry tree. Prune your tree in late winter or early spring, before new growth begins. Remove any dead, damaged, or diseased branches. Thin out the canopy to improve air circulation and sunlight penetration. Prune to maintain a strong central leader and encourage the development of fruiting spurs. Consult with a local arborist or extension agent for specific pruning recommendations for your cherry variety.
Q: How long does it take for a cherry tree to produce fruit?
A: It typically takes 3-5 years for a cherry tree to begin producing fruit. The exact time frame depends on the variety of cherry, the growing conditions, and the care the tree receives. Be patient and continue to provide your tree with proper care, and you’ll be rewarded with a bountiful harvest in due time.
Q: Can I grow a cherry tree in a container?
A: Yes, you can grow a dwarf or semi-dwarf cherry tree in a container. Choose a large container with good drainage. Use a high-quality potting mix that is well-draining and rich in organic matter. Water regularly and fertilize as needed. Container-grown cherry trees may need to be protected from extreme temperatures in the winter.
Q: What are some common problems when growing a cherry tree in your backyard?
A: Some common problems include poor pollination, pest infestations, diseases, and nutrient deficiencies. Addressing these issues promptly will help ensure a healthy and productive cherry tree. Regular monitoring and preventative measures are key to success.

Leave a Comment