

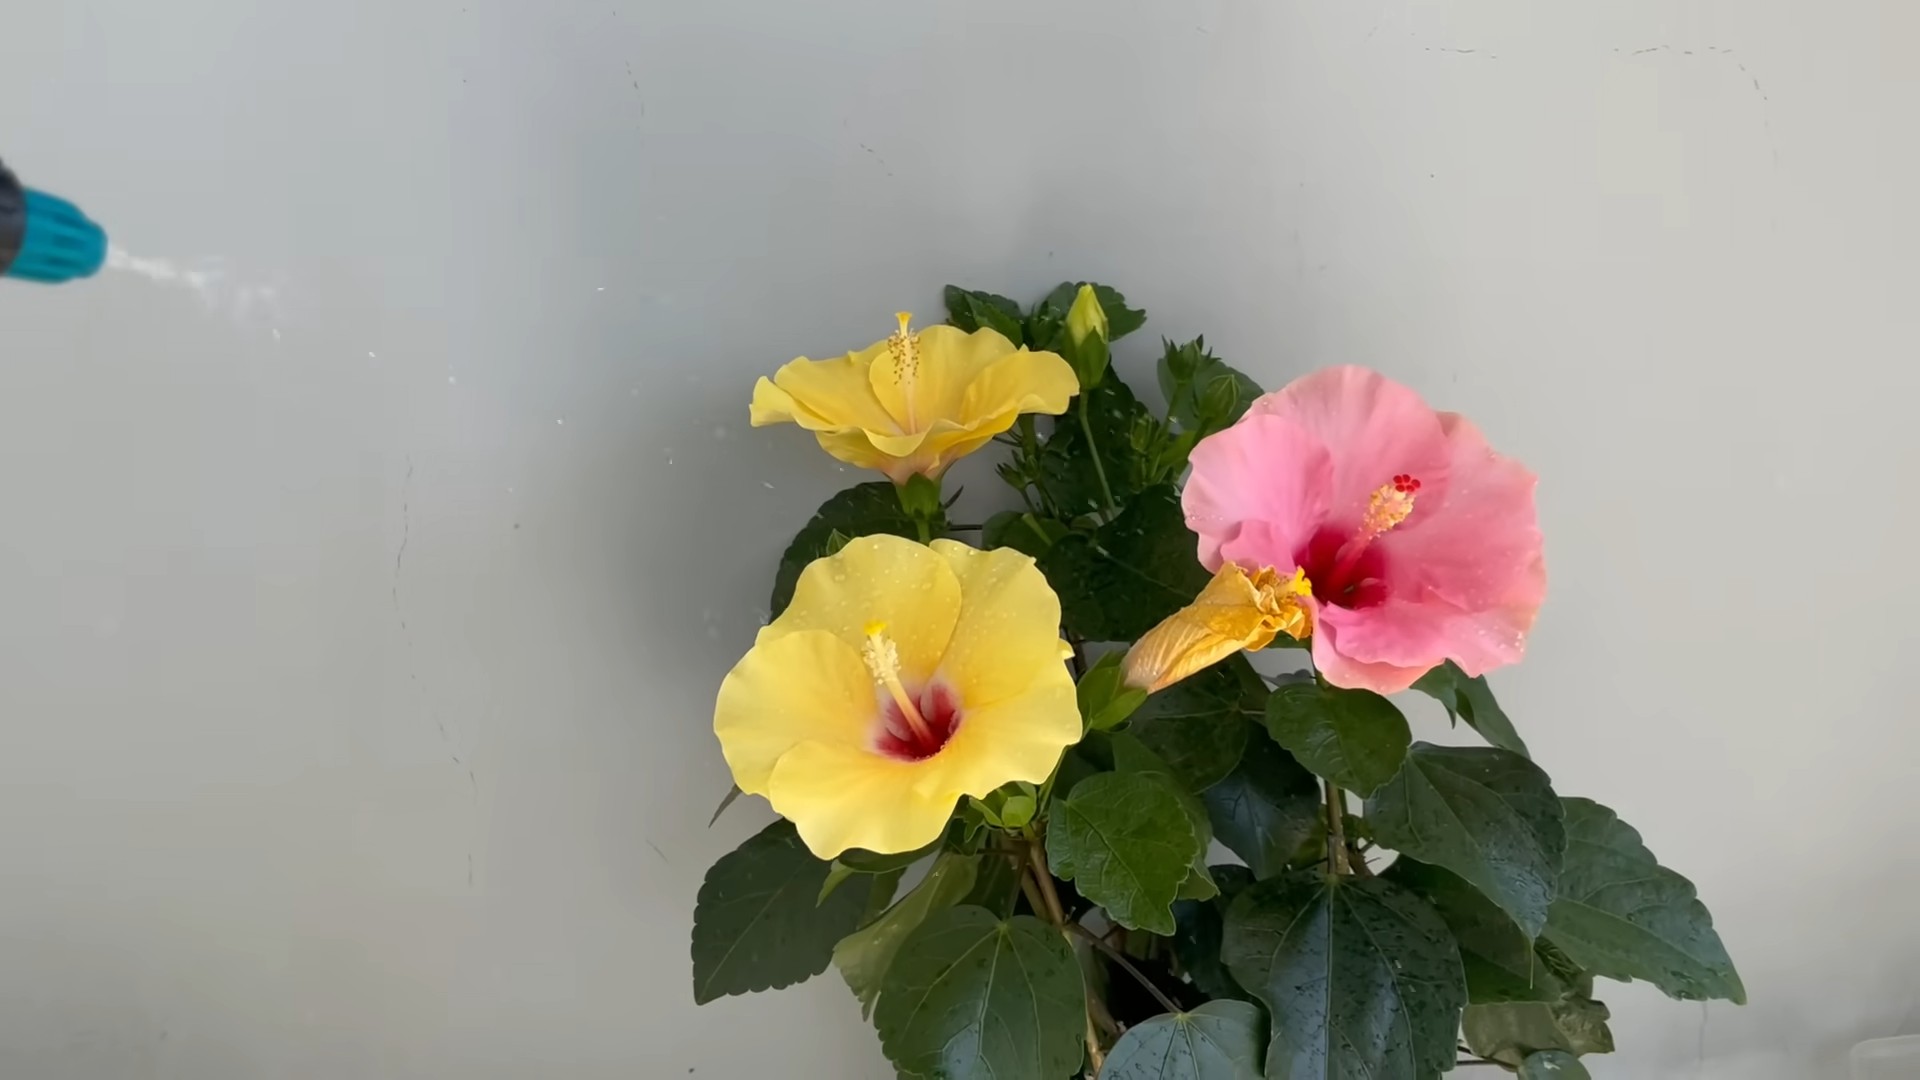
Grow Big Hibiscus Flowers – isn’t that the dream for every gardener who adores these tropical beauties? I know it’s been my personal quest for years! There’s something truly magical about those vibrant, show-stopping blooms that instantly transport you to a sun-drenched paradise. Hibiscus flowers have captivated hearts for centuries, featuring prominently in Polynesian cultures where they symbolize beauty and hospitality, often adorning leis and traditional garments.
But let’s be honest, achieving those prize-winning, dinner-plate-sized hibiscus flowers can feel like a daunting task. You might be struggling with small, lackluster blooms, or even worse, no blooms at all! That’s where these DIY tricks and hacks come in. I’m going to share my tried-and-true secrets to help you grow big hibiscus flowers, even if you’re a beginner gardener.
This isn’t just about aesthetics; it’s about creating a thriving, healthy plant that brings joy to your garden and a sense of accomplishment to you. Imagine the envy of your neighbors as your hibiscus bursts forth with magnificent, vibrant blossoms! So, are you ready to unlock the secrets to bigger, bolder, and more beautiful hibiscus flowers? Let’s dive in!
DIY: Unleash Giant Blooms – My Secrets to Growing Enormous Hibiscus Flowers
Okay, hibiscus lovers, gather ’round! I’m about to spill all my secrets on how I coax my hibiscus plants into producing those jaw-dropping, dinner-plate-sized blooms you see in magazines. It’s not magic, I promise, just a little know-how and some consistent TLC. Get ready to be amazed!
Choosing the Right Hibiscus Variety
Before we even get our hands dirty, let’s talk about variety. Not all hibiscus are created equal when it comes to bloom size. Some are naturally smaller, while others are bred for those impressive, oversized flowers.
* Look for Hybrid Varieties: These are your best bet. They’re often labeled as “Giant” or “Large-Flowered” hibiscus. Check the plant tag or ask at your local nursery. Some popular choices include ‘President,’ ‘Cajun Hibiscus,’ and certain cultivars of *Hibiscus rosa-sinensis*.
* Consider Climate: Tropical hibiscus (Hibiscus rosa-sinensis) thrive in warm climates (zones 9-11). If you live in a cooler area, you might need to grow them in containers and bring them indoors during the winter. Hardy hibiscus (Hibiscus moscheutos) are more cold-tolerant (zones 4-9) but generally have slightly smaller blooms.
* Healthy Start: Always choose a healthy plant to begin with. Look for vibrant green leaves, strong stems, and no signs of pests or diseases.
The Secret Sauce: Soil, Sun, and Water
These three elements are the foundation for any thriving hibiscus, but especially crucial for encouraging those massive blooms.
* Soil: Hibiscus are heavy feeders, so they need rich, well-draining soil.
* Well-Draining is Key: Hibiscus hate soggy roots. Amend your soil with plenty of organic matter like compost, peat moss, or well-rotted manure. This improves drainage and provides essential nutrients.
* Slightly Acidic: Hibiscus prefer a slightly acidic soil pH (around 6.0-6.5). You can test your soil with a kit from your local garden center. If it’s too alkaline, you can amend it with sulfur or peat moss.
* Sun: Hibiscus are sun worshippers!
* 6-8 Hours of Direct Sunlight: They need at least 6-8 hours of direct sunlight each day to produce abundant blooms. Morning sun is ideal, as it’s less intense than afternoon sun.
* Protect from Intense Afternoon Sun: In very hot climates, some afternoon shade can prevent leaf scorch.
* Water: Consistent watering is essential, especially during the blooming season.
* Keep Soil Moist, Not Soggy: Water deeply when the top inch of soil feels dry to the touch. Avoid overwatering, which can lead to root rot.
* Watering Frequency: The frequency will depend on your climate and soil type. In hot, dry weather, you may need to water daily.
* Morning Watering: Water in the morning to allow the foliage to dry before nightfall, which helps prevent fungal diseases.
Feeding Your Hibiscus for Blooming Success
This is where the magic really happens! Proper fertilization is crucial for encouraging those enormous blooms.
* High-Potassium Fertilizer: Hibiscus need a fertilizer that’s high in potassium (the “K” in N-P-K). Potassium promotes blooming. Look for a fertilizer specifically formulated for hibiscus or flowering plants. A good ratio is something like 10-4-12 or 9-3-13.
* Slow-Release Fertilizer: I prefer using a slow-release fertilizer because it provides a steady supply of nutrients over time. Apply it according to the package directions, usually every 2-3 months during the growing season.
* Water-Soluble Fertilizer: Supplement the slow-release fertilizer with a water-soluble fertilizer every 2-4 weeks. This gives your hibiscus a quick boost of nutrients.
* Epsom Salts: Magnesium is also important for hibiscus health and blooming. Add a tablespoon of Epsom salts to a gallon of water and use it to water your hibiscus every month.
* Avoid Over-Fertilizing: Too much fertilizer can burn the roots and damage your plant. Always follow the package directions carefully.
* Stop Fertilizing in Late Fall: As the weather cools down, reduce or stop fertilizing altogether. This allows your hibiscus to go dormant for the winter.
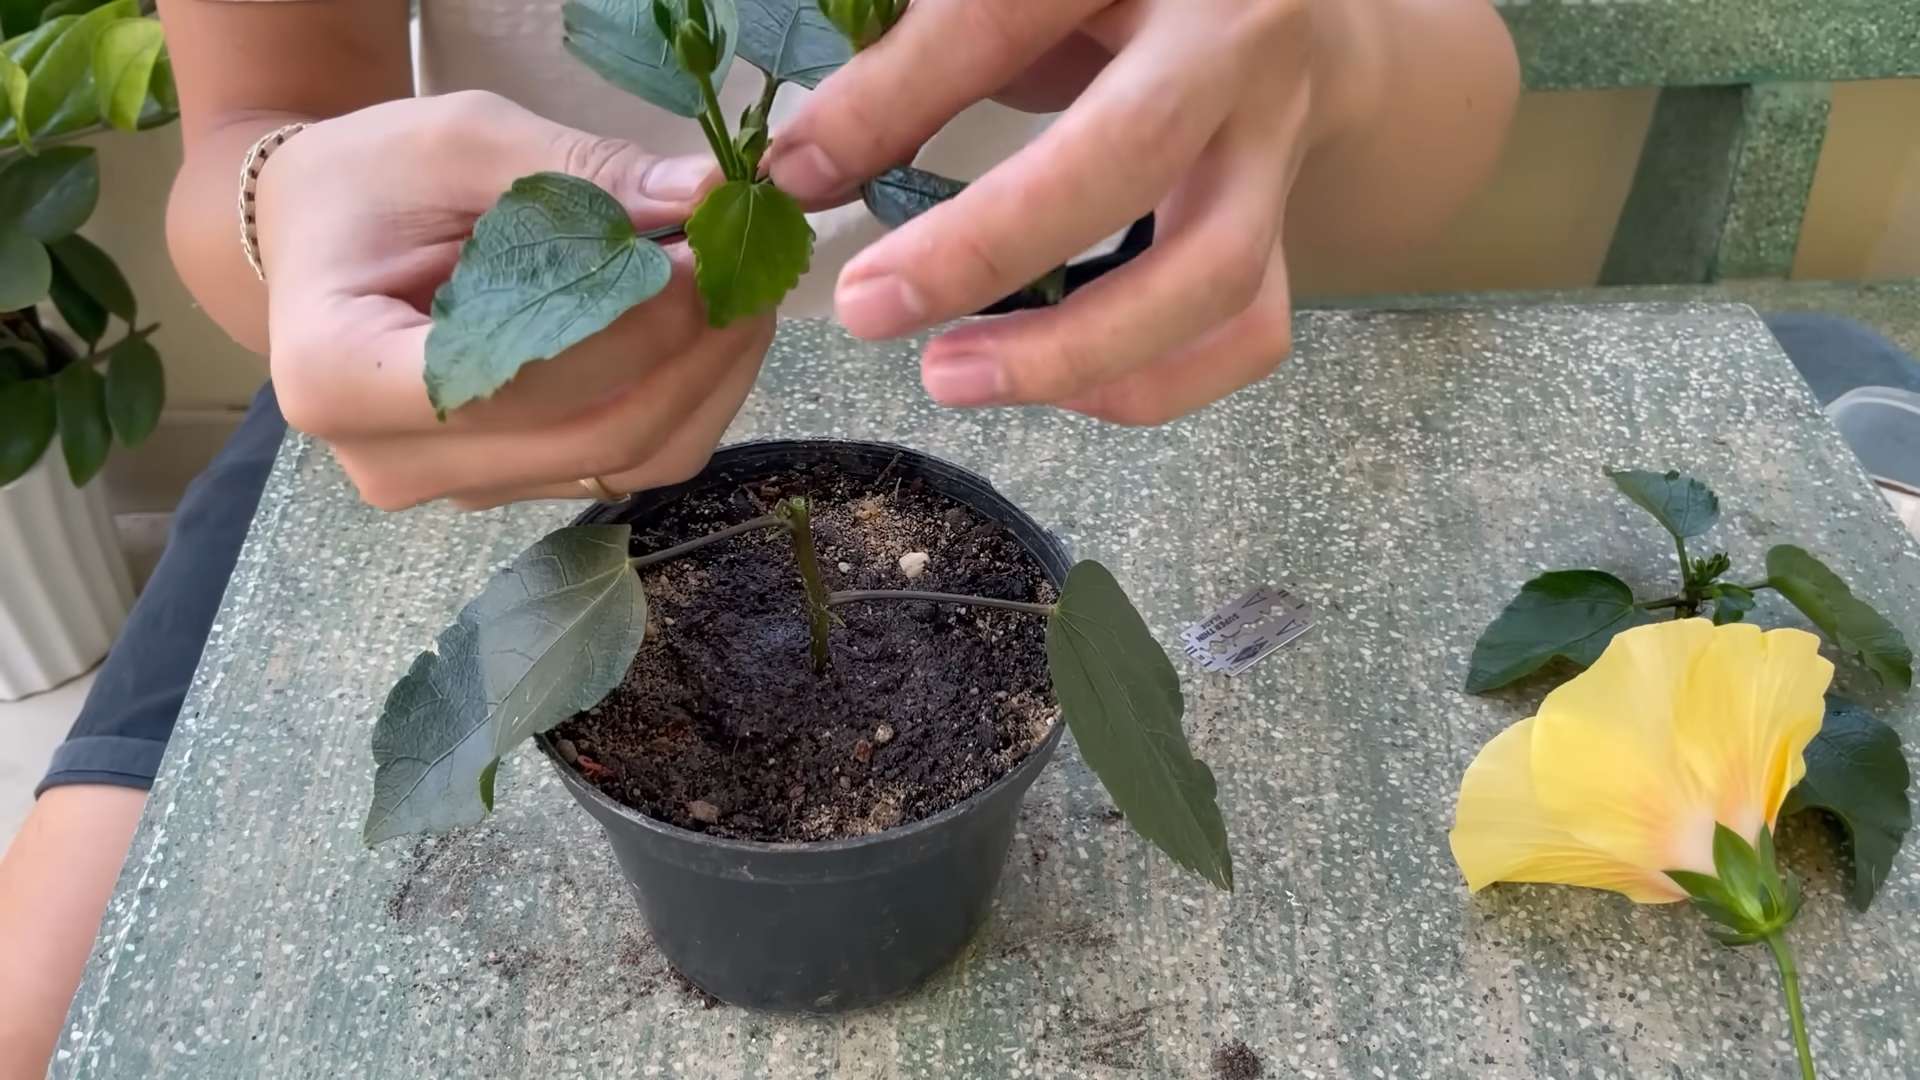
Pruning for Bigger Blooms
Pruning might seem counterintuitive, but it’s essential for encouraging bushier growth and more blooms.
* Timing is Key: The best time to prune hibiscus is in late winter or early spring, before new growth begins.
* Remove Dead or Diseased Branches: Start by removing any dead, damaged, or diseased branches.
* Shape the Plant: Prune to shape the plant and encourage branching. Cut back long, leggy stems by about one-third.
* Pinch Back New Growth: Throughout the growing season, pinch back the tips of new growth to encourage more branching and more blooms.
* Don’t Prune Too Heavily: Avoid pruning more than one-third of the plant at a time.
Pest and Disease Control
Healthy hibiscus are less susceptible to pests and diseases, but it’s still important to be vigilant.
* Common Pests: Aphids, spider mites, and whiteflies are common hibiscus pests.
* Inspect Regularly: Check your plants regularly for signs of infestation.
* Insecticidal Soap: Treat infestations with insecticidal soap or neem oil.
* Fungal Diseases: Root rot and leaf spot are common fungal diseases.
* Good Drainage: Ensure good drainage to prevent root rot.
* Fungicide: Treat fungal diseases with a fungicide.
* Prevention is Key: Good air circulation and proper watering can help prevent pests and diseases.
Step-by-Step Guide: My Giant Hibiscus Flower Routine
Alright, let’s break down my routine into easy-to-follow steps. This is what I do to get those prize-winning blooms!
1. Soil Preparation (Spring): Before planting or repotting, I amend my soil with plenty of compost and peat moss. I also add a slow-release hibiscus fertilizer.
2. Planting/Repotting (Spring): I choose a pot that’s slightly larger than the root ball. I make sure the pot has good drainage holes.
3. Watering (Throughout the Growing Season): I water deeply when the top inch of soil feels dry. I water in the morning to allow the foliage to dry before nightfall.
4. Fertilizing (Throughout the Growing Season):
* Slow-Release Fertilizer: I apply a slow-release hibiscus fertilizer every 2-3 months.
* Water-Soluble Fertilizer: I supplement with a water-soluble fertilizer every 2-4 weeks.
* Epsom Salts: I add Epsom salts to the water once a month.
5. Pruning (Late Winter/Early Spring): I prune to remove dead or diseased branches and shape the plant.
6. Pinching (Throughout the Growing Season): I pinch back the tips of new growth to encourage branching.
7. Pest and Disease Control (As Needed): I inspect my plants regularly for pests and diseases and treat them accordingly.
8. Sunlight (Throughout the Growing Season): I ensure my hibiscus gets at least 6-8 hours of direct sunlight each day.
9. Winter Care (Late Fall/Winter):
* Reduce Watering: I reduce watering as the weather cools down.
* Stop Fertilizing: I stop fertilizing altogether.
* Bring Indoors (If Necessary): If I live in a cold climate, I bring my hibiscus indoors before the first frost.
* Provide Light: I provide supplemental light if necessary.
10. Deadheading (Throughout the Blooming Season): Remove spent blooms promptly to encourage the plant to produce more flowers. This prevents the plant from putting energy into seed production and redirects it towards creating new blooms.
Troubleshooting Tips
Even with the best care, you might encounter some problems. Here are a few common issues and how to address them:
* Yellowing Leaves: This can be caused by overwatering, underwatering, nutrient deficiencies, or pests. Check the soil moisture, fertilize properly, and inspect for pests.
* Bud Drop: This can be caused by inconsistent watering, temperature fluctuations, or lack of sunlight. Ensure consistent watering, protect from temperature extremes, and provide adequate sunlight.
* No Blooms: This can be caused by lack of sunlight, improper fertilization, or pruning at the wrong time. Ensure adequate sunlight, fertilize
Conclusion
So, there you have it! Unlocking the secret to truly magnificent, show-stopping hibiscus blooms isn’t about expensive fertilizers or complicated gardening techniques. It’s about understanding the plant’s needs and providing them in a simple, cost-effective way using this DIY trick. This method, focusing on readily available ingredients, empowers you to take control of your hibiscus’s health and vibrancy, resulting in flowers that are not just bigger, but also more intensely colored and longer-lasting.
Why is this DIY approach a must-try? Because it’s effective, economical, and environmentally conscious. You’re avoiding harsh chemicals and synthetic fertilizers that can harm the soil and the surrounding ecosystem. Instead, you’re nourishing your hibiscus with a balanced blend of nutrients that promote healthy growth from the roots up. The visible results – larger, more vibrant blooms – speak for themselves.
But don’t stop there! Experiment with variations to tailor the DIY trick to your specific hibiscus variety and growing conditions. For example, if you live in an area with alkaline soil, you might consider adding a small amount of sulfur to the mixture to help lower the pH, as hibiscus plants thrive in slightly acidic soil. If you’re growing your hibiscus in a container, you might need to adjust the frequency of application, as container plants tend to dry out more quickly.
Consider adding a tablespoon of Epsom salts (magnesium sulfate) to the mixture every other feeding. Magnesium is crucial for chlorophyll production, which directly impacts the vibrancy of your hibiscus flowers. Another variation is to incorporate banana peels, rich in potassium, into the soil around your hibiscus. Potassium is essential for flower development and overall plant health. You can bury the peels directly in the soil or steep them in water to create a potassium-rich tea.
Remember to observe your hibiscus closely. Pay attention to the color of the leaves, the size and shape of the buds, and the overall health of the plant. These observations will help you fine-tune your DIY approach and ensure that your hibiscus is getting exactly what it needs to thrive.
We are confident that this DIY trick will revolutionize the way you care for your hibiscus plants. It’s a simple, effective, and rewarding way to achieve truly spectacular blooms. So, go ahead, give it a try! We encourage you to embrace this natural approach to gardening and witness the transformation of your hibiscus firsthand.
Don’t just take our word for it! We want to hear about your experiences. Share your results, variations, and tips in the comments below. Let’s create a community of hibiscus enthusiasts who are passionate about growing big, beautiful flowers using sustainable and effective methods. Your insights could help other gardeners unlock the full potential of their hibiscus plants. Let us know if this DIY trick helped you grow big hibiscus flowers!
FAQ
What exactly is this DIY trick, and what ingredients do I need?
This DIY trick involves creating a homemade fertilizer blend using readily available ingredients to promote larger and more vibrant hibiscus blooms. The core ingredients typically include:
* **Compost:** Provides essential nutrients and improves soil structure.
* **Bone Meal:** A rich source of phosphorus, crucial for root development and flowering.
* **Epsom Salts:** Supplies magnesium, which enhances chlorophyll production and flower color.
* **Banana Peels:** A natural source of potassium, essential for flower development.
* **Coffee Grounds:** Adds nitrogen and improves soil acidity, which hibiscus plants prefer.
The specific ratios may vary depending on your soil type and the needs of your hibiscus, but a good starting point is to mix equal parts of compost, bone meal, and coffee grounds, with a smaller amount of Epsom salts and banana peels.
How often should I apply this DIY fertilizer to my hibiscus?
The frequency of application depends on several factors, including the age and size of your hibiscus, the growing conditions, and the type of soil. As a general guideline, you can apply this DIY fertilizer every 4-6 weeks during the growing season (spring and summer). Reduce the frequency to every 8-10 weeks during the dormant season (fall and winter).
For container-grown hibiscus, you may need to fertilize more frequently, as the nutrients in the potting mix tend to leach out more quickly. Monitor your hibiscus closely and adjust the frequency accordingly. Look for signs of nutrient deficiencies, such as yellowing leaves or stunted growth.
Can I use this DIY fertilizer on other flowering plants besides hibiscus?
While this DIY fertilizer is specifically formulated to meet the needs of hibiscus plants, it can also be beneficial for other flowering plants that prefer slightly acidic soil and require high levels of phosphorus and potassium. Roses, azaleas, and camellias are some examples of plants that may benefit from this DIY fertilizer.
However, it’s important to note that different plants have different nutrient requirements. Before applying this DIY fertilizer to other plants, research their specific needs and adjust the ingredients accordingly. For example, some plants may require more nitrogen than others.
My hibiscus leaves are turning yellow. Is this a sign of nutrient deficiency?
Yellowing leaves, also known as chlorosis, can be a sign of nutrient deficiency in hibiscus plants. Several factors can cause chlorosis, including:
* **Iron Deficiency:** Often caused by alkaline soil, which prevents the plant from absorbing iron.
* **Magnesium Deficiency:** Can result in yellowing between the veins of the leaves.
* **Nitrogen Deficiency:** Causes overall yellowing of the leaves, starting with the older leaves.
To address chlorosis, you can amend the soil with sulfur to lower the pH, apply Epsom salts to provide magnesium, or add a nitrogen-rich fertilizer. It’s also important to ensure that your hibiscus is getting adequate sunlight and water.
How do I know if I’m over-fertilizing my hibiscus?
Over-fertilizing can be just as harmful as under-fertilizing. Signs of over-fertilization include:
* **Salt Buildup:** White crust on the soil surface.
* **Leaf Burn:** Brown or crispy edges on the leaves.
* **Stunted Growth:** Despite receiving plenty of fertilizer, the plant doesn’t grow properly.
* **Root Burn:** Damaged roots that can’t absorb water and nutrients.
If you suspect that you’re over-fertilizing your hibiscus, flush the soil with plenty of water to remove excess salts. Reduce the frequency and amount of fertilizer you’re applying.
What kind of soil is best for hibiscus plants?
Hibiscus plants thrive in well-draining, slightly acidic soil. A good soil mix should be rich in organic matter and have a pH between 6.0 and 6.5. You can improve the soil by adding compost, peat moss, or other organic amendments. Avoid heavy clay soils, which can retain too much water and lead to root rot.
How much sunlight does my hibiscus need?
Hibiscus plants need at least 6-8 hours of direct sunlight per day to bloom profusely. Insufficient sunlight can result in fewer flowers and leggy growth. If you’re growing your hibiscus indoors, place it near a sunny window or supplement with artificial grow lights.
What are some common pests and diseases that affect hibiscus plants?
Common pests that affect hibiscus plants include aphids, spider mites, and whiteflies. These pests can suck the sap from the leaves, causing them to yellow and distort. Diseases that can affect hibiscus plants include root rot, leaf spot, and powdery mildew.
To prevent pests and diseases, keep your hibiscus healthy and well-maintained. Provide adequate sunlight, water, and fertilizer. Inspect your plants regularly for signs of infestation or disease. Treat any problems promptly with appropriate insecticides or fungicides.
Can I use this DIY fertilizer on my indoor hibiscus?
Yes, you can use this DIY fertilizer on your indoor hibiscus. However, you may need to adjust the frequency of application, as indoor plants tend to dry out more slowly than outdoor plants. Monitor the soil moisture and fertilize only when the soil is slightly dry to the touch. Also, be careful not to over-fertilize, as this can lead to salt buildup in the potting mix.
How do I store the leftover DIY fertilizer?
Store any leftover DIY fertilizer in an airtight container in a cool, dry place. The fertilizer should last for several months if stored properly. Before using the stored fertilizer, mix it well to ensure that the ingredients are evenly distributed.
Leave a Comment