

Forgotten cleaning areas – we all have them, those little nooks and crannies that somehow escape our regular cleaning routines. Let’s be honest, life gets busy, and sometimes the less obvious spots get overlooked. But dust bunnies and grime can accumulate quickly, impacting not just the appearance of your home, but also the air quality and overall hygiene.
Think about it: our homes are our sanctuaries, places where we relax, recharge, and spend quality time with loved ones. But when those forgotten cleaning areas start to take over, it can subtly affect our mood and well-being. From the dusty tops of ceiling fans to the grimy grout in the bathroom, these neglected spots can harbor allergens and bacteria, potentially leading to health issues.
Throughout history, maintaining a clean home has been a sign of prosperity and well-being. In many cultures, specific rituals and practices are dedicated to cleansing and purifying living spaces. While we may not follow ancient traditions, the desire for a clean and healthy home remains universal. That’s why I’m excited to share some simple yet effective DIY tricks and hacks to tackle those forgotten cleaning areas and restore your home to its sparkling best. Get ready to discover easy solutions that will make a big difference in your home’s cleanliness and your overall peace of mind!
DIY Deep Clean: Tackling Those Forgotten Cleaning Spots!
Okay, let’s be honest, we all have those areas in our homes that we conveniently “forget” to clean. You know, the ones that aren’t immediately visible or don’t scream for attention. But trust me, these neglected spots can harbor dust, grime, and even bacteria, impacting your home’s overall cleanliness and air quality. So, grab your gloves, your favorite cleaning supplies, and let’s dive into a deep clean of those often-overlooked areas!
Phase 1: Kitchen Deep Dive
The kitchen is a high-traffic area, and it’s easy for grime to accumulate in hidden spots. Let’s tackle these first!
Cleaning the Refrigerator Coils
Did you know that dusty refrigerator coils can make your fridge work harder and less efficiently? This can lead to higher energy bills and a shorter lifespan for your appliance.
What you’ll need:
* Vacuum cleaner with a hose attachment
* Soft brush attachment (optional)
Step-by-step instructions:
1. Unplug the refrigerator: Safety first! Always unplug your refrigerator before cleaning the coils.
2. Locate the coils: The coils are usually located at the back of the refrigerator or underneath it. You might need to remove a panel to access them.
3. Vacuum the coils: Use the vacuum cleaner with the hose attachment to carefully vacuum the coils. If you have a soft brush attachment, use it to gently loosen any stubborn dust.
4. Replace the panel (if applicable): Once the coils are clean, replace the panel you removed earlier.
5. Plug the refrigerator back in: Plug your refrigerator back in and let it run. You should notice it running more efficiently.
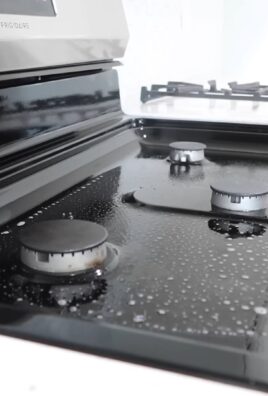
Cleaning Underneath Appliances
Crumbs, spills, and dust bunnies love to hide under appliances like your refrigerator, stove, and dishwasher.
What you’ll need:
* Broom or vacuum cleaner with a long attachment
* Damp cloth or mop
* Dish soap (optional)
Step-by-step instructions:
1. Carefully move the appliance (if possible): If you can safely move the appliance a few inches, do so. Be careful not to damage any flooring or connections. If you can’t move it, that’s okay, we’ll work with what we have.
2. Sweep or vacuum: Use the broom or vacuum cleaner with a long attachment to sweep or vacuum underneath the appliance.
3. Wipe with a damp cloth: Use a damp cloth or mop to wipe up any spills or sticky residue. If needed, add a little dish soap to the water.
4. Dry the area: Make sure the area is completely dry before moving the appliance back into place (if you moved it).
Cleaning the Dishwasher Filter
A clogged dishwasher filter can lead to poor cleaning performance and unpleasant odors.
What you’ll need:
* Dish soap
* Soft brush or sponge
* Running water
Step-by-step instructions:
1. Locate the filter: The dishwasher filter is usually located at the bottom of the dishwasher. Consult your dishwasher’s manual if you’re unsure where to find it.
2. Remove the filter: Carefully remove the filter from the dishwasher.
3. Rinse the filter: Rinse the filter under running water to remove any large debris.
4. Wash the filter: Wash the filter with dish soap and a soft brush or sponge to remove any remaining grime.
5. Rinse the filter again: Rinse the filter thoroughly under running water.
6. Replace the filter: Replace the filter in the dishwasher.
Cleaning the Microwave Interior (Top and Behind the Rotating Plate)
We often wipe down the microwave, but the top and the area behind the rotating plate are often neglected. Splatters and spills can harden over time, making them difficult to remove.
What you’ll need:
* Microwave-safe bowl
* Water
* Lemon juice or vinegar
* Sponge or cloth
Step-by-step instructions:
1. Prepare the cleaning solution: Fill a microwave-safe bowl with 1 cup of water and add 2 tablespoons of lemon juice or vinegar.
2. Microwave the solution: Microwave the solution on high for 3-5 minutes, or until the water boils and the microwave is filled with steam.
3. Let it sit: Let the bowl sit in the microwave for 5-10 minutes. The steam will loosen any hardened food splatters.
4. Wipe clean: Carefully remove the bowl (it will be hot!) and wipe down the interior of the microwave with a sponge or cloth. Pay special attention to the top and the area behind the rotating plate.
5. Remove and clean the rotating plate: Remove the rotating plate and wash it with soap and water. Dry it thoroughly before replacing it.
Phase 2: Bathroom Blitz
The bathroom is another area prone to hidden grime and mildew. Let’s get those forgotten spots sparkling!
Cleaning Showerheads and Faucets
Mineral deposits can build up on showerheads and faucets, reducing water pressure and making them look dull.
What you’ll need:
* White vinegar
* Plastic bag or bowl
* Rubber band or tape
* Old toothbrush
Step-by-step instructions:
1. Fill a bag or bowl with vinegar: Fill a plastic bag or bowl with white vinegar.
2. Submerge the showerhead or faucet: Submerge the showerhead or faucet in the vinegar. If using a bag, secure it with a rubber band or tape.
3. Soak overnight: Let the showerhead or faucet soak in the vinegar overnight.
4. Scrub with a toothbrush: Remove the bag or bowl and scrub the showerhead or faucet with an old toothbrush to remove any remaining mineral deposits.
5. Rinse thoroughly: Rinse the showerhead or faucet thoroughly with water.
Cleaning Grout
Grout can easily become stained and discolored over time.
What you’ll need:
* Baking soda
* White vinegar
* Old toothbrush or grout brush
* Spray bottle
Step-by-step instructions:
1. Make a paste: Mix baking soda and water to form a paste.
2. Apply the paste: Apply the paste to the grout lines.
3. Spray with vinegar: Spray the paste with white vinegar. The mixture will fizz.
4. Scrub the grout: Scrub the grout lines with an old toothbrush or grout brush.
5. Rinse thoroughly: Rinse the grout lines thoroughly with water.
Cleaning Behind the Toilet
This area is often overlooked, but it can accumulate dust, hair, and spills.
What you’ll need:
* Toilet bowl cleaner
* Toilet brush
* All-purpose cleaner
* Damp cloth or paper towels
Step-by-step instructions:
1. Flush the toilet: Flush the toilet to clear the bowl.
2. Apply toilet bowl cleaner: Apply toilet bowl cleaner to the inside of the toilet bowl.
3. Clean behind the toilet: Spray all-purpose cleaner behind the toilet and wipe clean with a damp cloth or paper towels. Pay attention to the floor, the base of the toilet, and the wall behind it.
4. Scrub the toilet bowl: Scrub the inside of the toilet bowl with a toilet brush.
5. Flush again: Flush the toilet again to rinse the bowl.
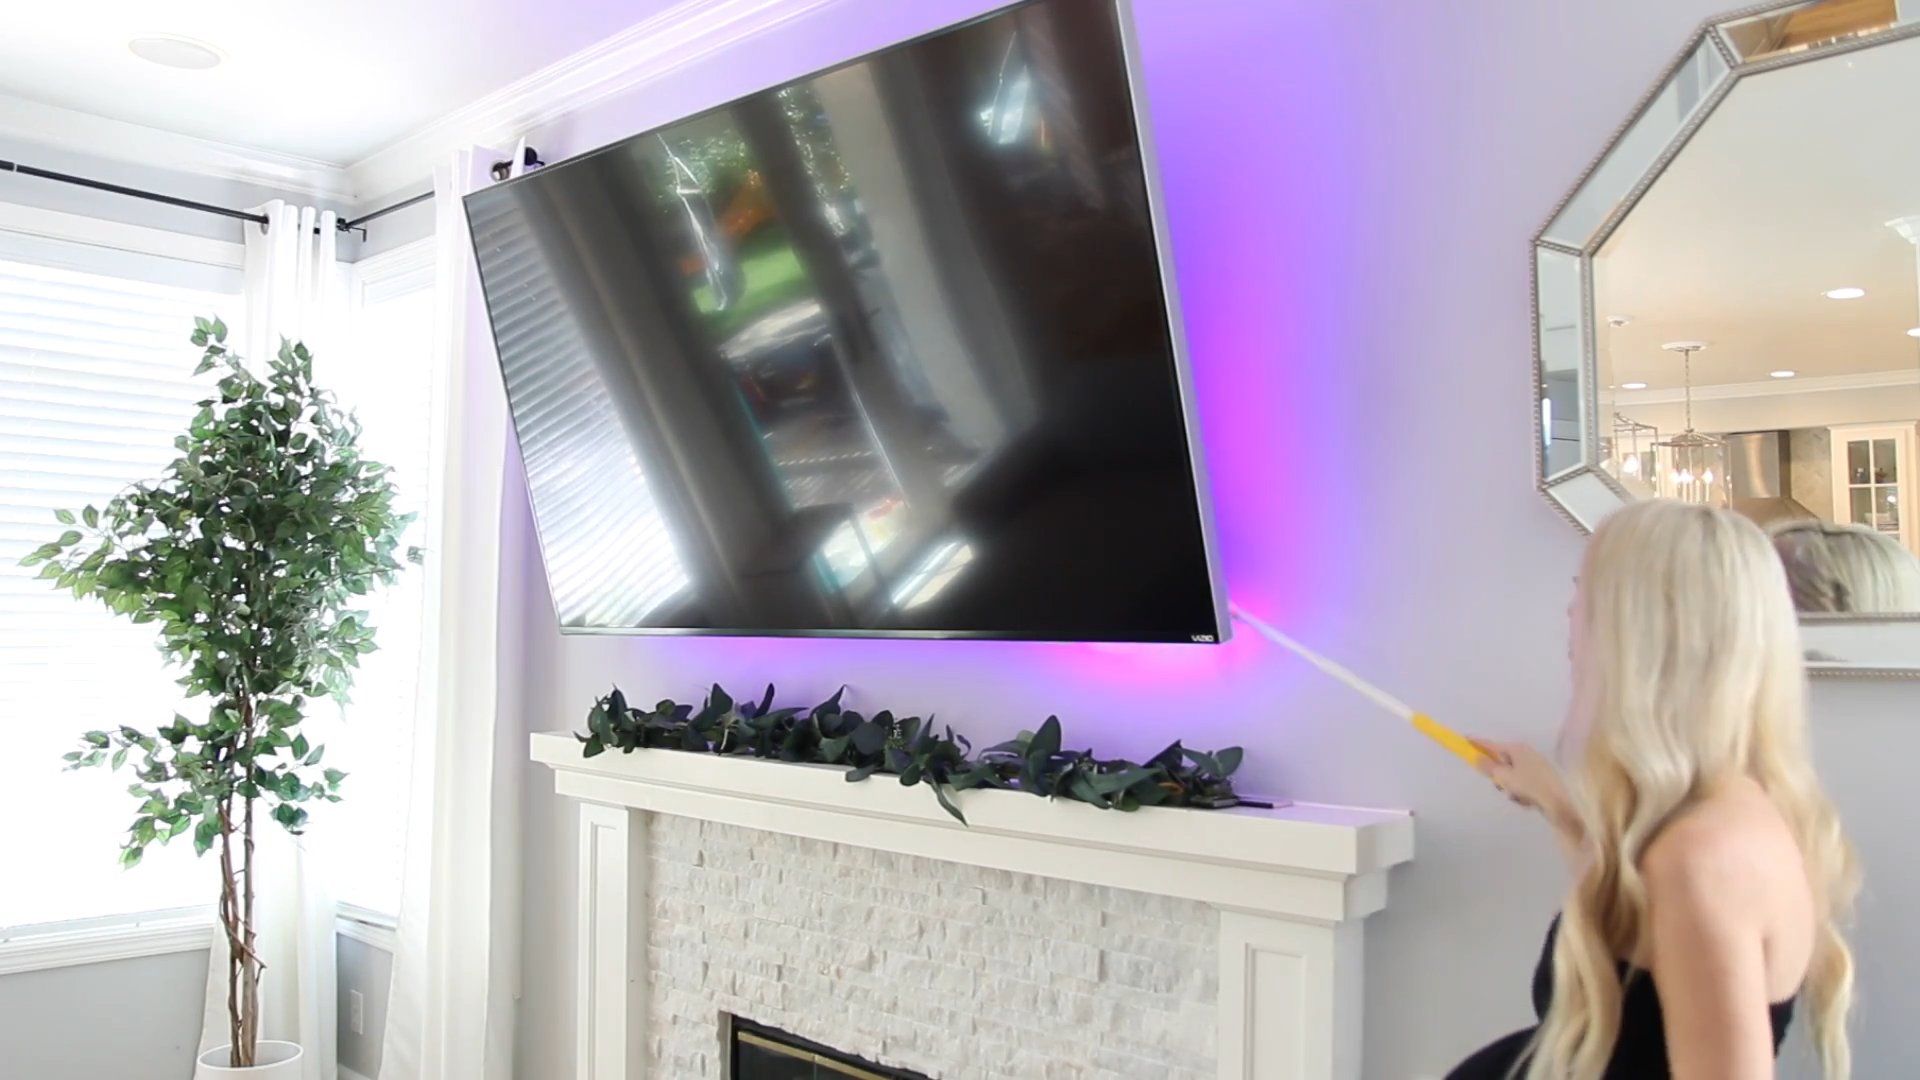
Phase 3: Living Areas and Bedrooms
Let’s not forget the living areas and bedrooms! These spaces also have their share of forgotten cleaning spots.
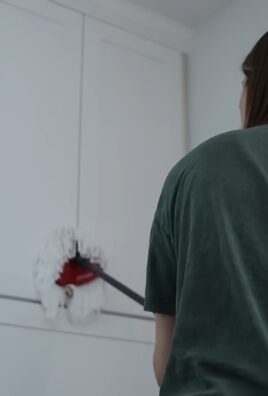
Cleaning Baseboards
Baseboards can collect dust, dirt, and scuff marks.
What you’ll need:
* Vacuum cleaner with a brush attachment
* Damp cloth or sponge
* All-purpose cleaner (optional)
Step-by-step instructions:
1. Vacuum the baseboards: Use the vacuum cleaner with the brush attachment to vacuum the baseboards.
2. Wipe with a damp cloth: Wipe the baseboards with a damp cloth or sponge to remove any remaining dirt or scuff marks. If needed, add a little all-purpose cleaner to the water.
3. Dry the baseboards: Dry the baseboards with a clean cloth.
Cleaning Light Fixtures
Dust can accumulate on light fixtures, reducing their brightness.
What you’ll need:
* Ladder or step stool
* Vacuum cleaner with a brush attachment
* Damp cloth or sponge
* All-purpose cleaner (optional)
Step-by-step instructions:
1. Turn off the light: Turn
Conclusion
So, there you have it! Unveiling the secrets to tackling those often-overlooked and forgotten cleaning areas in your home. This isn’t just about ticking off items on a checklist; it’s about creating a healthier, more comfortable, and truly clean living space. By implementing these simple yet effective DIY tricks, you’re not only removing dirt and grime but also preventing the build-up of allergens, mold, and other nasties that can impact your well-being.
The beauty of these methods lies in their simplicity and accessibility. You likely already have most of the ingredients you need right in your pantry! No need for expensive, harsh chemicals when you can achieve sparkling results with natural, budget-friendly solutions. Think of the satisfaction of knowing you’re cleaning your home with ingredients you trust, while also reducing your environmental impact.
But the real magic happens when you personalize these techniques to suit your specific needs and preferences. For instance, if you’re tackling hard water stains in your shower, consider adding a few drops of your favorite essential oil, like lavender or eucalyptus, to the vinegar solution for a refreshing scent. Or, if you’re cleaning your garbage disposal, throw in some citrus peels along with the ice cubes and salt for an extra burst of freshness.
Don’t be afraid to experiment and adapt these methods to your unique situation. Have a particularly stubborn stain on your grout? Try creating a paste of baking soda and hydrogen peroxide and letting it sit for a bit longer before scrubbing. Dealing with dusty blinds? Use an old sock dampened with a cleaning solution to easily wipe between the slats. The possibilities are endless!
This DIY approach to cleaning forgotten areas is a game-changer. It’s not just about cleaning; it’s about taking control of your environment and creating a space that truly reflects your values.
We’re confident that once you try these DIY tricks, you’ll be amazed at the difference they make. From the sparkling clean grout to the fresh-smelling garbage disposal, you’ll notice a significant improvement in the overall cleanliness and hygiene of your home.
So, what are you waiting for? Grab your supplies, roll up your sleeves, and get ready to conquer those forgotten cleaning areas! We encourage you to try these methods and share your experiences with us. Let us know what worked best for you, any variations you tried, and any tips you have to share. Together, we can create a community of clean-home enthusiasts who are passionate about creating healthy and happy living spaces. Share your before and after photos, your favorite cleaning hacks, and your overall experience. We can’t wait to hear from you!
Frequently Asked Questions (FAQs)
What are the most commonly forgotten cleaning areas in a home?
The most commonly forgotten cleaning areas often include:
* **Garbage Disposal:** This area is a breeding ground for bacteria and odors if not cleaned regularly.
* **Grout:** Grout between tiles in bathrooms and kitchens can easily become stained and discolored.
* **Showerheads:** Mineral deposits can build up and reduce water pressure.
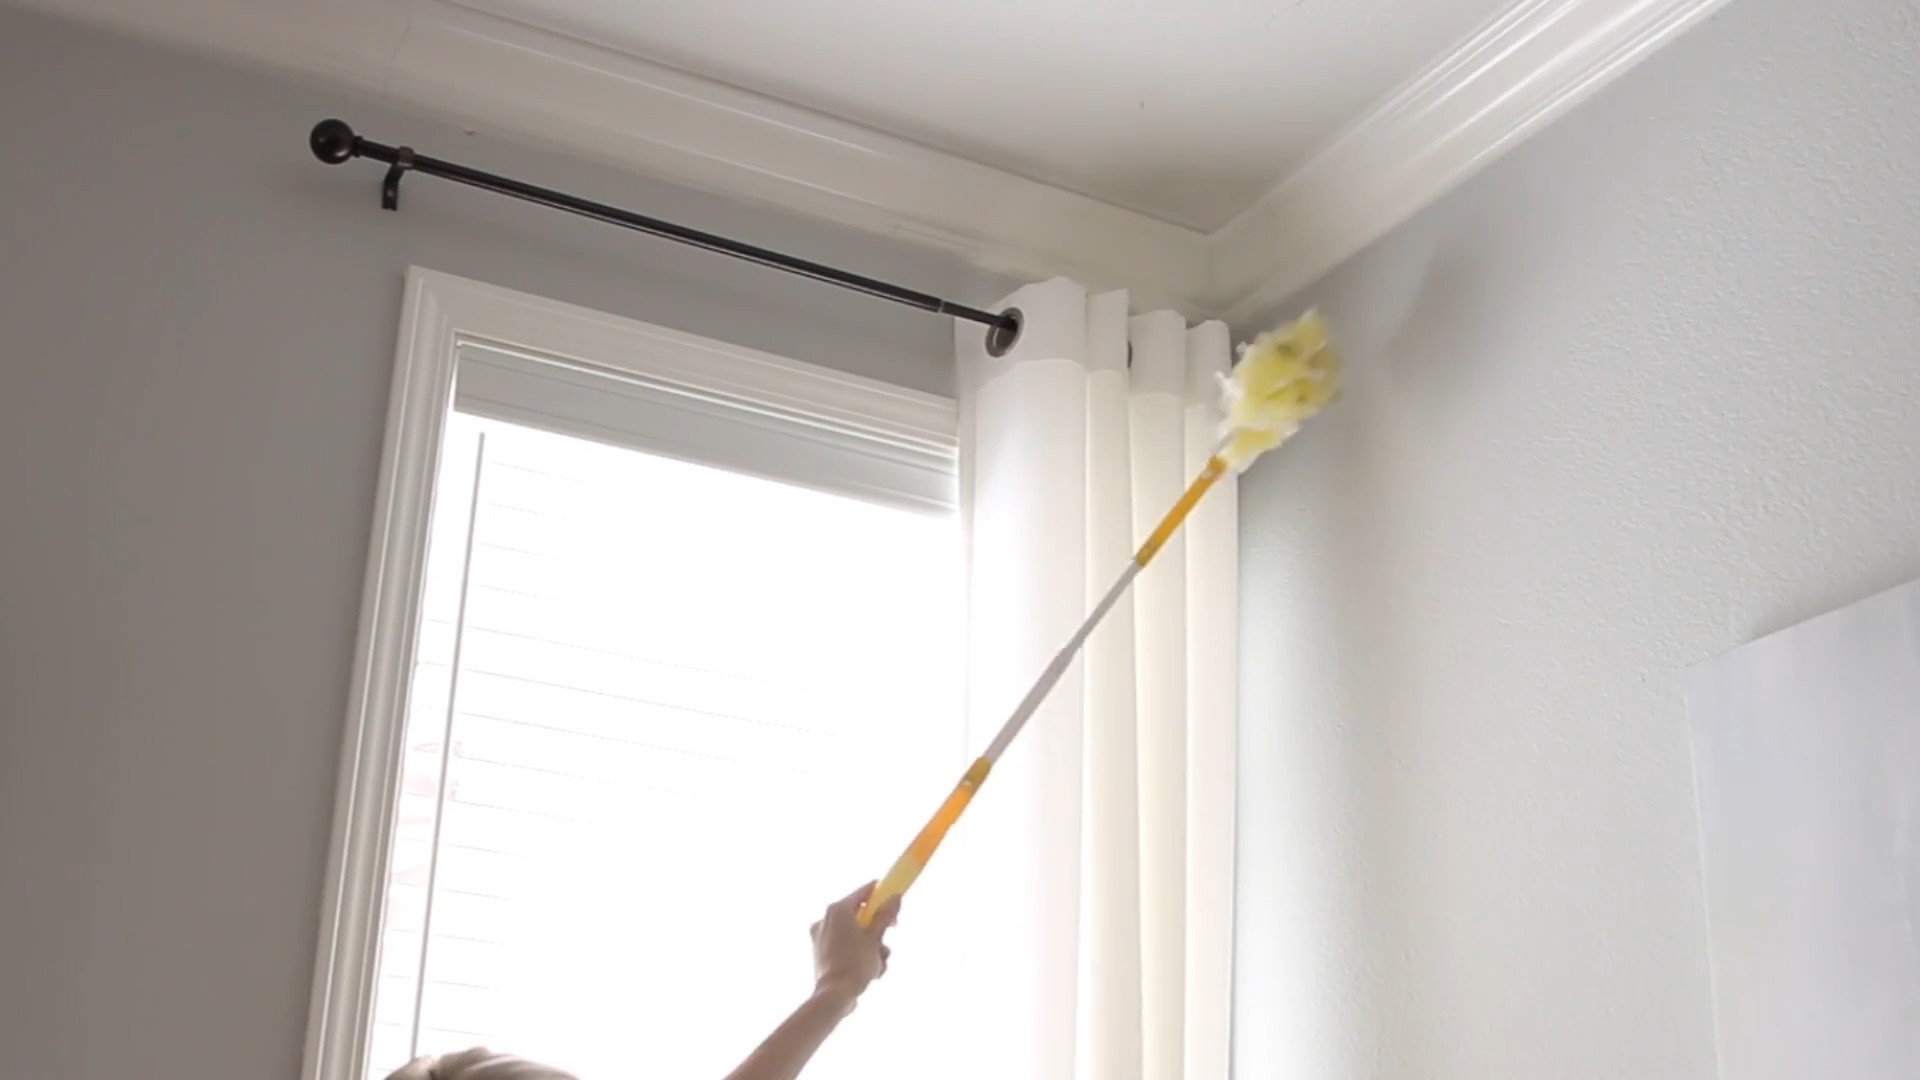
* **Blinds and Curtains:** These often accumulate dust and allergens.
* **Light Fixtures:** Dust and insects can collect inside and outside light fixtures.
* **Underneath Appliances:** Areas under the refrigerator, stove, and washing machine are often neglected.
* **Doorknobs and Light Switches:** These high-touch surfaces can harbor germs.
* **Remote Controls:** Another high-touch surface that needs regular cleaning.
* **Toothbrush Holders:** These can accumulate bacteria and grime.
* **Washing Machine:** The washing machine itself needs to be cleaned to prevent mold and mildew.
How often should I clean these forgotten areas?
The frequency of cleaning depends on the area and how often it’s used. Here’s a general guideline:
* **Garbage Disposal:** Clean weekly to prevent odors and bacteria build-up.
* **Grout:** Clean monthly or as needed to remove stains.
* **Showerheads:** Clean every 3-6 months to remove mineral deposits.
* **Blinds and Curtains:** Dust weekly and wash or dry clean seasonally.
* **Light Fixtures:** Dust monthly and clean thoroughly every 3-6 months.
* **Underneath Appliances:** Clean every 3-6 months to remove dust and debris.
* **Doorknobs and Light Switches:** Clean weekly, especially during cold and flu season.
* **Remote Controls:** Clean weekly.
* **Toothbrush Holders:** Clean weekly.
* **Washing Machine:** Clean monthly to prevent mold and mildew.
What are some natural cleaning solutions I can use for these areas?
Many effective natural cleaning solutions can be made with common household ingredients:
* **Vinegar:** Excellent for removing hard water stains, disinfecting, and deodorizing.
* **Baking Soda:** A mild abrasive that’s great for scrubbing and deodorizing.
* **Lemon Juice:** A natural disinfectant and degreaser.
* **Hydrogen Peroxide:** A powerful disinfectant and stain remover.
* **Essential Oils:** Add a pleasant scent and can have antibacterial properties.
Are these DIY cleaning methods safe for all surfaces?
While most of these DIY cleaning methods are safe for a wide range of surfaces, it’s always a good idea to test them in an inconspicuous area first. Avoid using abrasive cleaners on delicate surfaces like marble or wood. Always dilute vinegar and lemon juice before using them on painted surfaces.
How can I prevent these areas from getting dirty in the first place?
Prevention is key to keeping these areas clean and reducing the amount of time you spend cleaning. Here are some tips:
* **Wipe down surfaces regularly:** A quick wipe-down after each use can prevent dirt and grime from building up.
* **Use a shower squeegee:** After each shower, use a squeegee to remove water from the walls and door to prevent hard water stains.
* **Use a doormat:** Place a doormat at each entrance to trap dirt and debris before it enters your home.
* **Ventilate your home:** Proper ventilation can help prevent moisture build-up and reduce the risk of mold and mildew.
* **Clean up spills immediately:** Don’t let spills sit for too long, as they can stain and attract dirt.
What if I have stubborn stains that won’t come off?
For stubborn stains, you may need to use a stronger cleaning solution or a more abrasive scrubbing tool. Try creating a paste of baking soda and hydrogen peroxide for grout stains, or use a specialized cleaner for hard water stains. You can also try using a steam cleaner to loosen dirt and grime. If all else fails, you may need to call in a professional cleaning service.
Can I use these DIY cleaning methods if I have allergies or sensitivities?
If you have allergies or sensitivities, it’s important to choose cleaning solutions that are safe for you. Avoid using harsh chemicals or fragrances that can trigger your symptoms. Opt for natural cleaning solutions like vinegar, baking soda, and lemon juice, and always wear gloves and a mask when cleaning. You can also test the cleaning solution in a small area first to see if it causes any reaction.
Where can I find more information about DIY cleaning methods?
There are many resources available online and in libraries that can provide you with more information about DIY cleaning methods. You can also find helpful tips and advice from cleaning experts and bloggers. Don’t be afraid to experiment and find what works best for you and your home. Remember, DIY cleaning is all about finding creative and effective solutions that are tailored to your specific needs.
Leave a Comment