

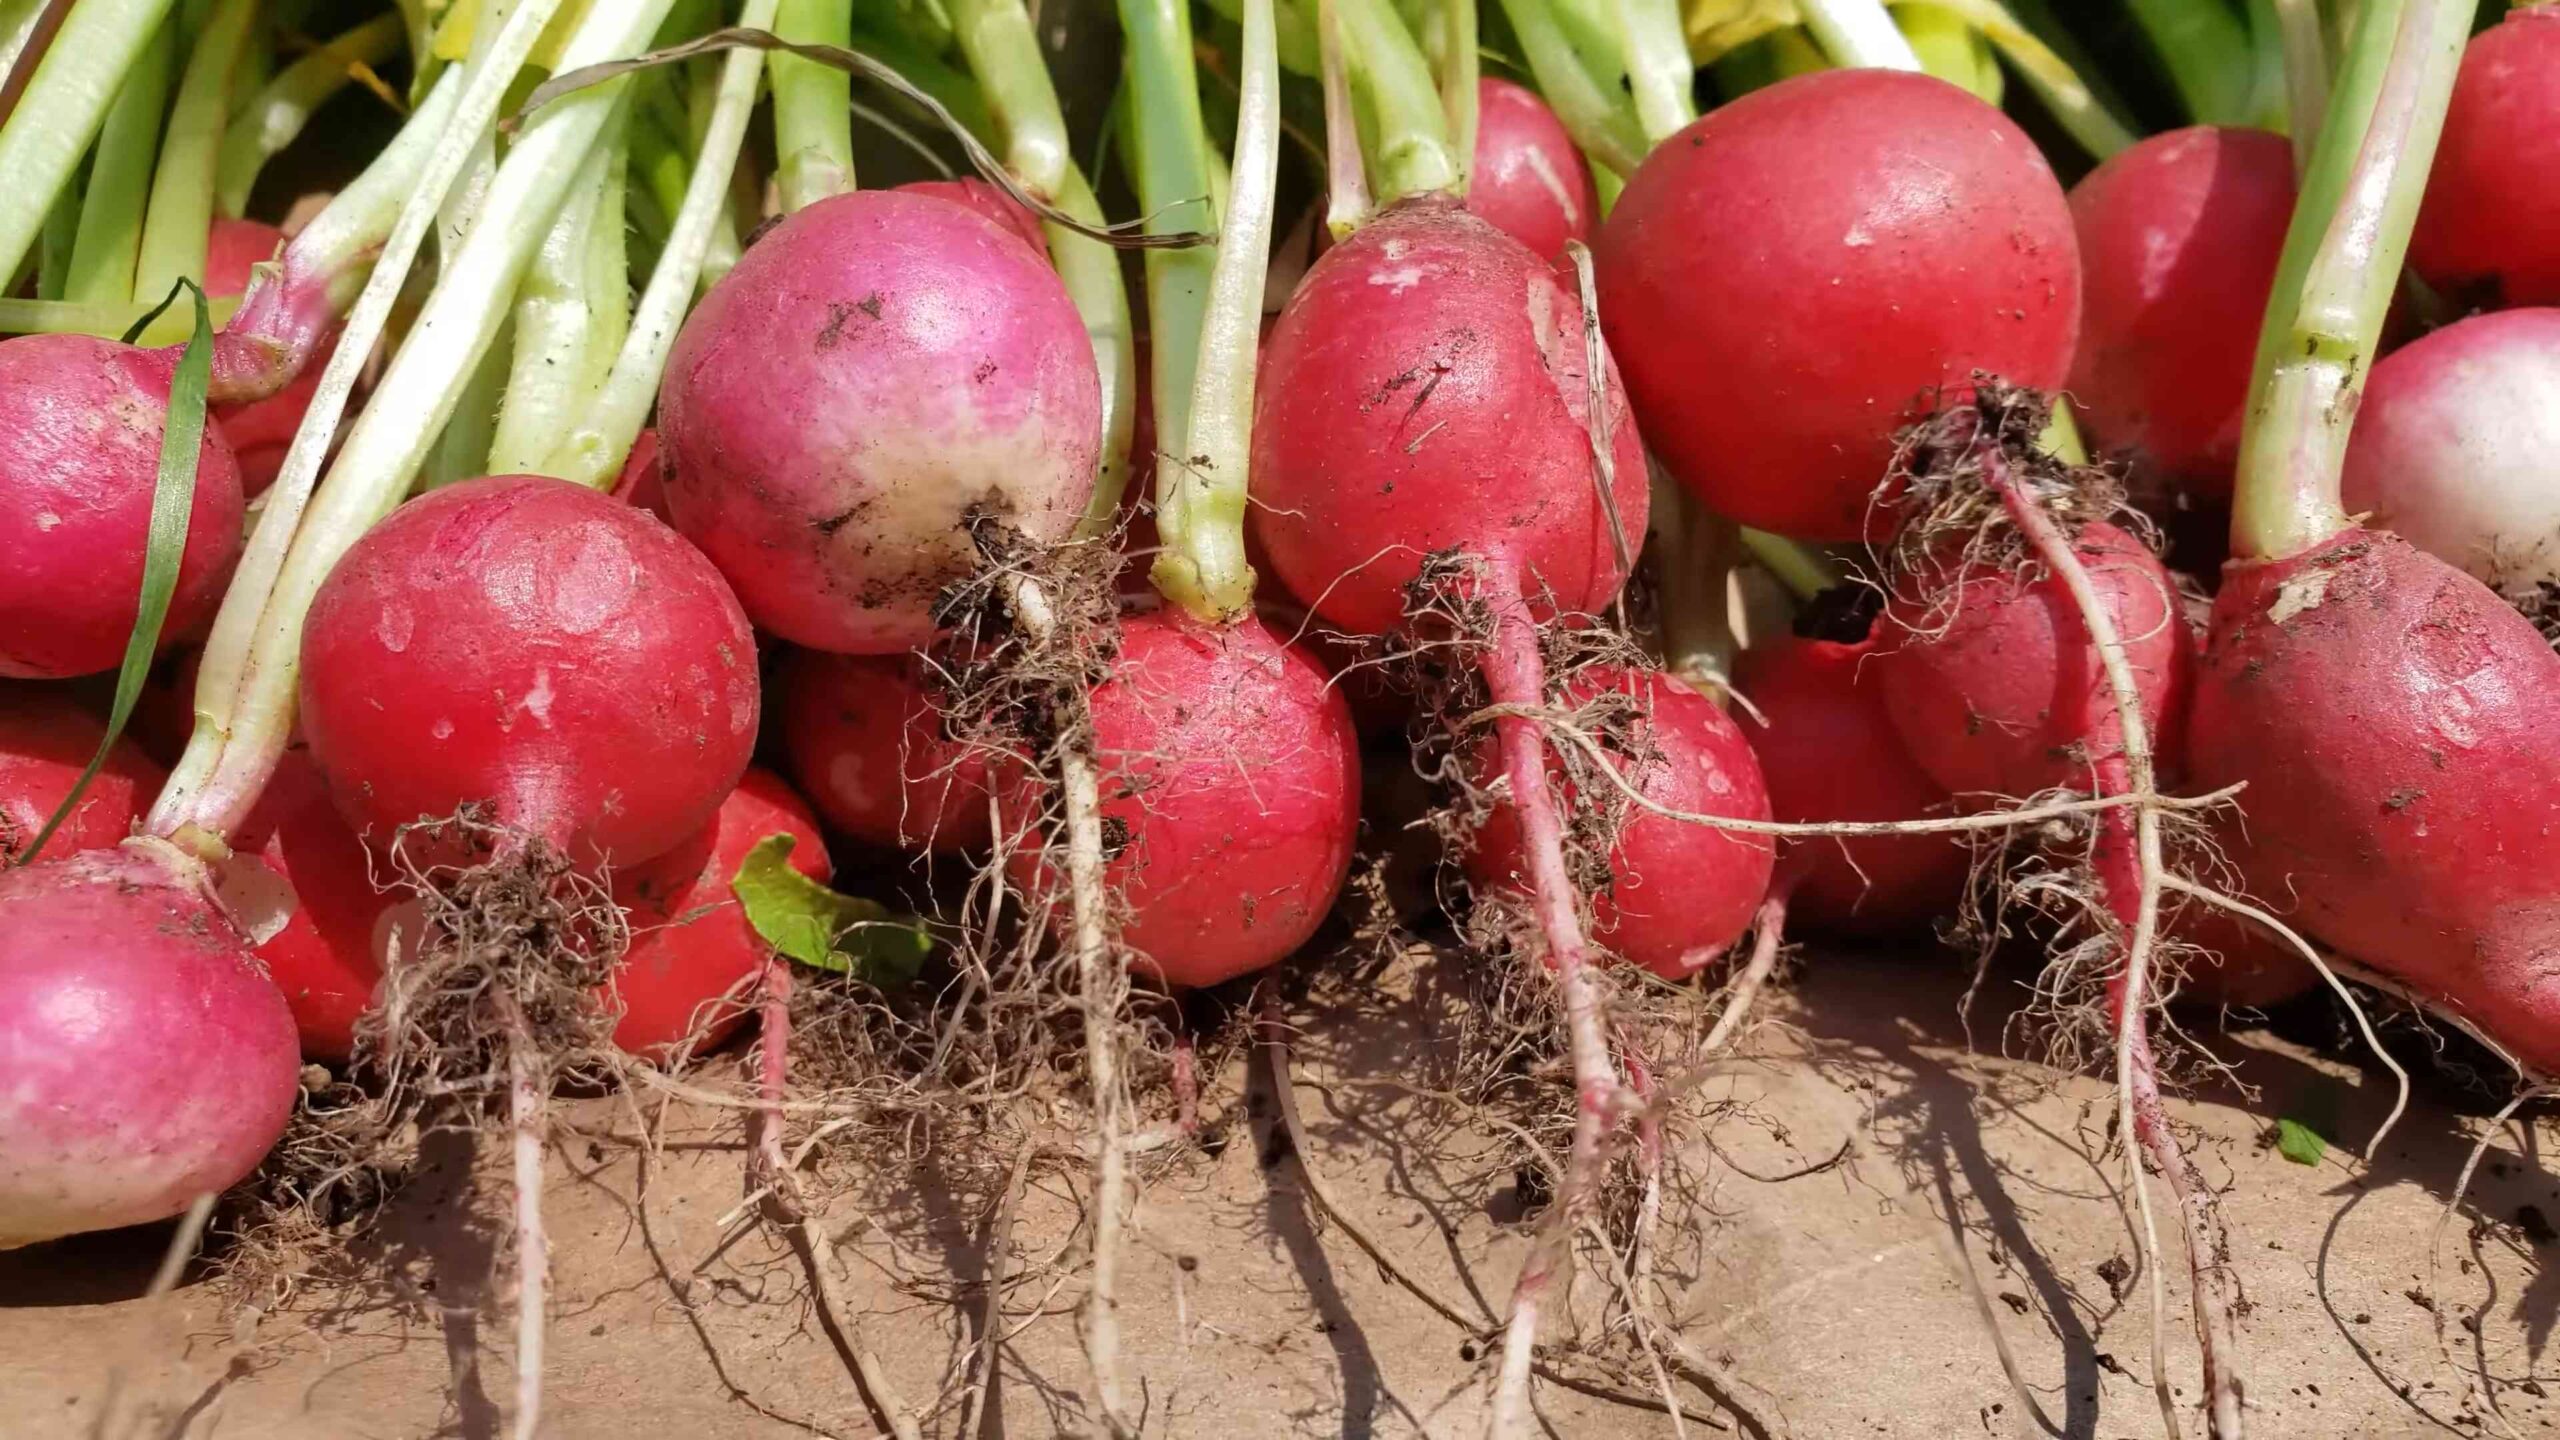
Faster Radish Harvest: Who doesn’t love the satisfying crunch of a freshly picked radish? But let’s be honest, waiting for those little red globes to mature can feel like an eternity! I know I’ve been there, impatiently checking my radish patch every day, willing them to grow faster.
Radishes have been cultivated for centuries, with roots (pun intended!) tracing back to ancient Egypt. They were even a staple food for the pyramid builders! Today, they’re a beloved addition to salads, snacks, and even cooked dishes around the world. But the key is getting them from seed to table quickly.
That’s why I’m so excited to share these simple, yet effective, DIY tricks and hacks that will help you achieve a faster radish harvest. We’ll explore everything from soil preparation to watering techniques, all designed to give your radishes the boost they need to reach maturity in record time. Imagine enjoying crisp, peppery radishes just weeks after planting! No more waiting around – let’s get those radishes growing!
Faster Radish Harvest: My Secret DIY Soil Sifter
Okay, radish lovers, let’s talk about getting those peppery little gems out of the ground faster and cleaner! I’ve been gardening for years, and one of my biggest pet peeves was spending ages picking through soil to find my radishes, only to end up with half of them bruised or broken. So, I came up with this super simple DIY soil sifter that has seriously revolutionized my radish harvest. Trust me, it’s a game-changer!
Why You Need a Soil Sifter for Radishes
Before we dive into the how-to, let’s quickly cover why this is so beneficial. Radishes are small and often grow close together. When you pull them, you inevitably end up with a lot of soil clinging to the roots. Trying to wash that off can be messy and time-consuming. Plus, you risk damaging the delicate skin of the radishes.
A soil sifter allows you to separate the radishes from the soil quickly and efficiently, leaving you with clean, ready-to-eat (or sell!) radishes. It also helps you recover any tiny radishes you might have missed during the initial harvest. No more radish casualties!
Materials You’ll Need
This project is all about using what you have on hand, so don’t feel like you need to buy everything brand new. Here’s what I used:
* A sturdy wooden crate or box (mine was about 18 inches long, 12 inches wide, and 8 inches deep). An old apple crate works perfectly!
* Hardware cloth (1/2 inch mesh is ideal for radishes). You’ll need enough to cover the bottom of your crate with a little extra for securing it.
* Staple gun and staples (a heavy-duty one is best).
* Scissors or wire cutters.
* Gloves (to protect your hands from the hardware cloth).
* Optional: Sandpaper (for smoothing any rough edges on the crate).
* Optional: Wood stain or paint (to pretty up your sifter).
* Two sawhorses or sturdy chairs to support the sifter.
Building Your Radish Soil Sifter: Step-by-Step
Alright, let’s get building! This is a pretty straightforward project, and you should be able to complete it in an hour or two.
1. Prepare Your Crate: First things first, give your wooden crate a good once-over. If it has any rough edges or splinters, sand them down with sandpaper. This will make it more comfortable to handle. If you want to get fancy, you can stain or paint the crate to match your garden decor. I left mine natural for a rustic look.
2. Measure and Cut the Hardware Cloth: Now, measure the inside bottom of your crate. You’ll need to cut a piece of hardware cloth that’s slightly larger than this measurement. This will allow you to easily staple it to the inside of the crate. Use your scissors or wire cutters to carefully cut the hardware cloth. Be careful, the edges can be sharp! Wear gloves to protect your hands.
3. Secure the Hardware Cloth: Place the hardware cloth inside the crate, making sure it covers the entire bottom. Use your staple gun to secure the hardware cloth to the inside walls of the crate. Start by stapling the corners, then work your way around the perimeter, spacing the staples about an inch or two apart. Make sure the hardware cloth is taut and secure. You don’t want it sagging when you put soil on it.
4. Reinforce the Edges (Optional): If you’re worried about the hardware cloth coming loose, you can reinforce the edges with extra staples or even add a thin strip of wood around the inside perimeter to hold it in place. I haven’t found this necessary, but it’s an option if you’re using a particularly flimsy crate.
5. Test Your Sifter: Before you head out to the garden, give your sifter a test run. Place it over your sawhorses or chairs, and pour a small amount of soil into it. Gently shake the sifter back and forth. The soil should fall through the mesh, leaving any larger debris behind. If the mesh is too small or too large, you may need to adjust it.
Harvesting Radishes with Your New Sifter
Now for the fun part – putting your sifter to work!
1. Prepare Your Sifting Station: Set up your sawhorses or chairs in a convenient location near your radish patch. Place your sifter on top of them. You’ll also want to have a container nearby to collect your clean radishes.
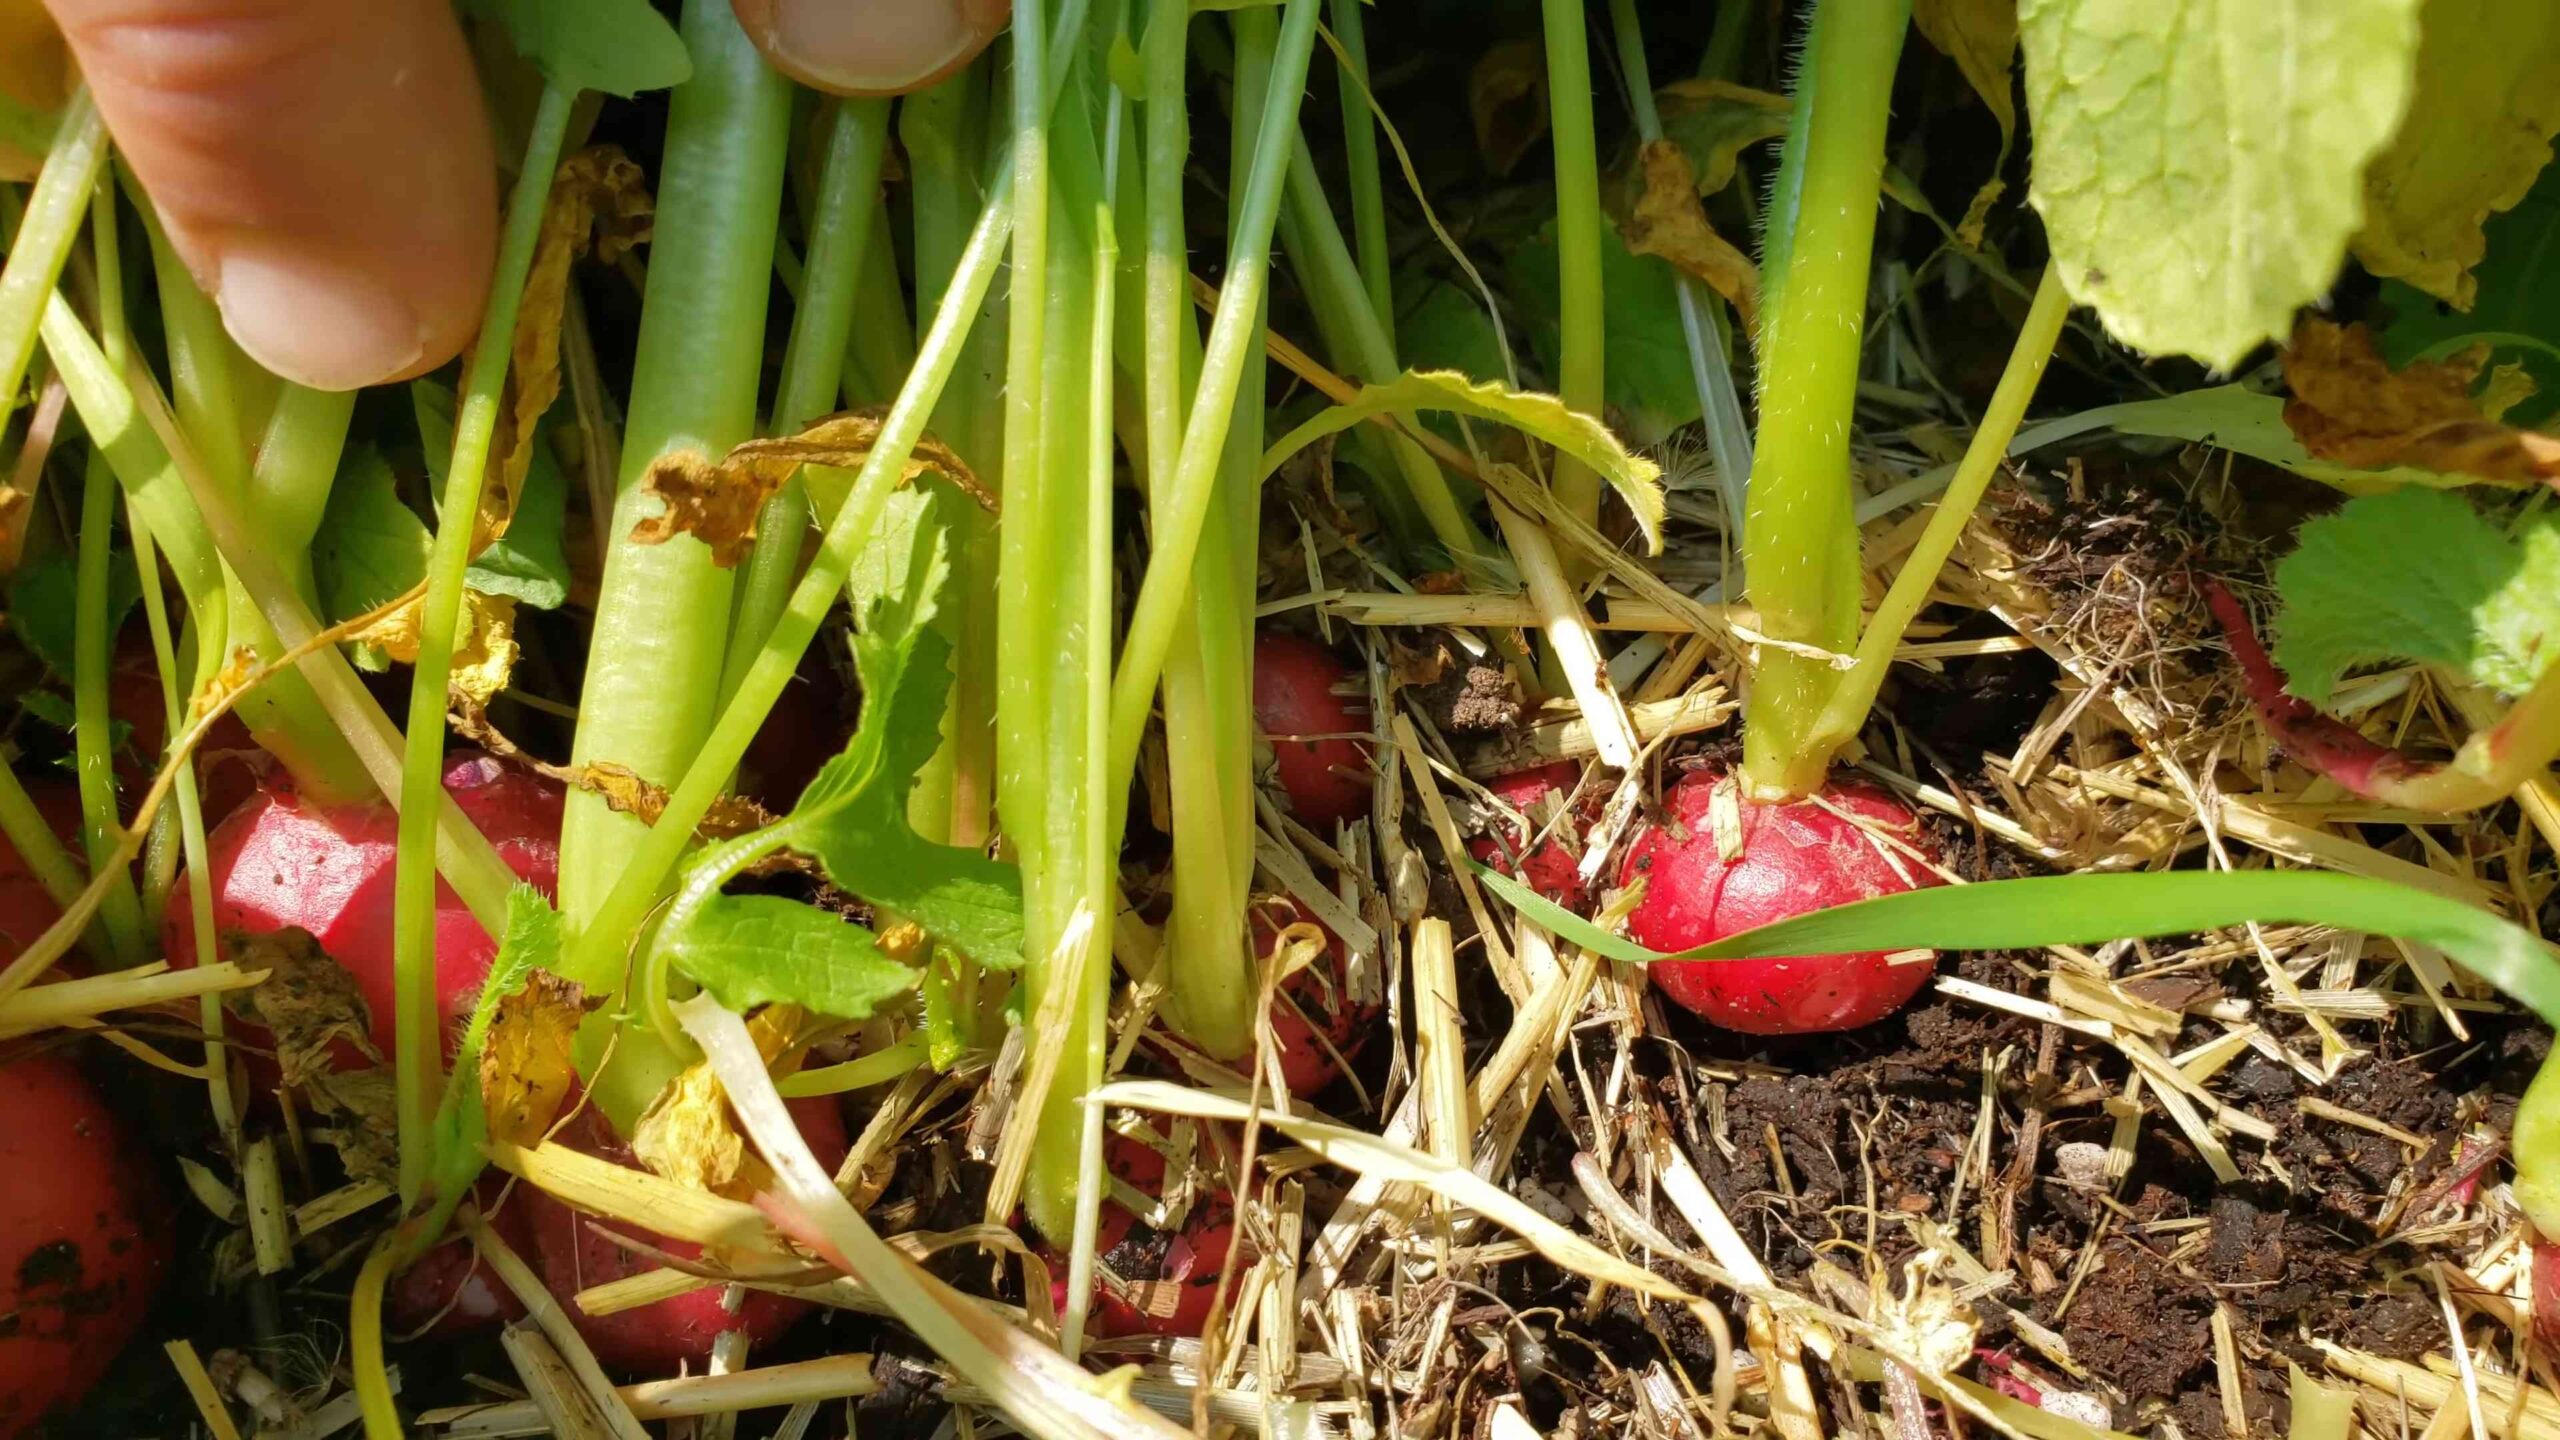
2. Harvest Your Radishes: Gently pull your radishes from the ground. Try to get as much of the root as possible, but don’t worry about removing all the soil.
3. Load the Sifter: Place a handful of radishes and soil into the sifter. Don’t overload it – you want to be able to shake it effectively.
4. Sift, Sift, Sift!: Gently shake the sifter back and forth over the sawhorses or chairs. The soil will fall through the mesh, leaving the radishes behind. You may need to use your hands to gently separate any clumps of soil.
5. Collect Your Clean Radishes: Once the soil has been sifted, carefully remove the clean radishes from the sifter and place them in your container.
6. Repeat: Repeat steps 3-5 until you’ve harvested all your radishes.
Tips and Tricks for Sifting Success
* Work in Small Batches: Don’t try to sift too much soil at once. It’s more efficient to work in small batches.
* Adjust Your Technique: Experiment with different shaking techniques to find what works best for you. A gentle back-and-forth motion is usually the most effective.
* Clean Your Sifter Regularly: As you sift, the mesh can become clogged with soil. Use a brush or your hand to clean it off periodically.
* Consider Soil Moisture: Sifting works best when the soil is relatively dry. If the soil is too wet, it will clump together and be difficult to sift. If your soil is wet, let it dry out a bit before sifting.
* Don’t Forget the Little Ones!: Pay close attention to the soil that falls through the mesh. You might find some tiny radishes that you missed during the initial harvest.
* Compost the Soil: Don’t waste the soil that you sift out! Add it to your compost pile or use it to amend other garden beds.
Other Uses for Your Soil Sifter
While I originally created this sifter for radishes, it’s actually incredibly versatile. Here are a few other ways you can use it in your garden:
* Sifting Compost: Use it to sift compost to remove any large chunks or debris. This will give you a finer, more usable compost for your plants.
* Preparing Seed Starting Mix: Sift your seed starting mix to remove any clumps or rocks. This will create a smoother, more even surface for your seeds to germinate.
* Cleaning Root Vegetables: Use it to clean other root vegetables like carrots, beets, and potatoes.
* Removing Rocks from Soil: If you have rocky soil, use it to remove rocks and debris before planting.
* Finding Lost Items: Okay, this is a bit of a stretch, but if you lose a small item in your garden (like a earring or a small tool), you could potentially use the sifter to help you find it!
Troubleshooting
* Soil is Clogging the Mesh: This usually happens when the soil is too wet. Let the soil dry out a bit before sifting. You can also try using a brush to clean the mesh.
* Hardware Cloth is Sagging: Make sure the hardware cloth is securely stapled to the crate. If it’s still sagging, you may need to add more staples or reinforce the edges.
* Radishes are Getting Bruised: Be gentle when shaking the sifter. If you’re shaking too vigorously, you could bruise the radishes.
* Crate is Too Small/Large: Adjust the size of the crate to fit your needs. A larger crate will allow you to sift more soil at once, but it will also be heavier to handle. A smaller crate will be easier to handle, but you’ll need to sift more batches.
I hope this DIY soil sifter helps you harvest your radishes faster and easier! It’s a simple project that can make a big difference in your gardening routine. Happy gardening!
Conclusion
So, there you have it! This simple yet effective DIY trick for a faster radish harvest is a game-changer for any gardener, whether you’re a seasoned pro or just starting out. We’ve shown you how proper soil preparation, strategic thinning, and consistent watering can dramatically reduce the time it takes to enjoy those crisp, peppery radishes. No more waiting impatiently for weeks on end!
Think about it: fresher salads, vibrant garnishes, and the satisfaction of harvesting your own produce weeks earlier than you thought possible. This isn’t just about speed; it’s about maximizing your garden’s potential and enjoying the fruits (or rather, roots!) of your labor sooner.
But don’t just take our word for it. We encourage you to put this DIY trick to the test in your own garden. Experiment with different radish varieties to see which ones respond best to this method. Consider adding a layer of compost tea every couple of weeks to further boost growth and nutrient uptake. You could even try companion planting with carrots or lettuce, which are known to benefit radishes.
And the beauty of this technique is its adaptability. If you’re gardening in containers, simply adjust the watering schedule to account for the faster drainage. If you’re dealing with particularly heavy clay soil, amend it generously with organic matter to improve drainage and aeration. The key is to observe your plants closely and make adjustments as needed.
This method isn’t just about getting a faster radish harvest; it’s about understanding the needs of your plants and creating an environment where they can thrive. It’s about becoming a more intuitive and successful gardener.
We’re confident that you’ll be amazed by the results. Imagine pulling up those plump, juicy radishes just weeks after planting, ready to add a burst of flavor to your meals. It’s a truly rewarding experience.
So, grab your seeds, prepare your soil, and get ready for a bumper crop of radishes in record time. And most importantly, don’t forget to share your experiences with us! We’d love to hear about your successes, your challenges, and any variations you’ve discovered along the way. Post your photos and stories in the comments below, or tag us on social media. Let’s build a community of gardeners who are passionate about growing the best radishes possible. Happy gardening!
Frequently Asked Questions (FAQ)
What exactly does this DIY trick entail?
This DIY trick focuses on three key elements to accelerate radish growth: optimal soil preparation, strategic thinning, and consistent watering. Proper soil preparation involves ensuring the soil is loose, well-draining, and rich in organic matter. Strategic thinning means removing excess seedlings early on to provide adequate space for the remaining radishes to develop. Consistent watering ensures the soil remains consistently moist, but not waterlogged, which is crucial for rapid growth. By combining these three elements, you create an ideal environment for radishes to mature quickly.
How much faster can I expect my radish harvest to be using this method?
While results can vary depending on factors such as climate, soil type, and radish variety, you can generally expect to harvest your radishes one to two weeks earlier than the typical maturation time. Some gardeners have even reported harvesting radishes in as little as three weeks using this method. The key is to consistently apply the principles of soil preparation, thinning, and watering.
What type of soil is best for growing radishes using this method?
Radishes thrive in loose, well-draining soil that is rich in organic matter. Sandy loam is ideal, but you can amend heavier soils with compost, aged manure, or other organic materials to improve drainage and aeration. Avoid soils that are compacted or prone to waterlogging, as these can hinder radish growth and lead to rot. A soil pH of 6.0 to 7.0 is also optimal.
How often should I water my radishes when using this method?
Consistent watering is crucial for a faster radish harvest. Aim to keep the soil consistently moist, but not waterlogged. Water deeply whenever the top inch of soil feels dry to the touch. The frequency of watering will depend on factors such as climate, soil type, and the size of your radish plants. In hot, dry weather, you may need to water daily, while in cooler, wetter weather, you may only need to water every few days.
When and how should I thin my radish seedlings?
Thinning is essential to provide adequate space for radishes to develop properly. Once your seedlings have emerged and have their first true leaves (the second set of leaves), thin them to about 1-2 inches apart. Gently remove the excess seedlings, being careful not to disturb the roots of the remaining plants. Thinning allows the remaining radishes to access more nutrients, water, and sunlight, resulting in faster growth and larger roots.
Can I use this method for all types of radishes?
Yes, this method can be used for all types of radishes, but some varieties may respond better than others. Fast-maturing varieties, such as Cherry Belle and French Breakfast, are particularly well-suited to this method. Experiment with different varieties to see which ones perform best in your garden.
What are some common problems I might encounter when trying this method, and how can I solve them?
Some common problems include:
* **Poor germination:** Ensure your radish seeds are fresh and viable. Sow them directly into the soil at the recommended depth. Keep the soil consistently moist during germination.
* **Slow growth:** Check the soil pH and nutrient levels. Amend the soil with compost or fertilizer if necessary. Ensure the plants are receiving adequate sunlight.
* **Pests and diseases:** Monitor your plants regularly for signs of pests or diseases. Use organic pest control methods, such as insecticidal soap or neem oil, to control pests. Ensure good air circulation to prevent fungal diseases.
* **Bolting (premature flowering):** Bolting can occur if radishes are exposed to excessive heat or stress. Provide shade during hot weather and ensure consistent watering to prevent bolting.
Can I grow radishes in containers using this method?
Yes, you can grow radishes in containers using this method. Choose a container that is at least 6 inches deep and has drainage holes. Use a well-draining potting mix and follow the same principles of soil preparation, thinning, and watering as you would for growing radishes in the ground. Container-grown radishes may require more frequent watering than those grown in the ground.
What are some companion plants that can benefit radishes?
Radishes benefit from companion planting with carrots, lettuce, spinach, and other leafy greens. Carrots help to deter radish root maggots, while lettuce and spinach provide shade and help to keep the soil cool and moist. Avoid planting radishes near hyssop, as it can inhibit their growth.
How do I know when my radishes are ready to harvest?
Radishes are typically ready to harvest when their roots are about 1 inch in diameter. Gently loosen the soil around the radish and pull it up by the leaves. Harvest radishes promptly once they are mature, as they can become woody or bitter if left in the ground for too long.

Leave a Comment