

Easy daily cleaning routine – sounds like a dream, right? I know, I used to think so too! But trust me, it’s totally achievable, and this article is your roadmap to a sparkling clean home without spending your entire weekend scrubbing. Forget those overwhelming, marathon cleaning sessions. We’re talking about small, manageable tasks that fit seamlessly into your day, leaving you with more time to enjoy the things you love.
Humans have been striving for clean and organized living spaces for centuries. From ancient rituals of sweeping and purification to the more modern inventions of vacuums and microfiber cloths, the desire for a tidy home is deeply ingrained in our culture. But somewhere along the way, cleaning became synonymous with drudgery. I’m here to tell you it doesn’t have to be!
Let’s face it, life is busy. Between work, family, and social commitments, who has time to spend hours cleaning? That’s where this easy daily cleaning routine comes in. By breaking down the cleaning process into bite-sized chunks, you’ll prevent dirt and clutter from accumulating, making your home feel more inviting and less stressful. Plus, a clean home is a healthier home, reducing allergens and promoting overall well-being. So, are you ready to ditch the cleaning chaos and embrace a simpler, more sustainable approach to keeping your home fresh and tidy? Let’s dive in!
Creating Your Dream Easy Daily Cleaning Routine
Okay, let’s face it, cleaning isn’t exactly anyone’s favorite pastime. But a clean home is a happy home, right? And the secret to a consistently clean space isn’t some magical cleaning fairy (though wouldn’t that be nice?), it’s a solid, easy-to-follow daily routine. I’m going to walk you through how to create one that actually works for you, your lifestyle, and your sanity.
Why a Daily Routine is a Game Changer
Before we dive into the nitty-gritty, let’s talk about why a daily cleaning routine is so much better than a massive, overwhelming weekend cleaning spree.
* Less Overwhelming: Small, manageable tasks are way less daunting than facing a mountain of mess.
* More Consistent Cleanliness: Instead of a rollercoaster of clean and dirty, you maintain a baseline level of tidiness.
* Saves Time in the Long Run: Spending a few minutes each day prevents dirt and clutter from accumulating, saving you hours of deep cleaning later.
* Reduces Stress: A clean and organized space can significantly reduce stress and improve your overall mood. Trust me, it’s true!
Phase 1: Assessing Your Needs and Habits
The first step is to figure out what *your* ideal cleaning routine looks like. This isn’t about copying someone else’s Pinterest-perfect schedule; it’s about creating something that fits *your* life.
1. Identify High-Traffic Areas: Think about the areas in your home that get the dirtiest the fastest. For most people, this includes the kitchen, bathrooms, entryway, and living room. These are the areas that will need the most frequent attention.
2. Consider Your Lifestyle: Are you a busy professional who’s barely home? Or a stay-at-home parent with kids and pets? Your lifestyle will heavily influence the amount of time you can realistically dedicate to cleaning each day. Be honest with yourself!
3. Evaluate Your Current Habits: What cleaning tasks do you already do regularly? Maybe you always wipe down the kitchen counters after cooking, or you make your bed every morning. Build on these existing habits!
4. Determine Your “Pain Points”: What cleaning tasks do you absolutely dread? These are the ones you’re most likely to procrastinate on. We’ll need to find ways to make them less painful, either by breaking them down into smaller steps or finding a more enjoyable way to do them.
Phase 2: Building Your Daily Cleaning Checklist
Now that you have a better understanding of your needs and habits, it’s time to create your daily cleaning checklist. Remember, keep it simple and realistic!
1. Start with the Essentials: These are the tasks that will have the biggest impact on the overall cleanliness of your home.
* Make the Bed: This simple task instantly makes your bedroom look tidier.
* Wipe Down Kitchen Counters and Sink: After each meal, wipe down the counters and sink to prevent food buildup.
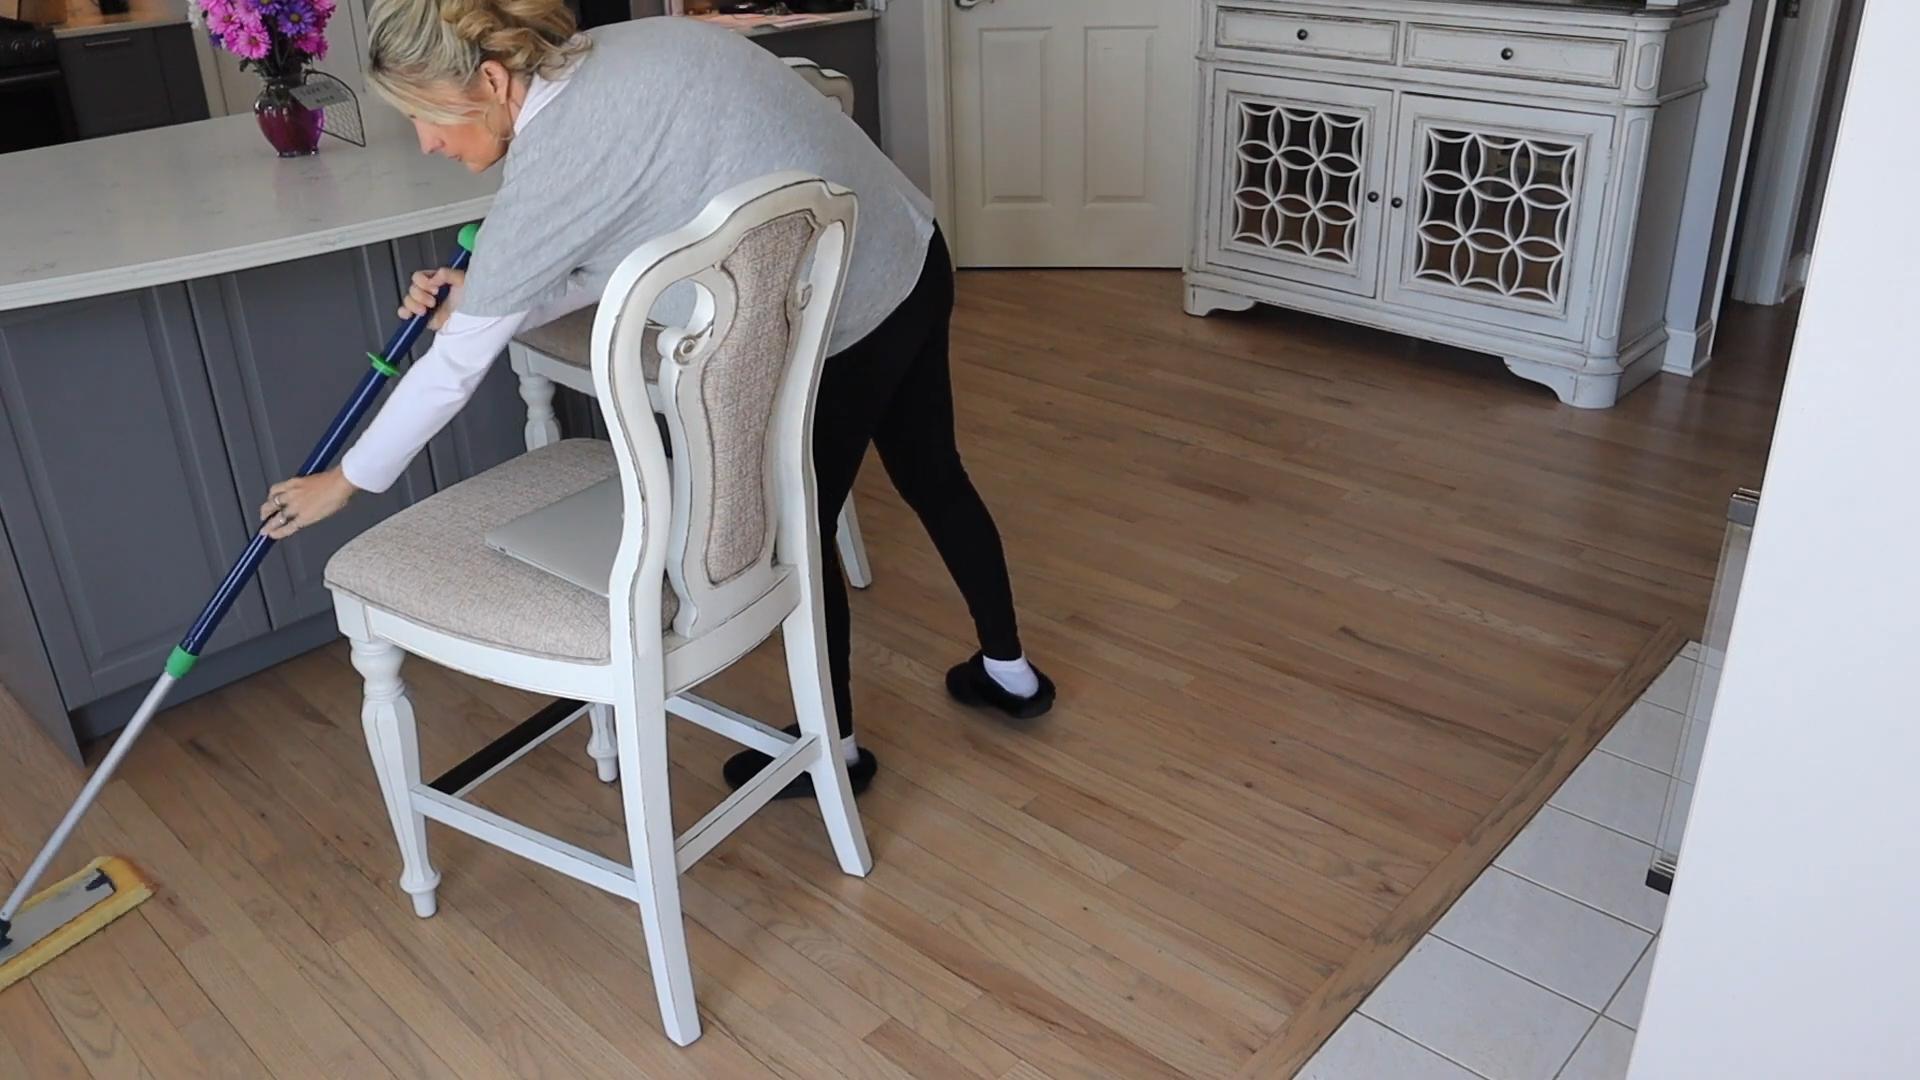
* Sweep or Vacuum High-Traffic Areas: A quick sweep or vacuum will keep dirt and debris at bay.
* Empty Trash Cans: Don’t let trash accumulate and create unpleasant odors.
* One Load of Laundry: Doing one load of laundry each day prevents mountains of clothes from piling up.
2. Add Zone-Specific Tasks: Divide your home into zones (kitchen, bathrooms, living room, bedrooms) and assign one or two small cleaning tasks to each zone each day.
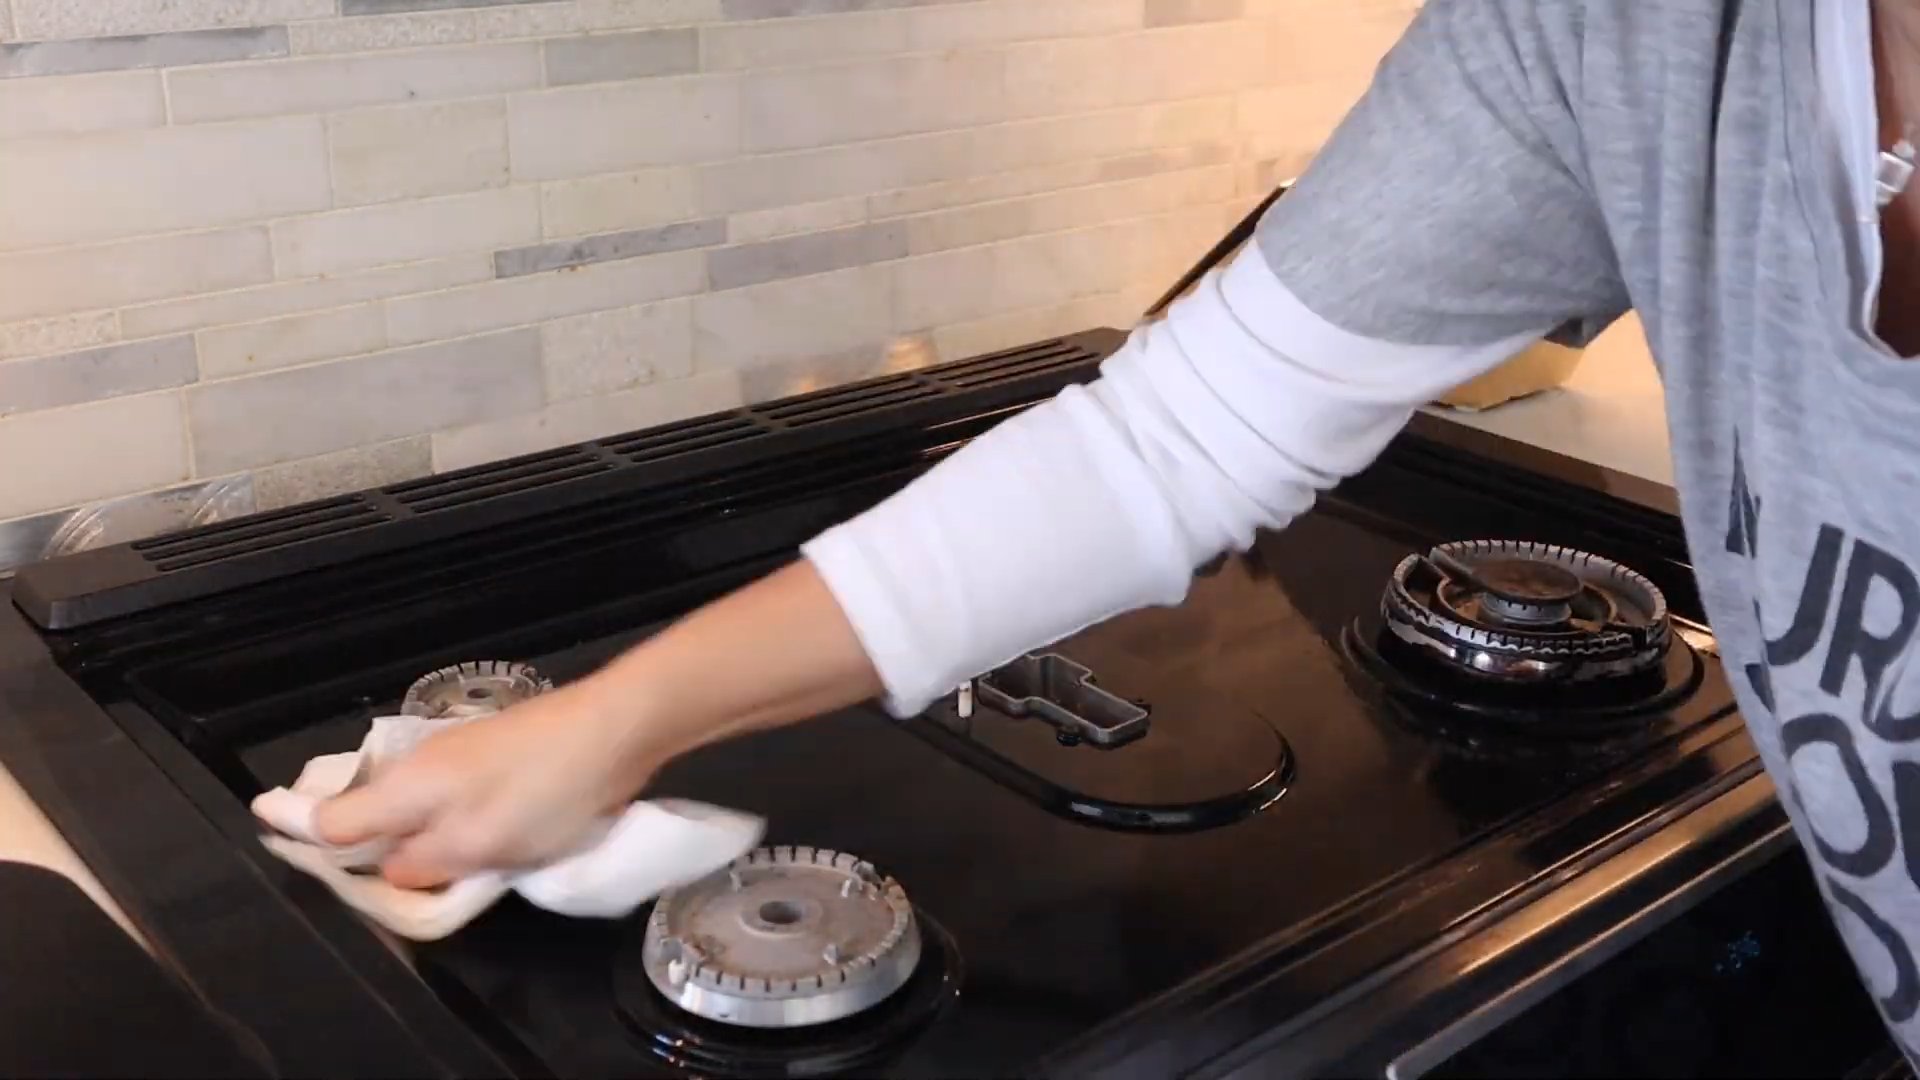
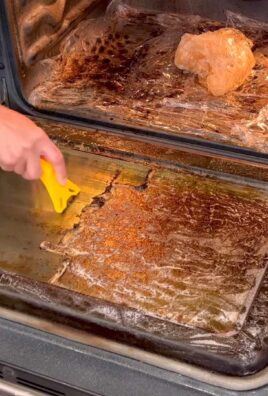
* Kitchen: Wipe down appliances, clean up spills immediately.
* Bathrooms: Wipe down the sink and toilet, squeegee the shower.
* Living Room: Fluff pillows, straighten up magazines and books.
* Bedrooms: Put away clothes, clear clutter from surfaces.
3. Keep it Short and Sweet: Aim for a routine that takes no more than 15-30 minutes each day. The shorter the routine, the more likely you are to stick with it.
4. Write it Down: Create a physical or digital checklist to help you stay on track. I personally like using a simple notepad, but you can also use a cleaning app or a spreadsheet.
Phase 3: Making it a Habit
Creating a routine is one thing, but sticking to it is another. Here are some tips to help you make your daily cleaning routine a habit.
1. Start Small: Don’t try to overhaul your entire cleaning routine overnight. Start with just a few essential tasks and gradually add more as you get comfortable.
2. Be Consistent: Do your cleaning routine at the same time each day. This will help you build a habit. I like to do mine right after breakfast, but you can choose whatever time works best for you.
3. Make it Enjoyable: Put on some music, listen to a podcast, or watch a TV show while you clean. This will make the task less boring and more enjoyable.
4. Reward Yourself: After completing your cleaning routine, reward yourself with something you enjoy, like a cup of coffee, a relaxing bath, or some time to read.
5. Don’t Beat Yourself Up: If you miss a day, don’t worry about it. Just get back on track the next day. The key is to be consistent over the long term.
6. Prepare Your Cleaning Supplies: Having all your cleaning supplies readily available will make the routine much easier.
* Create a Cleaning Caddy: Keep all your essential cleaning supplies in a caddy that you can easily carry from room to room. This will save you time and effort.
* Stock Up on Essentials: Make sure you always have enough cleaning supplies on hand. Run out of your favorite cleaner? Order it right away!
* Keep Supplies Accessible: Store your cleaning supplies in convenient locations, such as under the kitchen sink or in a bathroom cabinet.
Specific Cleaning Tasks and How to Tackle Them
Let’s break down some of those essential cleaning tasks and talk about the best way to approach them.
1. Making the Bed: This is the easiest one! Simply pull up the sheets, fluff the pillows, and straighten the comforter. It takes less than a minute and makes a huge difference.
2. Wiping Down Kitchen Counters and Sink: Use a multi-purpose cleaner and a microfiber cloth to wipe down the counters and sink after each meal. Pay special attention to areas where food has spilled or splattered. Rinse the sink thoroughly to remove any soap residue.
3. Sweeping or Vacuuming High-Traffic Areas: Use a broom, vacuum cleaner, or robot vacuum to sweep or vacuum high-traffic areas, such as the entryway, kitchen, and living room. Focus on areas where dirt and debris tend to accumulate.
4. Emptying Trash Cans: Empty trash cans regularly to prevent odors and keep your home clean. Line the trash cans with new bags to make cleanup easier.
5. Doing One Load of Laundry: Sort your laundry, load the washing machine, add detergent, and start the cycle. Once the cycle is complete, transfer the clothes to the dryer. Fold or hang the clothes as soon as they’re dry to prevent wrinkles.
6. Wiping Down Appliances: Use a multi-purpose cleaner and a microfiber cloth to wipe down appliances, such as the refrigerator, microwave, and oven. Pay special attention to areas where food has spilled or splattered.
7. Cleaning Up Spills Immediately: Clean up spills as soon as they happen to prevent stains and messes. Use a paper towel or cloth to blot up the spill. Then, use a multi-purpose cleaner to clean the area thoroughly.
8. Wiping Down the Sink and Toilet: Use a bathroom cleaner and a microfiber cloth to wipe down the sink and toilet. Pay special attention to areas where soap scum and mildew tend to accumulate.
9. Squeegeeing the Shower: After each shower, use a squeegee to remove water from the shower walls and door. This will help prevent soap scum and mildew from forming.
10. Fluffing Pillows and Straightening Up Magazines and Books: Fluff pillows and straighten up magazines and books to make your living room look tidier. This simple task can make a big difference in the overall appearance of your home.
11. Putting Away Clothes and Clearing Clutter from Surfaces: Put away clothes and clear clutter from surfaces to make your bedrooms look tidier. This will help you create a more relaxing and peaceful environment.
Troubleshooting Your Routine
Even the best-laid plans can sometimes go awry. Here are some common challenges and how to overcome them.
* Lack of Time: If you’re struggling to find time for your cleaning routine, try breaking it down into even smaller tasks or delegating some tasks to other members of your household.
* Lack of Motivation: If you’re feeling unmotivated, try making your
Conclusion
So, there you have it! Transforming your daily cleaning routine from a chore into a breeze is entirely within your reach. This simple DIY trick isn’t just about saving time; it’s about reclaiming your energy and creating a more enjoyable living space. Think of it as a small investment that yields significant returns in terms of cleanliness, peace of mind, and overall well-being.
The beauty of this approach lies in its adaptability. Feel free to experiment with different essential oil blends to find scents that uplift and energize you. Lavender and lemon offer a calming and refreshing combination, while tea tree and eucalyptus provide a more invigorating and antibacterial boost. You can also adjust the concentration of ingredients to suit your personal preferences and the specific needs of your home. For instance, if you have particularly stubborn grime in the bathroom, consider adding a touch more vinegar to your cleaning solution.
Don’t be afraid to get creative! Consider using reusable spray bottles to minimize waste and personalize them with labels for easy identification. You can even involve your family members in the process, turning it into a fun and collaborative activity. Imagine the satisfaction of knowing that you’re all contributing to a cleaner, healthier home environment.
This DIY cleaning routine is more than just a recipe; it’s a gateway to a more sustainable and mindful lifestyle. By reducing your reliance on harsh chemicals and embracing natural alternatives, you’re not only protecting your health but also minimizing your environmental impact. It’s a win-win situation for you and the planet.
We wholeheartedly encourage you to give this easy daily cleaning routine a try. We’re confident that you’ll be amazed by the results. Once you’ve experienced the simplicity and effectiveness of this method, you’ll wonder why you didn’t start sooner.
But don’t just take our word for it! We’d love to hear about your experiences. Share your tips, variations, and success stories in the comments below. Let’s create a community of like-minded individuals who are passionate about creating clean, healthy, and happy homes. Your feedback will not only inspire others but also help us refine and improve this DIY trick for everyone. So, go ahead, give it a whirl, and let us know what you think! We can’t wait to hear from you!
Frequently Asked Questions (FAQ)
What exactly is this “easy daily cleaning routine” supposed to accomplish?
This routine is designed to maintain a consistently clean home with minimal effort. Instead of dedicating hours to deep cleaning on the weekends, this approach involves small, manageable tasks performed daily. This prevents dirt and grime from building up, making cleaning easier and less time-consuming in the long run. It focuses on high-traffic areas and surfaces that tend to accumulate dirt quickly, such as kitchen counters, bathroom sinks, and floors.
What are the key ingredients needed for this DIY cleaning solution?
The core ingredients typically include water, white vinegar, and a few drops of your favorite essential oil. White vinegar is a natural disinfectant and deodorizer, while essential oils add a pleasant scent and can provide additional antibacterial properties. Some variations may include baking soda for extra scrubbing power or castile soap for a gentle cleansing action. The specific proportions will depend on your preferences and the type of surfaces you’re cleaning.
Is vinegar safe to use on all surfaces?
While vinegar is a versatile cleaner, it’s not suitable for all surfaces. Avoid using it on natural stone surfaces like marble or granite, as it can etch and damage them. It’s also best to avoid using vinegar on waxed wood furniture, as it can strip the finish. Always test the cleaning solution on an inconspicuous area first to ensure it doesn’t cause any discoloration or damage. For delicate surfaces, consider using a milder cleaning solution or consulting the manufacturer’s recommendations.
How often should I perform this daily cleaning routine?
The frequency will depend on your lifestyle and the amount of traffic your home receives. However, the goal is to perform these small tasks daily or at least several times a week. This consistent approach prevents dirt and grime from accumulating, making cleaning easier and less time-consuming in the long run. Even just 10-15 minutes of daily cleaning can make a significant difference in the overall cleanliness of your home.
Can I use different essential oils in the cleaning solution?
Absolutely! Experimenting with different essential oils is a great way to personalize your cleaning routine and create a scent that you enjoy. Lavender and lemon are popular choices for their calming and refreshing properties, while tea tree and eucalyptus offer antibacterial benefits. Other options include peppermint for an invigorating scent, orange for a cheerful aroma, and rosemary for its cleansing properties. Just be sure to use pure essential oils and avoid synthetic fragrances, which can be harmful to your health.
What if I don’t have essential oils? Can I still use this DIY cleaning routine?
Yes, you can still use this routine without essential oils. The vinegar and water solution alone is an effective cleaner and disinfectant. The essential oils are primarily added for their scent and potential antibacterial properties, but they’re not essential for the cleaning process. If you prefer a scent, you can try adding a few drops of lemon juice or orange peel to the solution.
How do I store the DIY cleaning solution?
Store the cleaning solution in a clean, airtight spray bottle. Label the bottle clearly to avoid confusion and keep it out of reach of children and pets. It’s best to store the solution in a cool, dark place to prevent the essential oils from degrading. The solution should last for several weeks, but it’s always a good idea to make a fresh batch every month or so to ensure its effectiveness.
What are some other variations of this easy daily cleaning routine?
There are many ways to customize this routine to suit your specific needs and preferences. For example, you can add a small amount of baking soda to the cleaning solution for extra scrubbing power. You can also use castile soap instead of vinegar for a gentler cleaning action. For floors, you can add a few drops of dish soap to the water for extra cleaning power. The possibilities are endless!
What if I have allergies or sensitivities to certain ingredients?
If you have allergies or sensitivities, it’s important to choose ingredients that are safe for you. For example, if you’re allergic to vinegar, you can try using lemon juice or baking soda instead. If you’re sensitive to certain essential oils, avoid using them in the cleaning solution. Always test the cleaning solution on a small, inconspicuous area first to ensure it doesn’t cause any allergic reactions. If you’re unsure about which ingredients are safe for you, consult with your doctor or an allergist.
How does this DIY cleaning routine compare to using commercial cleaning products?
This DIY cleaning routine offers several advantages over commercial cleaning products. It’s more affordable, environmentally friendly, and healthier for you and your family. Commercial cleaning products often contain harsh chemicals that can be harmful to your health and the environment. This DIY routine uses natural ingredients that are safe, effective, and readily available. It’s also a great way to reduce your reliance on single-use plastic bottles and minimize your environmental impact.


Leave a Comment