

Dusting tricks – are you tired of battling dust bunnies that seem to multiply overnight? I know I am! It feels like no matter how much I clean, that pesky layer of dust reappears almost instantly. But don’t despair, fellow home enthusiasts! This isn’t just a modern-day annoyance; keeping our homes clean has been a concern for centuries. From ancient civilizations using rudimentary tools to sweep away dirt to the Victorian era’s elaborate cleaning rituals, the desire for a dust-free environment is deeply ingrained in our history.
But why is effective dusting so important beyond just aesthetics? Well, dust can trigger allergies, exacerbate respiratory problems, and even damage delicate surfaces over time. Plus, let’s be honest, a clean home is a happy home! That’s why I’ve compiled a collection of ingenious DIY dusting tricks and hacks that will revolutionize your cleaning routine.
In this article, I’m going to share some of my favorite and most effective dusting tricks that will not only save you time and effort but also leave your home sparkling. Get ready to say goodbye to those stubborn dust particles and hello to a cleaner, healthier, and more inviting living space. Let’s get started!

DIY Dusting Hacks for a Sparkling Clean Home
Okay, friends, let’s talk about dusting. It’s the chore we all love to hate, right? But a dust-free home is a happier, healthier home. So, I’m going to share some of my favorite DIY dusting hacks that will make the process easier, faster, and even a little bit…dare I say…enjoyable? (Okay, maybe not enjoyable, but definitely less painful!).
Understanding the Enemy: Dust
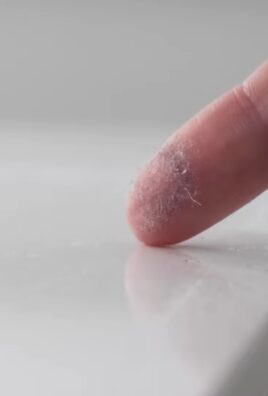
Before we dive into the hacks, let’s understand what we’re fighting. Dust isn’t just dirt; it’s a complex mix of dead skin cells, pet dander, pollen, dust mites, fabric fibers, and even tiny particles from outside. Yuck! Knowing this helps us choose the right tools and techniques.
Hack #1: The Mighty Microfiber Cloth
Microfiber cloths are your best friend when it comes to dusting. They’re super absorbent, trap dust effectively, and are washable and reusable. Ditch those old feather dusters that just spread the dust around!
Why Microfiber Works:
* Split Fibers: Microfiber cloths have incredibly fine, split fibers that create a larger surface area for trapping dust and dirt.
* Electrostatic Charge: They generate a slight electrostatic charge that attracts dust particles like a magnet.
* Gentle on Surfaces: They’re soft and non-abrasive, making them safe for delicate surfaces like wood furniture and electronics.
Step-by-Step Guide to Microfiber Dusting:
1. Dampen the Cloth (Slightly!): A slightly damp microfiber cloth works better than a completely dry one. Just spritz it with water or a dusting spray and wring out the excess. You don’t want it dripping!
2. Fold the Cloth: Fold the cloth into quarters. This gives you eight clean surfaces to work with. As one surface gets dirty, simply unfold to a fresh one.
3. Dust in Sections: Work in small sections, wiping in a consistent direction. This prevents you from just pushing the dust around.
4. Rinse and Repeat: When the cloth gets too dirty, rinse it thoroughly under running water and wring it out. Refold to a clean surface and continue dusting.
5. Wash Regularly: After dusting, wash your microfiber cloths in the washing machine with a mild detergent. Avoid fabric softeners, as they can reduce the cloth’s absorbency.
Hack #2: DIY Dusting Spray
Commercial dusting sprays can be expensive and often contain harsh chemicals. Here’s a simple and effective DIY dusting spray recipe:
Ingredients:
* 1 cup water
* 1/4 cup white vinegar (the acidity helps cut through grime)
* 2 tablespoons olive oil (adds shine and helps repel dust)
* 10-15 drops of your favorite essential oil (for a pleasant scent – lavender, lemon, or eucalyptus are great choices)
Instructions:
1. Combine Ingredients: In a spray bottle, combine the water, white vinegar, olive oil, and essential oil.
2. Shake Well: Shake the bottle vigorously to ensure the ingredients are thoroughly mixed. The oil and water will separate, so you’ll need to shake it before each use.
3. Test on an Inconspicuous Area: Before spraying on a large surface, test the spray on a small, hidden area to make sure it doesn’t damage the finish.
4. Spray and Wipe: Lightly spray the dusting spray onto a microfiber cloth (not directly onto the furniture) and wipe the surface clean.
5. Buff to a Shine: Use a clean, dry microfiber cloth to buff the surface to a shine.
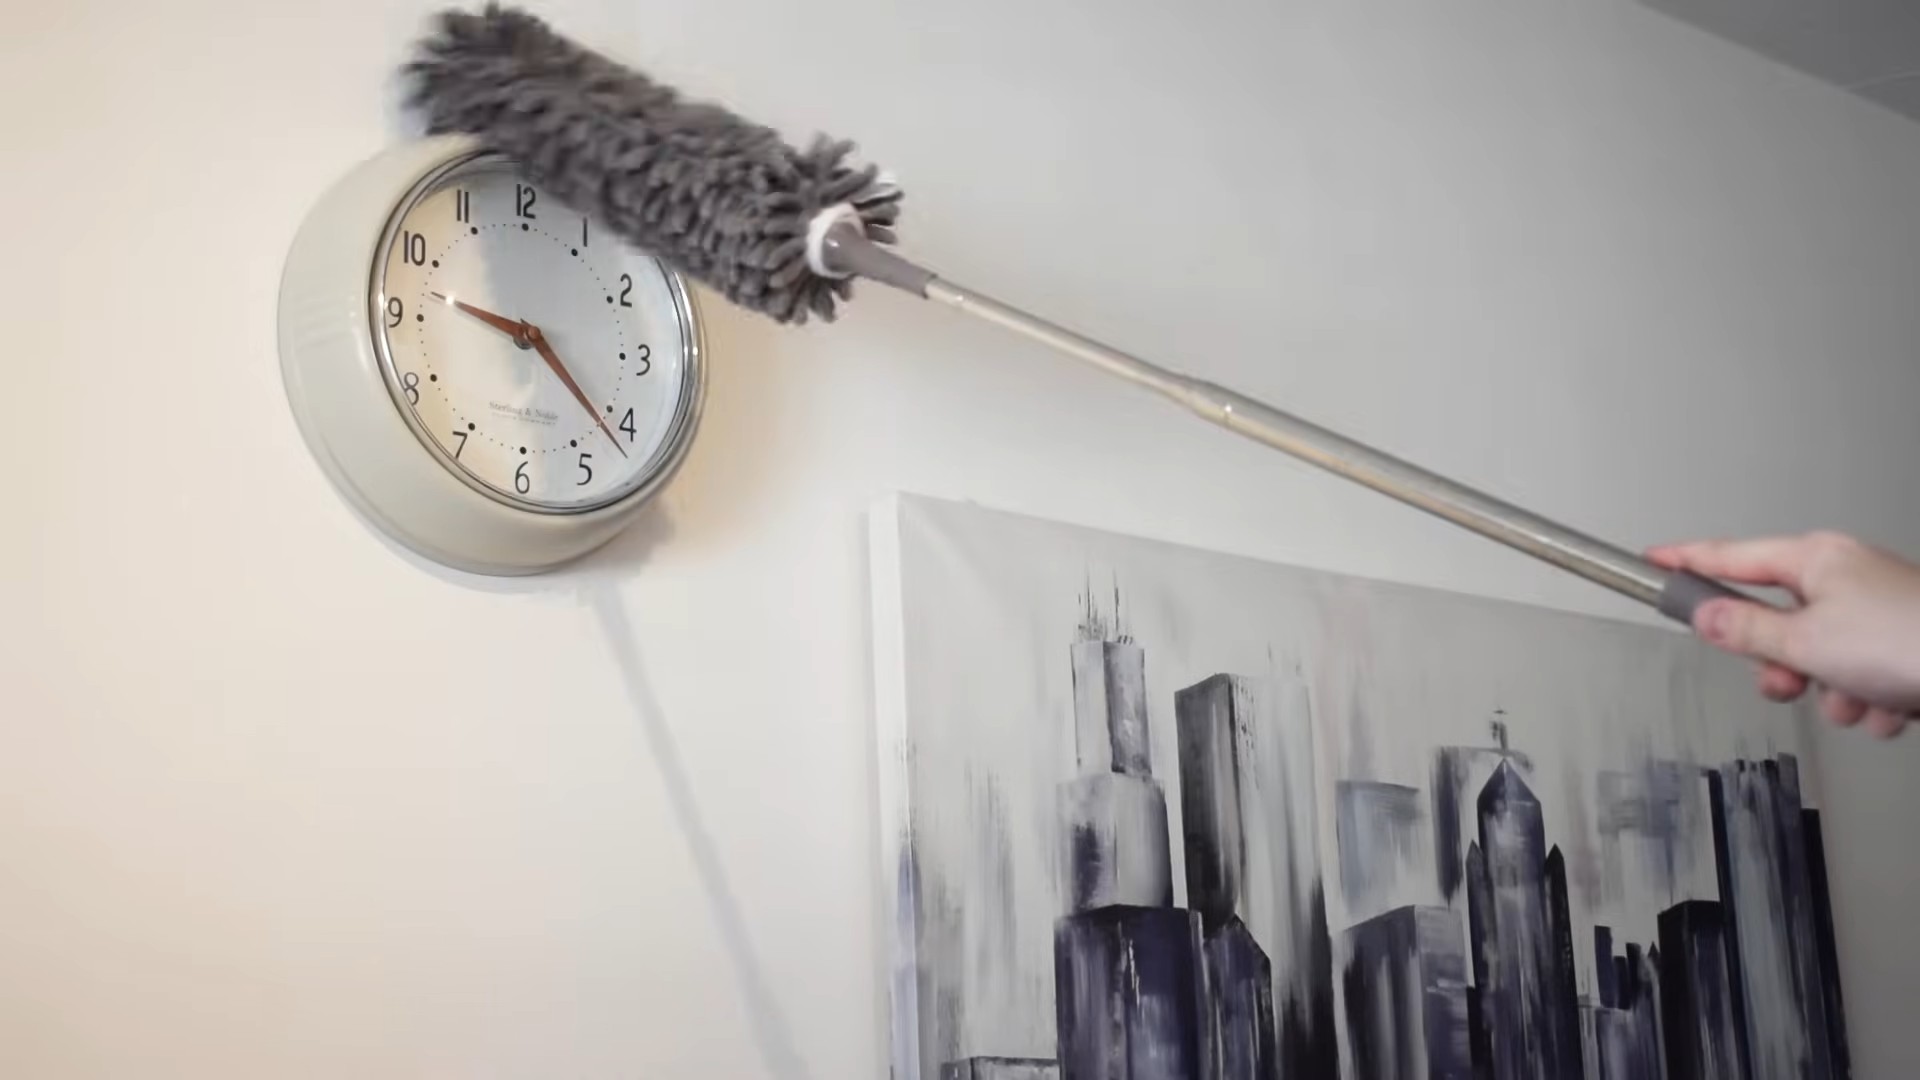
Hack #3: Conquer Those Hard-to-Reach Places
Dust loves to hide in those awkward, hard-to-reach spots. Here are a few tricks for tackling them:
* Blinds and Shutters: Use tongs wrapped in microfiber cloths to easily clean blinds and shutters. Secure the cloths with rubber bands. Simply clamp the tongs onto each slat and wipe.
* Ceiling Fans: Use an old pillowcase to dust ceiling fan blades. Carefully slide the pillowcase over each blade, trapping the dust inside. This prevents dust from raining down on you and your furniture.
* Baseboards: Use a paint edger tool with a microfiber cloth attached to easily dust baseboards without bending over. You can also use a vacuum cleaner attachment with a soft brush.
* Electronics: Use a can of compressed air to blow dust out of keyboards, computer towers, and other electronics. Be sure to hold the can upright to prevent liquid from spraying out.
* Bookshelves: Dust bookshelves from top to bottom. Use a soft brush attachment on your vacuum cleaner to gently remove dust from book covers.
Hack #4: Prevent Dust Buildup
Prevention is key! Here are some tips to minimize dust buildup in your home:
* Change Air Filters Regularly: Your HVAC system’s air filter traps dust and other particles. Change it every 1-3 months, depending on the type of filter and the air quality in your area.
* Use Doormats: Place doormats at all entrances to trap dirt and dust before it enters your home.
* Vacuum Regularly: Vacuum carpets and rugs at least once a week, and more often in high-traffic areas. Use a vacuum cleaner with a HEPA filter to trap allergens and dust mites.
* Wash Bedding Frequently: Wash your bedding, including sheets, pillowcases, and blankets, at least once a week in hot water to kill dust mites.
* Declutter: The less stuff you have, the less dust you’ll have to clean! Declutter regularly to eliminate dust-collecting surfaces.
* Control Humidity: High humidity can promote dust mite growth. Use a dehumidifier to keep the humidity level in your home below 50%.
* Groom Your Pets Regularly: Brush your pets regularly to remove loose fur and dander.
Hack #5: The Magic of Dryer Sheets
Used dryer sheets aren’t just for laundry! They’re surprisingly effective for dusting.
Why Dryer Sheets Work:
* Static Cling: Dryer sheets have anti-static properties that help repel dust.
* Soft and Gentle: They’re soft and non-abrasive, making them safe for most surfaces.
How to Use Dryer Sheets for Dusting:
1. Use a Used Dryer Sheet: A used dryer sheet is less likely to leave a residue than a brand new one.
2. Wipe Surfaces: Simply wipe the dryer sheet over surfaces like furniture, baseboards, and electronics.
3. Dispose of the Sheet: Once the dryer sheet is dirty, discard it.
Important Note: Test the dryer sheet on an inconspicuous area first, especially on delicate surfaces.
Hack #6: Dust-Repelling Furniture Polish
This DIY furniture polish not only cleans and shines your furniture but also helps repel dust.
Ingredients:
* 1/4 cup olive oil
* 1/4 cup white vinegar
* Juice of 1/2 lemon
* 1 cup warm water
Instructions:
1. Combine Ingredients: In a spray bottle, combine the olive oil, white vinegar, lemon juice, and warm water.
2. Shake Well: Shake the bottle vigorously to ensure the ingredients are thoroughly mixed.
3. Spray and Wipe: Lightly spray the polish onto a microfiber cloth and wipe the furniture surface clean.
4. Buff to a Shine: Use a clean, dry microfiber cloth to buff the surface to a shine.
The olive oil moisturizes the wood, the vinegar cleans, and the lemon juice adds a fresh scent and helps repel dust.
Hack #7: Vacuuming Upholstery Like a Pro
Upholstered furniture can be a major dust trap. Here’s how to vacuum it effectively:
1. Use the Right Attachment: Use the upholstery attachment on your vacuum cleaner. This attachment has a wide, flat head with a brush that gently loosens dust and dirt.
2. Vacuum in Overlapping Strokes: Vacuum the upholstery in overlapping strokes, making sure to cover every inch of the surface.
3. Pay Attention to Crevices: Use the crevice tool to reach into tight spaces and corners.
4. Vacuum Under Cushions: Remove the cushions and vacuum underneath them. This is where dust and crumbs tend to accumulate.
5. Spot Clean Stains: If you notice any stains, spot clean them with a mild upholstery cleaner.
Hack #8: The Power of Essential Oils
Essential oils can not only add a pleasant scent to your home but also help repel dust mites and other allergens.
Essential Oils for Dusting:
* Tea Tree Oil: Has antibacterial and antifungal properties.
* Eucalyptus Oil: Helps clear sinuses and repel dust
Conclusion
So, there you have it! These simple yet incredibly effective dusting tricks are your secret weapon against the never-ending battle with dust. We’ve explored how to create your own electrostatic duster spray, the magic of microfiber cloths, and the importance of strategic dusting techniques. But why is this a must-try? Because a cleaner home isn’t just about aesthetics; it’s about your health, your well-being, and creating a more comfortable and inviting living space. Dust can trigger allergies, exacerbate respiratory problems, and generally contribute to a feeling of unease. By implementing these DIY dusting strategies, you’re taking proactive steps to improve your indoor air quality and create a healthier environment for yourself and your loved ones.
These dusting tricks are not just about removing visible dust; they’re about preventing it from settling in the first place. The electrostatic duster spray, for example, helps to repel dust, keeping surfaces cleaner for longer. The microfiber cloths trap dust instead of just spreading it around, ensuring a more thorough cleaning. And the strategic dusting techniques, like starting from the top and working your way down, prevent dust from resettling on already cleaned surfaces.
Variations and Suggestions:
Don’t be afraid to experiment with these techniques to find what works best for you and your home. Here are a few suggestions:
* Scented Duster Spray: Add a few drops of your favorite essential oil to your DIY duster spray for a pleasant aroma. Lavender, lemon, and eucalyptus are all great choices.
* Furniture Polish Alternative: For wooden furniture, you can add a small amount of olive oil to your duster spray for a natural polish. Just be sure to use it sparingly to avoid a greasy residue.
* DIY Duster Cloths: If you’re feeling crafty, you can make your own duster cloths by cutting up old microfiber towels or t-shirts.
* Dusting Schedule: Create a regular dusting schedule to stay on top of the dust buildup. Even a quick dusting once a week can make a big difference.
* Air Purifier: Consider investing in an air purifier to help remove dust and other allergens from the air.
We truly believe that these DIY dusting tricks will transform your cleaning routine and help you achieve a cleaner, healthier home. But don’t just take our word for it – try them out for yourself! We’re confident that you’ll be amazed at the results.
So, grab your microfiber cloths, mix up your duster spray, and get ready to say goodbye to dust! We encourage you to try these **dusting tricks** and share your experience with us. Let us know what works best for you, any variations you’ve tried, and any tips you have to share. Together, we can conquer the dust and create cleaner, healthier homes for everyone. Share your before and after photos, your favorite essential oil combinations, or any other dusting tips you’ve discovered. We can’t wait to hear from you!
FAQ
What exactly is electrostatic dusting, and why is it better?
Electrostatic dusting involves creating a static charge that attracts dust particles, similar to how a magnet attracts metal. This is superior to traditional dusting methods because it doesn’t just push the dust around; it actively pulls it onto the duster. The DIY duster spray we discussed helps create this charge, making your dusting efforts far more effective. It’s like giving your duster a superpower! This method is particularly useful for delicate surfaces and intricate details where you want to avoid harsh scrubbing.
How often should I be dusting my home?
The frequency of dusting depends on several factors, including the number of people and pets in your home, the presence of allergies, and the amount of outdoor air pollution. As a general guideline, aim to dust high-traffic areas at least once a week. Less frequently used rooms can be dusted every two weeks. If you have allergies or pets, you may need to dust more frequently, perhaps two to three times a week. Pay close attention to areas where dust tends to accumulate, such as shelves, furniture, and baseboards. Establishing a regular dusting schedule will prevent dust buildup and make your cleaning tasks easier in the long run.
Are microfiber cloths really that much better than regular cloths for dusting?
Yes, microfiber cloths are significantly better than regular cloths for dusting. Microfiber cloths are made of tightly woven fibers that create a larger surface area, allowing them to trap and hold more dust and dirt. Unlike regular cloths, which tend to push dust around, microfiber cloths lift and remove dust particles effectively. They are also lint-free, so they won’t leave behind any residue on your surfaces. Additionally, microfiber cloths are washable and reusable, making them a more sustainable and cost-effective option than disposable dusting cloths.
Is the DIY duster spray safe for all surfaces?
While the DIY duster spray is generally safe for most surfaces, it’s always a good idea to test it on an inconspicuous area first, especially on delicate or antique furniture. Avoid using the spray on unfinished wood or surfaces that are sensitive to water. If you’re unsure about a particular surface, consult the manufacturer’s instructions or contact a professional cleaner. Remember to use the spray sparingly and wipe away any excess moisture with a clean, dry cloth.
Can I use essential oils other than lavender, lemon, and eucalyptus in the duster spray?
Absolutely! Feel free to experiment with different essential oils to find your favorite scent. Some other great options include tea tree oil (which has antibacterial properties), orange oil (which has a refreshing citrus scent), and peppermint oil (which can help repel insects). Just be sure to use pure, high-quality essential oils and add them sparingly to avoid overpowering the scent. Also, be mindful of any allergies or sensitivities that you or your family members may have.
What if I don’t have all the ingredients for the DIY duster spray? Can I still use these dusting tricks?
Yes, you can still use these dusting tricks even if you don’t have all the ingredients for the DIY duster spray. The microfiber cloths and strategic dusting techniques are effective on their own. You can also use a commercially available duster spray as an alternative. The key is to use the right tools and techniques to remove dust effectively and prevent it from resettling.
How do I clean my microfiber cloths after dusting?
Cleaning your microfiber cloths is easy. Simply wash them in the washing machine with warm water and a mild detergent. Avoid using fabric softener, as it can reduce the effectiveness of the microfiber. You can also dry them in the dryer on low heat or air dry them. Be sure to wash your microfiber cloths separately from other items to prevent lint from transferring.
What are some common mistakes people make when dusting?
Some common mistakes people make when dusting include:
* Using a dry cloth, which can just spread the dust around.
* Dusting from the bottom up, which allows dust to resettle on already cleaned surfaces.
* Not dusting hard-to-reach areas, such as ceiling fans and light fixtures.
* Using too much dusting spray, which can leave a sticky residue.
* Not cleaning or replacing dusting cloths regularly.
By avoiding these mistakes and following the tips outlined in this article, you can achieve a more thorough and effective dusting routine.
How can I prevent dust from accumulating in my home?
Preventing dust from accumulating in your home is an ongoing process, but there are several things you can do to minimize dust buildup:
* Use doormats at all entrances to trap dirt and debris.
* Vacuum or sweep regularly, paying attention to high-traffic areas.
* Wash bedding frequently to remove dust mites.
* Use air purifiers to filter out dust and allergens.
* Keep windows and doors closed when possible to prevent outdoor dust from entering.
* Declutter your home to reduce the number of surfaces where dust can accumulate.
* Change your HVAC filters regularly to improve air quality.
By implementing these preventative measures, you can significantly reduce the amount of dust in your home and create a cleaner, healthier living environment.


Leave a Comment