

Dusting tips for home – sounds mundane, right? But what if I told you mastering these tips could unlock a cleaner, healthier, and even happier home? We often underestimate the power of a dust-free environment, but trust me, it’s a game-changer! For centuries, cultures around the globe have recognized the importance of cleanliness, not just for aesthetics, but for well-being. Think of the meticulous cleaning rituals in ancient Japan or the spring cleaning traditions in many European countries – it’s all about renewal and creating a fresh start.
In today’s busy world, who has time for endless cleaning? That’s where these DIY dusting hacks come in. I’m going to share some simple, effective, and even fun ways to tackle dust, using items you probably already have around the house. From creating your own dusting sprays to reaching those tricky spots, these dusting tips for home will save you time, money, and maybe even a little sanity. Because let’s be honest, nobody enjoys living in a dusty environment. So, let’s dive in and transform your home into a sparkling sanctuary!

DIY Dust-Busting: A Comprehensive Guide to a Sparkling Home
Okay, let’s face it, dusting is nobody’s favorite chore. But a dust-free home is a happier, healthier home! I’m going to walk you through my tried-and-true methods for tackling dust effectively, efficiently, and even, dare I say, enjoyably (okay, maybe not enjoyably, but less painfully!). This isn’t just about wiping surfaces; it’s about understanding dust, preventing it, and banishing it for good.
Understanding Your Enemy: What is Dust, Anyway?
Before we dive into the how-to, let’s understand what we’re fighting. Dust isn’t just one thing; it’s a cocktail of:
* Dead skin cells: Yep, that’s you and your family shedding.
* Pet dander: Furry friends contribute a lot!
* Pollen: Especially during allergy season.
* Dirt and soil: Tracked in from outside.
* Textile fibers: From clothes, carpets, and upholstery.
* Dust mites and their droppings: Ugh, I know.
* Insect parts: Sorry, but it’s true.
* Construction debris: If you’ve done any renovations.
* Mold spores: Especially in humid areas.
Knowing what dust is made of helps us target our cleaning methods.
Essential Tools for the Dust-Busting Arsenal
Having the right tools makes all the difference. Here’s what I recommend:
* Microfiber cloths: These are my absolute go-to. They trap dust instead of just pushing it around. Get a bunch!
* Feather duster: Good for light dusting and delicate items, but not as effective as microfiber for heavy dust.
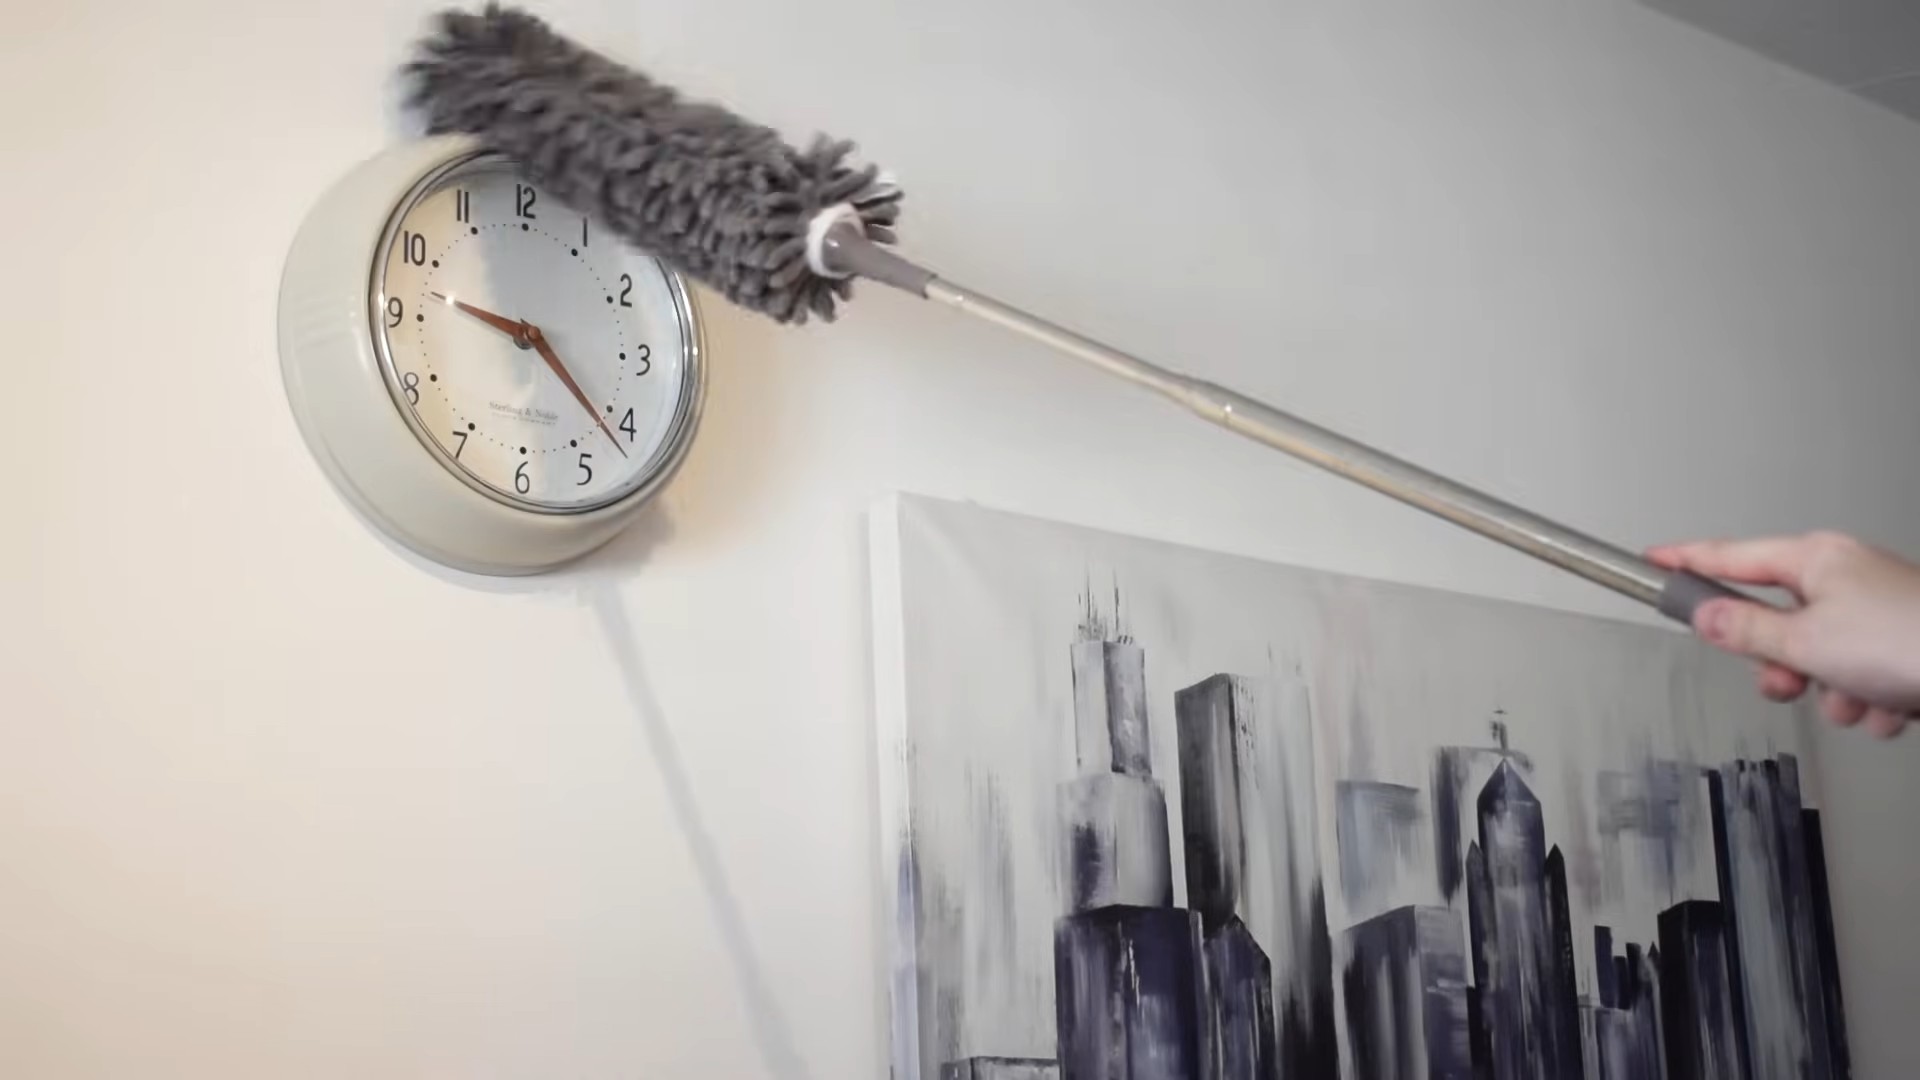
* Extendable duster: Essential for reaching high ceilings, fans, and light fixtures.
* Vacuum cleaner with attachments: A must for carpets, upholstery, and hard-to-reach areas. Look for a HEPA filter to trap allergens.
* Dust mask: Protect your lungs, especially if you have allergies or asthma.
* Spray bottle: For making your own dusting solutions.
* Old toothbrush: Perfect for cleaning tight spaces and crevices.
* Cotton swabs: For detail work.
* Furniture polish: For wood surfaces.
* Lemon oil: For conditioning wood furniture.
* Baking soda: A natural deodorizer and cleaner.
* White vinegar: A versatile cleaner and disinfectant.
Step-by-Step Guide to Dust-Free Bliss
Okay, let’s get down to business! Here’s my comprehensive step-by-step guide to dusting your home:
1. Prepare the Room
* Open windows: Ventilation is key! This helps remove dust particles from the air.
* Turn off ceiling fans: You don’t want to redistribute the dust you’re trying to remove.
* Gather your supplies: Have everything you need within reach.
* Protect yourself: Put on your dust mask.
2. High-to-Low Approach
This is crucial! Always start dusting from the highest points in the room and work your way down. This way, any dust that falls will land on surfaces you haven’t cleaned yet.
* Ceiling fans: Use an extendable duster or a microfiber cloth attached to a pole to clean the blades. Be careful not to let dust fall directly into your eyes. I like to use a pillowcase to cover each blade, trapping the dust inside as I wipe.
* Light fixtures: Dust light fixtures with a microfiber cloth. For intricate fixtures, use a feather duster or a soft brush attachment on your vacuum cleaner. Make sure the lights are off and cool before you start.
* Crown molding and trim: Use an extendable duster or a microfiber cloth to clean crown molding, trim, and other high architectural details.
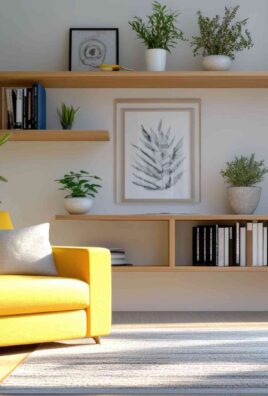
* Shelves: Remove everything from the shelves and dust them thoroughly with a microfiber cloth. Dust the items you removed before putting them back.
3. Furniture Focus
* Upholstered furniture: Vacuum upholstered furniture with the upholstery attachment. Pay special attention to crevices and seams where dust tends to accumulate. You can also use a lint roller to remove pet hair.
* Wood furniture: Dust wood furniture with a microfiber cloth. For stubborn dust or fingerprints, use a furniture polish or a mixture of water and vinegar (1:1 ratio). Always test the polish or mixture in an inconspicuous area first.
* Leather furniture: Dust leather furniture with a soft, dry cloth. Use a leather conditioner to keep the leather supple and prevent cracking.
* Electronics: Dust electronics with a microfiber cloth. Avoid using liquids, as they can damage the components. Use a can of compressed air to remove dust from keyboards and other hard-to-reach areas.
4. Window Wonders
* Blinds and curtains: Dust blinds with a microfiber cloth or a blind cleaner. Vacuum curtains with the upholstery attachment. You can also wash curtains according to the manufacturer’s instructions.
* Window sills and frames: Wipe window sills and frames with a damp cloth.
5. Floor Finale
* Carpets and rugs: Vacuum carpets and rugs thoroughly. Use a vacuum cleaner with a HEPA filter to trap allergens.
* Hard floors: Sweep or vacuum hard floors. Then, mop with a damp mop and a mild cleaning solution.
6. Don’t Forget the Details!
* Picture frames: Dust picture frames with a microfiber cloth.
* Mirrors: Clean mirrors with a glass cleaner and a microfiber cloth.
* Baseboards: Wipe baseboards with a damp cloth.
* Door frames: Wipe door frames with a damp cloth.
* Plants: Dust plant leaves with a damp cloth. This helps them absorb sunlight more efficiently.
Homemade Dusting Solutions: Save Money and Go Green!
I love making my own cleaning solutions. They’re cheaper, more eco-friendly, and just as effective as store-bought products. Here are a few of my favorites:
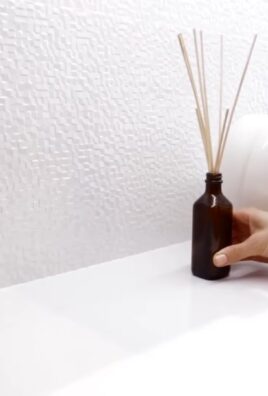
* All-purpose dusting spray: Mix 1 cup of water, 1/4 cup of white vinegar, and a few drops of essential oil (lemon, lavender, or eucalyptus) in a spray bottle.
* Furniture polish: Mix 1/4 cup of olive oil, 1/4 cup of white vinegar, and a few drops of lemon essential oil in a spray bottle.
* Wood cleaner: Mix 1/2 cup of olive oil, 1/4 cup of lemon juice, and 1 cup of warm water in a spray bottle.
Always test homemade solutions in an inconspicuous area before using them on a larger surface.
Preventing Dust Buildup: Proactive Measures
The best way to deal with dust is to prevent it from accumulating in the first place. Here are some tips:
* Use doormats: Place doormats at all entrances to trap dirt and debris before they enter your home.
* Remove shoes: Encourage family members and guests to remove their shoes at the door.
* Change air filters regularly: Change your furnace and air conditioner filters every 1-3 months.
* Wash bedding frequently: Wash bedding in hot water at least once a week to kill dust mites.
* Control humidity: Use a dehumidifier to keep humidity levels below 50% to prevent mold growth.
* Declutter: The less stuff you have, the less dust will accumulate.
* Groom pets regularly: Brush your pets regularly to remove loose fur and dander.
* Dust regularly: Make dusting a part of your regular cleaning routine. Aim to dust at least once a week.
* Vacuum regularly: Vacuum carpets and rugs at least twice a week.
* Seal cracks and crevices: Seal cracks and crevices in walls and floors to prevent dust from entering.
* Use air purifiers: Air purifiers with HEPA filters can help remove dust and allergens from the air.
Tackling Specific Dusting Challenges
Some areas of the home present unique dusting challenges. Here’s how I handle them:
* Electronics: Use a can of compressed air to remove dust from keyboards, vents, and other hard-to-reach areas.
* Bookshelves: Remove books from the shelves and dust them individually. Use a soft brush or a microfiber cloth to clean the shelves.
* Plants: Dust plant leaves with a damp cloth. This helps them absorb sunlight more efficiently.
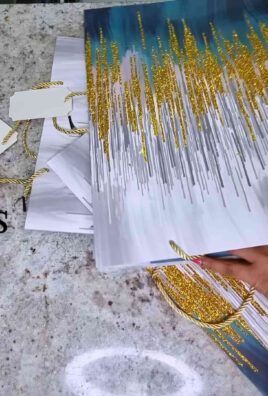
* Artwork: Dust artwork with a soft brush or a microfiber cloth. Be careful not to damage delicate pieces.
* Collectibles: Dust collectibles with a soft brush or a microfiber cloth. Be extra careful with fragile items.
Conclusion
So, there you have it! This simple yet incredibly effective DIY dusting spray is a game-changer for anyone looking to achieve a sparkling clean home without relying on harsh chemicals or breaking the bank. We’ve shown you how easy it is to whip up a batch using ingredients you likely already have in your pantry. But why is this DIY dusting trick a must-try?
Firstly, it’s about control. You know exactly what’s going into your cleaning solution, eliminating concerns about allergens, irritants, or harmful substances that can often be found in commercial products. This is especially important for households with children, pets, or individuals with sensitivities. Secondly, it’s cost-effective. The ingredients are inexpensive and readily available, making this a budget-friendly alternative to pricey store-bought dusting sprays. And finally, it’s effective! The combination of ingredients works synergistically to lift dust, polish surfaces, and leave behind a fresh, clean scent.
But don’t just take our word for it! We encourage you to experiment with variations to find the perfect blend for your home. For a more citrusy scent, add a few extra drops of lemon essential oil. If you prefer a floral aroma, lavender or rose essential oil would be lovely additions. For wood furniture, consider adding a teaspoon of olive oil to the mixture for extra conditioning and shine. Remember to always test any new cleaning solution on an inconspicuous area first to ensure it doesn’t damage the surface.
This DIY dusting spray isn’t just about cleaning; it’s about creating a healthier, happier home environment. It’s about taking control of the products you use and making conscious choices that benefit both your well-being and your wallet. It’s about discovering the satisfaction of creating something yourself that works just as well, if not better, than anything you can buy in a store.
We are confident that once you try this DIY dusting trick, you’ll never go back to store-bought sprays. The simplicity, affordability, and effectiveness are simply unmatched. So, gather your ingredients, mix up a batch, and prepare to be amazed by the results.
We’re eager to hear about your experiences! Did you try any variations? What scents did you use? Did you notice a difference in the amount of dust that accumulated after using the spray? Share your tips, tricks, and feedback in the comments below. Let’s build a community of DIY cleaning enthusiasts and help each other create cleaner, healthier homes, one dusting session at a time. Your insights could be invaluable to others who are just starting their DIY cleaning journey. Let us know how this **dusting tips for home** worked for you.
Frequently Asked Questions (FAQ)
What types of surfaces can I use this DIY dusting spray on?
This DIY dusting spray is generally safe for most hard surfaces, including wood furniture (sealed), glass, mirrors, countertops (granite, quartz, laminate), and stainless steel appliances. However, it’s always a good idea to test the spray on an inconspicuous area first, especially on delicate or antique furniture. Avoid using it on unfinished wood, as the moisture could damage the surface. For electronics, spray the solution onto a microfiber cloth instead of directly onto the device.
How often should I use this DIY dusting spray?
The frequency of dusting depends on several factors, including the amount of dust in your home, the presence of pets, and your personal preferences. Generally, dusting once or twice a week is sufficient for most households. In high-traffic areas or homes with pets, you may need to dust more frequently. Observe how quickly dust accumulates and adjust your dusting schedule accordingly.
Can I use different essential oils in this DIY dusting spray?
Absolutely! Feel free to experiment with different essential oils to create your desired scent. Lemon, lavender, tea tree, eucalyptus, and orange are all popular choices for cleaning solutions. Consider the properties of each oil as well. For example, tea tree oil has antibacterial properties, while lavender oil has a calming effect. Just be sure to use pure essential oils and avoid synthetic fragrances, which can be irritating.
How long will this DIY dusting spray last?
This DIY dusting spray should last for several weeks when stored properly in an airtight container. To prevent bacterial growth, it’s best to use distilled water in the recipe. If you notice any discoloration or unusual odors, discard the spray and make a fresh batch.
Can I use this DIY dusting spray on my car’s dashboard?
Yes, you can use this DIY dusting spray on your car’s dashboard, but with caution. Test it on a small, inconspicuous area first to ensure it doesn’t damage the material. Avoid spraying directly onto the dashboard; instead, spray the solution onto a microfiber cloth and then wipe the surface. Be careful not to get any spray on the car’s electronics.
What if I don’t have essential oils? Can I still make this DIY dusting spray?
Yes, you can still make the DIY dusting spray without essential oils. The essential oils primarily add fragrance and some antibacterial properties, but they are not essential for the cleaning effectiveness of the spray. Simply omit the essential oils from the recipe. You can also add a small amount of lemon juice (about a tablespoon) for a fresh scent.
My DIY dusting spray is leaving streaks on my surfaces. What am I doing wrong?
Streaking can occur if you’re using too much spray or if your microfiber cloth is dirty. Try using less spray and wiping the surface with a clean, dry microfiber cloth immediately after applying the solution. You can also try diluting the spray with a bit more water. Ensure your microfiber cloths are clean and free of lint.
Is this DIY dusting spray safe for pets?
While the ingredients in this DIY dusting spray are generally considered safe, it’s always best to exercise caution when using any cleaning product around pets. Avoid spraying the solution directly onto your pets or their belongings. If your pet ingests the spray, contact your veterinarian immediately. Some essential oils, such as tea tree oil, can be toxic to pets, so be mindful of the oils you choose to use.
Can I use this DIY dusting spray on leather furniture?
No, it is not recommended to use this DIY dusting spray on leather furniture. Leather requires special care and cleaning products designed specifically for leather. Using this DIY spray could damage or discolor the leather. Consult a professional leather cleaner for advice on cleaning your leather furniture.
What is the best way to store this DIY dusting spray?
The best way to store this DIY dusting spray is in a clean, airtight spray bottle. Store it in a cool, dark place away from direct sunlight and heat. This will help to preserve the quality of the ingredients and prevent the essential oils from degrading. Label the bottle clearly with the date you made the spray.
Leave a Comment