

Dryer sheets for dusting baseboards – sounds a little unconventional, right? But trust me, this simple hack will revolutionize your cleaning routine! We’ve all been there, struggling to keep those pesky baseboards free from dust, pet hair, and grime. It feels like a never-ending battle, doesn’t it? But what if I told you the solution was hiding right in your laundry room?
Believe it or not, using dryer sheets for dusting isn’t a brand-new idea. Our grandmothers often repurposed household items in ingenious ways, and this trick echoes that resourceful spirit. While they might have used cheesecloth or old rags, we’re upgrading to the modern convenience of dryer sheets! This isn’t just about cleaning; it’s about embracing a sustainable and cost-effective approach to home maintenance.
Why is this DIY trick so essential? Well, traditional dusting methods often just push dust around, leaving a grimy residue. Dryer sheets, on the other hand, have an electrostatic charge that attracts and traps dust, leaving your baseboards sparkling clean and protected. Plus, they leave behind a pleasant scent, making your home smell fresh and inviting. In this article, I’ll show you exactly how to use dryer sheets for dusting baseboards, transforming this often-dreaded chore into a quick and easy task. Get ready to say goodbye to dusty baseboards and hello to a cleaner, happier home!
DIY Dust-Busting Baseboards with Dryer Sheets: A Simple Guide
Hey there, fellow DIY enthusiasts! Are you tired of battling dust bunnies clinging to your baseboards? I know I was! It felt like a never-ending cycle of wiping, vacuuming, and still seeing those pesky particles reappear. Then, I stumbled upon a game-changing hack: using dryer sheets to dust baseboards. Trust me, it’s a total lifesaver, and I’m excited to share my method with you. Not only is it incredibly effective, but it’s also super affordable and uses something you probably already have in your laundry room. Let’s get started!
Why Dryer Sheets? The Science Behind the Magic
Before we dive into the how-to, let’s talk about why dryer sheets work so well. Dryer sheets are designed to reduce static cling in your clothes. They contain fabric softening agents that leave a thin, waxy coating on surfaces. This coating not only repels dust but also makes it harder for dust to stick in the first place. Think of it as creating a dust-resistant shield for your baseboards! Plus, they leave a fresh, clean scent behind, which is always a bonus.
What You’ll Need
* Dryer sheets (used or new – both work great!)
* A clean, dry cloth (microfiber is ideal)
* Optional: Vacuum cleaner with a brush attachment
* Optional: Damp cloth (for stubborn spots)
* Optional: Gloves (if you prefer not to touch the dryer sheets directly)
Step-by-Step Instructions: Dusting Like a Pro
Alright, let’s get down to business. Here’s my tried-and-true method for using dryer sheets to dust baseboards.
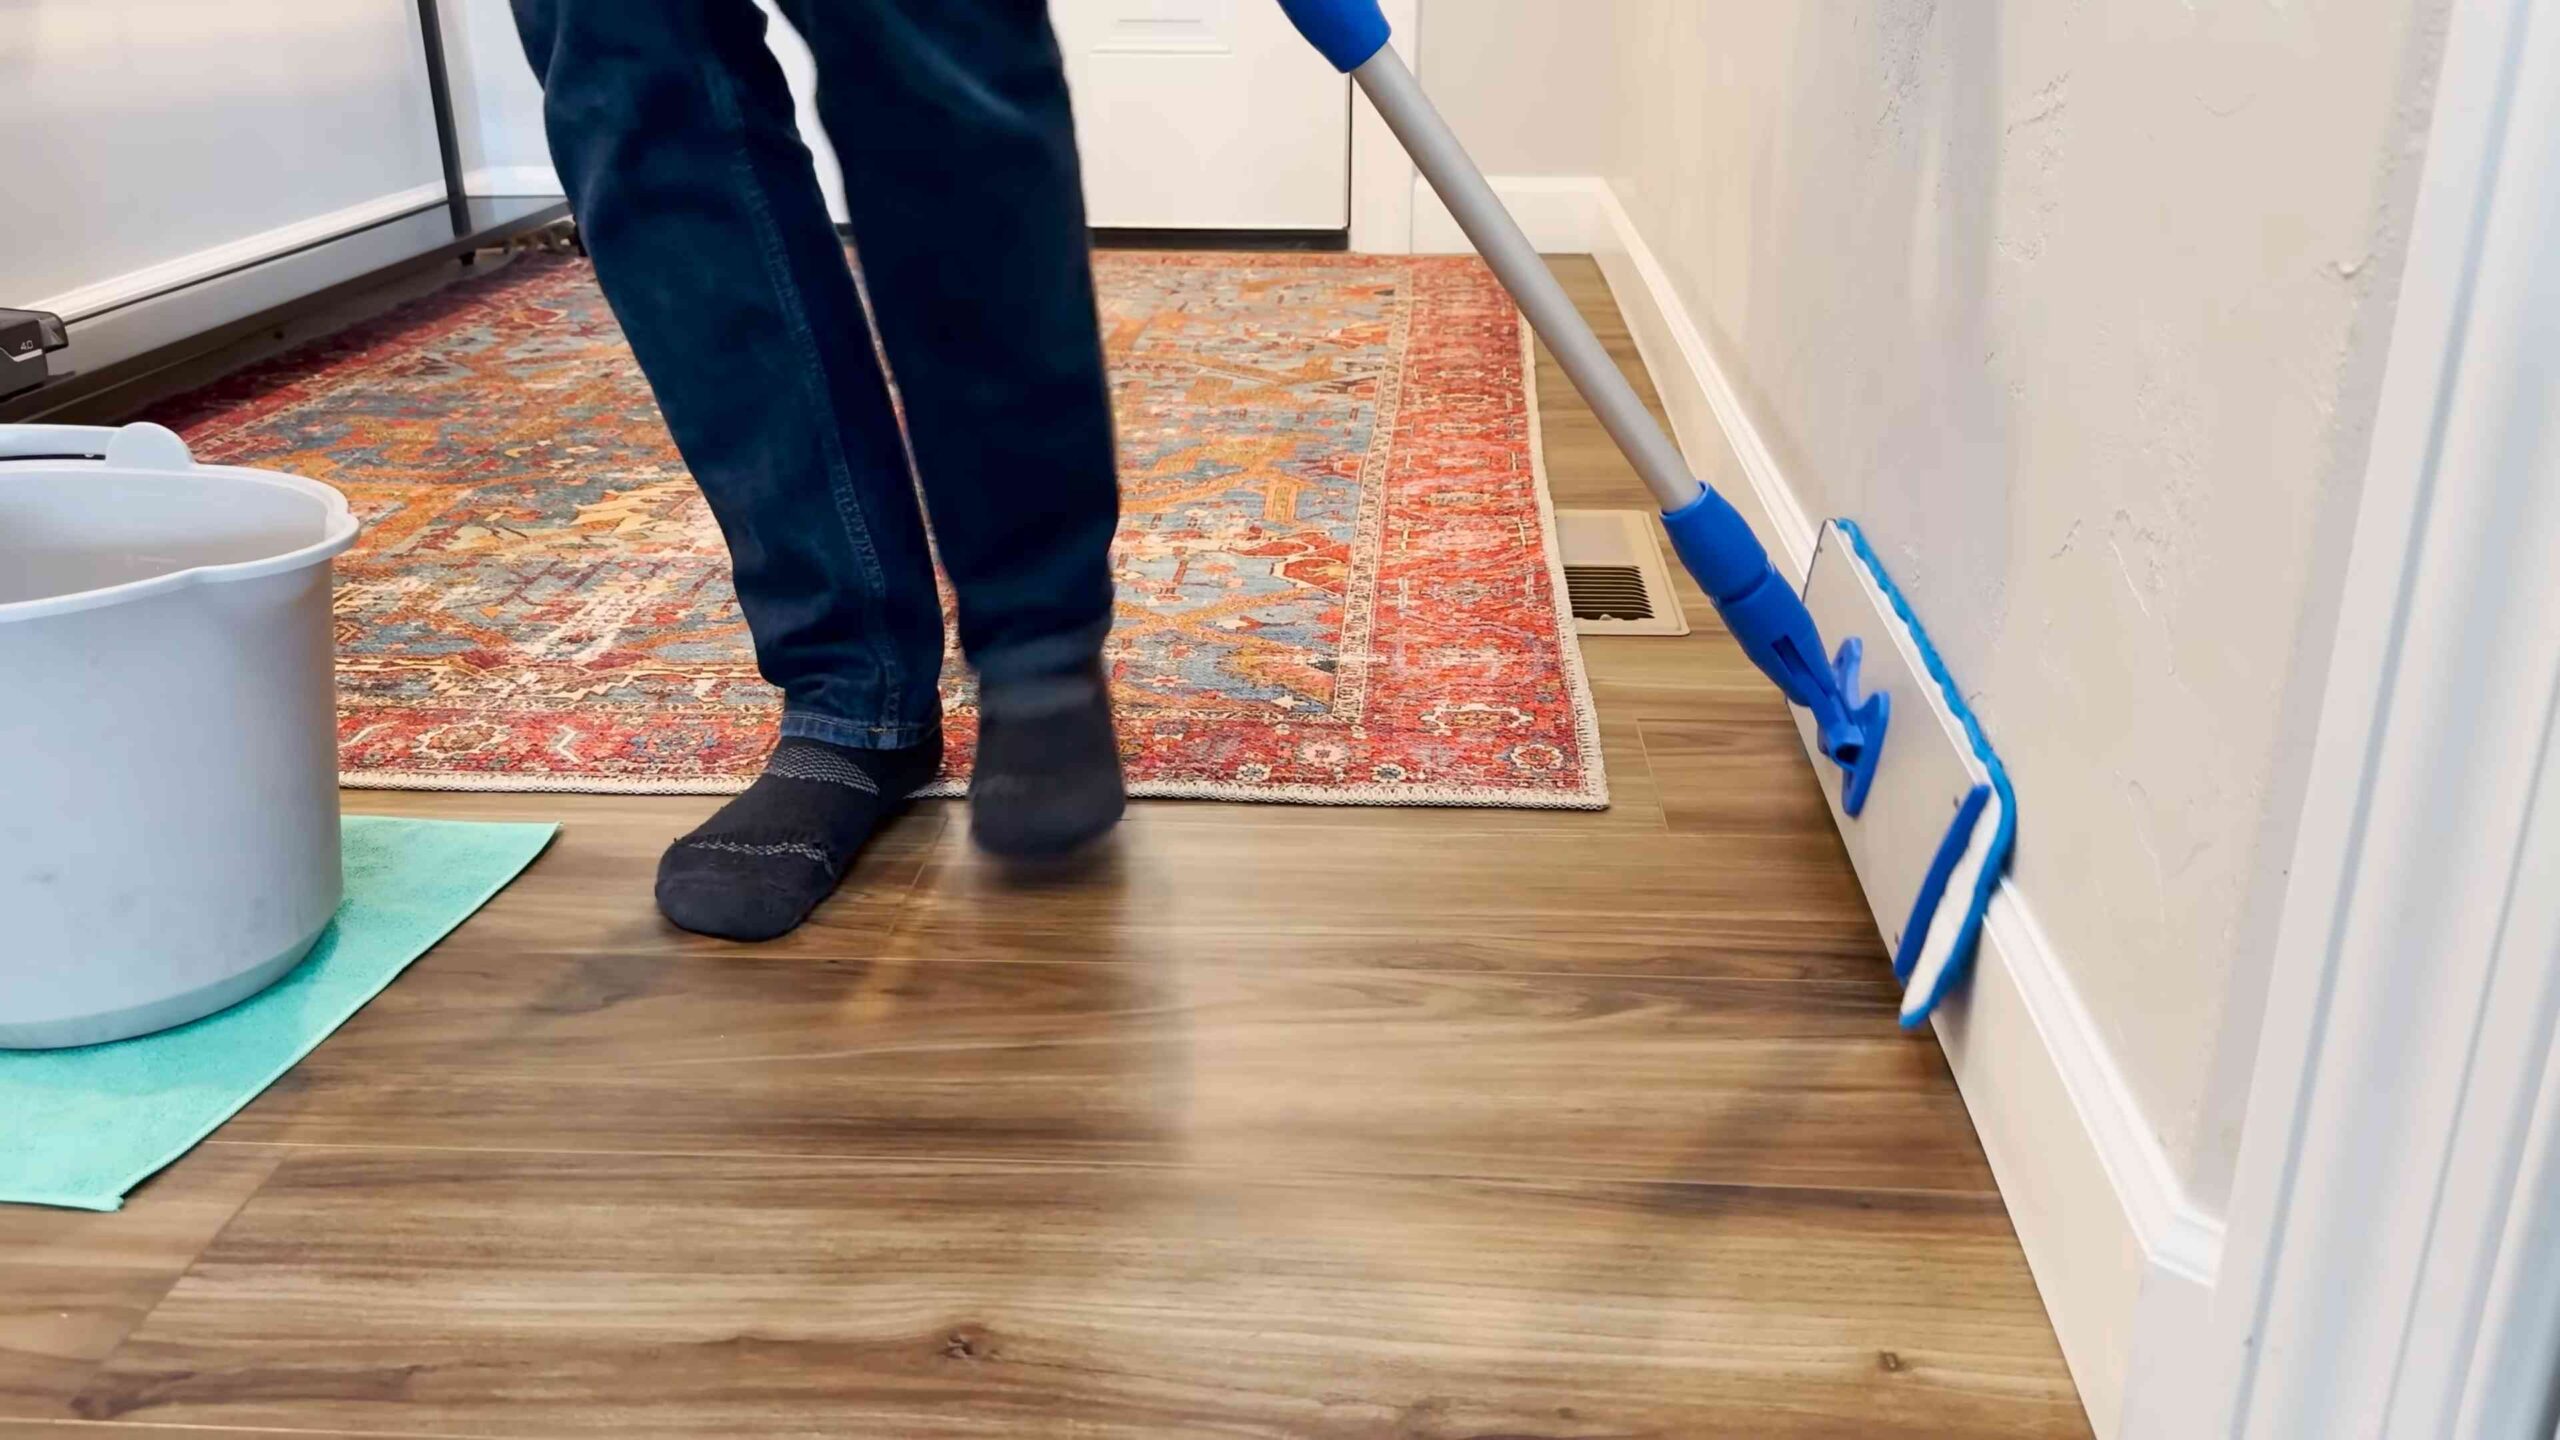
1. Prepare Your Baseboards: Before you start dusting, it’s a good idea to give your baseboards a quick once-over with a vacuum cleaner using the brush attachment. This will remove any large debris, like pet hair or crumbs, and make the dryer sheet dusting even more effective. If you don’t have a vacuum with a brush attachment, you can use a dry cloth to wipe away any loose dirt.
2. Grab Your Dryer Sheet: Take one dryer sheet. You can use a fresh one or a used one – both work perfectly fine. I often save my used dryer sheets specifically for this purpose. It’s a great way to repurpose them!
3. The Initial Wipe-Down: Start at one end of your baseboard and gently wipe it down with the dryer sheet. Apply light pressure and move in a smooth, even motion. You’ll immediately notice the dust clinging to the dryer sheet. Don’t be afraid to use the entire surface of the dryer sheet to maximize its dust-collecting power.
4. Tackle Stubborn Spots: If you encounter any stubborn spots or sticky residue, you can use a slightly damp cloth to gently scrub the area. Be careful not to use too much water, as you don’t want to damage your baseboards. After wiping with the damp cloth, go over the area again with the dryer sheet to reapply the dust-repelling coating.
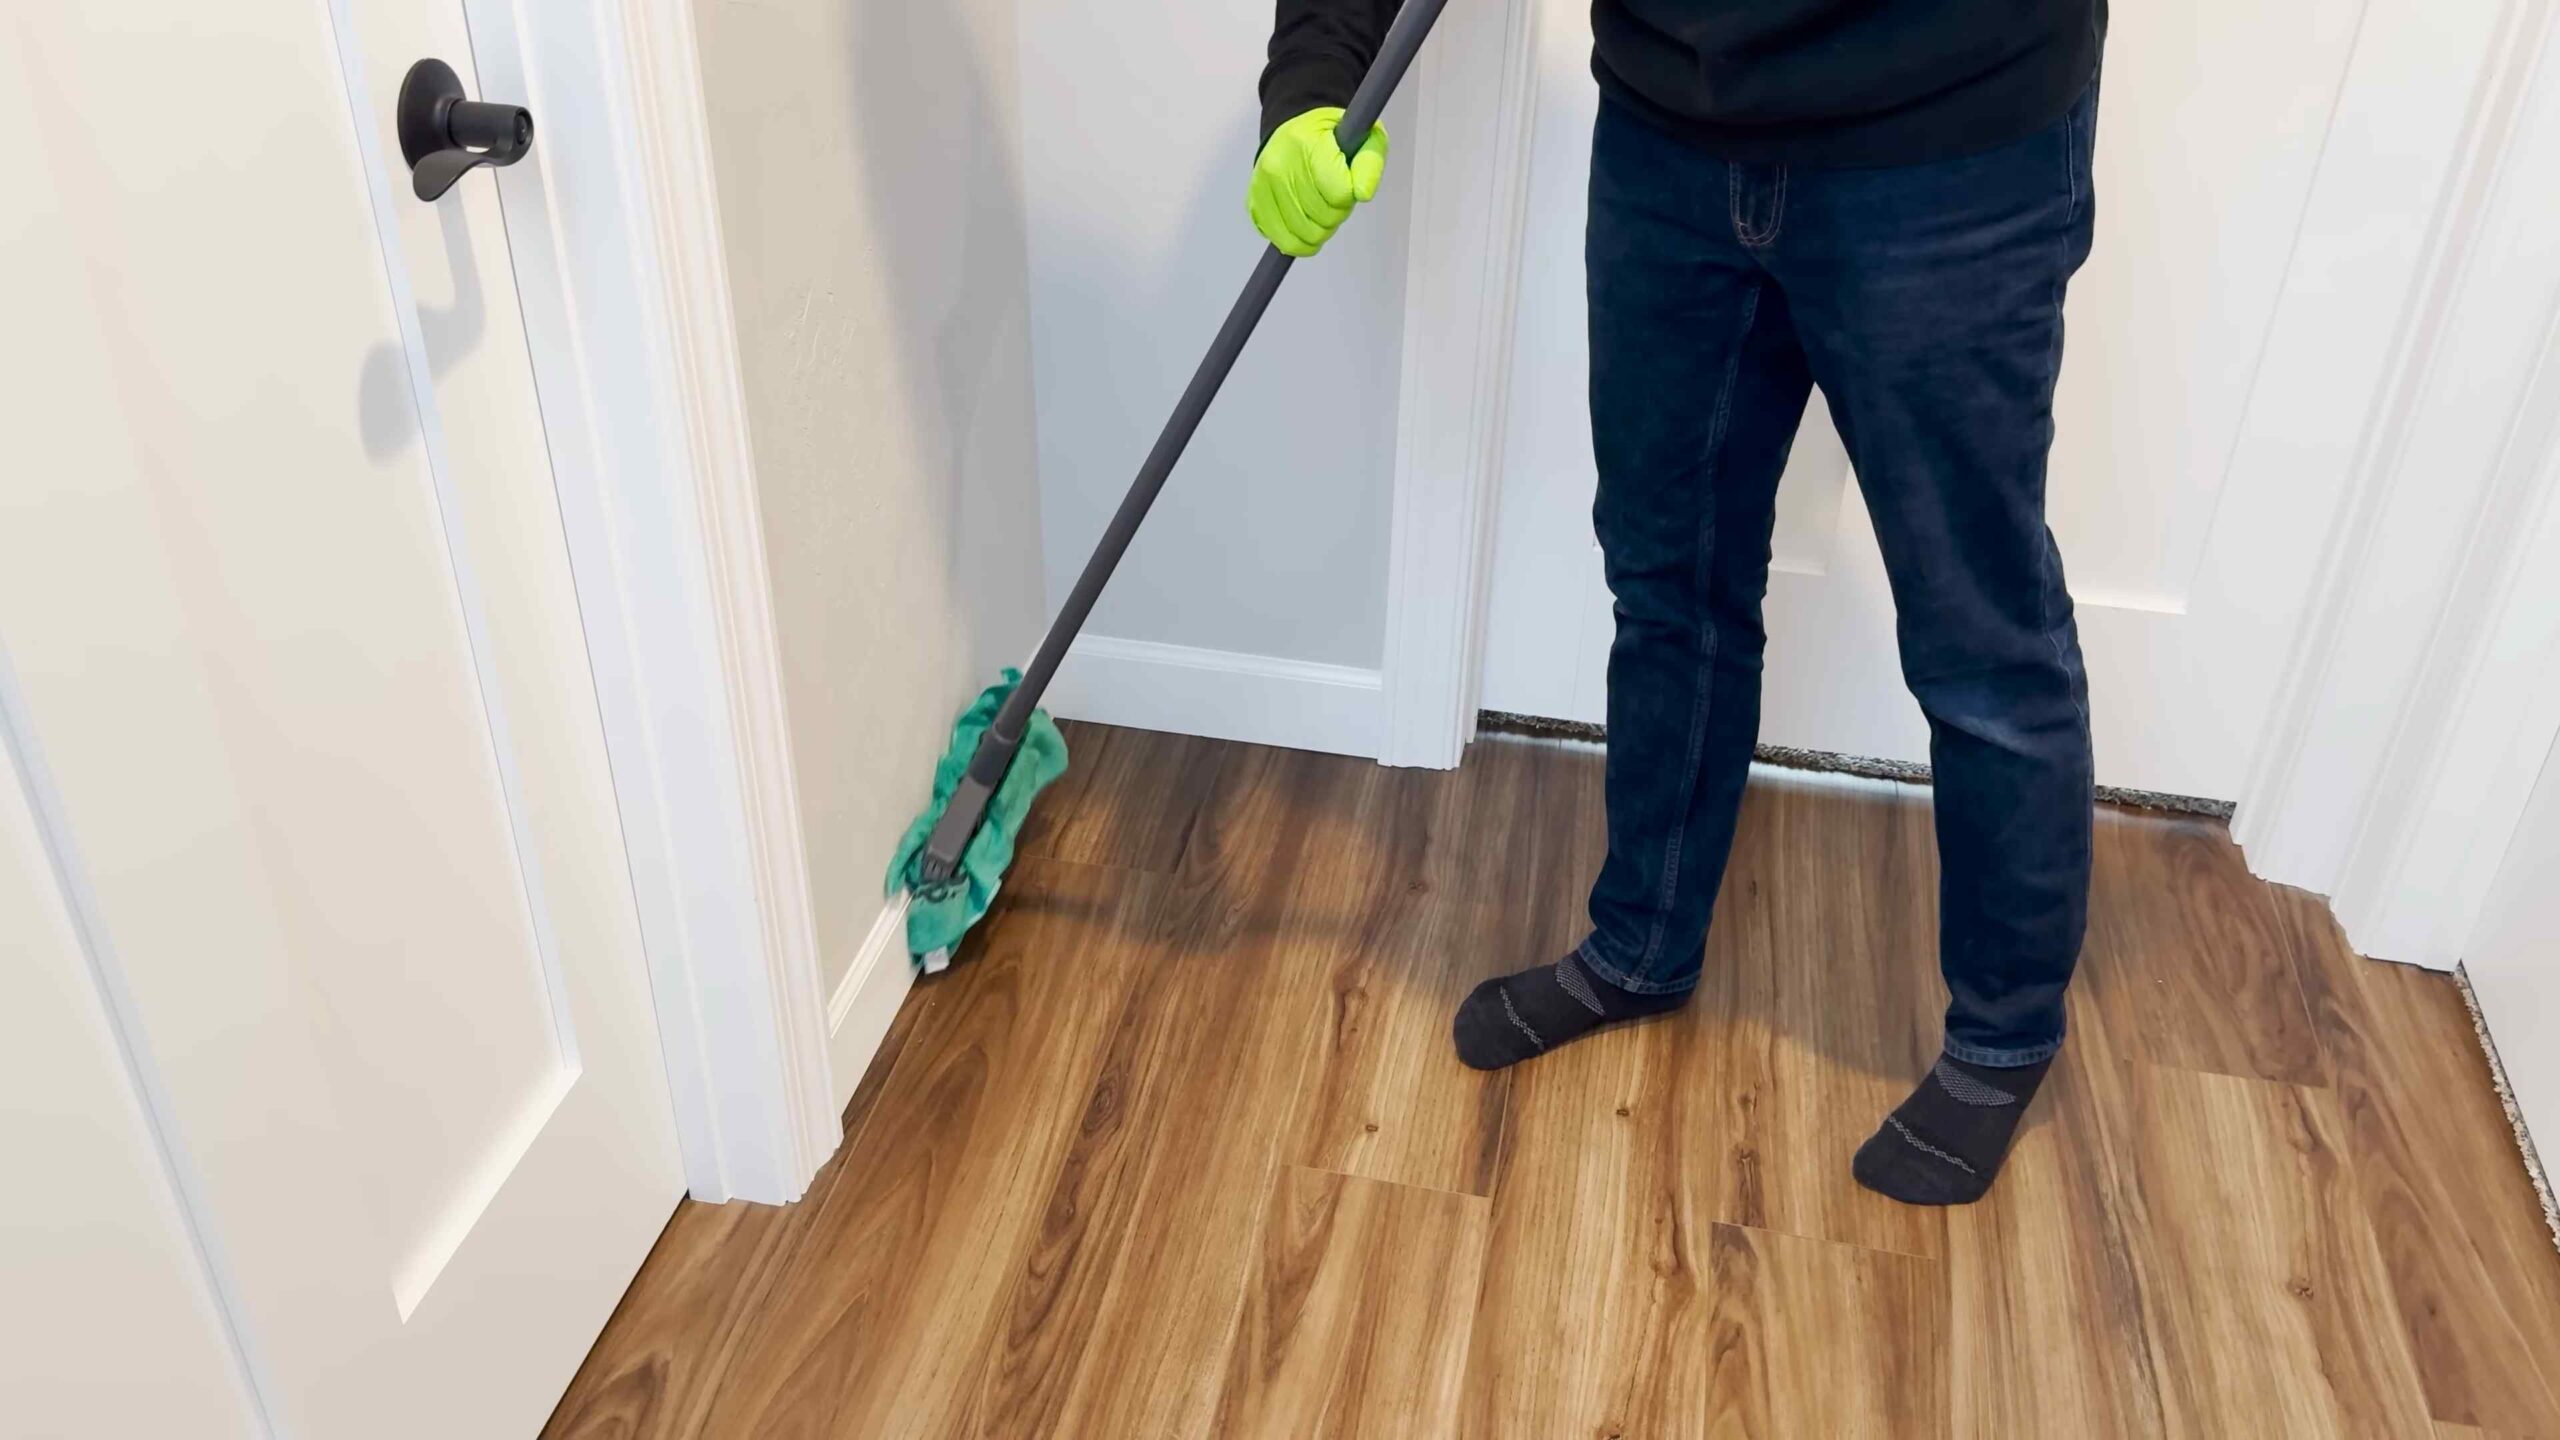
5. Reach Those Tricky Areas: For hard-to-reach areas, like corners or areas behind furniture, you can fold the dryer sheet into a smaller square or use your fingers to guide it into tight spaces. I sometimes use a butter knife wrapped in a dryer sheet to get into really narrow gaps. Just be careful not to scratch your baseboards!
6. Buff with a Clean Cloth: After you’ve dusted the entire baseboard with the dryer sheet, grab your clean, dry cloth (preferably microfiber) and gently buff the surface. This will help to evenly distribute the dust-repelling coating and leave your baseboards looking shiny and clean.
7. Repeat as Needed: Continue this process around the entire room, replacing the dryer sheet as needed. You’ll know it’s time to switch to a new dryer sheet when the current one becomes saturated with dust.
8. Maintenance is Key: To keep your baseboards dust-free, I recommend dusting them with dryer sheets every one to two weeks. This will prevent dust from building up and make the cleaning process much easier in the long run.
Dealing with Different Types of Baseboards
The beauty of this hack is that it works on most types of baseboards. However, here are a few tips for dealing with specific materials:
* Painted Baseboards: Painted baseboards are generally very easy to clean with dryer sheets. Just be sure to use a gentle touch and avoid using abrasive cleaners, as they can damage the paint.
* Wood Baseboards: For wood baseboards, especially those with a glossy finish, it’s important to test the dryer sheet on an inconspicuous area first to ensure it doesn’t leave any streaks or residue. If you’re concerned, you can use a dryer sheet specifically designed for delicate surfaces.
* Laminate Baseboards: Laminate baseboards are also relatively easy to clean with dryer sheets. Just be sure to avoid using excessive moisture, as it can damage the laminate.
* Tile Baseboards: Tile baseboards are very durable and can withstand more rigorous cleaning. However, be sure to pay attention to the grout lines, as they can be prone to collecting dust and grime. You can use a small brush or toothbrush to clean the grout lines.
Extra Tips and Tricks for Baseboard Bliss
Here are a few extra tips and tricks I’ve learned along the way to make your baseboard dusting even more effective:
* Use Scented Dryer Sheets: If you want to add a pleasant fragrance to your home, use scented dryer sheets. The scent will linger in the air and leave your home smelling fresh and clean.
* Static Electricity: If you live in a dry climate or have a lot of static electricity in your home, you may find that your baseboards attract more dust. In this case, you can try using an anti-static spray on your baseboards before dusting them with dryer sheets.
* Pet Hair Magnet: If you have pets, you know how much hair can accumulate on baseboards. Dryer sheets are excellent at picking up pet hair. For particularly hairy areas, try wrapping the dryer sheet around a rubber band on your hand for extra grip.
* Don’t Forget the Corners: Corners are notorious for collecting dust and cobwebs. Be sure to pay extra attention to the corners of your baseboards and use a small brush or toothbrush to clean them thoroughly.
* Safety First: Always be careful when cleaning around electrical outlets or cords. Avoid using excessive moisture and be sure to unplug any appliances before cleaning around them.
Beyond Baseboards: Other Uses for Dryer Sheets
The magic of dryer sheets doesn’t stop at baseboards! Here are a few other ways I use them around my house:
* Dusting Furniture: Dryer sheets work great for dusting furniture, especially wood furniture. They leave a nice shine and help to repel dust.
* Cleaning Blinds: Cleaning blinds can be a real pain, but dryer sheets make it much easier. Simply wipe the blinds with a dryer sheet to remove dust and grime.
* Removing Soap Scum: Dryer sheets can also be used to remove soap scum from shower doors and tiles. Just dampen the dryer sheet and scrub the affected area.
* Polishing Chrome: Dryer sheets can be used to polish chrome fixtures, such as faucets and showerheads. They leave a nice shine and help to prevent water spots.
* Freshening Drawers and Closets: Place a dryer sheet in drawers and closets to keep them smelling fresh and clean.
Troubleshooting: Common Issues and Solutions
Even with the best instructions, you might encounter a few hiccups along the way. Here are some common issues and how to solve them:
* Dryer Sheet Leaves a Residue: If you notice a waxy residue after using the dryer sheet, it could be due to using too much pressure or using a dryer sheet that’s too heavily scented. Try using a lighter touch and switching to a less scented dryer sheet. Buffing with a clean microfiber cloth should also help.
* Dust Still Clings: If dust is still clinging to your baseboards after using the dryer sheet, it could be due to static electricity or a buildup of grime. Try using an anti-static spray or cleaning the baseboards with a damp cloth before using the dryer sheet.
* Dryer Sheet Tears Easily: If the dryer sheet tears easily, it could be due to rough baseboard surfaces or using a dryer sheet that’s too old. Try using a newer dryer sheet or being more gentle when wiping the baseboards.
Final Thoughts: Enjoy Your Dust-Free Baseboards!
And there you have it! My simple yet effective method for dusting baseboards with dryer sheets. I hope you found this guide helpful and that you’re now ready to tackle those dusty baseboards with confidence. Remember, consistency is key. By dusting your baseboards regularly with dryer sheets, you can keep them looking clean and dust-free for longer. Happy dusting!
Conclusion
So, there you have it! Ditching the traditional duster and embracing the humble dryer sheet for your baseboards is more than just a cleaning hack; it’s a game-changer. We’ve explored how the unique properties of dryer sheets – their electrostatic charge and softening agents – combine to create a dust-repelling force field on your baseboards, keeping them cleaner for longer and saving you precious time and energy.
Why is this a must-try? Because it’s effective, affordable, and readily accessible. You likely already have dryer sheets in your laundry room! No need to invest in expensive cleaning solutions or specialized tools. Plus, the light fragrance left behind is a subtle bonus, adding a touch of freshness to your home.
But the benefits don’t stop there. This DIY trick is incredibly versatile. While we’ve focused on baseboards, don’t hesitate to experiment with other surfaces. Think window sills, blinds, even your car’s dashboard! The anti-static properties of the dryer sheet can work wonders in attracting and repelling dust from a variety of materials.
Looking for variations? Consider these:
* Scent Customization: Use scented dryer sheets that complement your home’s overall fragrance. Lavender, citrus, or even unscented options are all viable choices.
* Dryer Sheet “Gloves”: For intricate baseboard designs or hard-to-reach areas, slip a dryer sheet over your hand like a glove for more precise dusting.
* Combined Cleaning Power: For heavily soiled baseboards, lightly dampen the dryer sheet with a mild cleaning solution before dusting. This will help loosen stubborn dirt and grime.
* Extend the Life: After using a dryer sheet for dusting, don’t toss it! Use it to wipe down your shoes to prevent static cling, or place it in drawers to freshen them up.
Ultimately, the best way to discover the full potential of this DIY trick is to try it yourself. We’re confident that you’ll be amazed by the results. Say goodbye to constant dusting and hello to cleaner, fresher baseboards with the power of the simple dryer sheet.
We encourage you to give this a try and share your experiences with us! Did you find it effective? Did you discover any new uses for dryer sheets in your cleaning routine? Let us know in the comments below! Your feedback will help others discover the magic of this simple yet effective cleaning hack. We are eager to hear how this simple solution has transformed your cleaning routine.
Frequently Asked Questions (FAQ)
1. Are dryer sheets safe to use on all types of baseboards?
Generally, yes, dryer sheets are safe to use on most types of baseboards, including those made of wood, MDF (medium-density fiberboard), and painted surfaces. However, it’s always a good idea to test a small, inconspicuous area first, especially if your baseboards have a delicate finish or are antique. This will ensure that the dryer sheet doesn’t cause any discoloration or damage. Avoid using dryer sheets on unfinished wood, as the softening agents could potentially stain the surface. If you’re unsure, consult the manufacturer’s recommendations for your specific baseboard material.
2. Can I use used dryer sheets for dusting baseboards?
Absolutely! In fact, using used dryer sheets is a great way to repurpose them and get the most out of each sheet. Once a dryer sheet has been through the dryer cycle, it still retains some of its electrostatic charge and softening agents, making it effective for dusting. Just make sure the sheet isn’t excessively worn or torn, as it may leave behind lint or residue. Using used dryer sheets is an eco-friendly and cost-effective way to keep your baseboards dust-free.
3. How often should I dust my baseboards with dryer sheets?
The frequency of dusting depends on several factors, including the amount of foot traffic in your home, the presence of pets, and the overall dust level in your environment. As a general guideline, dusting your baseboards with dryer sheets every one to two weeks should be sufficient to maintain a clean and dust-free appearance. However, if you notice dust accumulating more quickly, you may need to increase the frequency. The beauty of this trick is that it’s so quick and easy, you can easily incorporate it into your regular cleaning routine.
4. Will dryer sheets leave a residue on my baseboards?
Dryer sheets are designed to leave a very thin layer of softening agents on fabrics, which is what helps to reduce static cling and wrinkles. When used on baseboards, this residue is typically minimal and not noticeable. However, if you’re concerned about residue, you can use a slightly damp cloth to wipe down the baseboards after dusting with the dryer sheet. This will remove any excess residue and leave your baseboards clean and shiny. Also, using unscented dryer sheets will minimize any potential residue or fragrance transfer.
5. Can I use dryer sheets to clean other surfaces in my home?
Yes, dryer sheets are incredibly versatile and can be used to clean a variety of surfaces in your home. Their anti-static properties make them ideal for dusting electronics, such as televisions and computer screens. They can also be used to clean blinds, window sills, and even your car’s dashboard. Some people even use dryer sheets to remove soap scum from shower doors and to polish chrome fixtures. Just be sure to test a small, inconspicuous area first to ensure that the dryer sheet doesn’t damage the surface.
6. Are there any alternatives to dryer sheets for dusting baseboards?
While dryer sheets are a highly effective and convenient option, there are other alternatives you can use to dust your baseboards. Microfiber cloths are a popular choice, as they attract and trap dust effectively. You can also use a vacuum cleaner with a brush attachment to remove dust from your baseboards. For a more natural approach, consider using a mixture of water and vinegar to clean your baseboards. However, dryer sheets offer the unique advantage of leaving behind a dust-repelling coating, which helps to keep your baseboards cleaner for longer.
7. Can dryer sheets help with pet hair on baseboards?
Absolutely! Dryer sheets are excellent for removing pet hair from baseboards. The electrostatic charge of the dryer sheet attracts pet hair like a magnet, making it easy to lift and remove. Simply wipe the dryer sheet along the baseboards, and watch as the pet hair clings to the sheet. This is a particularly useful trick for pet owners who struggle with shedding. You can also use dryer sheets to remove pet hair from furniture, carpets, and clothing.
8. Do different brands of dryer sheets work differently for dusting?
While the basic principle remains the same, there may be slight variations in the effectiveness of different brands of dryer sheets for dusting. Some brands may have a stronger electrostatic charge or a more effective blend of softening agents. Experiment with different brands to find the one that works best for you and your specific needs. Consider factors such as scent, price, and environmental friendliness when making your choice. Ultimately, the best dryer sheet is the one that effectively removes dust and leaves your baseboards clean and fresh.

Leave a Comment