

DIY Wood Stain Removal can feel like an impossible task when you’re staring down at that unsightly mark on your favorite wooden table. Have you ever accidentally spilled coffee, wine, or even just water on your beautiful wood furniture and watched in horror as a stain began to form? I know I have! It’s a common problem, and thankfully, one that doesn’t necessarily require expensive professional help.
Wood, a material cherished for centuries, has been a staple in homes around the world. From the grandest castles to the coziest cottages, wood furniture and accents have added warmth and character to our living spaces. But with its porous nature, wood is also susceptible to stains. Learning effective DIY Wood Stain Removal techniques is essential for preserving the beauty and longevity of your wooden treasures.
Let’s face it, accidents happen. But before you resign yourself to living with that stain forever, or worse, spending a fortune on professional refinishing, I’m here to share some simple, effective, and budget-friendly DIY tricks. This article will guide you through various methods, using common household items, to tackle those stubborn stains and restore your wood to its former glory. So, grab your cleaning supplies, and let’s get started on your journey to stain-free wood!
DIY Wood Stain Removal: Revive Your Furniture Like a Pro!
Okay, so you’ve got a stubborn stain on your beautiful wooden furniture? Don’t panic! I’ve been there, done that, and I’m here to tell you that you can probably fix it yourself without resorting to harsh chemicals or expensive professionals. This guide will walk you through several methods, starting with the gentlest and working our way up to the more powerful ones. Remember to always test in an inconspicuous area first!
Understanding the Stain
Before we dive in, it’s helpful to understand what kind of stain you’re dealing with. Is it water-based (like a spilled drink), oil-based (like grease or food), or something else entirely (like ink or paint)? Knowing this will help you choose the most effective removal method. Also, consider the type of finish on your wood. Is it a varnish, lacquer, polyurethane, or something else? This will affect how aggressively you can treat the stain.
General Supplies You’ll Need
No matter which method you choose, it’s good to have these basics on hand:
* Clean, soft cloths (microfiber cloths are great)
* Warm water
* Mild dish soap
* Soft-bristled brush (an old toothbrush works well)
* Paper towels
* Hair dryer (optional)
* Safety glasses
* Gloves
Method 1: The Gentle Approach – Soap and Water
This is always my first go-to because it’s the least likely to damage the finish.
1. Prepare the Solution: Mix a few drops of mild dish soap into a cup of warm water. Don’t overdo it with the soap; you just need a slightly sudsy solution.
2. Apply and Scrub Gently: Dip a clean cloth into the soapy water and gently wring it out so it’s damp, not soaking wet. Gently rub the stain in a circular motion. Avoid applying too much pressure.
3. Rinse and Dry: Use a clean, damp cloth (with just water this time) to wipe away any soap residue. Immediately dry the area thoroughly with a clean, dry cloth.
4. Evaluate: If the stain is light, this might be all you need! If it’s still there, move on to the next method.
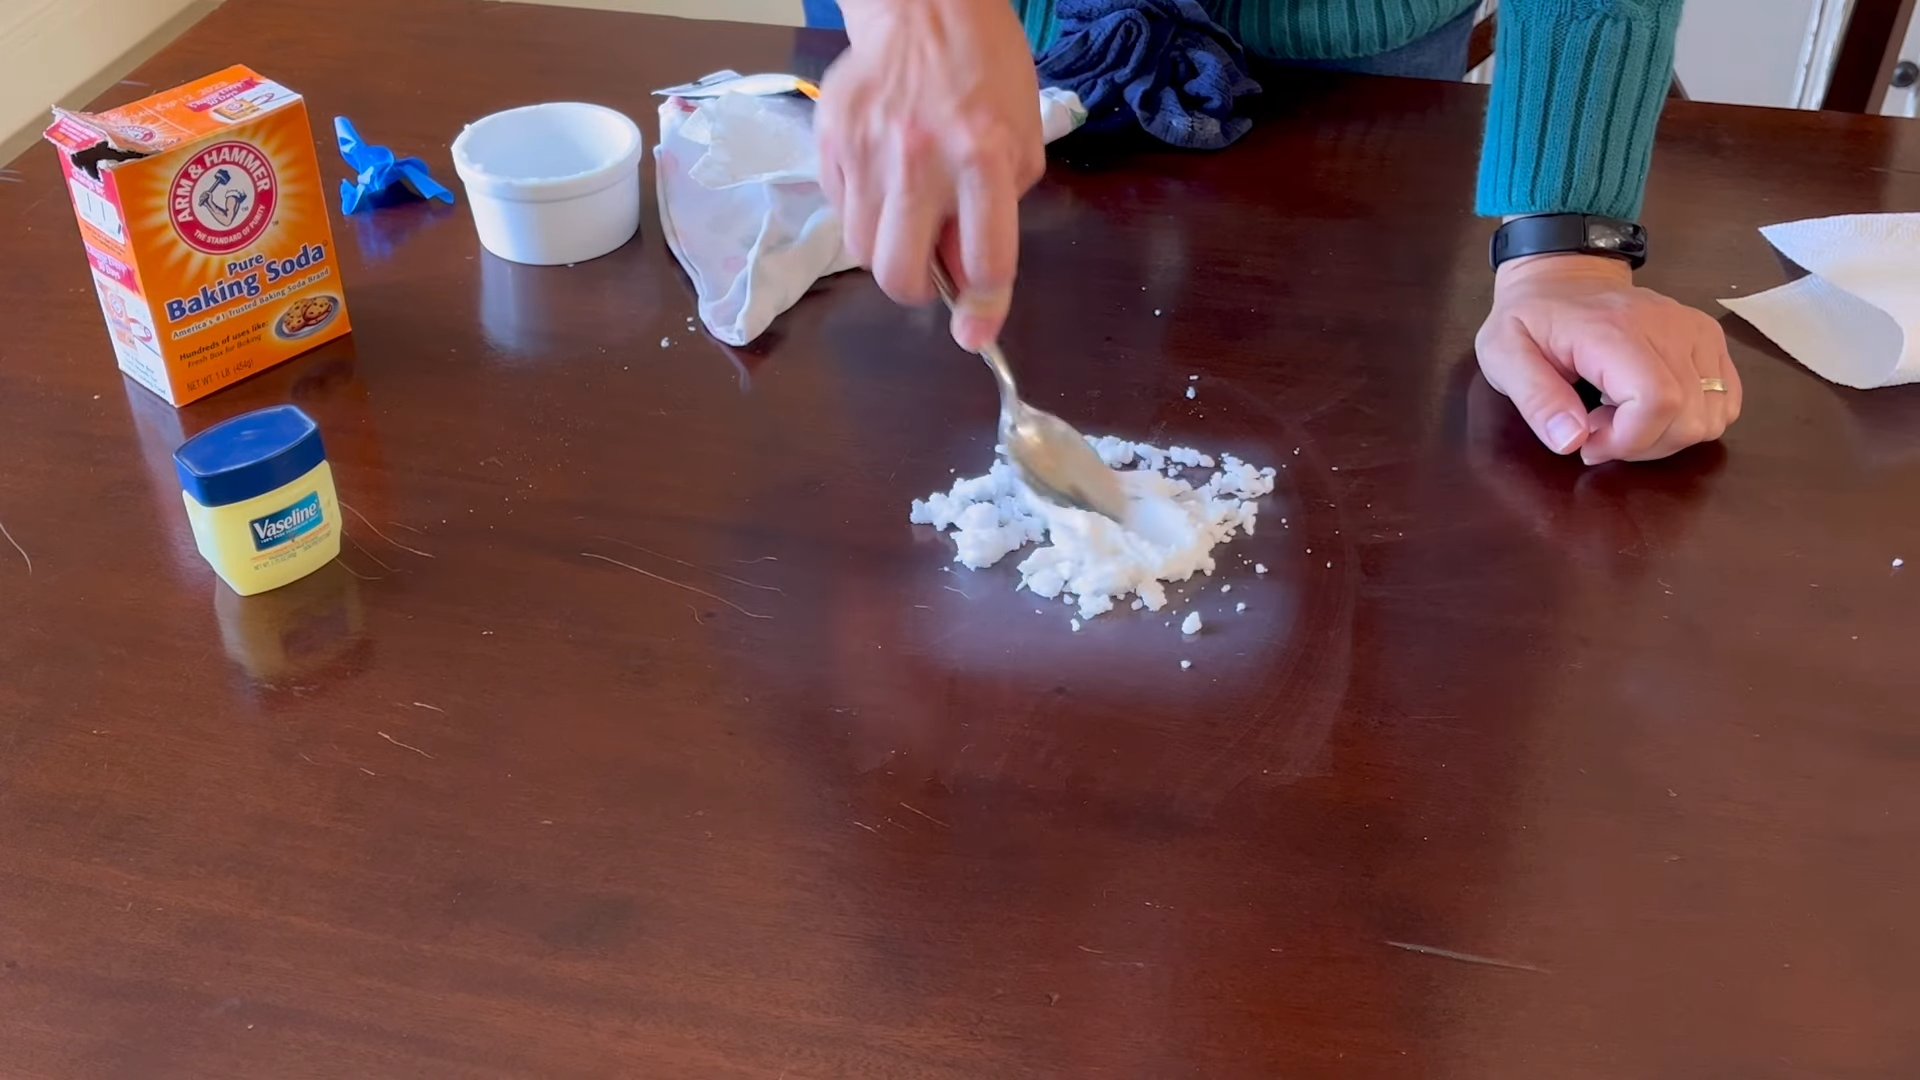
Method 2: Baking Soda Paste – A Mild Abrasive
Baking soda is a fantastic natural cleaner and can gently lift stains without being too harsh.
1. Make a Paste: Mix baking soda with a small amount of water to form a thick paste. The consistency should be similar to toothpaste.
2. Apply the Paste: Apply the baking soda paste directly to the stain.
3. Gentle Scrubbing: Using a soft-bristled brush or a clean cloth, gently scrub the paste into the stain in a circular motion. Be careful not to scratch the wood.
4. Let it Sit: Allow the paste to sit on the stain for about 15-20 minutes. This gives the baking soda time to absorb the stain.
5. Wipe Away and Rinse: Wipe away the paste with a damp cloth. Rinse the area thoroughly with a clean, damp cloth to remove any remaining baking soda residue.
6. Dry Thoroughly: Dry the area completely with a clean, dry cloth.
Method 3: Vinegar Power – For Water Stains
Vinegar is a mild acid that can be effective at removing water stains and rings.
1. Dilute the Vinegar: Mix equal parts white vinegar and water in a spray bottle or a bowl.
2. Apply the Solution: Lightly spray the vinegar solution onto the stain or apply it with a damp cloth.
3. Let it Sit Briefly: Allow the solution to sit on the stain for only a few minutes (no more than 5). You don’t want the vinegar to damage the finish.
4. Wipe and Dry: Wipe away the vinegar solution with a clean, dry cloth. Make sure to dry the area thoroughly.
5. Repeat if Necessary: If the stain is still visible, repeat the process, but be extra careful not to over-saturate the wood.
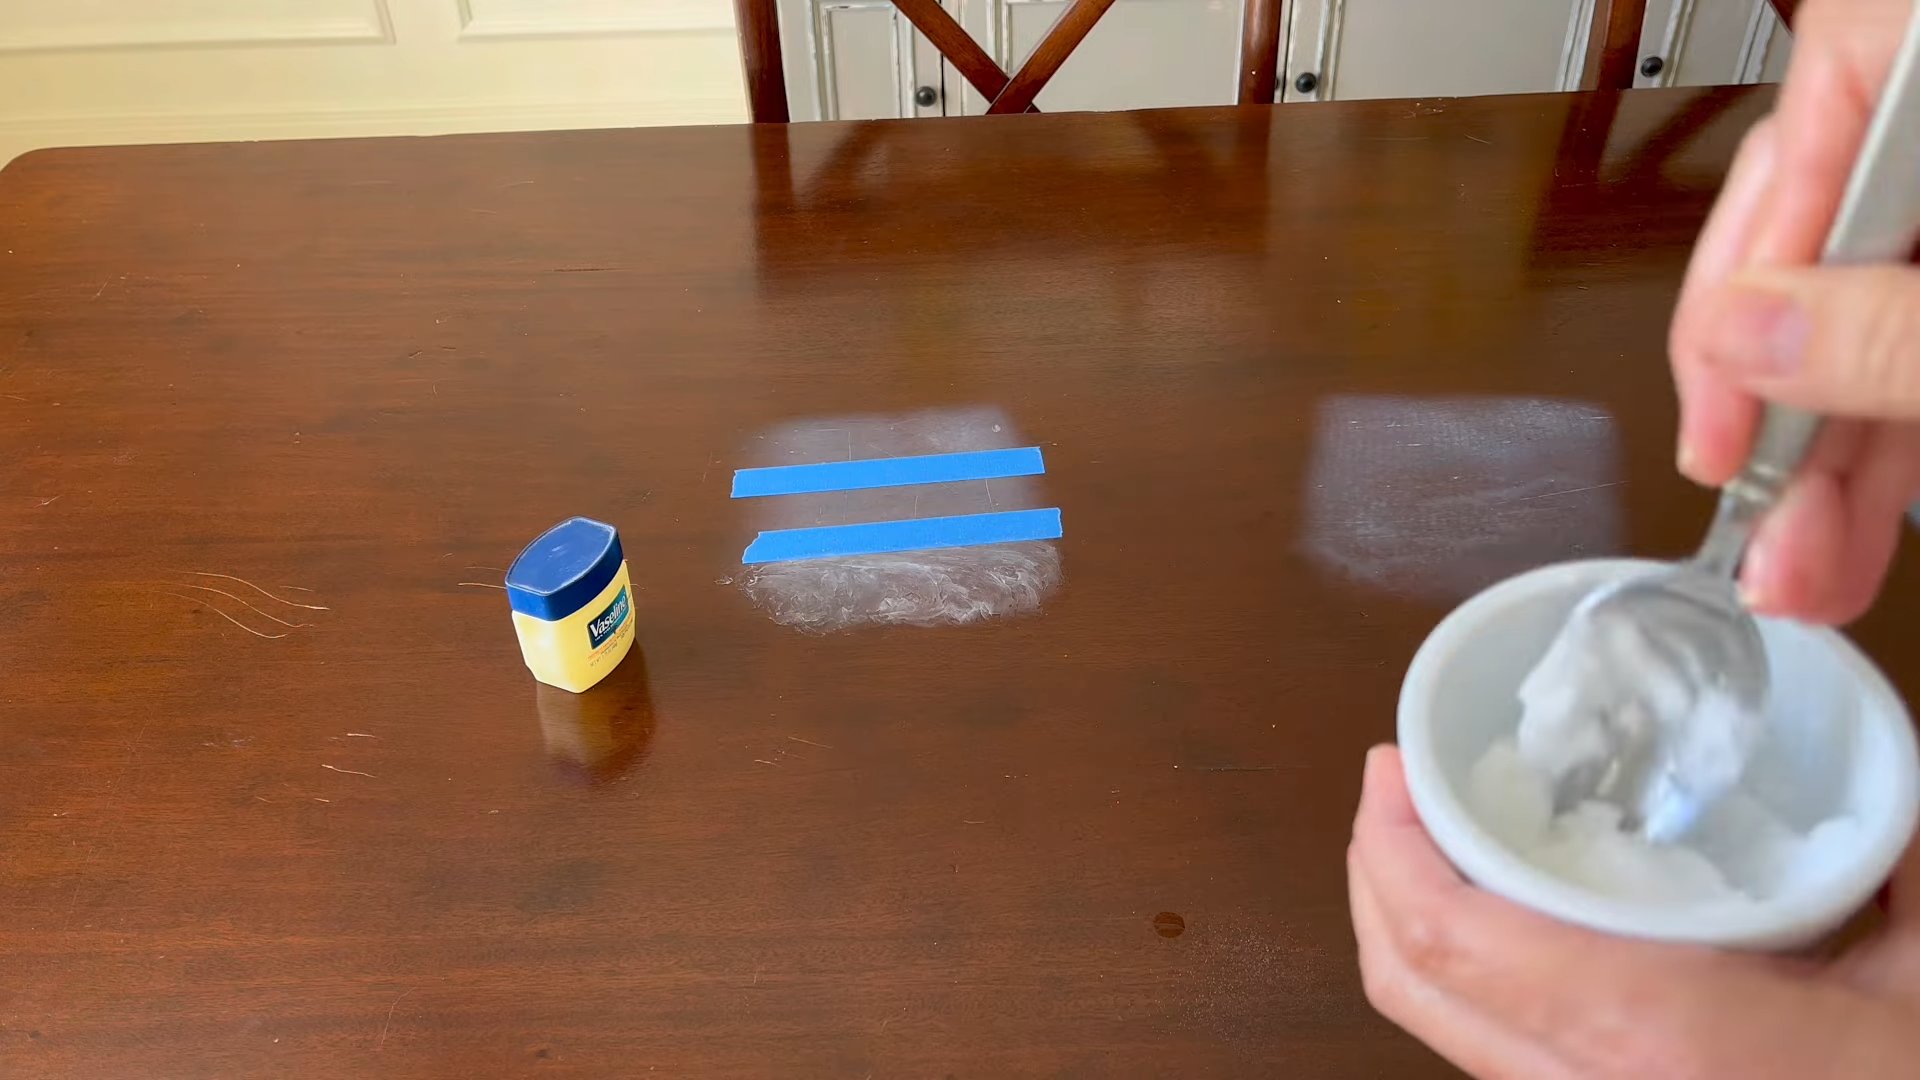
Method 4: Mayonnaise Magic – For Water Rings
Yes, you read that right! Mayonnaise contains oil and protein that can help lift water rings from wood finishes.
1. Apply Mayonnaise: Apply a generous amount of mayonnaise directly to the water ring.
2. Let it Sit: Let the mayonnaise sit on the stain for several hours, or even overnight. This gives the oils time to penetrate the finish and lift the stain.
3. Wipe Away: Wipe away the mayonnaise with a clean cloth.
4. Polish: Polish the area with a clean, dry cloth to restore the shine.
Method 5: Heat Treatment – For White Rings
This method uses heat to draw out moisture trapped in the finish.
1. Protect the Surface: Place a thick cloth or towel over the stain to protect the wood from direct heat.
2. Apply Heat: Using a hair dryer on a low setting, gently heat the area through the cloth. Move the hair dryer back and forth to avoid overheating one spot.
3. Check Progress: Periodically lift the cloth to check if the stain is fading.
4. Repeat as Needed: Continue applying heat until the stain disappears. This may take several minutes.
5. Polish: Once the stain is gone, polish the area with a clean, dry cloth.
Method 6: Oxalic Acid – For Dark Stains (Use with Caution!)
Oxalic acid is a bleaching agent and should be used as a last resort. It’s effective for removing dark stains, but it can also lighten the surrounding wood, so use it carefully and always test in an inconspicuous area first.
1. Safety First: Wear safety glasses and gloves when working with oxalic acid.
2. Prepare the Solution: Mix oxalic acid crystals with warm water according to the manufacturer’s instructions. Usually, it’s a small amount of crystals dissolved in a cup of water.
3. Apply the Solution: Apply the oxalic acid solution to the stain with a clean cloth or brush.
4. Let it Sit: Allow the solution to sit on the stain for about 1-2 hours. Keep an eye on it to make sure it’s not lightening the wood too much.
5. Neutralize: After the allotted time, neutralize the oxalic acid with a solution of baking soda and water. Mix a tablespoon of baking soda into a cup of water.
6. Rinse Thoroughly: Rinse the area thoroughly with clean water to remove any remaining oxalic acid and baking soda.
7. Dry Completely: Dry the area completely with a clean, dry cloth.
8. Evaluate and Repeat (If Necessary): If the stain is still visible, you can repeat the process, but be very careful not to over-bleach the wood. You might need to re-stain the area to match the surrounding wood.
Method 7: Steel Wool and Mineral Spirits – For Scratches and Surface Stains
This method is good for removing surface imperfections and some types of stains.
1. Gather Supplies: You’ll need 0000-grade steel wool (the finest grade), mineral spirits, and clean cloths.
2. Dampen the Steel Wool: Lightly dampen the steel wool with mineral spirits. Don’t soak it.
3. Gently Rub: Gently rub the stained area with the steel wool, following the grain of the wood. Use light pressure and avoid rubbing too hard in one spot.
4. Wipe Away Residue: Wipe away any residue with a clean cloth.
5. Repeat if Necessary: If the stain is still visible, repeat the process, but be careful not to remove too much of the finish.
6. Clean and Polish: Clean the area with a clean cloth and polish to restore the shine.
Important Considerations
* Test First: I can’t stress this enough! Always test any cleaning method in an inconspicuous area of the furniture first to make sure it doesn’t damage the finish.
* Work in the Direction of the Grain: When scrubbing or wiping, always work in the direction of the wood grain to avoid scratching.
* Don’t Over-Saturate: Avoid using too much liquid, as this can damage the wood. Use damp cloths, not soaking wet ones.
* Dry Thoroughly: Always dry the area thoroughly after cleaning to prevent water damage.
* Consider Refinishing: If the stain is very deep or you’ve tried everything and nothing works, you might need to consider refinishing the furniture. This involves stripping the old finish and applying a new one.
Preventing Future Stains
Once you’ve successfully removed the stain, take steps to prevent future stains
Conclusion
So, there you have it! Mastering DIY wood stain removal is not only achievable but also incredibly empowering. No longer do you need to fear those accidental spills or unsightly blemishes that can mar the beauty of your wooden furniture, floors, or trim. This simple, cost-effective method, using readily available household ingredients, offers a powerful alternative to expensive and often harsh commercial stain removers.
Why is this DIY trick a must-try? Because it puts you in control. You know exactly what’s going onto your wood, avoiding potentially damaging chemicals. It’s also incredibly versatile. While we’ve focused on a general approach, remember that variations are key to success. For instance, for particularly stubborn stains, you might consider gently heating the vinegar solution before application (always test in an inconspicuous area first!). Or, if you’re dealing with a stain on a delicate antique, you might opt for a gentler approach, using a paste of baking soda and water instead of the vinegar solution.
Consider these variations to tailor the method to your specific needs:
* **For Water Stains:** A paste of toothpaste (non-gel) and baking soda can work wonders. Apply, let it sit for a few minutes, and gently wipe away.
* **For Ink Stains:** Try dabbing the stain with rubbing alcohol before applying the vinegar solution.
* **For Grease Stains:** Sprinkle cornstarch or baking soda on the stain to absorb the grease before proceeding with the vinegar solution.
* **For Dark Stains on Light Wood:** A diluted bleach solution (use extreme caution and always test in an inconspicuous area) can be effective, but be sure to neutralize it afterward with a vinegar solution and thoroughly rinse with water.
The key to successful DIY wood stain removal is patience and persistence. Don’t expect miracles overnight. Some stains may require multiple applications and gentle scrubbing. Always work in the direction of the wood grain to avoid scratching or damaging the surface. And remember, testing in an inconspicuous area is paramount before tackling the entire stain.
We are confident that this DIY method will become your go-to solution for tackling those inevitable wood stain mishaps. It’s a cost-effective, environmentally friendly, and ultimately satisfying way to restore the beauty of your wooden surfaces.
Now, it’s your turn! We encourage you to try this DIY wood stain removal trick and share your experiences with us. Did it work for you? Did you discover any helpful variations? Let us know in the comments below! Your insights could help other readers facing similar challenges. Together, we can conquer those pesky wood stains and keep our homes looking their best. Don’t let a stain ruin your day – take control and reclaim the beauty of your wood!
Frequently Asked Questions (FAQ)
What types of wood stains does this DIY method work best on?
This DIY method is effective on a variety of common wood stains, including water stains, food stains, grease stains, and some types of ink stains. However, its effectiveness can vary depending on the age and severity of the stain, as well as the type of wood. It’s generally more effective on fresh stains than on old, deeply embedded stains. For particularly stubborn stains, you may need to repeat the process or try a different approach. Always test in an inconspicuous area first to ensure the method doesn’t damage the wood finish.
Is this DIY wood stain removal method safe for all types of wood finishes?
While this method is generally considered safe for most wood finishes, it’s crucial to test it in an inconspicuous area before applying it to the entire stain. Some delicate finishes, such as shellac or lacquer, may be more susceptible to damage from vinegar or other cleaning agents. If you’re unsure about the type of finish on your wood, it’s best to err on the side of caution and consult with a professional furniture restorer.
What if the stain is very old and deeply embedded?
Old, deeply embedded stains can be more challenging to remove. For these types of stains, you may need to repeat the DIY wood stain removal process several times. You can also try gently heating the vinegar solution before application (again, test in an inconspicuous area first). In some cases, you may need to resort to more aggressive methods, such as sanding the wood and refinishing it. However, this should be considered a last resort, as it can damage the wood if not done properly.
Can I use a different type of acid instead of vinegar?
While vinegar is a readily available and relatively mild acid, other acids, such as lemon juice, can also be used. However, it’s important to use caution when working with acids, as they can damage the wood if used improperly. Always dilute the acid with water and test in an inconspicuous area before applying it to the entire stain. Stronger acids, such as hydrochloric acid or sulfuric acid, should never be used, as they can cause severe damage to the wood and pose a safety hazard.
How can I prevent wood stains from happening in the first place?
Prevention is always better than cure! To prevent wood stains, consider the following tips:
* Use coasters and placemats to protect wooden surfaces from spills and heat.
* Clean up spills immediately to prevent them from soaking into the wood.
* Apply a protective finish, such as varnish or polyurethane, to seal the wood and make it more resistant to stains.
* Avoid placing wooden furniture in direct sunlight, as this can cause the finish to fade and make the wood more susceptible to staining.
* Regularly dust and clean wooden surfaces to remove dirt and grime that can contribute to staining.
What if the DIY method makes the stain worse?
In rare cases, the DIY method may make the stain appear worse. This could be due to several factors, such as the type of stain, the type of wood, or the type of finish. If this happens, stop the process immediately and consult with a professional furniture restorer. They may be able to identify the cause of the problem and recommend a more appropriate solution.
How do I neutralize the vinegar solution after applying it?
After applying the vinegar solution, it’s important to neutralize it to prevent it from damaging the wood. You can do this by wiping the area with a clean, damp cloth. You can also use a solution of baking soda and water to neutralize the vinegar. Simply mix a tablespoon of baking soda with a cup of water and wipe the area with the solution. Then, wipe the area with a clean, damp cloth to remove any residue.
What type of cloth should I use for this DIY wood stain removal?
Use a soft, clean, lint-free cloth, such as microfiber. Avoid using abrasive cloths or sponges, as they can scratch the wood finish.
How long should I let the vinegar solution sit on the stain?
The amount of time you let the vinegar solution sit on the stain will depend on the severity of the stain. For light stains, a few minutes may be sufficient. For more stubborn stains, you may need to let it sit for up to 30 minutes. However, it’s important to check the area frequently to ensure that the vinegar solution is not damaging the wood finish.
Is it necessary to sand the wood after removing the stain?
Sanding is not always necessary after removing the stain. However, if the DIY wood stain removal process has slightly raised the grain of the wood, you may want to lightly sand the area with fine-grit sandpaper to smooth it out. Be sure to sand in the direction of the wood grain to avoid scratching the surface. After sanding, you may need to reapply a finish to protect the wood.
Leave a Comment