

DIY tile and grout cleaner: Are you tired of staring at dingy, stained tile and grout, wishing you could magically restore its original sparkle? I know I am! Store-bought cleaners can be expensive and often filled with harsh chemicals that I’d rather avoid. But don’t worry, you don’t need to break the bank or compromise on your health to achieve a sparkling clean bathroom or kitchen.
The quest for a pristine home is as old as homes themselves! Throughout history, people have sought natural and effective ways to maintain cleanliness. From ancient civilizations using plant-based remedies to modern-day DIY enthusiasts, the desire for a spotless living space remains constant. This is why I’m so excited to share my go-to recipe for a powerful and affordable DIY tile and grout cleaner.
Let’s face it, cleaning tile and grout is nobody’s favorite chore. Grime, mildew, and everyday spills can quickly turn your beautiful tiles into an eyesore. This simple DIY trick will not only save you money but also give you the satisfaction of knowing exactly what ingredients you’re using in your home. Plus, it’s incredibly effective! Get ready to say goodbye to stubborn stains and hello to a fresh, revitalized space. Let’s get cleaning!
DIY Tile and Grout Cleaner: Say Goodbye to Grime!
Okay, let’s be honest, cleaning tile and grout is nobody’s favorite chore. But dingy grout can make even the cleanest tiles look awful. Store-bought cleaners can be expensive and often filled with harsh chemicals. That’s why I’m going to share my go-to DIY tile and grout cleaner recipes that are effective, budget-friendly, and use ingredients you probably already have in your pantry!
What You’ll Need: The Essential Ingredients
Before we dive into the recipes, let’s gather our supplies. This will make the whole process smoother and more efficient.
* Baking Soda: This is our gentle abrasive. It helps scrub away dirt and grime without scratching your tiles.
* White Vinegar: The acid in vinegar helps to break down soap scum, hard water stains, and mildew.
* Dish Soap: A little dish soap helps to lift grease and grime. I prefer using a clear, unscented variety to avoid any residue or discoloration.
* Hydrogen Peroxide: This is a great disinfectant and helps to brighten grout.
* Spray Bottle: For applying the cleaner.
* Old Toothbrush or Grout Brush: Essential for scrubbing those narrow grout lines.
* Sponge or Cloth: For wiping down the tiles.
* Gloves: To protect your hands from the cleaning solutions.
* Small Bowl or Container: For mixing the ingredients.
* Warm Water: For rinsing.
* Optional: Essential Oils: For a fresh scent (lemon, tea tree, or eucalyptus are great choices).
Recipe 1: The Baking Soda Paste Powerhouse
This is my go-to for tackling really stubborn stains and heavily soiled grout. It requires a little elbow grease, but the results are worth it!
Step-by-Step Instructions:
1. Mix the Paste: In a small bowl, combine baking soda and water to form a thick paste. The consistency should be similar to toothpaste. You’ll want enough to cover the grout you’re cleaning. Start with about ½ cup of baking soda and add water a tablespoon at a time until you reach the desired consistency.
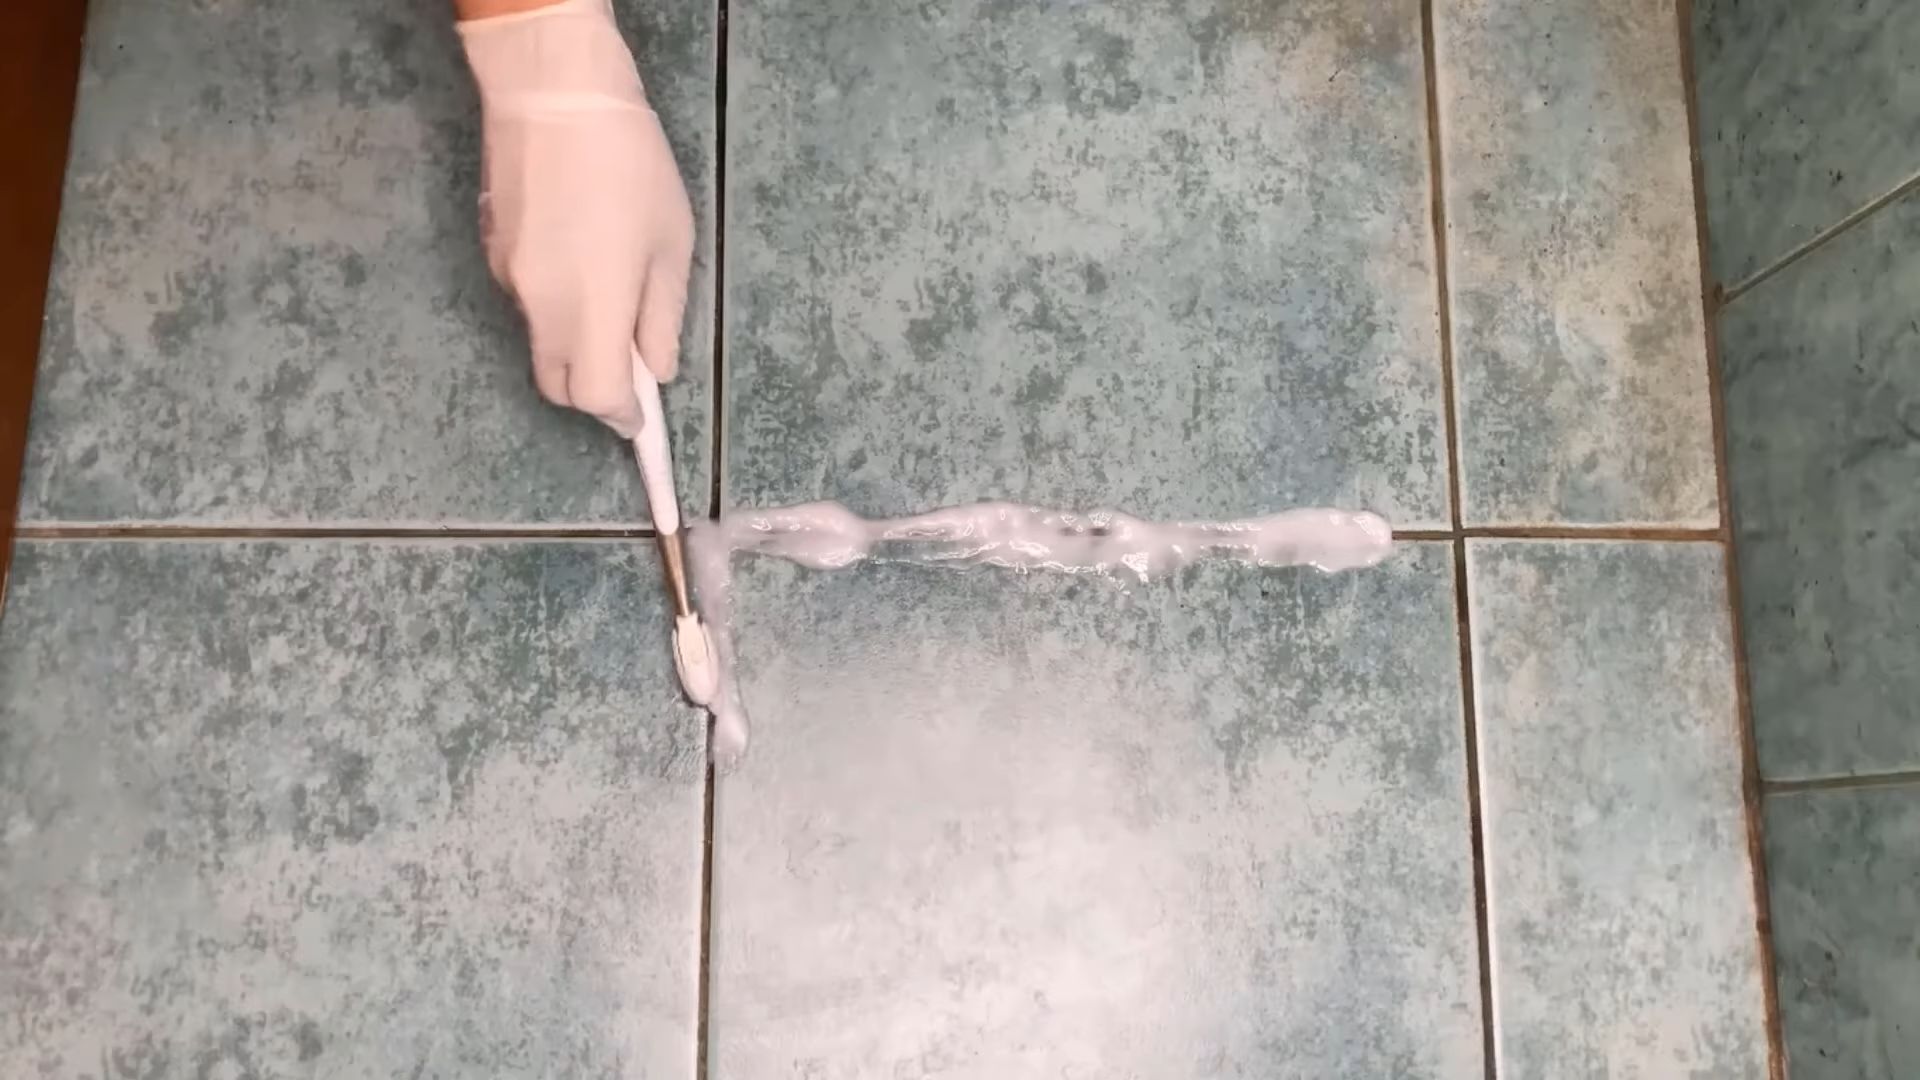
2. Apply the Paste: Using your fingers (with gloves on!), or a small spatula, apply the baking soda paste generously to the grout lines. Make sure you completely cover the grout.
3. Let it Sit: This is the key! Allow the paste to sit on the grout for at least 15-20 minutes. For really tough stains, you can even let it sit for an hour. The longer it sits, the more time it has to break down the grime.
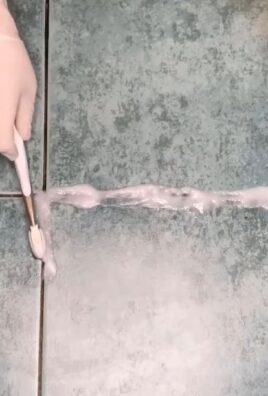
4. Scrub, Scrub, Scrub: Now comes the fun part (okay, maybe not fun, but necessary!). Using your old toothbrush or grout brush, scrub the grout lines vigorously. Apply firm pressure and work in small sections. You’ll start to see the dirt and grime lifting away.
5. Rinse Thoroughly: Once you’ve scrubbed all the grout lines, rinse the area thoroughly with warm water. Use a sponge or cloth to wipe away any remaining baking soda residue. You might need to rinse several times to get rid of all the paste.
6. Dry and Admire: Use a clean towel to dry the tiles and grout. Step back and admire your sparkling clean grout!
Recipe 2: The Vinegar and Baking Soda Fizzing Frenzy
This recipe is great for general cleaning and maintenance. The vinegar reacts with the baking soda, creating a fizzing action that helps to loosen dirt and grime.
Step-by-Step Instructions:
1. Sprinkle Baking Soda: Lightly sprinkle baking soda over the grout lines you want to clean.
2. Spray with Vinegar: Pour white vinegar into a spray bottle. Spray the vinegar directly onto the baking soda-covered grout. You’ll see it start to fizz!
3. Let it Fizz: Allow the vinegar and baking soda mixture to fizz for about 5-10 minutes. This gives the solution time to work its magic.
4. Scrub Lightly: Using your toothbrush or grout brush, lightly scrub the grout lines. The fizzing action should have loosened most of the dirt, so you won’t need to scrub as hard as with the baking soda paste.
5. Rinse Well: Rinse the area thoroughly with warm water. Use a sponge or cloth to wipe away any remaining residue.
6. Dry and Enjoy: Dry the tiles and grout with a clean towel. Enjoy your cleaner, brighter grout!
Recipe 3: The Hydrogen Peroxide Grout Whitener
If your grout is stained or discolored, hydrogen peroxide can help to brighten it and remove stains. This recipe is best for white or light-colored grout.
Step-by-Step Instructions:
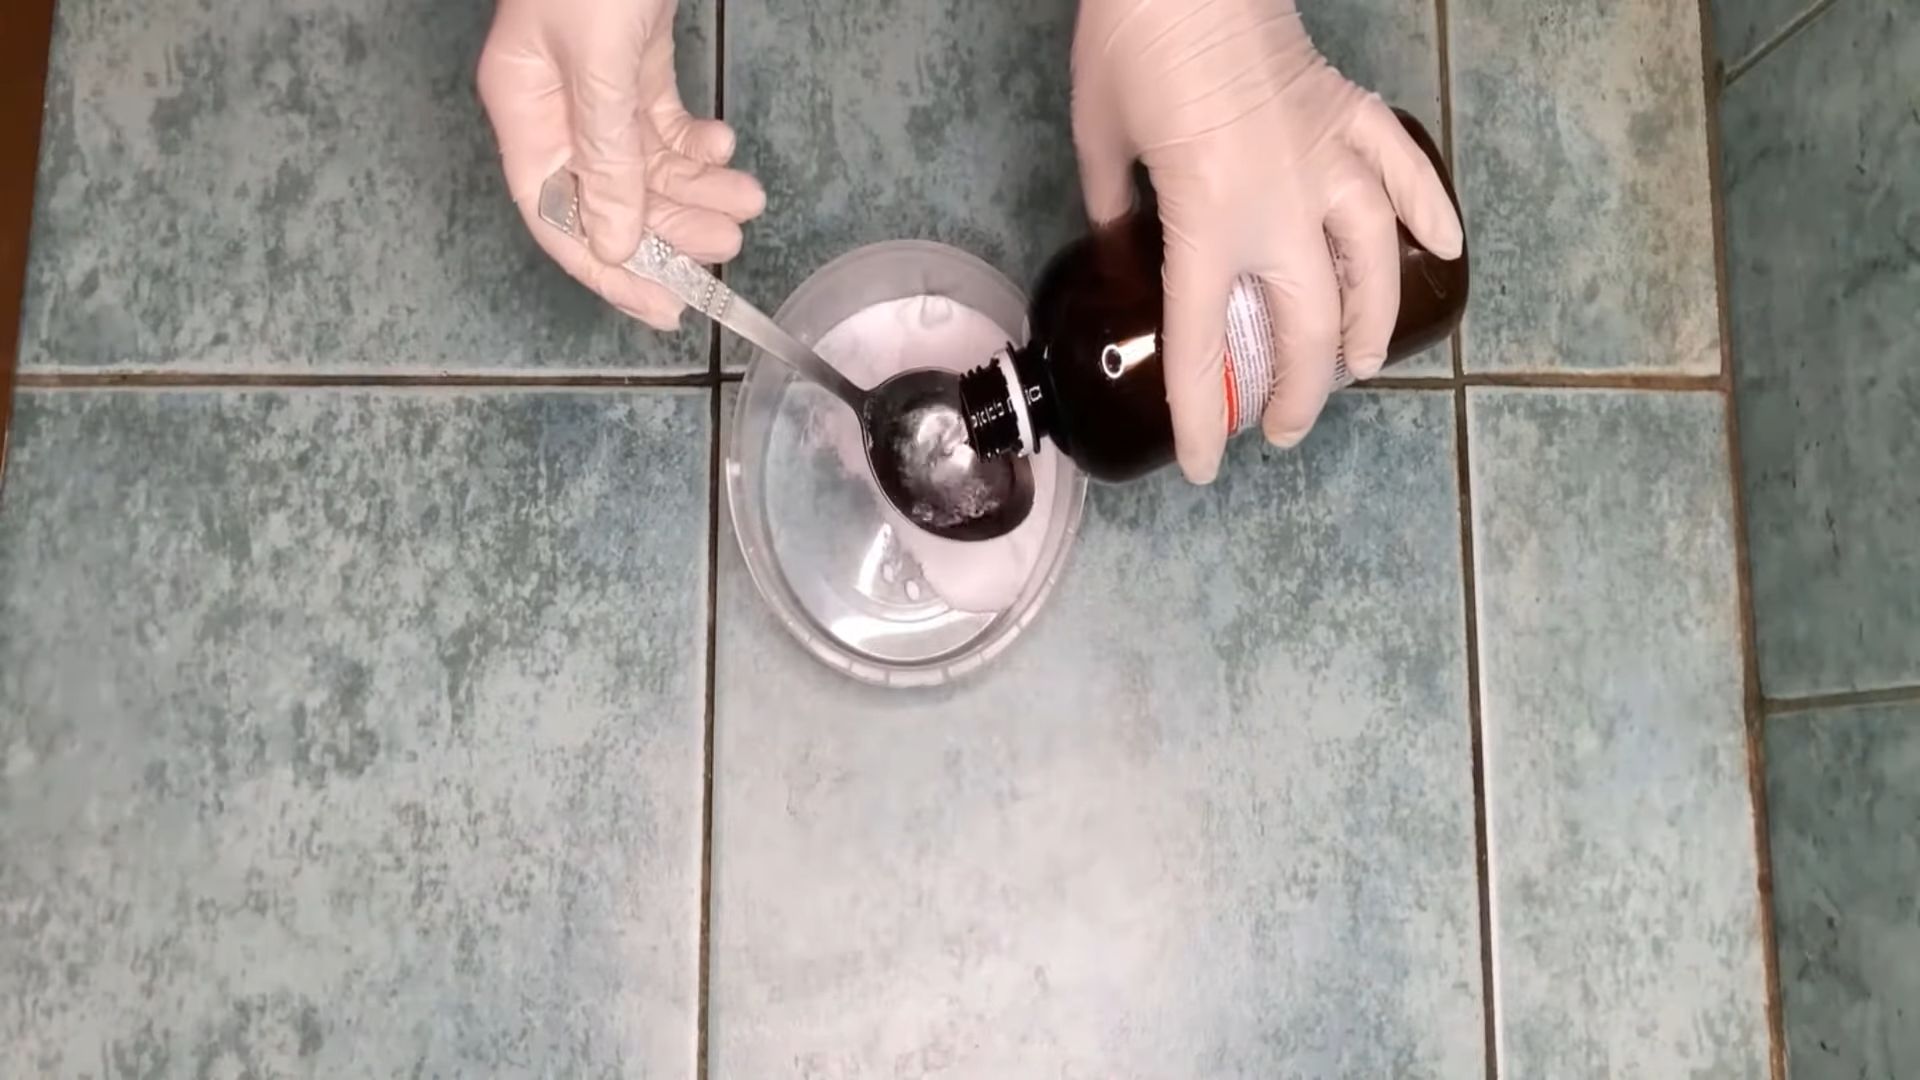
1. Apply Hydrogen Peroxide: Pour hydrogen peroxide (3% solution is fine) directly onto the grout lines. You can use a spray bottle or simply pour it from the bottle.
2. Let it Sit: Allow the hydrogen peroxide to sit on the grout for 10-15 minutes.
3. Scrub Gently: Using your toothbrush or grout brush, gently scrub the grout lines.
4. Rinse and Repeat (If Necessary): Rinse the area thoroughly with warm water. If the stains are still visible, you can repeat the process.
5. Dry Thoroughly: Dry the tiles and grout with a clean towel.
Recipe 4: The Dish Soap Boost
This recipe is great for cutting through grease and grime, especially in kitchens.
Step-by-Step Instructions:
1. Mix the Solution: In a spray bottle, combine 1 cup of warm water with 1 tablespoon of dish soap. Gently swirl to mix. Avoid creating excessive bubbles.
2. Spray and Let Sit: Spray the solution onto the tile and grout. Let it sit for 5-10 minutes to loosen the grime.
3. Scrub: Use a sponge or brush to scrub the tile and grout.
4. Rinse: Rinse thoroughly with clean water.
5. Dry: Dry the surface with a clean cloth.
Extra Tips and Tricks for Sparkling Grout
* Ventilation is Key: Always make sure you have good ventilation when cleaning with vinegar or hydrogen peroxide. Open windows and turn on a fan.
* Test in an Inconspicuous Area: Before applying any cleaning solution to a large area, test it in a small, hidden spot to make sure it doesn’t damage or discolor your tiles or grout.
* Preventative Measures: To keep your grout clean, wipe up spills immediately and regularly clean your tiles and grout.
* Steam Cleaning: A steam cleaner can be a great way to deep clean your grout without using any harsh chemicals.
* Sealing Your Grout: After cleaning your grout, consider sealing it to help prevent future stains and make it easier to clean. You can find grout sealers at most home improvement stores. Follow the manufacturer’s instructions for application.
* Stubborn Stains: For really stubborn stains, you can try making a paste of baking soda and hydrogen peroxide. Apply the paste to the stain, let it sit for a few hours, and then scrub and rinse.
* Colored Grout: Be extra careful when cleaning colored grout, as some cleaning solutions can cause fading. Always test in an inconspicuous area first.
* Don’t Mix Bleach and Vinegar: This creates toxic fumes! Never, ever mix bleach and vinegar.
Maintaining Your Clean Tile and Grout
Cleaning tile and grout is an ongoing process, but with regular maintenance, you can keep it looking its best. Here are a few tips:
* Wipe Up Spills Immediately: The sooner you wipe up spills, the less likely they are to stain your grout.
* Sweep or Vacuum Regularly: This will help to remove dirt and debris that can get trapped in the grout lines.
* Mop Your Floors Regularly: Use a mild detergent and warm water to mop your floors at least once a week.
* Consider a Squeegee: After showering, use a squeegee to remove excess water from your tiles and grout. This will help to prevent mildew growth.
I hope these DIY tile and grout cleaner recipes help you achieve sparkling clean results! Remember to always test in an inconspicuous area first and to use proper safety precautions. Happy cleaning!
Conclusion
So, there you have it! This DIY tile and grout cleaner isn’t just another cleaning recipe; it’s a game-changer for anyone battling stubborn grime and discoloration. We’ve all been there, scrubbing endlessly with commercial cleaners that promise the world but deliver little more than a headache and a lingering chemical smell. This homemade solution, on the other hand, harnesses the power of simple, readily available ingredients to achieve truly remarkable results.
Why is this DIY trick a must-try? Because it’s effective, affordable, and eco-friendly. You’re not exposing yourself, your family, or your pets to harsh chemicals. You’re saving money by using ingredients you likely already have in your pantry. And you’re contributing to a cleaner environment by reducing your reliance on commercially produced cleaning products. The difference between store-bought cleaners and this DIY tile and grout cleaner is night and day.
But the benefits don’t stop there. This recipe is incredibly versatile. For a boost of disinfecting power, add a few drops of tea tree oil or eucalyptus oil. If you’re dealing with particularly stubborn stains, create a paste by adding more baking soda to the mixture and letting it sit on the affected area for a longer period before scrubbing. For colored grout, test the solution in an inconspicuous area first to ensure it doesn’t affect the color. You can also adjust the consistency of the cleaner to suit your preference – add more water for a thinner spray or less water for a thicker paste.
Consider these variations to tailor the DIY tile and grout cleaner to your specific needs:
* **Lemon Power:** Substitute lemon juice for vinegar for a brighter, citrusy scent and added cleaning power. Lemon juice is a natural disinfectant and can help to break down grease and grime.
* **Essential Oil Infusion:** Experiment with different essential oils to create a custom scent. Lavender, peppermint, and orange are all great options. Just be sure to use pure essential oils and add them sparingly.
* **Borax Boost:** For extra-tough stains, add a tablespoon of borax to the mixture. Borax is a natural mineral that can help to lift dirt and grime. However, be sure to wear gloves when handling borax and avoid using it on delicate surfaces.
We’re confident that once you try this DIY tile and grout cleaner, you’ll be amazed by the results. It’s a simple, effective, and affordable way to keep your tile and grout looking their best.
Don’t just take our word for it – give it a try! We encourage you to experiment with the recipe, find what works best for you, and share your experience with us. Let us know what variations you tried, what challenges you faced, and what amazing results you achieved. Your feedback will help us refine the recipe and make it even better for everyone. Share your before-and-after photos on social media using #DIYTileCleaner and inspire others to ditch the harsh chemicals and embrace the power of homemade cleaning solutions. We can’t wait to see your sparkling clean tiles!
Frequently Asked Questions (FAQ)
What kind of vinegar should I use?
White distilled vinegar is the best option for cleaning. It’s inexpensive, readily available, and has a high acidity level, making it effective at cutting through grease and grime. Avoid using other types of vinegar, such as apple cider vinegar or balsamic vinegar, as they may contain sugars or coloring that could stain your grout.
Is baking soda abrasive? Will it scratch my tiles?
Baking soda is a mild abrasive, but it’s generally safe to use on most tile surfaces. However, it’s always a good idea to test it in an inconspicuous area first, especially if you have delicate or polished tiles. If you’re concerned about scratching, you can use a softer scrubbing tool, such as a microfiber cloth or a sponge.
Can I use this cleaner on natural stone tiles?
It depends on the type of natural stone. Acidic cleaners, like vinegar, can damage certain types of natural stone, such as marble, limestone, and travertine. If you have natural stone tiles, it’s best to consult with a professional cleaner or test the solution in an inconspicuous area first. You may need to use a pH-neutral cleaner specifically designed for natural stone.
How often should I clean my tile and grout?
The frequency of cleaning depends on the amount of traffic and dirt your tiles are exposed to. In high-traffic areas, such as bathrooms and kitchens, you may need to clean your tile and grout weekly or bi-weekly. In less-used areas, you can clean them less frequently, such as monthly or quarterly. Regular cleaning will help to prevent the buildup of dirt and grime and make it easier to maintain your tile and grout.
My grout is heavily stained. Will this cleaner work?
This DIY tile and grout cleaner can be effective on heavily stained grout, but it may require some extra effort. For stubborn stains, try creating a paste by mixing baking soda with a small amount of water or vinegar. Apply the paste to the stained grout and let it sit for several hours or even overnight before scrubbing. You may also need to use a grout brush with stiff bristles to scrub the grout thoroughly. In some cases, you may need to repeat the process several times to remove the stains completely. If the stains are extremely stubborn, you may need to consider using a commercial grout cleaner or hiring a professional cleaner.
Can I use this cleaner on epoxy grout?
Yes, this DIY tile and grout cleaner is generally safe to use on epoxy grout. Epoxy grout is more resistant to stains and chemicals than cement-based grout, so it’s less likely to be damaged by the vinegar or baking soda. However, it’s still a good idea to test the solution in an inconspicuous area first to ensure it doesn’t affect the color or finish of the grout.
How do I prevent grout from getting stained in the future?
There are several things you can do to prevent grout from getting stained in the future:
* **Seal your grout:** Applying a grout sealer will help to protect it from stains and moisture. Reapply the sealer every 6-12 months, or as recommended by the manufacturer.
* **Wipe up spills immediately:** Don’t let spills sit on your grout for long periods. Wipe them up as soon as possible to prevent them from soaking into the grout.
* **Use mats and rugs:** Place mats and rugs in high-traffic areas to protect your tile and grout from dirt and debris.
* **Ventilate your bathroom:** Proper ventilation will help to prevent moisture buildup, which can lead to mold and mildew growth in your grout.
* **Clean regularly:** Regular cleaning will help to prevent the buildup of dirt and grime, making it easier to maintain your tile and grout.
What if I don’t have vinegar? Can I substitute it with something else?
While vinegar is a key ingredient in this DIY tile and grout cleaner, you can try substituting it with lemon juice. Lemon juice has similar acidic properties to vinegar and can help to break down grease and grime. However, lemon juice may not be as effective as vinegar on heavily stained grout.
Is this cleaner safe for septic systems?
Yes, this DIY tile and grout cleaner is generally safe for septic systems. The ingredients are biodegradable and won’t harm the bacteria in your septic tank. However, it’s always a good idea to use cleaning products sparingly and avoid flushing large amounts of chemicals down the drain.
Can I store the leftover cleaner?
Yes, you can store the leftover cleaner in a spray bottle or other airtight container. However, it’s best to use it within a few weeks, as the ingredients may start to separate over time. Shake the container well before each use.
Leave a Comment