

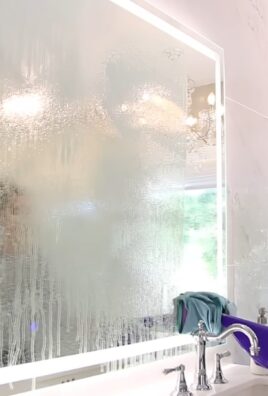
DIY Shower Grime Removal: Are you tired of battling that stubborn, unsightly grime in your shower? You’re not alone! For generations, homeowners have struggled with the challenge of keeping their showers sparkling clean. From the days of harsh chemical concoctions to today’s eco-friendly solutions, the quest for a grime-free shower has been a constant. But what if I told you that you could achieve a pristine shower with simple, readily available ingredients and a few clever tricks?
Think about it: a clean shower isn’t just about aesthetics; it’s about hygiene and creating a relaxing, inviting space. Nobody wants to start or end their day surrounded by soap scum and mildew. That’s why I’m so excited to share these easy and effective DIY shower grime removal hacks with you. These aren’t just quick fixes; they’re tried-and-true methods that will help you maintain a sparkling clean shower with minimal effort.
In this article, I’ll walk you through step-by-step instructions, share my favorite homemade cleaning solutions, and reveal some insider tips that will make shower grime a thing of the past. Get ready to say goodbye to harsh chemicals and hello to a naturally clean and refreshing shower experience!
DIY Shower Grime Removal: Sparkling Clean Without Harsh Chemicals!
Okay, let’s face it: shower grime is the bane of every homeowner’s existence. That pinkish, slimy, sometimes even blackish gunk that clings to your grout, tiles, and shower door is not only unsightly but can also be a breeding ground for bacteria and mold. Yuck! But don’t despair! I’m going to share my tried-and-true method for tackling shower grime using simple, inexpensive ingredients you probably already have in your pantry. Get ready to say goodbye to harsh chemicals and hello to a sparkling clean shower!
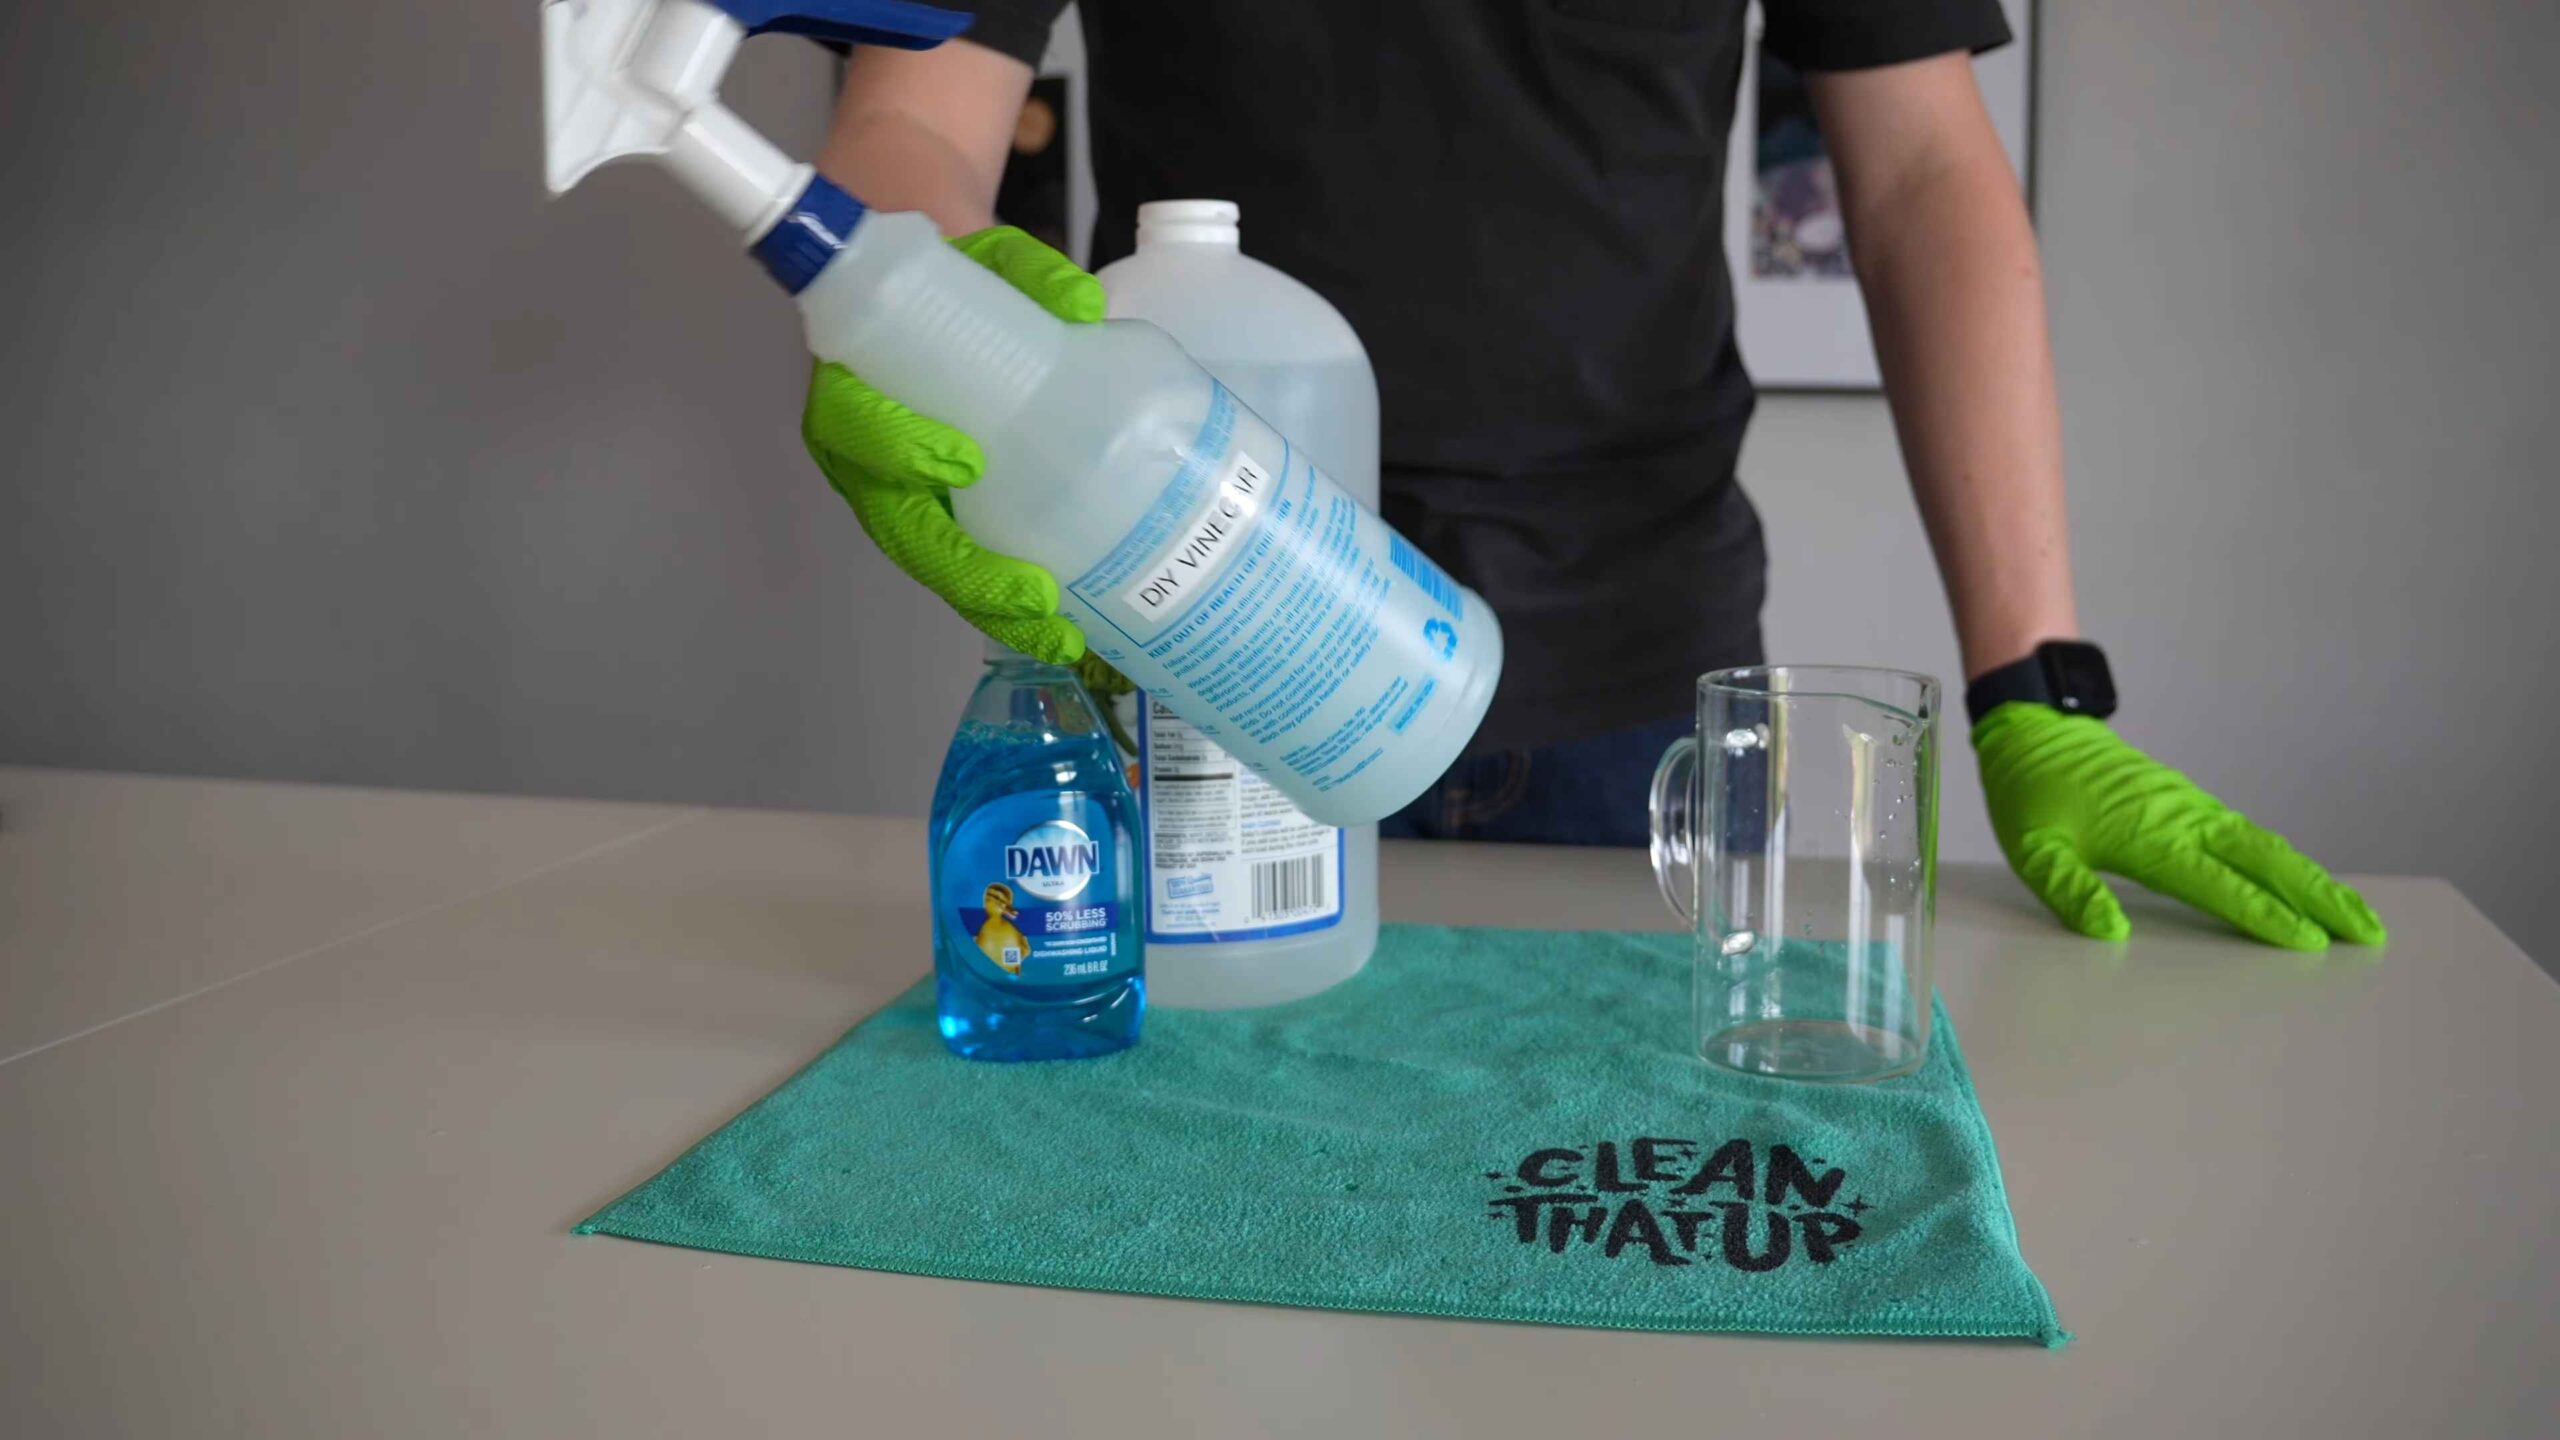
What You’ll Need: The Arsenal Against Grime
Before we dive in, let’s gather our supplies. This is a pretty straightforward process, and I promise you won’t need any fancy equipment.
* Spray Bottle: A clean, empty spray bottle is essential for applying our grime-busting solution.
* Baking Soda: This is our gentle abrasive and deodorizer. It’s a powerhouse for lifting grime without scratching surfaces.
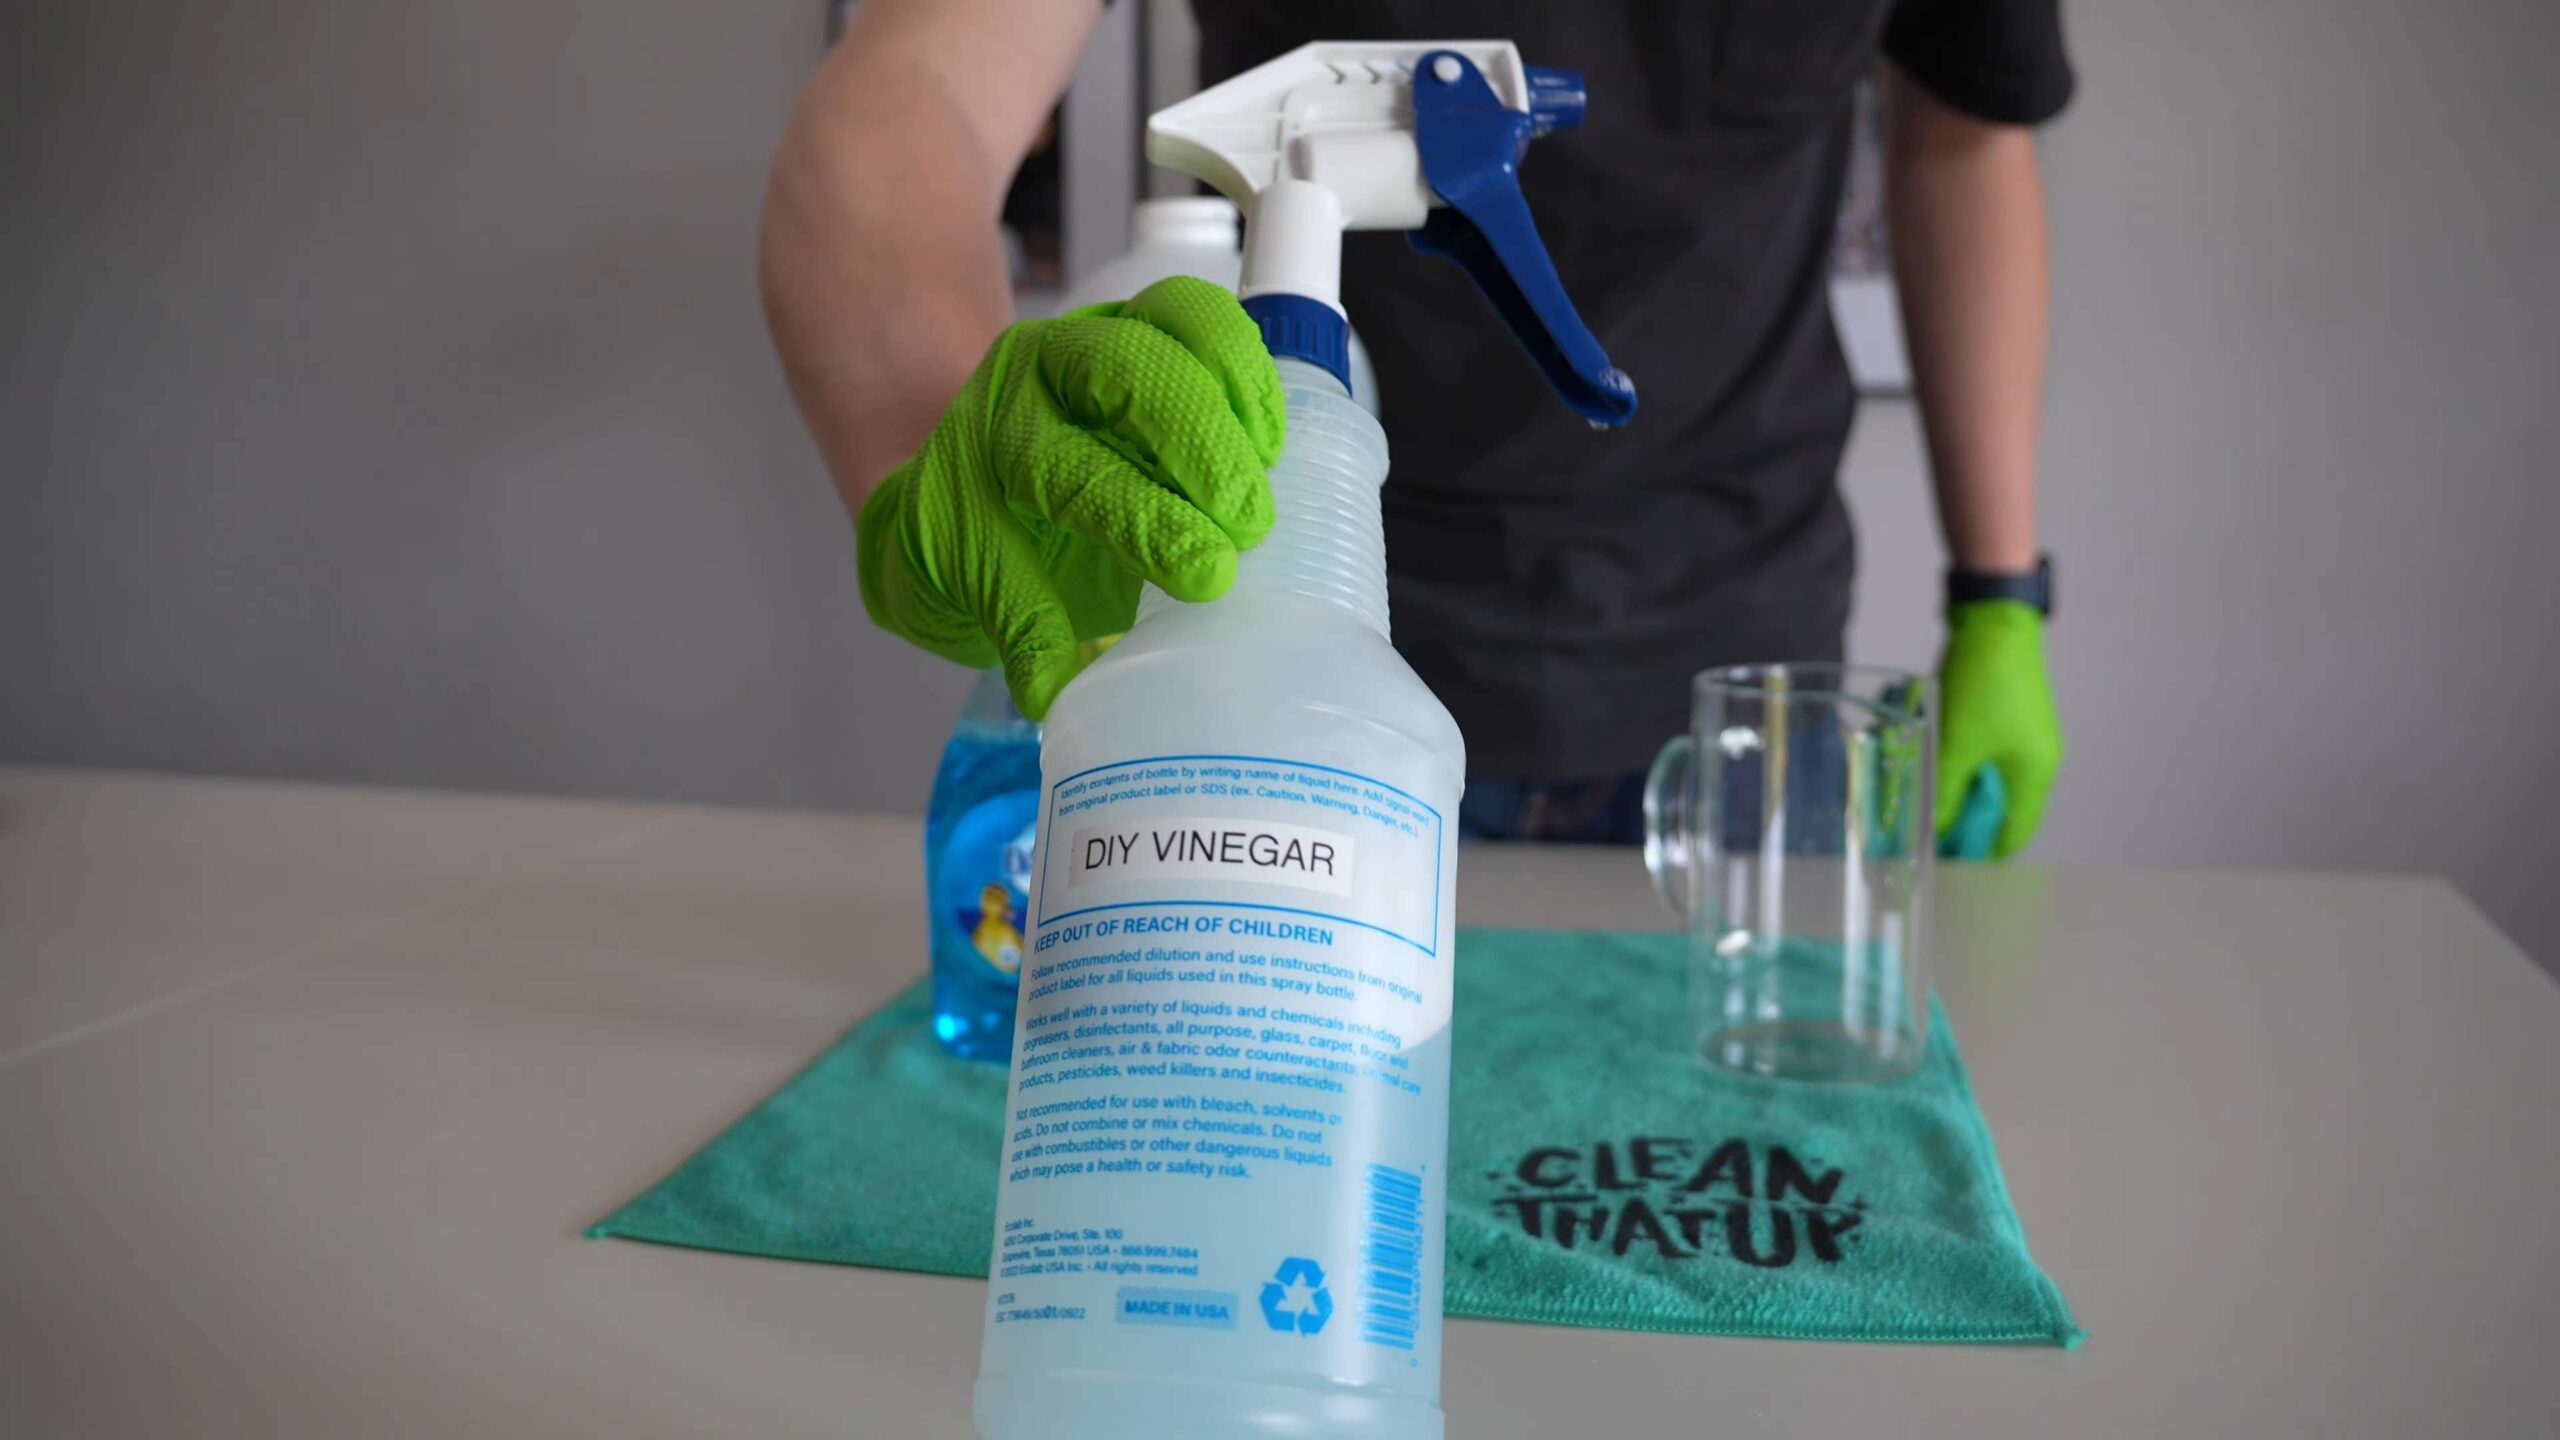
* White Vinegar: The acidic nature of vinegar helps to dissolve soap scum and mineral deposits. Plus, it’s a natural disinfectant!
* Dish Soap: A little dish soap helps to cut through grease and grime, boosting the cleaning power of our solution. I prefer using a natural dish soap, but any kind will work.
* Hydrogen Peroxide: This is optional, but I like to use it for extra disinfecting power, especially if I see any signs of mold or mildew.
* Old Toothbrush or Scrub Brush: For scrubbing those stubborn areas, especially grout lines. An old toothbrush is perfect for getting into tight spaces.
* Microfiber Cloths or Sponges: For wiping down surfaces and removing the cleaning solution. Microfiber cloths are great because they’re absorbent and won’t leave streaks.
* Rubber Gloves: Protect your hands from the cleaning solution and any potential irritants.
* Spray Nozzle: A good spray nozzle is important for even distribution of the cleaning solution.
Mixing the Magic Potion: Our Grime-Fighting Solution
Now for the fun part: creating our cleaning solution! I’ve experimented with different ratios over the years, and this is the one that consistently delivers the best results.
1. Vinegar and Dish Soap: In your spray bottle, combine equal parts white vinegar and dish soap. I usually start with about 1 cup of each. Gently swirl the bottle to mix, being careful not to create too many bubbles.
2. Baking Soda Paste (for Grout): In a small bowl, mix baking soda with a little water to form a thick paste. This will be our secret weapon for tackling stubborn grout grime.
3. Hydrogen Peroxide (Optional): If you’re using hydrogen peroxide, you can either add a small amount (about 1/4 cup) to the spray bottle mixture or use it separately for targeted disinfecting.
The Grime-Busting Process: Step-by-Step Instructions
Alright, let’s get down to business! Here’s my step-by-step guide to removing shower grime and restoring your shower to its former glory.
1. Ventilate the Area: Before you start, open a window or turn on the bathroom fan to ensure proper ventilation. This is especially important when working with vinegar and hydrogen peroxide.
2. Rinse the Shower: Give your shower a quick rinse with warm water to loosen any loose dirt and grime. This will also help the cleaning solution adhere better.
3. Spray the Shower: Generously spray the entire shower area with your vinegar and dish soap solution. Pay special attention to areas with visible grime, soap scum, or water stains.
4. Let it Sit: Allow the solution to sit for at least 15-20 minutes. This gives the vinegar and dish soap time to break down the grime and soap scum. For really tough grime, you can let it sit for up to an hour.
5. Tackle the Grout: While the solution is working its magic on the rest of the shower, focus on the grout. Apply the baking soda paste to the grout lines using your old toothbrush or scrub brush.
6. Scrub, Scrub, Scrub: Now it’s time to put in a little elbow grease! Use your toothbrush or scrub brush to scrub the grout lines thoroughly. You’ll likely see the grime starting to lift away. For the rest of the shower, use a sponge or microfiber cloth to scrub the tiles, shower door, and fixtures.
7. Rinse Thoroughly: Once you’ve scrubbed the entire shower, rinse everything thoroughly with warm water. Make sure to remove all traces of the cleaning solution and baking soda paste.
8. Hydrogen Peroxide Treatment (Optional): If you’re using hydrogen peroxide, spray it directly onto any areas that show signs of mold or mildew. Let it sit for 10-15 minutes, then rinse thoroughly.
9. Dry the Shower: Use a clean microfiber cloth to dry the entire shower area. This will help prevent water spots and further grime buildup. You can also use a squeegee to remove excess water from the shower door and walls.
10. Admire Your Work: Step back and admire your sparkling clean shower! You’ve successfully removed shower grime without using harsh chemicals.
Dealing with Stubborn Stains and Grime
Sometimes, even with the best cleaning solution and a lot of scrubbing, you might encounter some stubborn stains or grime that just won’t budge. Don’t worry, I’ve got a few extra tricks up my sleeve!
* Magic Eraser: For particularly stubborn stains on tiles or shower doors, a magic eraser can be a lifesaver. Just wet the magic eraser and gently rub it over the stain. Be careful not to scrub too hard, as it can be abrasive.
* Lemon Juice: Lemon juice is a natural acid that can help dissolve mineral deposits and hard water stains. Cut a lemon in half and rub it directly onto the stain. Let it sit for 10-15 minutes, then rinse thoroughly.
* Borax: Borax is a natural mineral that can be used as a powerful cleaning agent. Mix borax with water to form a paste and apply it to the stain. Let it sit for 30 minutes, then scrub and rinse thoroughly. Always wear gloves when working with borax.
* Steam Cleaner: If you have a steam cleaner, it can be a very effective way to remove stubborn grime and soap scum. The high-pressure steam loosens the grime, making it easier to wipe away.
Preventing Future Grime Buildup: Tips and Tricks
Now that you’ve got your shower sparkling clean, let’s talk about how to keep it that way! Prevention is key to avoiding future grime buildup.
* Squeegee After Each Shower: This is the single most effective thing you can do to prevent water spots and soap scum buildup. After each shower, use a squeegee to remove excess water from the shower door and walls.
* Ventilate the Bathroom: Always run the bathroom fan or open a window during and after showering to help reduce moisture buildup.
* Use a Daily Shower Cleaner: There are many commercially available daily shower cleaners that you can spray after each shower to help prevent grime buildup. Or, you can make your own by diluting white vinegar with water in a spray bottle.
* Wash Shower Curtains and Liners Regularly: Shower curtains and liners can be a breeding ground for mold and mildew. Wash them regularly in the washing machine with a mild detergent.
* Fix Leaks Promptly: Leaky faucets and showerheads can contribute to mineral deposits and grime buildup. Fix any leaks as soon as possible.
* Regular Cleaning: Make it a habit to clean your shower regularly, even if it doesn’t look dirty. A quick wipe-down once a week can go a long way in preventing grime buildup.
Important Considerations: Safety First!
While this DIY shower grime removal method is generally safe, it’s important to take a few precautions.
* Always wear gloves to protect your hands from the cleaning solution and any potential irritants.
* Avoid mixing vinegar and bleach, as this can create toxic fumes.
* Test the cleaning solution on a small, inconspicuous area before applying it to the entire shower to ensure it doesn’t damage the surface.
* Keep cleaning products out of reach of children and pets.
* If you have sensitive skin, consider wearing a mask to avoid inhaling the cleaning solution.
I hope this guide helps you conquer your shower grime and enjoy a sparkling clean shower! Remember, consistency is key. By following these tips and tricks, you can keep your shower looking its best without resorting to harsh chemicals. Happy cleaning!
Conclusion
So, there you have it! This DIY shower grime removal method isn’t just another cleaning hack; it’s a game-changer for anyone tired of battling stubborn soap scum, mildew, and hard water stains. We’ve all been there, scrubbing tirelessly with commercial cleaners that promise the world but often fall short, leaving behind a lingering chemical smell and a less-than-sparkling shower. This approach, however, leverages the power of simple, readily available ingredients to deliver truly impressive results.
Why is this DIY trick a must-try? Because it’s effective, affordable, and environmentally friendly. You’re ditching harsh chemicals that can irritate your skin and harm the planet in favor of a solution that’s gentle yet powerful. Plus, you’re saving money by using ingredients you likely already have in your pantry. Think about it: no more expensive specialty cleaners cluttering your cabinets!
But the benefits extend beyond just cost and environmental impact. This method allows you to customize the cleaning solution to your specific needs. For example, if you’re dealing with particularly stubborn mildew, you can increase the concentration of vinegar. If you prefer a more pleasant scent, add a few drops of your favorite essential oil, like tea tree (known for its antifungal properties) or lavender (for a calming aroma). You can even experiment with different ratios of baking soda and vinegar to find the perfect balance for your shower’s unique grime situation.
Consider these variations to tailor the DIY shower grime removal to your preferences:
* For extra scrubbing power: Sprinkle baking soda directly onto a damp sponge or scrub brush before applying the vinegar mixture. The abrasive texture of the baking soda will help loosen stubborn grime.
* For hard water stains: Soak a paper towel in vinegar and apply it directly to the affected area. Let it sit for 30 minutes to an hour before scrubbing.
* For a preventative measure: After each shower, spray the walls and door with a mixture of equal parts vinegar and water to prevent grime buildup.
* Lemon Power: Add lemon juice to the mixture for extra cleaning and a fresh scent. The citric acid in lemon juice is a natural degreaser and disinfectant.
We’re confident that once you try this DIY shower grime removal method, you’ll be amazed by the results. It’s a simple, effective, and satisfying way to keep your shower sparkling clean without resorting to harsh chemicals.
So, what are you waiting for? Gather your ingredients, put on your cleaning gloves, and prepare to be amazed. We encourage you to try this DIY trick and share your experience with us! Let us know in the comments below how it worked for you, what variations you tried, and any tips you discovered along the way. Your feedback will help others discover the joy of a sparkling clean shower, achieved with the power of simple, natural ingredients. Share your before and after photos – we can’t wait to see your sparkling showers! This is more than just a cleaning hack; it’s a community of people dedicated to a cleaner, healthier home.
Frequently Asked Questions (FAQ)
What kind of vinegar should I use?
White distilled vinegar is the best choice for cleaning due to its high acidity and lack of color, which prevents staining. Apple cider vinegar can also be used, but it may leave a slight residue and has a stronger odor. Avoid using other types of vinegar, such as balsamic or red wine vinegar, as they can stain surfaces.
Is baking soda safe to use on all shower surfaces?
Baking soda is generally safe for most shower surfaces, including tile, fiberglass, and porcelain. However, it’s best to avoid using it on natural stone surfaces like marble or granite, as it can be abrasive and damage the finish. Always test a small, inconspicuous area first to ensure it doesn’t cause any discoloration or scratching.
How often should I use this DIY shower grime removal method?
The frequency depends on how often you use your shower and how quickly grime builds up. As a general guideline, aim to clean your shower using this method every one to two weeks. For showers that are used more frequently or tend to accumulate grime quickly, you may need to clean them more often. Regular cleaning will prevent grime from becoming too stubborn and make the cleaning process easier.
What if the grime is really stubborn and doesn’t come off easily?
For particularly stubborn grime, you can try a few things. First, let the vinegar and baking soda mixture sit on the affected area for a longer period of time, up to an hour. Second, use a scrub brush with stiff bristles to scrub the area more vigorously. You can also try making a paste of baking soda and water and applying it directly to the grime, letting it sit for a few minutes before scrubbing. If all else fails, you can try using a commercial shower cleaner specifically designed for removing stubborn grime, but be sure to follow the product’s instructions carefully.
Can I use this method on shower doors?
Yes, this method is effective for cleaning shower doors, including glass and plastic doors. For glass doors, you can use a squeegee after cleaning to prevent water spots. For plastic doors, be gentle when scrubbing to avoid scratching the surface.
What if I don’t like the smell of vinegar?
The smell of vinegar can be strong, but it dissipates quickly. To minimize the odor, you can open a window or turn on the bathroom fan while cleaning. You can also add a few drops of your favorite essential oil to the vinegar mixture to mask the smell. Lemon, lavender, and tea tree oil are all good choices.
Is this method safe for septic systems?
Yes, this method is generally safe for septic systems. Vinegar and baking soda are both natural substances that won’t harm the bacteria in your septic tank. However, it’s always a good idea to avoid pouring large amounts of any cleaning solution down the drain at once.
Can I use this method on grout?
Yes, this method can be used on grout. However, grout is porous and can be difficult to clean. For best results, apply the vinegar and baking soda mixture directly to the grout lines and let it sit for several minutes before scrubbing with a grout brush. You may need to repeat the process several times to remove stubborn stains.
What are some other ways to prevent shower grime buildup?
There are several things you can do to prevent shower grime buildup. First, wipe down the shower walls and door with a squeegee after each use to remove excess water. Second, ventilate the bathroom by opening a window or turning on the fan after showering. Third, use a shower cleaner regularly to prevent grime from building up. Fourth, consider using a water softener if you have hard water, as hard water can contribute to grime buildup. Finally, switch to liquid soap instead of bar soap, as bar soap tends to leave behind more residue.

Leave a Comment