

DIY pot and pan protectors: Tired of your precious cookware getting scratched and dinged every time you stack them? I know I was! There’s nothing more frustrating than investing in quality pots and pans only to see them marred by unsightly scratches from storage. For generations, cooks have struggled with this very problem, often resorting to makeshift solutions like paper towels or old cloths – solutions that are often bulky, ineffective, and frankly, a bit of an eyesore.
But fear not, fellow kitchen enthusiasts! This article is your ultimate guide to creating simple, effective, and stylish DIY pot and pan protectors. We’ll explore easy-to-follow methods using materials you likely already have at home. Why spend a fortune on store-bought protectors when you can craft your own custom-fit solutions? Not only will you save money, but you’ll also gain the satisfaction of creating something practical and beautiful for your kitchen.
Imagine opening your cupboard to find your cookware neatly stacked, each piece pristine and protected. No more cringing at the sound of metal scraping against metal! These DIY protectors are not just about aesthetics; they’re about extending the life of your cookware, ensuring they remain a joy to use for years to come. Let’s dive in and transform your kitchen storage today!
DIY Pot and Pan Protectors: Say Goodbye to Scratches!
Hey there, fellow kitchen enthusiasts! Are you tired of your precious pots and pans getting scratched and scuffed every time you stack them? I know I was! That’s why I decided to take matters into my own hands and create my own DIY pot and pan protectors. It’s a super easy and affordable project that will keep your cookware looking brand new for years to come. Trust me, your pots and pans will thank you!
Why You Need Pot and Pan Protectors
Before we dive into the how-to, let’s quickly talk about why these protectors are so essential.
* Prevent Scratches: This is the big one! Stacking pots and pans without protection is a recipe for disaster. Metal on metal contact leads to unsightly scratches that can damage the non-stick coating (if you have it) and generally make your cookware look worn.
* Extend Lifespan: By preventing scratches and dents, you’re essentially extending the lifespan of your pots and pans. This saves you money in the long run because you won’t have to replace them as often.
* Reduce Noise: Let’s be honest, the clanging of pots and pans can be quite annoying, especially early in the morning. Protectors help dampen the noise, making your kitchen a more peaceful place.
* Protect Non-Stick Surfaces: If you have non-stick cookware, protectors are a must-have. Scratches on non-stick surfaces can release harmful chemicals into your food, so it’s important to keep them in pristine condition.
Materials You’ll Need
Okay, let’s gather our supplies. The beauty of this project is that you probably already have most of these items lying around your house!
* Felt Fabric: This is the star of the show! You can use any color you like. I prefer thicker felt for extra protection, but thinner felt will also work. You can buy felt sheets at any craft store or online. I usually get a large roll to have on hand for other projects.
* Scissors: A good pair of sharp scissors is essential for cutting the felt.
* Pencil or Marker: For tracing the shapes of your pots and pans.
* Ruler or Measuring Tape: To ensure accurate measurements.
* Circular Objects (Optional): Bowls, plates, or lids in various sizes can be used as templates for tracing circles. This is especially helpful if you don’t want to freehand the circles.
* Sewing Machine or Needle and Thread (Optional): For adding a decorative edge or reinforcing the protectors. This is totally optional, but it can make them look a bit more polished.
* Hot Glue Gun (Optional): For a quicker, no-sew option to reinforce the edges.
Making Your DIY Pot and Pan Protectors: Step-by-Step Guide
Alright, let’s get crafting! Here’s how to make your own pot and pan protectors:
1. Measure Your Pots and Pans
This is the most important step! You need to determine the diameter of each of your pots and pans. Use a ruler or measuring tape to measure across the bottom of each pan. Write down the measurements for each pan – this will be your guide for cutting the felt. I like to keep a little notebook specifically for DIY projects like this.
2. Cut Out Felt Circles
Now it’s time to cut out the felt circles. You have a few options here:
* Using Templates: Find circular objects (bowls, plates, lids) that are slightly larger than the measurements you took in step 1. Trace around the objects onto the felt with a pencil or marker. Then, carefully cut out the circles with your scissors.
* Freehanding: If you’re feeling confident, you can freehand the circles. Draw a circle directly onto the felt, using your measurements as a guide. Then, cut it out. Don’t worry if they’re not perfect – handmade charm is part of the fun!
* Using a Compass: If you want perfectly precise circles, use a compass to draw them on the felt before cutting.
Important Tip: I recommend cutting out at least three protectors for each pot or pan. This will provide ample cushioning and protection. You can always add more layers if you feel like you need them.
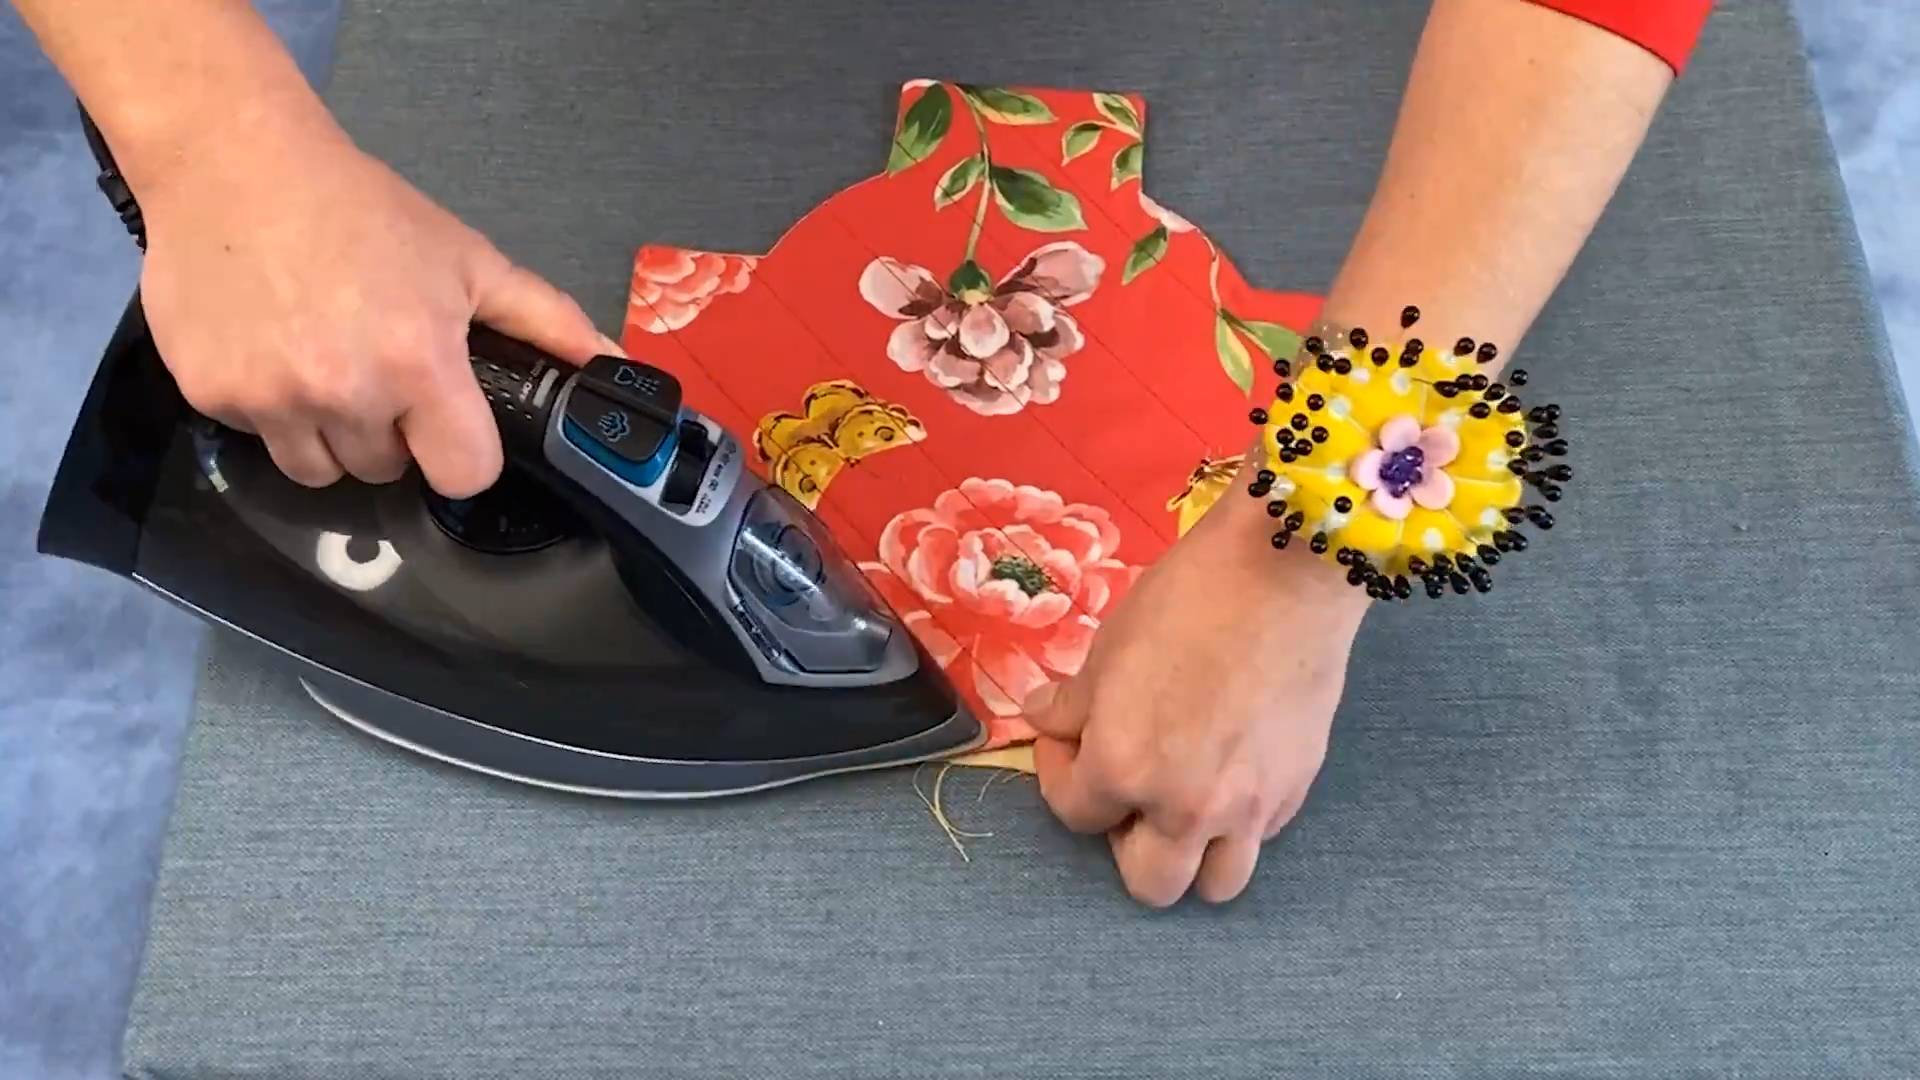
3. Customize Your Protectors (Optional)
This is where you can get creative! Here are a few ideas for customizing your protectors:
* Different Colors: Use different colors of felt for each size of pot or pan. This will help you quickly identify the correct protector.
* Decorative Edges: If you have a sewing machine or enjoy hand-sewing, you can add a decorative edge to the protectors. A simple blanket stitch or zigzag stitch will do the trick.
* Hot Glue Reinforcement: For a quick and easy way to reinforce the edges, apply a thin line of hot glue around the perimeter of each protector. This will prevent the felt from fraying.
* Add a Loop: Sew or glue a small loop of felt onto one side of the protector. This will allow you to hang them up when they’re not in use.
4. Test and Adjust
Before you start using your protectors, test them out with your pots and pans. Place a protector between each pan when you stack them. Make sure the protectors are large enough to cover the entire bottom surface of the pan. If they’re too small, cut out larger ones. If they’re too big, trim them down.
5. Enjoy Your Scratch-Free Cookware!
That’s it! You’ve successfully made your own DIY pot and pan protectors. Now you can stack your cookware with confidence, knowing that it’s protected from scratches and scuffs.
Alternative Protector Styles
While felt circles are the most common and easiest to make, here are a couple of other protector styles you might want to try:
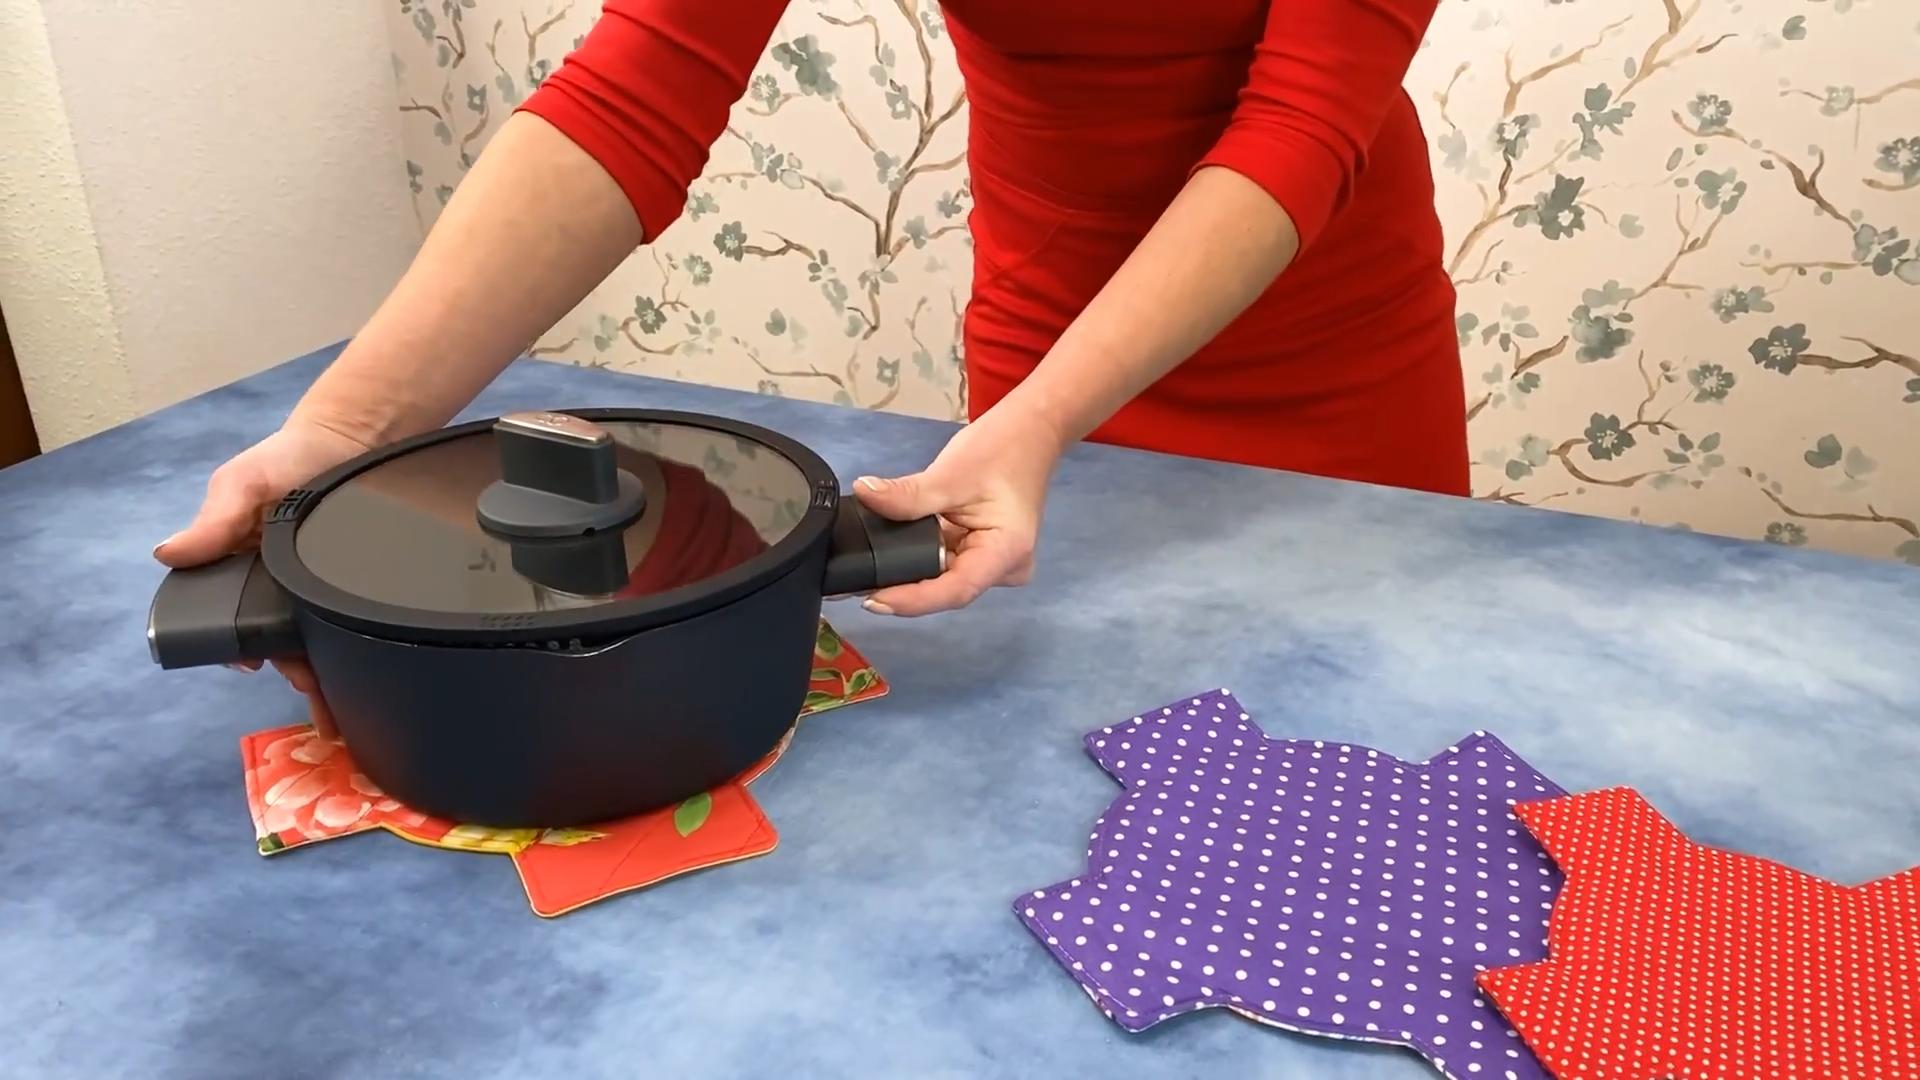
Flower-Shaped Protectors
These are a bit more decorative and can add a touch of whimsy to your kitchen.
1. Cut out a large circle of felt.
2. Cut slits around the edge of the circle, creating petal-like shapes.
3. Overlap the petals slightly and secure them with hot glue or stitches.
Padded Protectors
For extra protection, you can add a layer of padding to your protectors.
1. Cut out two circles of felt for each protector.
2. Cut out a circle of batting or quilt batting that is slightly smaller than the felt circles.
3. Sandwich the batting between the two felt circles and sew or glue them together.
Tips for Success
Here are a few extra tips to help you make the best pot and pan protectors possible:
* Use High-Quality Felt: Cheaper felt tends to be thinner and more prone to fraying. Invest in good-quality felt for longer-lasting protectors.
* Cut Carefully: Take your time when cutting out the felt circles. The more precise your cuts, the better the protectors will fit.
* Don’t Be Afraid to Experiment: Try different colors, shapes, and materials to create protectors that are unique to your kitchen.
* Washable Felt: If you can find washable felt, that’s a great option! This will allow you to easily clean your protectors if they get dirty.
* Consider the Thickness: Thicker felt provides more cushioning, but it can also make your stacks of pots and pans taller. Find a balance that works for you.
* Store Them Properly: When you’re not using your protectors, store them in a drawer or container to keep them clean and organized.
Troubleshooting
Sometimes things don’t go exactly as planned. Here are a few common problems and how to fix them:
* Protectors are too small: Simply cut out larger ones!
* Protectors are too big: Trim them down with scissors.
* Felt is fraying: Apply a thin line of hot glue around the edges or sew a decorative edge.
* Protectors are slipping: Add a small piece of non-slip fabric to the bottom of each protector.
Beyond Pots and Pans: Other Uses for Felt Protectors
These felt protectors aren’t just for pots and pans! Here are a few other ways you can use them around your house:
* Protecting Dishes: Use them between plates and bowls to prevent chipping and scratching.
* Furniture Pads: Cut out small squares of felt and attach them to the bottom of furniture legs to protect your floors.
* Coasters: Cut out small circles of felt and use them as coasters for your drinks.
* Drawer Liners: Line your drawers with felt to protect your belongings from scratches.
* Craft Projects: Use leftover felt scraps for various craft projects.
So there you have it! A comprehensive guide to making your own DIY pot and pan protectors. I hope you found this helpful and that you’re now ready to protect your precious cookware. Happy
Conclusion
So, there you have it! Ditching those flimsy, store-bought protectors and embracing these DIY pot and pan protectors is a game-changer for anyone who values their cookware. We’ve walked you through a simple, cost-effective method to create custom-fit protectors that will keep your pots and pans looking their best for years to come.
Why is this a must-try? Because it’s more than just saving money. It’s about protecting your investment. High-quality cookware isn’t cheap, and those scratches and dings accumulate quickly, diminishing both their aesthetic appeal and potentially their performance over time. These DIY protectors offer a superior level of protection compared to generic options, as you can tailor them to the exact size and shape of your pots and pans. No more awkward gaps or ill-fitting felt circles!
Beyond the basic design, there’s plenty of room for personalization. Consider using different fabrics to color-code your protectors – perhaps a vibrant red for your frying pans, a calming blue for your saucepans, and a sophisticated gray for your cast iron. You could even add a layer of batting for extra cushioning, especially for delicate non-stick surfaces. Another variation is to create reversible protectors with different patterns on each side, allowing you to switch up the look depending on your mood. For those with sewing skills, you could even embroider the size of the pan onto the protector for easy identification.
The beauty of this DIY project lies in its adaptability. Don’t have felt? Repurpose old towels or blankets. Short on time? A simple circle of fabric secured with a few stitches will still offer significant protection. The key is to get creative and use what you have on hand.
Ultimately, creating these DIY pot and pan protectors is an act of self-sufficiency and resourcefulness. It’s a small project that yields significant rewards, both in terms of protecting your cookware and reducing waste. It’s a win-win!
We wholeheartedly encourage you to give this DIY trick a try. It’s a simple, satisfying project that will make a tangible difference in your kitchen. And once you’ve experienced the peace of mind that comes with knowing your cookware is safe and sound, we’re confident you’ll be hooked.
Don’t just take our word for it! We’d love to hear about your experience. Share your creations, variations, and tips in the comments below. Let’s build a community of savvy home cooks who are passionate about protecting their precious cookware. Show us your DIY pot and pan protectors! We can’t wait to see what you come up with.
Frequently Asked Questions (FAQs)
What materials are best for making DIY pot and pan protectors?
The best materials for DIY pot and pan protectors are those that are soft, durable, and heat-resistant to some degree. Felt is a popular choice because it’s inexpensive, easy to work with, and provides good cushioning. However, you can also use other fabrics like fleece, cotton flannel, or even repurposed materials like old towels or blankets. If you’re using repurposed materials, make sure they are clean and free of any debris. For added protection, consider adding a layer of batting or padding between the fabric layers. Avoid using materials that are prone to melting or sticking to your cookware at high temperatures.
How do I measure my pots and pans to make the protectors the right size?
Accurate measurements are crucial for creating effective pot and pan protectors. The easiest way to measure is to place the pot or pan on a piece of paper or cardboard and trace around the base. Add an extra inch or two to the diameter to ensure the protector fully covers the bottom and slightly extends up the sides. For pans with handles, consider extending the protector to cover the handle area as well. If you’re making protectors for stacking, measure the height of the pan as well to ensure the protector is tall enough to prevent scratching. Remember to label each protector with the corresponding pan size for easy identification.
Can I wash my DIY pot and pan protectors?
Yes, you can wash your DIY pot and pan protectors, but the washing method will depend on the materials you used. Felt protectors can usually be hand-washed with mild soap and water. Avoid putting them in the washing machine, as they may shrink or lose their shape. Fabric protectors made from cotton or fleece can typically be machine-washed on a gentle cycle. Always air dry your protectors to prevent shrinkage or damage. If you’ve added batting or padding, consider spot cleaning instead of washing the entire protector. Regular cleaning will help remove any food residue or grease that may accumulate and prevent scratching.
How do I store my DIY pot and pan protectors when they’re not in use?
Proper storage will help keep your DIY pot and pan protectors clean and organized. You can store them in a drawer, a basket, or even hang them on hooks in your pantry. If you’re storing them in a drawer, consider using dividers to keep them separate and prevent them from getting tangled. If you’re hanging them on hooks, make sure the hooks are sturdy enough to support the weight of the protectors. Avoid storing them in damp or humid environments, as this can lead to mold or mildew growth. Regularly check your protectors for any signs of damage or wear and tear and replace them as needed.
What if I don’t have a sewing machine? Can I still make these?
Absolutely! While a sewing machine can speed up the process, you can definitely make these DIY pot and pan protectors by hand. Hand-sewing is a perfectly viable option, especially for smaller protectors or if you only need to make a few. Use a simple running stitch or a blanket stitch to secure the fabric layers together. If you’re not comfortable sewing, you can also use fabric glue or fusible interfacing to bond the layers. Just make sure to use a glue or interfacing that is safe for use with cookware and won’t melt or release harmful chemicals when heated. For a no-sew option, consider using pre-cut felt circles or squares and simply layering them together for added cushioning.
Are these protectors safe to use in the oven?
While these DIY pot and pan protectors are designed to protect your cookware during storage, they are generally not intended for use in the oven. Most fabrics, including felt and cotton, are not heat-resistant enough to withstand high oven temperatures and may melt, burn, or release harmful chemicals. If you need to protect your cookware while baking, consider using parchment paper or silicone baking mats instead. Always check the manufacturer’s instructions for your cookware to ensure you’re using the appropriate materials and methods for oven use.
How long will these DIY pot and pan protectors last?
The lifespan of your DIY pot and pan protectors will depend on the materials you use, how often you use them, and how well you care for them. Protectors made from durable fabrics like felt or fleece and properly maintained can last for several years. However, protectors made from thinner or less durable materials may need to be replaced more frequently. Regularly inspect your protectors for any signs of wear and tear, such as tears, holes, or fraying edges. If you notice any damage, replace the protector immediately to prevent scratching your cookware. Proper cleaning and storage will also help extend the lifespan of your protectors.

Leave a Comment