

DIY plastic wash basin coffee table – sounds a bit crazy, right? But trust me, you’re about to discover a surprisingly chic and budget-friendly way to add a unique touch to your living space! We’ve all seen those old plastic wash basins lurking in the garage or at the back of a cupboard, destined for the landfill. But what if I told you they could be transformed into a stylish and functional coffee table?
Upcycling, the art of transforming discarded materials into something new and valuable, has been around for centuries. From repurposing old clothes to building homes from reclaimed wood, humans have always found creative ways to reduce waste and give new life to old items. This DIY plastic wash basin coffee table project taps into that same resourceful spirit, offering a sustainable and cost-effective alternative to buying new furniture.
In today’s world, where sustainability and conscious consumption are becoming increasingly important, finding ways to repurpose and reuse is more crucial than ever. Plus, let’s be honest, who doesn’t love a good DIY project that saves money and adds a personal touch to their home? This project is perfect for anyone looking to add a unique, eco-friendly, and conversation-starting piece to their living room. So, grab that dusty old wash basin, and let’s get crafting! I’ll guide you through each step, making it easy to create your very own upcycled coffee table.
Transforming a Plastic Wash Basin into a Chic Coffee Table
Hey there, fellow DIY enthusiasts! Today, I’m super excited to share a fun and budget-friendly project: turning an ordinary plastic wash basin into a stylish and functional coffee table. I know, it sounds a little crazy, but trust me, the results are amazing! This project is perfect for adding a unique touch to your living room, patio, or even a dorm room. Plus, it’s a fantastic way to upcycle and give a new life to something that might otherwise end up in the trash. So, grab your tools, and let’s get started!
Materials You’ll Need
Before we dive into the step-by-step instructions, let’s gather all the necessary materials. This will make the process smoother and prevent any frustrating interruptions later on.
* **Plastic Wash Basin:** Choose a sturdy plastic wash basin in the size and color you prefer. I went with a large, round one in a neutral gray, but feel free to experiment with different shapes and colors to match your decor.
* **Wooden Table Legs:** You’ll need four wooden table legs. You can find these at most hardware stores or online retailers. Consider the height you want your coffee table to be when selecting the legs. I opted for 16-inch legs for a standard coffee table height.
* **Mounting Plates for Table Legs:** These are essential for securely attaching the legs to the plastic basin. Make sure to choose mounting plates that are compatible with the type of legs you’ve selected.
* **Screws:** You’ll need screws to attach the mounting plates to the basin and the legs to the mounting plates. Ensure you have the correct size and length for both. I recommend using screws that are slightly shorter than the thickness of the plastic basin to avoid poking through.
* **Primer (Optional):** If you want to paint the plastic basin, a primer specifically designed for plastic will help the paint adhere better and prevent chipping.
* **Paint (Optional):** Choose a paint color that complements your decor. I used a matte black spray paint for a modern look, but you can use any color or finish you like.
* **Sealer (Optional):** A clear sealer will protect the paint and give your coffee table a more durable finish.
* **Sandpaper (Optional):** If your plastic basin has a glossy surface, sanding it lightly will help the primer and paint adhere better.
* **Wood Filler (Optional):** If your wooden legs have any imperfections, wood filler can be used to smooth them out before painting or staining.
* **Stain or Varnish (Optional):** If you prefer a natural wood look for the legs, you can stain or varnish them instead of painting.
* **Protective Feet Pads (Optional):** These will protect your floors from scratches and prevent the coffee table from sliding around.
Tools You’ll Need
Having the right tools on hand will make this project much easier and more enjoyable.
* **Drill:** A drill is essential for creating pilot holes and attaching the mounting plates and legs.
* **Screwdriver:** You’ll need a screwdriver to tighten the screws. A power screwdriver can save you some time and effort.
* **Measuring Tape:** A measuring tape is crucial for accurately positioning the mounting plates and ensuring the legs are evenly spaced.
* **Pencil:** Use a pencil to mark the locations for the mounting plates and pilot holes.
* **Sandpaper (Various Grits):** If you’re sanding the plastic basin or wooden legs, you’ll need sandpaper in various grits, from coarse to fine.
* **Paintbrushes or Spray Paint Equipment:** Depending on whether you’re painting the basin and/or legs, you’ll need paintbrushes or spray paint equipment.
* **Safety Glasses:** Always wear safety glasses when drilling or sanding to protect your eyes from debris.
* **Dust Mask:** Wear a dust mask when sanding to avoid inhaling dust particles.
* **Work Gloves:** Work gloves will protect your hands from paint, stain, and splinters.
* **Clamps (Optional):** Clamps can be helpful for holding the mounting plates in place while you drill pilot holes.
Step-by-Step Instructions
Alright, let’s get down to the nitty-gritty! Here’s a detailed guide on how to transform your plastic wash basin into a stunning coffee table.
Phase 1: Preparing the Plastic Wash Basin
1. **Clean the Basin:** Start by thoroughly cleaning the plastic wash basin with soap and water. Remove any dirt, grime, or residue. This will ensure that the primer and paint adhere properly. Let it dry completely.
2. **Sand the Surface (Optional):** If the basin has a glossy surface, lightly sand it with fine-grit sandpaper to create a slightly rough texture. This will help the primer and paint grip better. Wipe away any sanding dust with a damp cloth.
3. **Apply Primer (Optional):** If you plan to paint the basin, apply a thin, even coat of plastic primer. Follow the manufacturer’s instructions for drying time. This step is crucial for ensuring a durable and long-lasting paint finish.
4. **Paint the Basin (Optional):** Once the primer is dry, apply your chosen paint color in thin, even coats. Allow each coat to dry completely before applying the next. I recommend at least two coats for full coverage.
5. **Apply Sealer (Optional):** After the paint is completely dry, apply a clear sealer to protect the paint and give the coffee table a more durable finish. Follow the manufacturer’s instructions for drying time.
Phase 2: Attaching the Mounting Plates
1. **Determine Leg Placement:** Decide where you want to position the legs on the bottom of the plastic basin. Use a measuring tape to ensure they are evenly spaced and equidistant from the center. I recommend placing them near the edge of the basin for maximum stability.
2. **Mark the Mounting Plate Locations:** Place the mounting plates on the bottom of the basin in the desired locations. Use a pencil to trace around the edges of each mounting plate. This will give you a clear outline for drilling the pilot holes.
3. **Drill Pilot Holes:** Using a drill with a drill bit slightly smaller than the diameter of your screws, drill pilot holes through the plastic basin at the marked locations. Be careful not to drill all the way through the basin. The pilot holes should be deep enough to provide a secure grip for the screws.
4. **Attach the Mounting Plates:** Align the mounting plates with the pilot holes and secure them to the bottom of the basin using screws. Make sure the screws are tightened securely, but be careful not to overtighten them, as this could crack the plastic.
Phase 3: Preparing the Wooden Legs (Optional)
1. **Sand the Legs:** If the wooden legs have any imperfections or a rough surface, sand them with medium-grit sandpaper to smooth them out. Then, use fine-grit sandpaper for a final sanding. Wipe away any sanding dust with a damp cloth.
2. **Apply Wood Filler (Optional):** If there are any cracks or holes in the wooden legs, fill them with wood filler. Allow the wood filler to dry completely, and then sand it smooth.
3. **Stain or Paint the Legs (Optional):** If you prefer a natural wood look, stain or varnish the legs according to the manufacturer’s instructions. If you want to paint the legs, apply a primer first, followed by your chosen paint color. Allow each coat to dry completely before applying the next.
Phase 4: Attaching the Legs to the Mounting Plates
1. **Attach the Legs:** Screw the wooden legs into the mounting plates. Make sure the legs are securely attached and that they are all pointing in the same direction.
2. **Check for Stability:** Once all the legs are attached, carefully flip the coffee table over and check for stability. If any of the legs are wobbly, tighten the screws or adjust the mounting plates as needed.
3. **Attach Protective Feet Pads (Optional):** Attach protective feet pads to the bottom of the legs to protect your floors from scratches and prevent the coffee table from sliding around.
Finishing Touches
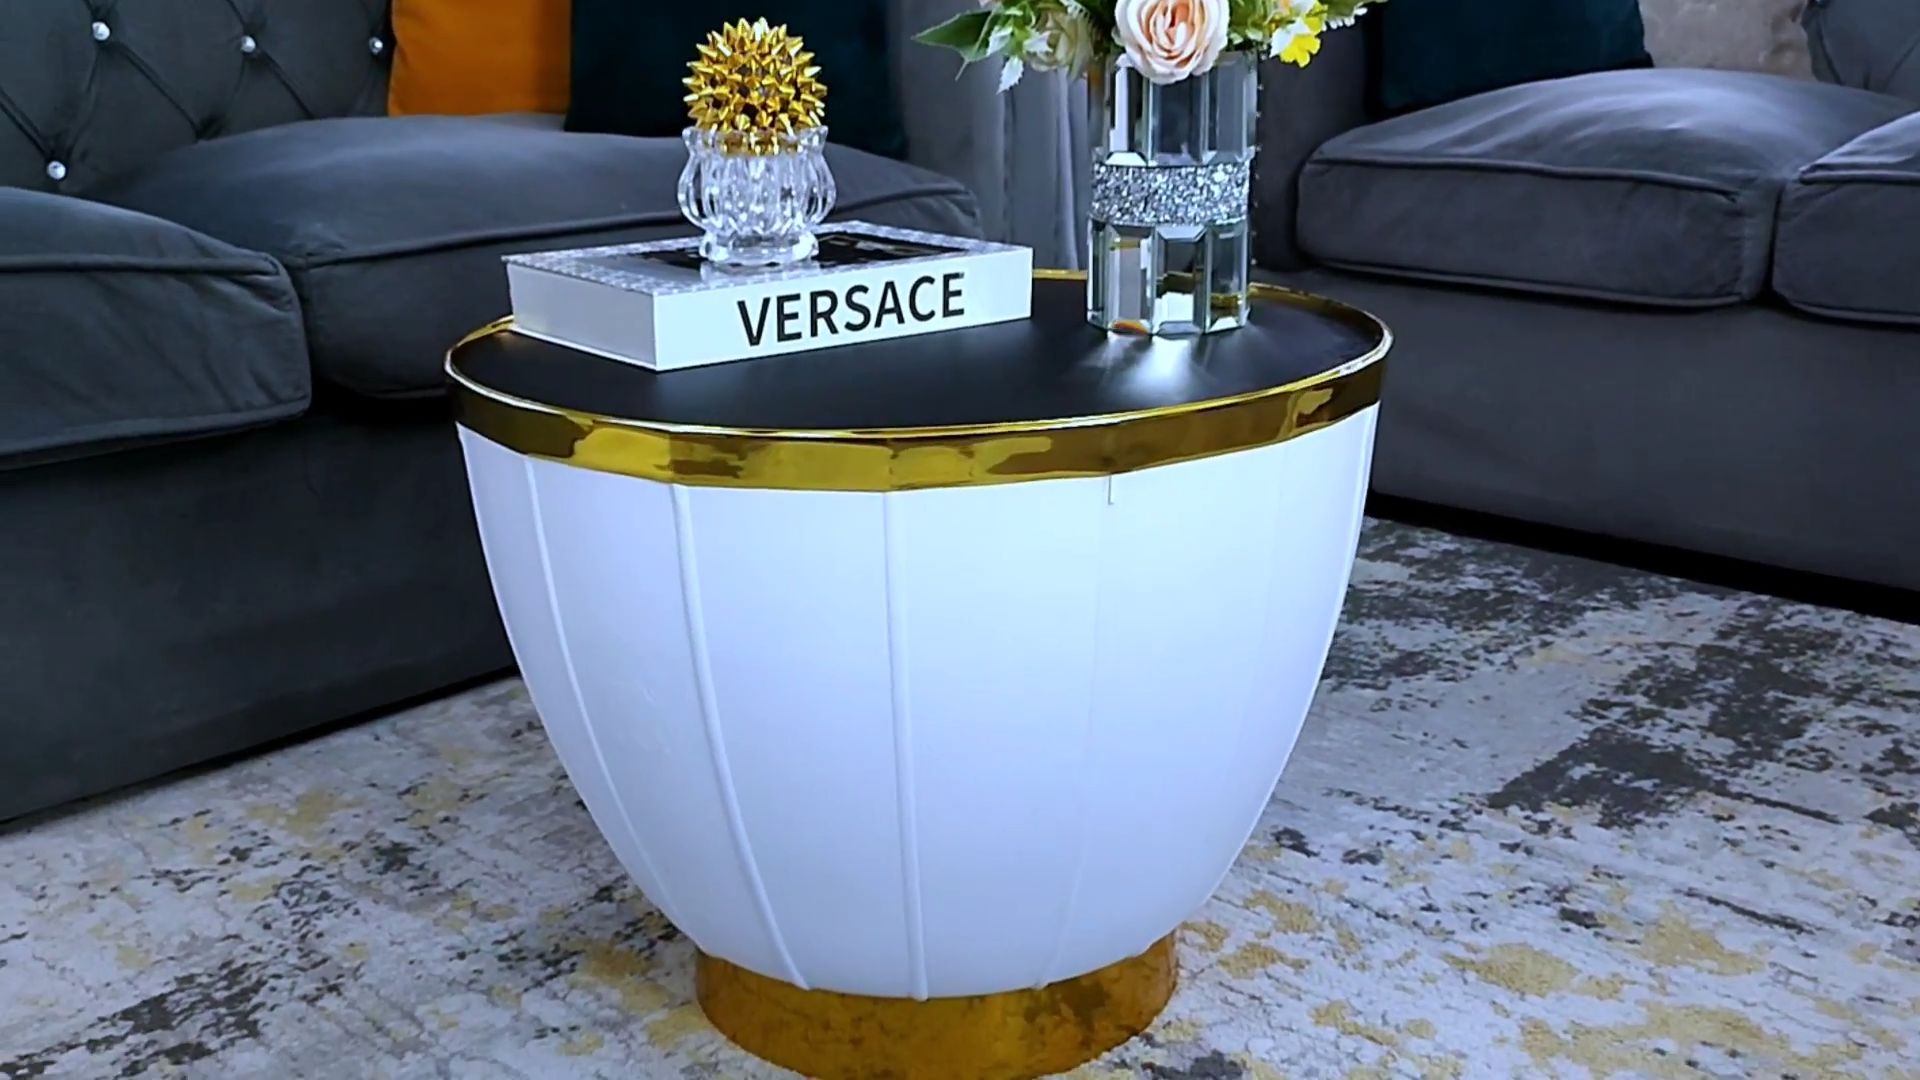
And there you have it! Your plastic wash basin has been transformed into a stylish and functional coffee table. Now, it’s time to add some finishing touches to make it truly your own.
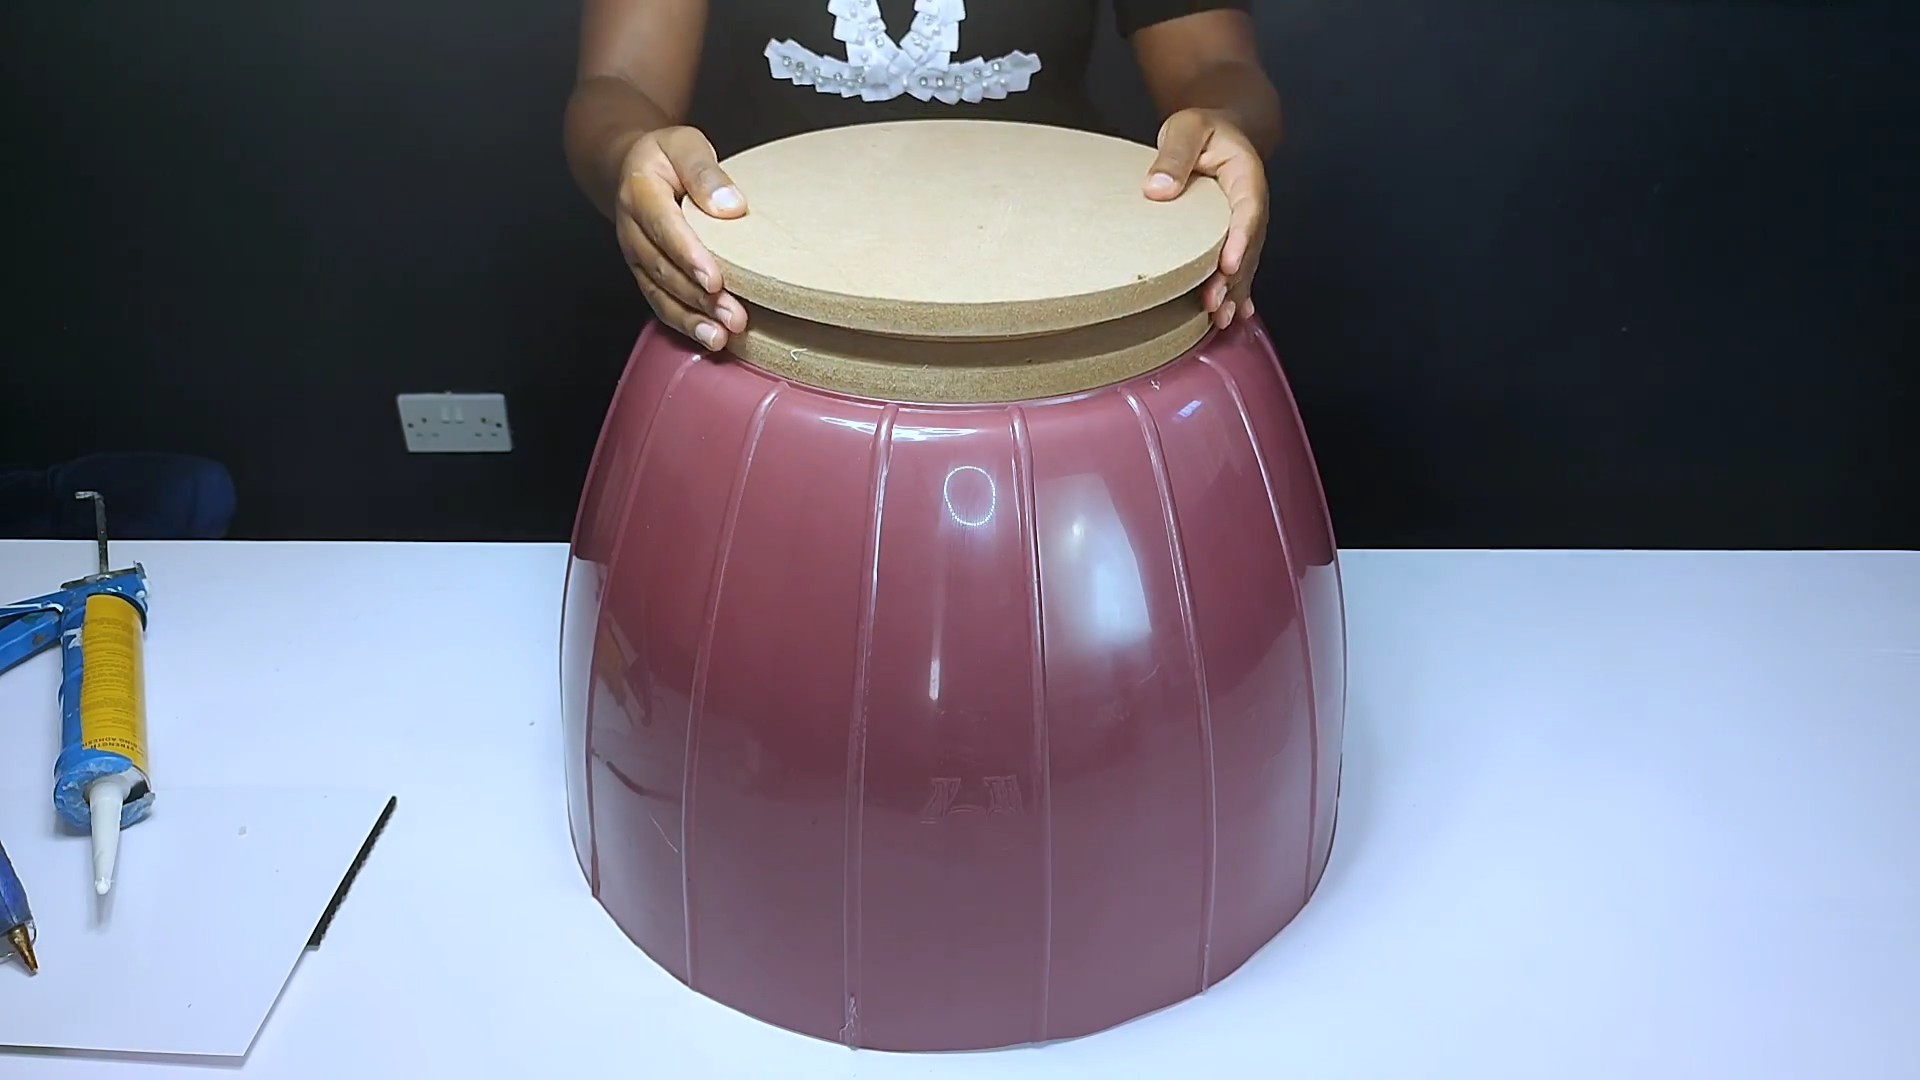
* **Add a Tabletop (Optional):** If you want a more polished look, consider adding a tabletop to the basin. You can use a piece of glass, wood, or even a decorative tray. Secure the tabletop to the basin with adhesive or screws.
* **Decorate the Basin:** Get creative and decorate the inside of the basin. You can add plants, books, magazines, or even a small storage container.
* **Style Your Coffee Table:** Arrange your favorite coffee table books, candles, and decorative objects on top of the table to create a cozy and inviting atmosphere.
I hope you enjoyed this DIY project! It’s a fun and rewarding way to upcycle and create a unique piece of furniture for your home. Don’t be afraid to experiment with different colors, materials, and designs to make it truly your own. Happy crafting!
Conclusion
So, there you have it! Transforming an old plastic wash basin into a stylish and functional coffee table is not just a clever upcycling project; it’s a statement. It’s a statement about sustainability, creativity, and resourcefulness. In a world increasingly conscious of waste, finding innovative ways to repurpose everyday items is more important than ever. This DIY plastic wash basin coffee table project allows you to contribute to a greener planet while adding a unique and personalized touch to your living space.
But beyond the environmental benefits, this project is simply fun! It’s an opportunity to unleash your inner artist and create something truly one-of-a-kind. The possibilities are endless. Imagine painting the basin with vibrant colors and intricate patterns, adding mosaic tiles for a touch of elegance, or even incorporating LED lights for a modern, illuminated effect.
Don’t be afraid to experiment with different leg styles too. Sleek metal legs can give your coffee table a contemporary look, while rustic wooden legs can add a touch of warmth and charm. You could even repurpose old table legs or create your own from reclaimed wood.
Consider adding a glass or wooden top to create a smooth and even surface. This not only enhances the functionality of the coffee table but also adds a touch of sophistication. You could also incorporate storage by adding a shelf inside the basin or attaching small baskets to the sides.
This project is also incredibly budget-friendly. By using a recycled wash basin and readily available materials, you can create a stunning coffee table for a fraction of the cost of buying a new one. It’s a win-win situation for your wallet and the environment.
We encourage you to give this DIY project a try. It’s a rewarding experience that will leave you with a beautiful and functional piece of furniture that you can be proud of. And most importantly, don’t forget to share your creations with us! We’d love to see your unique interpretations of the DIY plastic wash basin coffee table. Share your photos and stories on social media using the hashtag #DIYWashBasinTable. Let’s inspire others to embrace creativity and sustainability!
Remember, the beauty of DIY lies in its flexibility. Adapt this project to your own style and needs. Don’t be afraid to experiment and make it your own. The only limit is your imagination. So, grab that old wash basin, gather your materials, and get ready to transform it into a stunning coffee table that will be the envy of all your friends. Happy crafting!
Frequently Asked Questions (FAQ)
What kind of plastic wash basin is best for this project?
Ideally, you want a sturdy plastic wash basin that is in good condition. Avoid basins that are cracked or heavily damaged, as they may not be able to support the weight of the tabletop and any items placed on it. High-density polyethylene (HDPE) or polypropylene (PP) basins are generally good choices due to their durability. Consider the size and shape of the basin as well, depending on the desired size and style of your coffee table. A larger basin will obviously result in a larger table.
What are some alternative materials I can use for the legs?
While wooden or metal legs are common choices, you can get creative with other materials. Consider using:
* **Reclaimed wood:** Adds a rustic and eco-friendly touch.
* **PVC pipes:** Lightweight and easy to work with, can be painted or wrapped in fabric.
* **Hairpin legs:** Offer a modern and minimalist aesthetic.
* **Old furniture legs:** Repurpose legs from an old table or chair.
* **Concrete blocks:** For a more industrial look.
Ensure that the legs you choose are strong enough to support the weight of the basin and the tabletop.
How do I attach the legs securely to the plastic wash basin?
The best method for attaching the legs will depend on the type of legs you choose and the type of plastic the basin is made of. Here are a few options:
* **Screws:** If the plastic is thick enough, you can pre-drill holes and screw the legs directly into the basin. Use washers to distribute the weight and prevent the screws from pulling through the plastic.
* **Epoxy adhesive:** A strong epoxy adhesive can be used to bond the legs to the basin. Make sure to clean and prepare the surfaces properly before applying the adhesive.
* **Mounting plates:** Attach mounting plates to the legs and then use screws or adhesive to attach the plates to the basin. This provides a more secure and stable connection.
* **Combination:** You can use a combination of screws and adhesive for added security.
Always test the stability of the legs before placing any heavy items on the coffee table.
What type of finish should I use on the plastic wash basin?
The type of finish you use will depend on the look you want to achieve. Here are a few options:
* **Paint:** Use a paint specifically designed for plastic. Prime the basin first to ensure proper adhesion. You can use spray paint or brush-on paint.
* **Decoupage:** Apply decorative paper or fabric to the basin using decoupage glue.
* **Mosaic tiles:** Create a mosaic pattern using small tiles and grout.
* **Stencils:** Use stencils to create intricate designs on the basin.
* **Leave it as is:** If you like the original color and texture of the basin, you can simply clean it and apply a clear coat to protect it.
Always follow the manufacturer’s instructions for the finish you choose.
How can I make the coffee table more stable?
If you’re concerned about the stability of the coffee table, here are a few things you can do:
* **Use sturdy legs:** Choose legs that are strong and stable.
* **Ensure proper leg placement:** Position the legs evenly around the basin to distribute the weight.
* **Add weight to the basin:** Place sandbags or other heavy objects inside the basin to add weight and stability.
* **Use a non-slip mat:** Place a non-slip mat under the coffee table to prevent it from sliding.
* **Secure the tabletop:** Make sure the tabletop is securely attached to the basin.
What are some creative ideas for decorating the inside of the wash basin (if visible)?
If the inside of the wash basin is visible, you can decorate it to add a personal touch. Here are a few ideas:
* **Paint it:** Paint the inside of the basin a contrasting color or a complementary color to the exterior.
* **Add decorative stones or pebbles:** Fill the bottom of the basin with decorative stones or pebbles.
* **Create a miniature garden:** Plant small succulents or other plants inside the basin.
* **Display decorative items:** Place small decorative items, such as candles, figurines, or shells, inside the basin.
* **Add LED lights:** String LED lights around the inside of the basin for a soft and ambient glow.
How do I clean and maintain my DIY plastic wash basin coffee table?
Cleaning and maintaining your coffee table is easy. Simply wipe it down with a damp cloth and mild soap. Avoid using harsh chemicals or abrasive cleaners, as they can damage the finish. For stubborn stains, you can use a plastic cleaner. Regularly check the legs to ensure they are still securely attached. If necessary, tighten the screws or reapply adhesive.
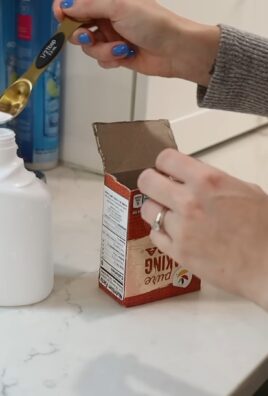
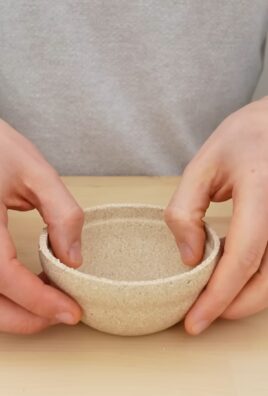
Can I use this DIY trick for other types of containers besides a wash basin?
Absolutely! The core concept of this DIY project can be adapted to other types of containers, such as:
* **Buckets:** Large plastic buckets can be transformed into side tables or stools.
* **Tubs:** Plastic storage tubs can be used to create larger coffee tables or even outdoor seating.
* **Planters:** Large plastic planters can be repurposed into unique and stylish coffee tables.
* **Old tires:** While not plastic, old tires can be upcycled into coffee tables with a similar approach.
The key is to choose a container that is sturdy enough to support a tabletop and legs.
Where can I find inspiration for my DIY plastic wash basin coffee table project?
There are many places to find inspiration for your project:
* **Pinterest:** Search for “DIY coffee table,” “upcycled furniture,” or “plastic wash basin projects.”
* **Instagram:** Follow DIY and upcycling accounts for creative ideas.
* **Blogs:** Read DIY blogs and websites for step-by-step tutorials and inspiration.
* **Magazines:** Look for home decor magazines that feature upcycled furniture.
* **Online forums:** Join DIY forums and communities to share ideas and get feedback.
Remember to let your own creativity and personal style guide you!

Leave a Comment