

DIY Grout Cleaning Toothbrush: Sounds simple, right? But trust me, this little hack is about to revolutionize your cleaning routine! We’ve all been there, staring at dingy grout lines, wondering how they got so dirty and dreading the back-breaking work it takes to scrub them clean. Forget harsh chemicals and expensive gadgets – the solution might already be sitting in your bathroom.
Grout, that porous material between your tiles, has been used for centuries, dating back to ancient Roman construction. While its purpose is functional – to bind and seal – it’s also a magnet for dirt, grime, and mildew. Over time, this can make even the most beautiful tile work look dull and uninviting.
Why do you need this DIY grout cleaning toothbrush trick? Because nobody wants to spend hours on their hands and knees scrubbing! This method is not only incredibly effective at targeting those hard-to-reach areas, but it’s also budget-friendly and eco-conscious. I’m going to show you how to repurpose an old toothbrush and create a powerful cleaning paste that will leave your grout sparkling. Get ready to say goodbye to stubborn stains and hello to a brighter, cleaner home with this simple, yet effective, DIY solution!
DIY Grout Cleaning with a Toothbrush: A Sparkling Solution!
Okay, let’s face it: grout is the bane of every homeowner’s existence. It gets grimy, stained, and just plain gross. And those fancy grout cleaners? Often expensive and full of harsh chemicals. But fear not! I’m going to show you how to get your grout looking sparkling clean using a simple toothbrush and some common household ingredients. This method is budget-friendly, eco-conscious, and surprisingly effective.
What You’ll Need
Before we dive in, let’s gather our supplies. This is a pretty straightforward project, so the list is short and sweet:
* An old toothbrush (or several, depending on the size of your project) – I recommend one with firm bristles for maximum scrubbing power.
* Baking soda
* White vinegar
* Spray bottle
* Water
* Rubber gloves (optional, but recommended to protect your hands)
* Eye protection (optional, but recommended when working with vinegar)
* Paper towels or a clean cloth
Understanding the Cleaning Power
The magic behind this method lies in the combination of baking soda and vinegar. Baking soda is a mild abrasive that helps to loosen dirt and grime. Vinegar, being acidic, reacts with the baking soda to create a fizzing action that further lifts stains and debris. This dynamic duo is a powerhouse for cleaning grout!
Step-by-Step Grout Cleaning Guide
Alright, let’s get down to the nitty-gritty. Here’s how to clean your grout using a toothbrush and our trusty baking soda and vinegar mixture:
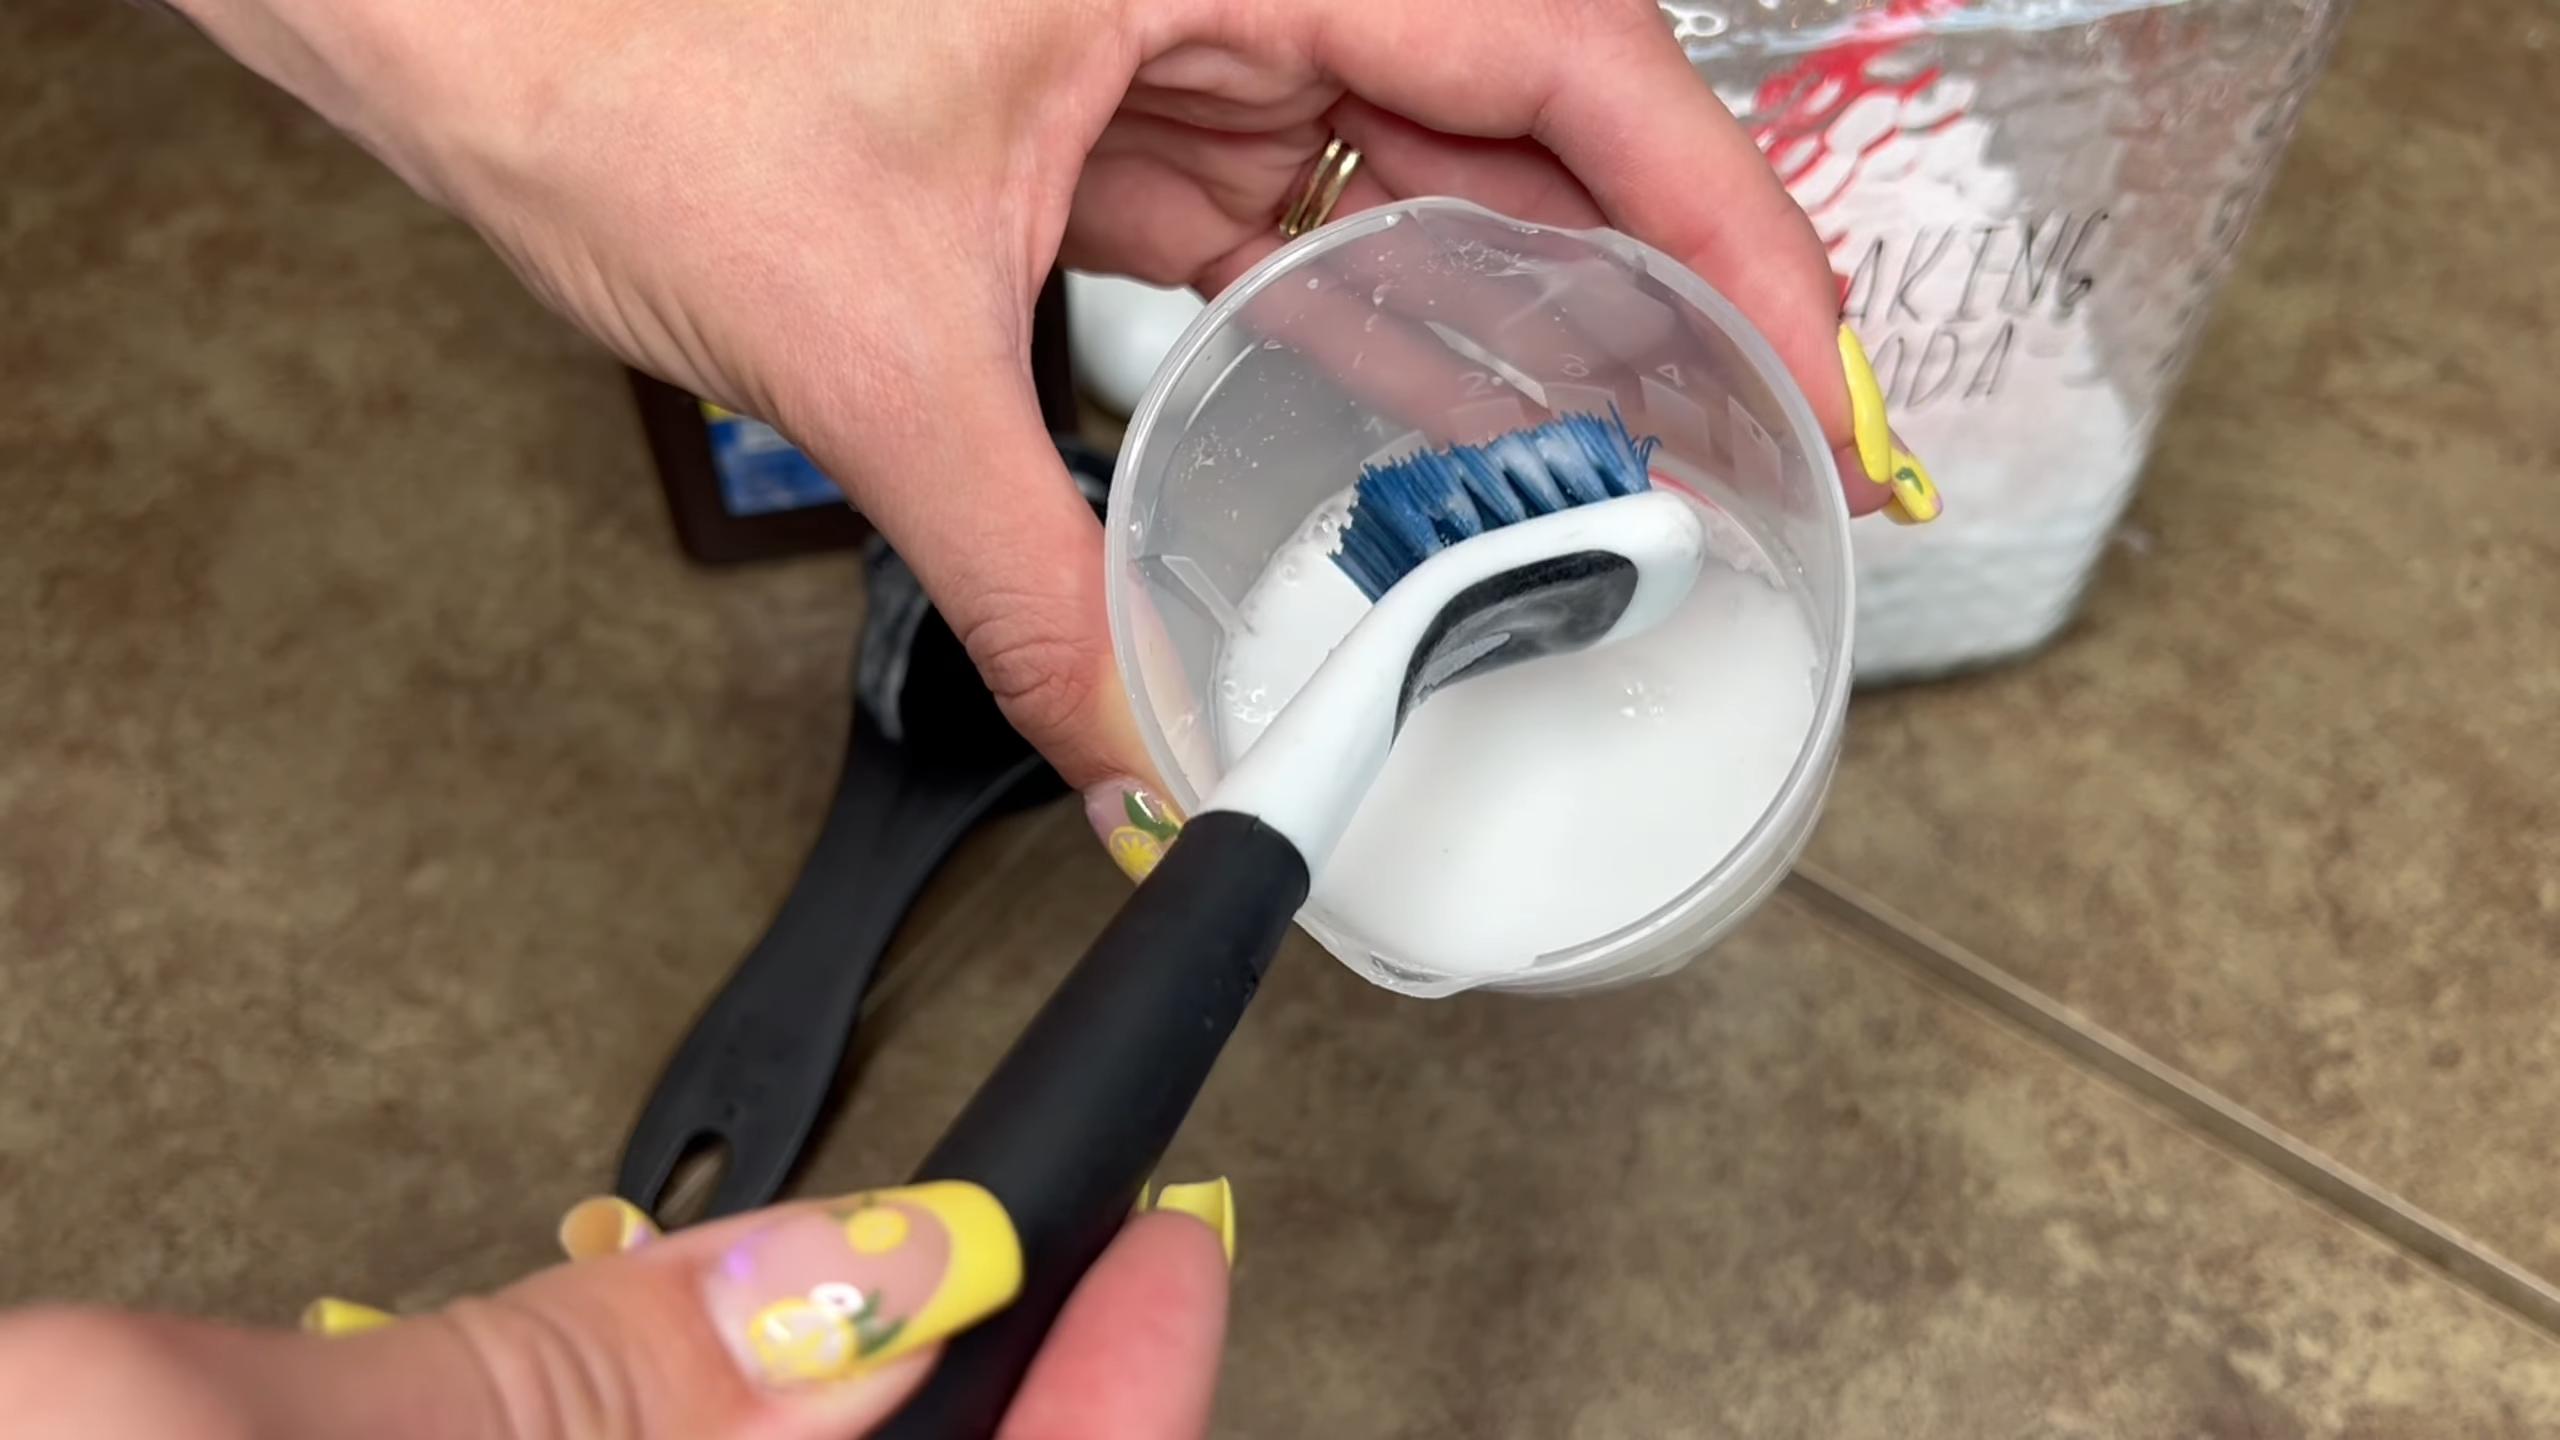
1. Prepare the Baking Soda Paste: In a small bowl, mix baking soda with a little water to form a thick paste. The consistency should be similar to toothpaste. You don’t want it too runny, or it won’t stick to the grout. I usually start with about a quarter cup of baking soda and add water a teaspoon at a time until I get the right consistency.
2. Apply the Baking Soda Paste to the Grout: Using your fingers (with gloves on, of course!) or a small spatula, apply the baking soda paste generously to the grout lines. Make sure you cover all the stained or dirty areas. Don’t be shy – the more paste you apply, the better the cleaning action.
3. Let the Baking Soda Sit: Allow the baking soda paste to sit on the grout for at least 10-15 minutes. This gives it time to penetrate the grime and loosen the dirt. For heavily stained grout, you can let it sit for up to 30 minutes. I usually use this time to do other chores or grab a cup of coffee.
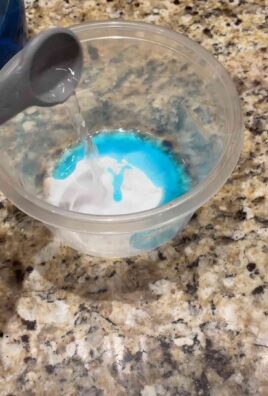
4. Prepare the Vinegar Spray: While the baking soda is working its magic, fill your spray bottle with white vinegar. You can use it straight from the bottle – no need to dilute it.
5. Spray the Vinegar onto the Baking Soda: Now comes the fun part! Spray the vinegar directly onto the baking soda paste. You’ll immediately see it start to fizz and bubble. This is the chemical reaction that’s lifting the dirt and stains.
6. Scrub with the Toothbrush: Using your old toothbrush, scrub the grout lines vigorously. Focus on areas with stubborn stains. The toothbrush bristles will help to get into the small crevices and remove the loosened grime. Don’t be afraid to put some elbow grease into it! I find that using small, circular motions works best.
7. Rinse with Water: After scrubbing, rinse the grout lines thoroughly with clean water. You can use a damp sponge or cloth to wipe away the remaining baking soda and vinegar residue. Make sure you remove all traces of the cleaning mixture, as it can leave a white film if left to dry.
8. Dry the Grout: Use paper towels or a clean cloth to dry the grout lines. This will help to prevent water spots and ensure a sparkling clean finish.
9. Repeat if Necessary: For particularly stubborn stains, you may need to repeat the process. Don’t get discouraged if the grout doesn’t look perfect after the first try. Sometimes it takes a few applications to get it completely clean.
Dealing with Stubborn Stains
Sometimes, even the baking soda and vinegar combo isn’t enough to tackle those really tough stains. Here are a few extra tips and tricks for dealing with stubborn grout stains:
* Hydrogen Peroxide: For mold or mildew stains, try applying hydrogen peroxide to the grout lines. Let it sit for 10-15 minutes, then scrub with the toothbrush and rinse with water.
* Bleach (Use with Caution!): As a last resort, you can try using a diluted bleach solution. Mix one part bleach with ten parts water. Apply it to the grout lines, let it sit for a few minutes, then scrub and rinse thoroughly. Important: Always wear gloves and eye protection when working with bleach, and make sure to ventilate the area well. Never mix bleach with vinegar, as it can create toxic fumes.
* Grout Pen: If all else fails, you can use a grout pen to cover up the stains. These pens are available in a variety of colors and can be a quick and easy way to refresh the look of your grout.
Preventing Future Stains
Once you’ve got your grout looking sparkling clean, you’ll want to keep it that way! Here are a few tips for preventing future stains:
* Seal the Grout: Applying a grout sealer will help to protect the grout from stains and moisture. You can find grout sealers at most hardware stores.
* Wipe Up Spills Immediately: The sooner you wipe up spills, the less likely they are to stain the grout.
* Ventilate the Area: Proper ventilation can help to prevent mold and mildew growth in damp areas like bathrooms.
* Regular Cleaning: Make it a habit to clean your grout regularly, even if it doesn’t look dirty. A quick scrub with a toothbrush and some soapy water can go a long way in preventing stains from setting in.
Safety First!
Before you start cleaning, it’s important to take a few safety precautions:
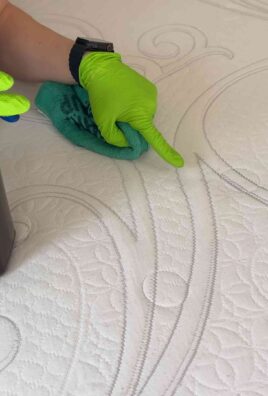
* Wear Gloves: Rubber gloves will protect your hands from the cleaning solutions and prevent skin irritation.
* Eye Protection: It’s always a good idea to wear eye protection when working with cleaning products, especially vinegar and bleach.
* Ventilation: Make sure the area is well-ventilated, especially if you’re using bleach.
* Test in an Inconspicuous Area: Before applying any cleaning solution to a large area, test it in a small, inconspicuous area to make sure it doesn’t damage the grout or tile.
Alternative Cleaning Solutions
While baking soda and vinegar are my go-to grout cleaning solution, there are other options you can try:
* Lemon Juice: Lemon juice is a natural acid that can help to break down dirt and grime. Apply lemon juice to the grout lines, let it sit for 10-15 minutes, then scrub and rinse.
* Dish Soap: A mixture of dish soap and warm water can be effective for cleaning lightly soiled grout.
* Commercial Grout Cleaners: If you prefer to use a commercial grout cleaner, be sure to choose one that is specifically designed for grout and follow the manufacturer’s instructions carefully.
Troubleshooting Tips
* Grout Still Looks Dirty: If your grout still looks dirty after cleaning, try repeating the process or using a stronger cleaning solution.
* Grout is Crumbling: If your grout is crumbling or damaged, it may need to be repaired or replaced.
* Cleaning Colored Grout: Be extra careful when cleaning colored grout, as some cleaning solutions can cause the color to fade. Test in an inconspicuous area first.
Final Thoughts
Cleaning grout can be a bit of a chore, but it’s definitely worth the effort. With a little elbow grease and the right cleaning solution, you can transform your dingy grout into a sparkling clean surface. And remember, prevention is key! By sealing your grout and cleaning it regularly, you can keep it looking its best for years to come. So grab your toothbrush, gather your supplies, and get ready to say goodbye to dirty grout! You’ve got this!

Conclusion
So, there you have it! This simple, yet incredibly effective, DIY grout cleaning toothbrush method is a game-changer for anyone battling dingy, stained grout. Forget spending a fortune on harsh chemicals and specialized tools. This approach is not only budget-friendly but also allows for precise cleaning, targeting those hard-to-reach areas that larger brushes and sponges simply can’t access. The beauty of this method lies in its simplicity and adaptability.
Why is this a must-try? Because it works! It’s a cost-effective, eco-conscious alternative to harsh chemical cleaners. It’s also incredibly satisfying to see the grime lift away, revealing the bright, clean grout underneath. Plus, you likely already have the necessary supplies on hand – an old toothbrush, baking soda, vinegar, and a little elbow grease.
But the possibilities don’t stop there. Consider these variations to tailor the method to your specific needs:
* For heavily stained grout: Create a paste of baking soda and hydrogen peroxide. Apply it to the grout, let it sit for 15-20 minutes, and then scrub with your trusty toothbrush. The hydrogen peroxide acts as a natural bleaching agent, helping to lift stubborn stains.
* For a refreshing scent: Add a few drops of your favorite essential oil (tea tree, lemon, or eucalyptus are great choices) to your cleaning solution. This will not only clean your grout but also leave your bathroom smelling fresh and clean.
* For colored grout: Be cautious when using vinegar, as it can sometimes lighten colored grout. Test the solution in an inconspicuous area first to ensure it doesn’t affect the color. A milder solution of baking soda and water is generally a safer option for colored grout.
* For preventative maintenance: Make this DIY grout cleaning toothbrush method a part of your regular cleaning routine. A quick scrub once a week can prevent dirt and grime from building up, making it much easier to maintain clean grout in the long run.
We’re confident that this DIY grout cleaning toothbrush trick will become your go-to solution for sparkling clean grout. It’s a simple, effective, and affordable way to transform your bathroom or kitchen.
Now, it’s your turn! We encourage you to try this DIY method and see the amazing results for yourself. Don’t forget to take before-and-after photos – we’d love to see the transformation! Share your experiences, tips, and variations in the comments below. Let’s build a community of clean grout enthusiasts! We are confident that you will find this method of DIY grout cleaning toothbrush to be a great way to keep your home clean.
Frequently Asked Questions (FAQ)
What kind of toothbrush should I use?
An old toothbrush is ideal for this DIY grout cleaning method. You don’t want to use a toothbrush that you’re still using for oral hygiene! Look for a toothbrush with firm bristles, as they will provide better scrubbing power. A toothbrush with an angled head can also be helpful for reaching tight corners and edges. If you don’t have an old toothbrush, you can purchase a cheap one specifically for cleaning purposes.
What if I don’t have baking soda or vinegar? What are some alternatives?
While baking soda and vinegar are highly effective and readily available, there are alternatives you can use. For baking soda, you can try using a paste of borax and water. Borax is a natural mineral that has cleaning and disinfecting properties. For vinegar, you can try using lemon juice. Lemon juice is acidic and can help to break down dirt and grime. However, be cautious when using lemon juice on colored grout, as it may have a bleaching effect.
How often should I clean my grout using this method?
The frequency of cleaning depends on how much traffic the area receives and how prone it is to getting dirty. In general, cleaning your grout every 1-2 weeks is a good starting point. If you notice that your grout is getting dirty more quickly, you may need to clean it more often. Regular cleaning will prevent dirt and grime from building up, making it easier to maintain clean grout in the long run.
Is this method safe for all types of grout?
This method is generally safe for most types of grout, but it’s always a good idea to test it in an inconspicuous area first, especially if you have colored grout. Vinegar, in particular, can sometimes lighten colored grout, so it’s important to proceed with caution. If you’re unsure about the type of grout you have, consult with a professional cleaner or tile installer.
How do I prevent grout from getting dirty in the first place?
Prevention is key to keeping your grout clean and avoiding the need for frequent deep cleaning. Here are a few tips:
* Seal your grout: Sealing your grout creates a barrier that prevents dirt and grime from penetrating the surface. You can purchase grout sealant at most hardware stores.
* Wipe up spills immediately: The longer spills sit on your grout, the more likely they are to stain. Wipe up spills as soon as they happen to prevent staining.
* Use a doormat: Place a doormat at entrances to your home to trap dirt and debris before they can be tracked onto your floors.
* Ventilate your bathroom: Proper ventilation in your bathroom will help to prevent mold and mildew growth, which can stain your grout.
Can I use this method on other surfaces besides grout?
While this method is primarily designed for cleaning grout, it can also be used on other surfaces, such as tile and porcelain. However, be cautious when using it on delicate surfaces, as the scrubbing action could potentially scratch them. Always test the method in an inconspicuous area first to ensure it doesn’t damage the surface.
What if the stains are really stubborn and won’t come out?
For extremely stubborn stains, you may need to use a stronger cleaning solution or repeat the cleaning process multiple times. You can try using a commercial grout cleaner, but be sure to follow the manufacturer’s instructions carefully. You can also try using a steam cleaner, which can help to loosen dirt and grime. In some cases, you may need to re-grout the area if the stains are too deeply embedded.
Is it safe to mix baking soda and vinegar?
While baking soda and vinegar are both effective cleaning agents, mixing them together in a closed container can create a chemical reaction that produces carbon dioxide gas. This can cause pressure to build up and potentially explode the container. However, when used as directed in this DIY grout cleaning method, the reaction is minimal and poses no significant risk. The small amount of vinegar used is quickly neutralized by the baking soda, and the open-air environment allows any gas to dissipate. It’s important to add the vinegar slowly to the baking soda paste to control the reaction.
What safety precautions should I take when cleaning grout?
When cleaning grout, it’s always a good idea to wear gloves to protect your hands from the cleaning solution. You should also wear eye protection to prevent any splashes from getting into your eyes. If you’re using a strong cleaning solution, such as bleach, be sure to ventilate the area well to avoid inhaling harmful fumes.
Leave a Comment