

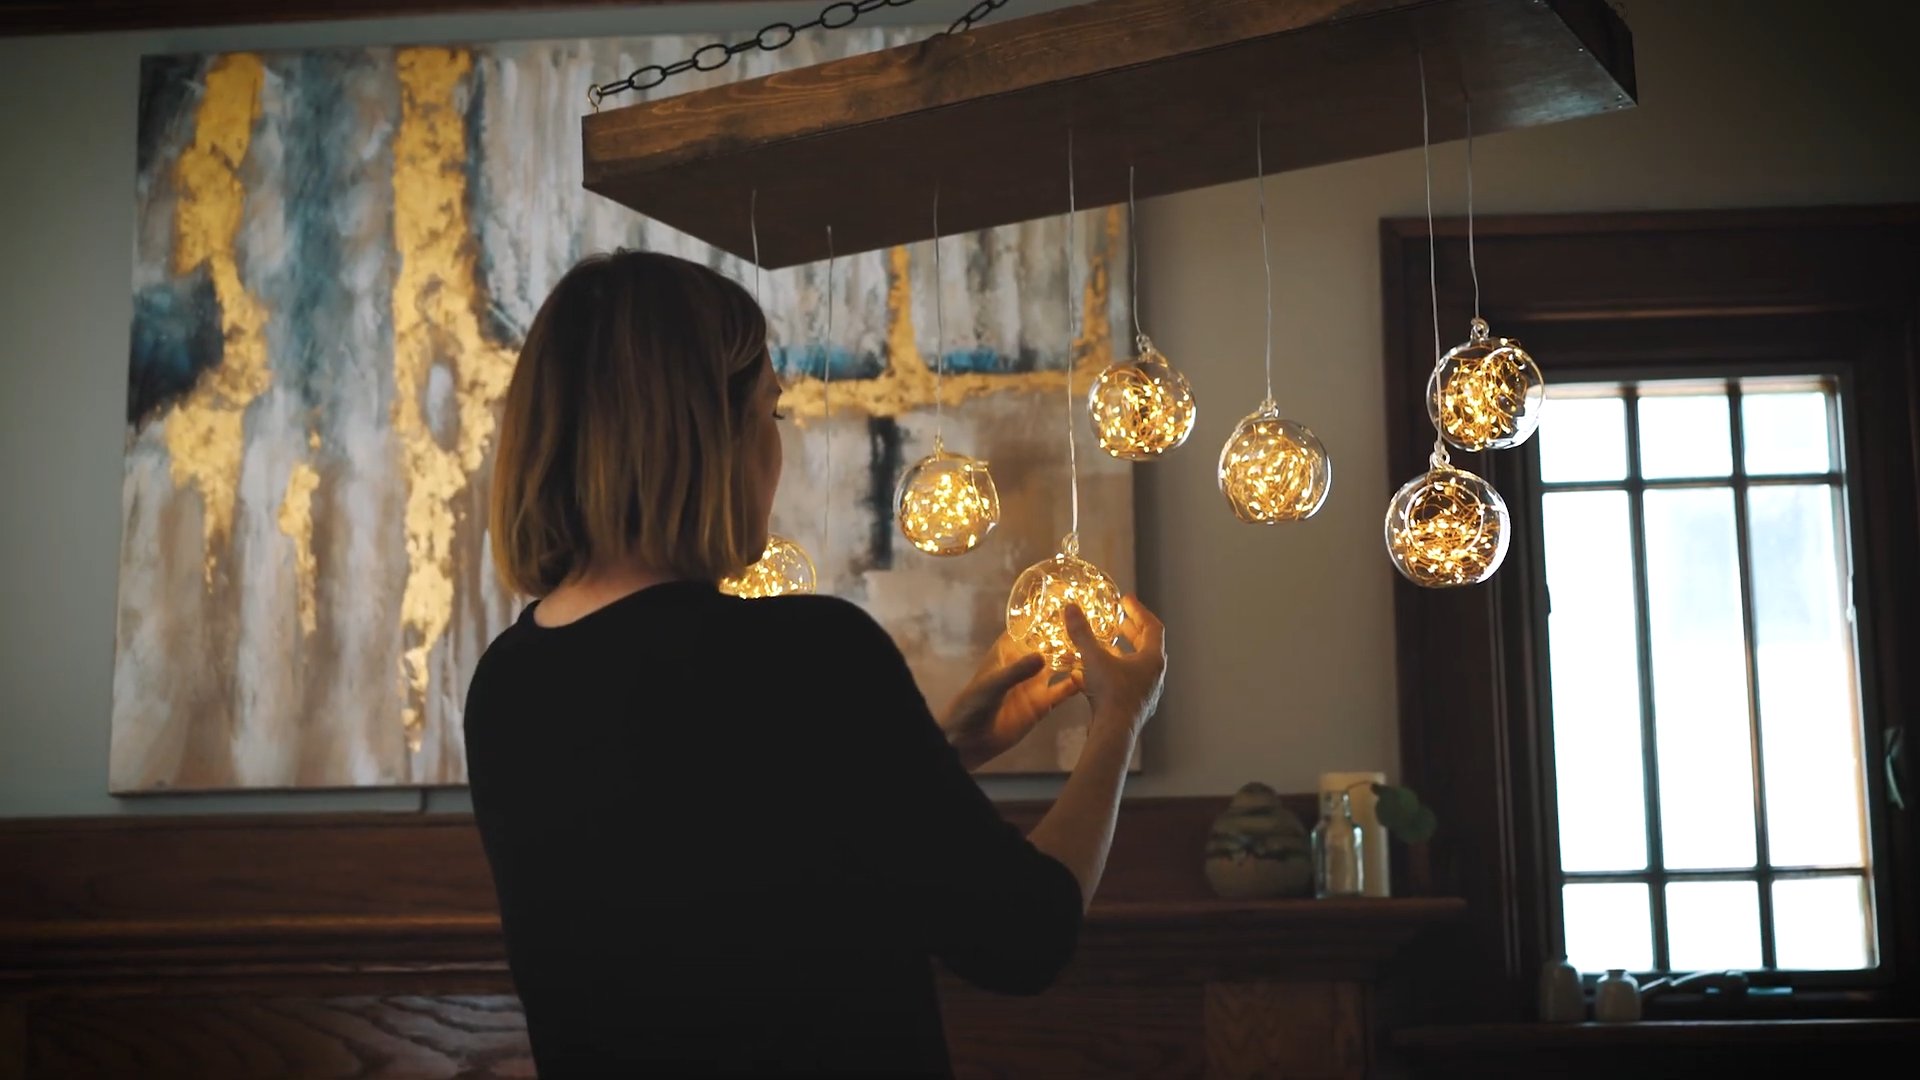
DIY Globe Chandelier: Imagine stepping into a room bathed in the warm, inviting glow of a light fixture that’s not only functional but also a stunning conversation starter. Forget those mass-produced, cookie-cutter lights! I’m about to show you how to create a breathtaking DIY Globe Chandelier that will transform any space into a haven of personalized style.
Globes, beyond their geographical significance, have long held a symbolic allure. Think back to explorers charting unknown territories, or scholars poring over ancient maps. They represent discovery, knowledge, and a sense of adventure. Now, you can bring that same sense of wonder into your home with a unique lighting fixture.
Why a DIY Globe Chandelier, you ask? Well, in a world saturated with generic décor, expressing your individuality is more important than ever. Plus, let’s be honest, designer lighting can be incredibly expensive! This project is not only budget-friendly but also allows you to recycle old globes, giving them a new lease on life. I’ll guide you through each step, ensuring that even if you’re a DIY novice, you can create a masterpiece that reflects your personality and illuminates your space beautifully. Get ready to embark on a creative journey and craft your very own DIY Globe Chandelier!
DIY Globe Chandelier: Light Up Your World!
Hey there, fellow DIY enthusiasts! Are you ready to embark on a project that’s both illuminating and geographically inspiring? I’m going to walk you through creating your very own globe chandelier. This project is a fantastic way to add a unique, worldly touch to any room, and it’s surprisingly easier than you might think. So, gather your supplies, and let’s get started!
What You’ll Need: The Global Gathering
Before we dive in, let’s make sure we have everything we need. This is crucial for a smooth and enjoyable crafting experience.
* Globe(s): The star of the show! You’ll need at least one globe, but I recommend using three for a more visually appealing chandelier. You can find globes at thrift stores, antique shops, online marketplaces, or even repurpose old school globes. Consider different sizes for a dynamic look.
* Pendant Light Kit(s): You’ll need one pendant light kit for each globe you plan to use. These kits typically include a light socket, wiring, a ceiling canopy, and a chain or cord. Make sure the kit is rated for the wattage of the bulbs you plan to use.
* Light Bulbs: Choose bulbs that complement the style of your chandelier. Edison bulbs offer a vintage feel, while LED bulbs are energy-efficient and come in various color temperatures.
* Drill with Hole Saw Attachment: This is essential for creating the holes in the globes for the wiring. The size of the hole saw should match the diameter of the pendant light kit’s cord.
* Wire Strippers: For safely stripping the insulation from the electrical wires.
* Screwdrivers: A Phillips head and a flathead screwdriver will be necessary for connecting the wiring.
* Electrical Tape: For insulating and securing wire connections.
* Safety Glasses: Always protect your eyes when drilling!
* Gloves: To protect your hands.
* Measuring Tape: For accurate measurements when hanging the chandelier.
* Pencil or Marker: For marking the drilling points on the globes.
* Ladder or Step Stool: To safely reach the ceiling for installation.
* Optional: Spray paint (if you want to change the color of the globe’s base or the pendant light kit), sandpaper (for smoothing rough edges after drilling), and decorative chain or rope (for a more rustic look).
Preparing the Globes: A World of Possibilities
This is where we transform ordinary globes into stunning light fixtures. Take your time and be careful during this process.
1. Clean the Globes: Before you start drilling, wipe down the globes with a damp cloth to remove any dust or dirt. This will ensure a clean drilling surface.
2. Mark the Drilling Points: Decide where you want the light to shine from the globe. I usually aim for the South Pole, as it’s a discreet location. Use a pencil or marker to mark the center of the area where you’ll be drilling.
3. Drill the Holes: This is the most crucial step. Put on your safety glasses and gloves. Attach the hole saw to your drill. Start drilling slowly and steadily, applying gentle pressure. Avoid forcing the drill, as this could crack the globe. If you’re drilling through cardboard or plastic, it’s best to use a variable speed drill and start at a low speed.
* Pro Tip: To prevent the globe from shifting while drilling, you can place a piece of painter’s tape over the area you’re drilling. This will provide a bit of extra grip.
4. Smooth the Edges: After drilling, the edges of the hole might be a bit rough. Use sandpaper to gently smooth them down. This will prevent the cord from being damaged when you thread it through.
5. (Optional) Customize the Globes: If you want to add a personal touch, now’s the time to do it. You can spray paint the globe’s base a different color, add stencils, or even decoupage it with maps or other interesting images. Let your creativity shine!
Wiring the Pendant Lights: Let There Be Light!
Now, let’s get those globes illuminated! This part involves working with electricity, so please be cautious and follow the instructions carefully. If you’re not comfortable working with electricity, it’s best to consult a qualified electrician.
1. Prepare the Pendant Light Kit: Unpack your pendant light kit and familiarize yourself with the components. Read the manufacturer’s instructions carefully.
2. Thread the Cord Through the Globe: Carefully thread the cord of the pendant light kit through the hole you drilled in the globe. Make sure the socket end of the cord is inside the globe.
3. Secure the Socket: Attach the light socket to the cord according to the pendant light kit’s instructions. This usually involves tightening screws or using a locking mechanism.
4. Wire the Socket: Connect the wires from the cord to the terminals on the light socket. Typically, there will be a black (hot) wire, a white (neutral) wire, and a green or bare (ground) wire. Connect each wire to the corresponding terminal on the socket. Use wire strippers to expose the ends of the wires and electrical tape to insulate the connections.
* Important Safety Note: Always double-check your wiring connections to ensure they are secure and properly insulated. Incorrect wiring can be dangerous and could lead to a fire hazard.
5. Repeat for Each Globe: If you’re using multiple globes, repeat steps 1-4 for each one.
Assembling the Chandelier: Bringing It All Together
This is where your individual globe lights transform into a stunning chandelier.
1. Determine the Hanging Height: Decide how low you want your chandelier to hang. Use a measuring tape to determine the desired length of each pendant light cord.
2. Adjust the Cord Lengths: Adjust the length of each pendant light cord to your desired length. You can do this by shortening the cord or by using a chain or rope to extend it.
3. Connect the Cords to the Ceiling Canopy: Most pendant light kits come with a ceiling canopy that has multiple holes for the cords to pass through. Thread each cord through a hole in the canopy and secure it in place.
* Pro Tip: To create a more balanced and visually appealing chandelier, stagger the heights of the globes. Hang one globe slightly higher than the others.
4. Wire the Canopy: Connect the wires from the pendant light cords to the wires in the ceiling canopy. Again, match the black (hot), white (neutral), and green/bare (ground) wires. Use wire connectors to secure the connections.
5. Attach the Canopy to the Ceiling: Follow the instructions that came with your pendant light kit to attach the ceiling canopy to the electrical box in your ceiling. This usually involves screwing the canopy to a mounting bracket.
* Important Safety Note: Before attaching the canopy to the ceiling, make sure the power to the circuit is turned off at the breaker box.
Final Touches: A Worldly Glow
Almost there! Now for the finishing touches that will make your globe chandelier truly shine.
1. Install the Light Bulbs: Screw in your chosen light bulbs into the sockets.
2. Turn on the Power: Turn the power back on at the breaker box.
3. Admire Your Creation: Step back and admire your beautiful, handmade globe chandelier! Adjust the position of the globes if necessary to achieve the desired look.
Troubleshooting Tips: Navigating the Challenges
Even the best-laid plans can sometimes encounter a few bumps in the road. Here are some troubleshooting tips to help you navigate any challenges you might face:
* Globe Cracking While Drilling: If the globe cracks while drilling, try using a slower drill speed and applying less pressure. You can also try using a lubricant, such as WD-40, to help the drill bit glide through the material.
* Wiring Issues: If the light doesn’t turn on, double-check all your wiring connections. Make sure the wires are securely connected to the terminals and that there are no loose strands. If you’re still having trouble, consult a qualified electrician.
* Canopy Not Fitting Flush to the Ceiling: If the ceiling canopy doesn’t fit flush to the ceiling, you may need to adjust the mounting bracket. Make sure the bracket is securely attached to the electrical box and that it’s properly aligned.
* Globes Hanging Unevenly: If the globes are hanging unevenly, adjust the length of the pendant light cords until they are all at the desired height.
Variations and Customizations: Your World, Your Way
The beauty of DIY is the ability to personalize your projects. Here are some ideas for variations and customizations to make your globe chandelier truly unique:
* Different Globe Styles: Experiment with different types of globes, such as antique globes, inflatable globes,
Conclusion
So, there you have it! Transforming an ordinary globe into a stunning, one-of-a-kind chandelier is not only achievable but surprisingly simple. This DIY globe chandelier project offers a fantastic way to inject personality and global flair into your home decor without breaking the bank. Forget mass-produced lighting fixtures; this is about creating something truly unique, a conversation starter that reflects your individual style and adventurous spirit.
Why is this DIY trick a must-try? Because it’s more than just a lighting solution; it’s an opportunity to upcycle, to express your creativity, and to add a touch of wanderlust to your living space. It’s a chance to transform a forgotten object into a focal point, a testament to the beauty of resourcefulness. Plus, the warm, ambient light cast by the globe creates a cozy and inviting atmosphere, perfect for relaxing evenings or entertaining guests.
But the beauty of this project lies in its adaptability. Feel free to experiment with different globe sizes and styles. A vintage globe with faded colors can add a touch of antique charm, while a modern globe with vibrant hues can create a bold and contemporary statement. Consider using different types of light bulbs to achieve varying levels of brightness and warmth. Edison bulbs, for example, can add a rustic and industrial feel, while LED bulbs offer energy efficiency and a longer lifespan.
Don’t be afraid to personalize your chandelier further. Add decorative elements like beads, crystals, or even small travel souvenirs to the globe’s surface. You could also paint the metal hardware a different color to match your existing decor. For a nautical theme, consider adding rope accents or miniature ship models. The possibilities are truly endless!
And if you’re feeling particularly ambitious, why not create a cluster of smaller globe chandeliers at varying heights? This would create a dramatic and eye-catching installation, perfect for a large entryway or dining room. Or, for a more subtle effect, hang a single globe chandelier in a reading nook or bedroom.
We understand that embarking on a DIY project can sometimes feel daunting, but we assure you that this one is well worth the effort. The satisfaction of creating something beautiful with your own hands is unparalleled. And the compliments you’ll receive from friends and family will be the icing on the cake.
So, gather your supplies, unleash your inner artist, and get ready to transform your space with a stunning DIY globe chandelier. We’re confident that you’ll love the results.
Now, we want to hear from you! Have you tried this DIY trick? What variations did you make? What challenges did you encounter? Share your experiences, tips, and photos in the comments below. We can’t wait to see your creations and learn from your insights. Let’s inspire each other to create beautiful and unique spaces, one globe chandelier at a time!
Frequently Asked Questions (FAQ)
What kind of globe should I use for this project?
The type of globe you use is entirely up to your personal preference and the aesthetic you’re aiming for. You can use a vintage globe for a more antique look, a modern globe for a contemporary feel, or even an inflatable globe for a lightweight and whimsical design. Consider the size of the room where you’ll be hanging the chandelier when choosing the globe’s size. A larger room can accommodate a larger globe, while a smaller room might be better suited for a smaller one. Also, think about the colors and patterns of the globe and how they will complement your existing decor.
What kind of tools and materials will I need?
The specific tools and materials you’ll need will depend on the design you choose, but here’s a general list:
* A globe (of course!)
* A light kit (including a light socket, wire, and ceiling canopy)
* A drill with various sized drill bits
* Wire strippers
* Screwdrivers
* Pliers
* Safety glasses
* Gloves
* Measuring tape
* Pencil
* Optional: Paint, beads, crystals, rope, or other decorative elements
How do I drill a hole in the globe without breaking it?
Drilling into a globe requires a delicate touch. Start by marking the spot where you want to drill with a pencil. Use a small drill bit to create a pilot hole. Then, gradually increase the size of the drill bit until you reach the desired diameter. Apply gentle pressure and avoid forcing the drill. If you’re working with a fragile globe, consider using a glass drill bit and lubricating the area with water to prevent cracking. Always wear safety glasses to protect your eyes from flying debris.
Is it safe to hang a globe chandelier?
Yes, it is safe to hang a globe chandelier as long as you follow proper safety precautions. Make sure the ceiling canopy is securely attached to a ceiling joist or support beam. Use appropriate hardware, such as screws and anchors, to ensure that the chandelier is properly supported. Double-check all wiring connections to prevent electrical hazards. If you’re not comfortable working with electricity, consider hiring a qualified electrician to install the chandelier for you.
What type of light bulb should I use?
The type of light bulb you use will affect the brightness and warmth of the light emitted by the chandelier. Edison bulbs can add a vintage and industrial feel, while LED bulbs offer energy efficiency and a longer lifespan. Consider the wattage of the bulb and how it will affect the overall brightness of the room. You can also experiment with different color temperatures to create different moods. Warmer light bulbs (around 2700K) create a cozy and inviting atmosphere, while cooler light bulbs (around 5000K) provide a brighter and more energizing light.
Can I paint the globe?
Yes, you can paint the globe to customize its appearance. Use acrylic paint or spray paint specifically designed for plastic or glass. Before painting, clean the globe thoroughly and lightly sand the surface to improve adhesion. Apply multiple thin coats of paint, allowing each coat to dry completely before applying the next. You can also use stencils or freehand designs to create intricate patterns.
How do I clean my globe chandelier?
To clean your globe chandelier, first turn off the power to the fixture. Use a soft, dry cloth to dust the globe and the metal hardware. For stubborn stains, you can use a damp cloth with a mild detergent. Avoid using harsh chemicals or abrasive cleaners, as they can damage the surface of the globe.
What if I don’t have a globe? Where can I find one?
Globes can be found in a variety of places. Check your local thrift stores, antique shops, and flea markets for vintage globes. You can also purchase new globes online or at educational supply stores. Consider using an inflatable globe for a lightweight and inexpensive option.
Can I use this DIY trick to make other types of lighting fixtures?
Absolutely! The basic principles of this DIY trick can be applied to create other types of lighting fixtures, such as pendant lights, table lamps, and wall sconces. Get creative and experiment with different materials and designs to create your own unique lighting solutions.
How much will this project cost?
The cost of this project will vary depending on the materials you choose and where you purchase them. However, it is generally a very affordable DIY project. You can often find globes and light kits at discounted prices, especially if you shop around. By upcycling an old globe, you can further reduce the cost of the project.


Leave a Comment