

DIY drain cleaner: Are you tired of slow-draining sinks and the unpleasant odors wafting up from your pipes? I know I am! Before you reach for those harsh, chemical-laden drain cleaners that can damage your plumbing and the environment, let’s explore a safer, more effective, and surprisingly simple solution you can whip up right in your own kitchen.
For generations, resourceful homeowners have relied on homemade remedies to tackle household problems. While the exact origins of using baking soda and vinegar for cleaning are hard to pinpoint, the practice aligns with a long history of utilizing natural ingredients for cleaning and maintenance. Think about it – our grandmothers didn’t have access to the same array of commercial products we do today, and they managed just fine (or even better!) with simple, readily available ingredients.
Why is a DIY drain cleaner so essential in today’s world? Well, aside from the environmental benefits of avoiding harsh chemicals, it’s also incredibly cost-effective. Store-bought drain cleaners can be expensive, and often contain ingredients that corrode pipes over time. This DIY trick not only clears clogs but also helps maintain the integrity of your plumbing, saving you money on costly repairs down the line. Plus, it’s incredibly satisfying to know you’re tackling a common household problem with a solution you created yourself! So, let’s dive in and learn how to make your own powerful and eco-friendly drain cleaner.
DIY Drain Cleaner: Banish Clogs with Household Ingredients!
Okay, let’s face it, a clogged drain is a total drag. Store-bought drain cleaners can be harsh, expensive, and sometimes not even that effective. But don’t despair! I’m going to show you how to whip up a powerful drain cleaner using ingredients you probably already have in your pantry. This method is safer for your pipes and the environment, and it’s super satisfying to unclog that stubborn drain yourself.
What You’ll Need: The Arsenal Against Clogs
Before we dive in, let’s gather our supplies. This is a pretty simple recipe, so you won’t need anything fancy.
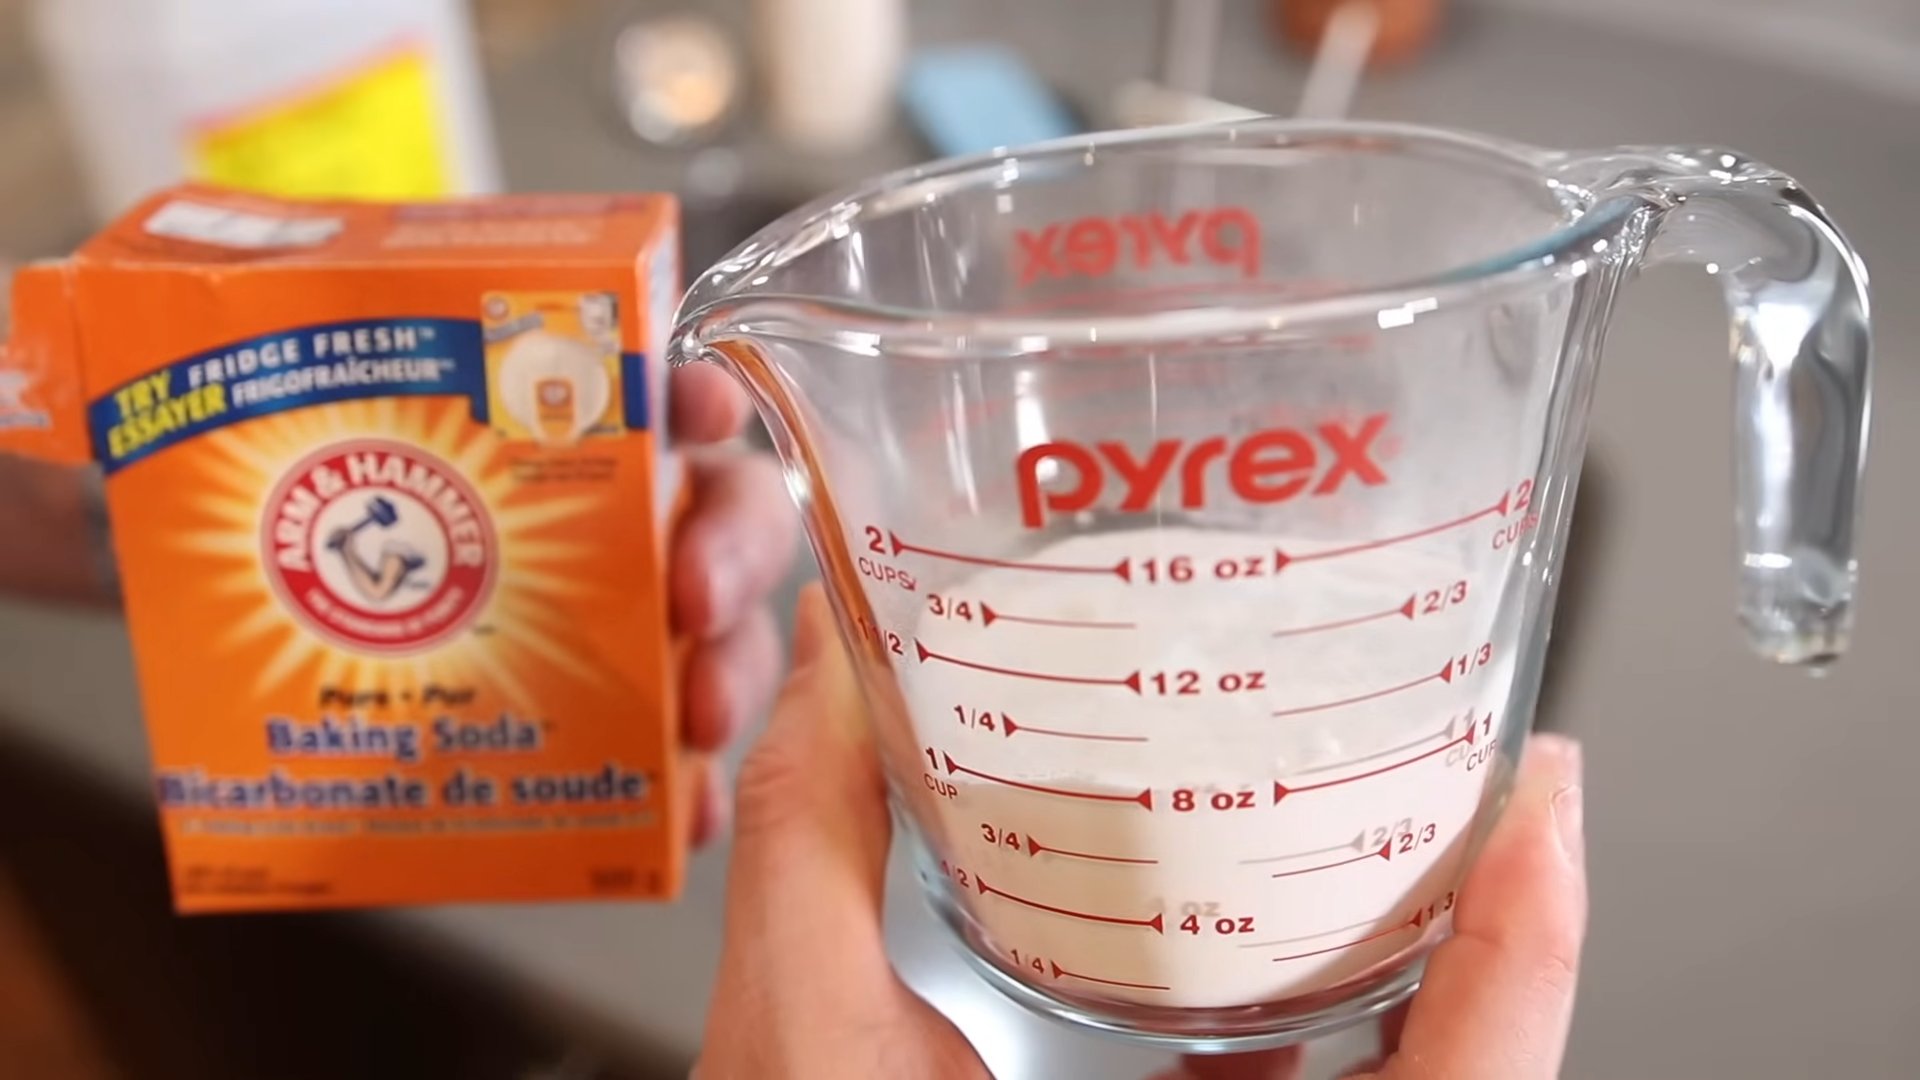
* 1 cup Baking Soda
* 2 cups White Vinegar
* Boiling Water (lots of it!)
* A Plunger (just in case)
* Rubber Gloves (to protect your hands)
* Eye Protection (safety first!)
* A Measuring Cup
* A Kettle or Pot for boiling water
* A Spoon or Spatula (for stirring, if needed)
The Baking Soda and Vinegar Powerhouse: How it Works
The magic behind this DIY drain cleaner lies in the chemical reaction between baking soda (a base) and vinegar (an acid). When they mix, they create carbon dioxide gas. This fizzing action helps to loosen and break down the gunk that’s clogging your drain. The boiling water then helps to flush everything away. It’s a simple, yet effective, solution!
Step-by-Step: Unclogging Your Drain Like a Pro
Alright, let’s get down to business! Follow these steps carefully, and you’ll be saying goodbye to that clogged drain in no time.
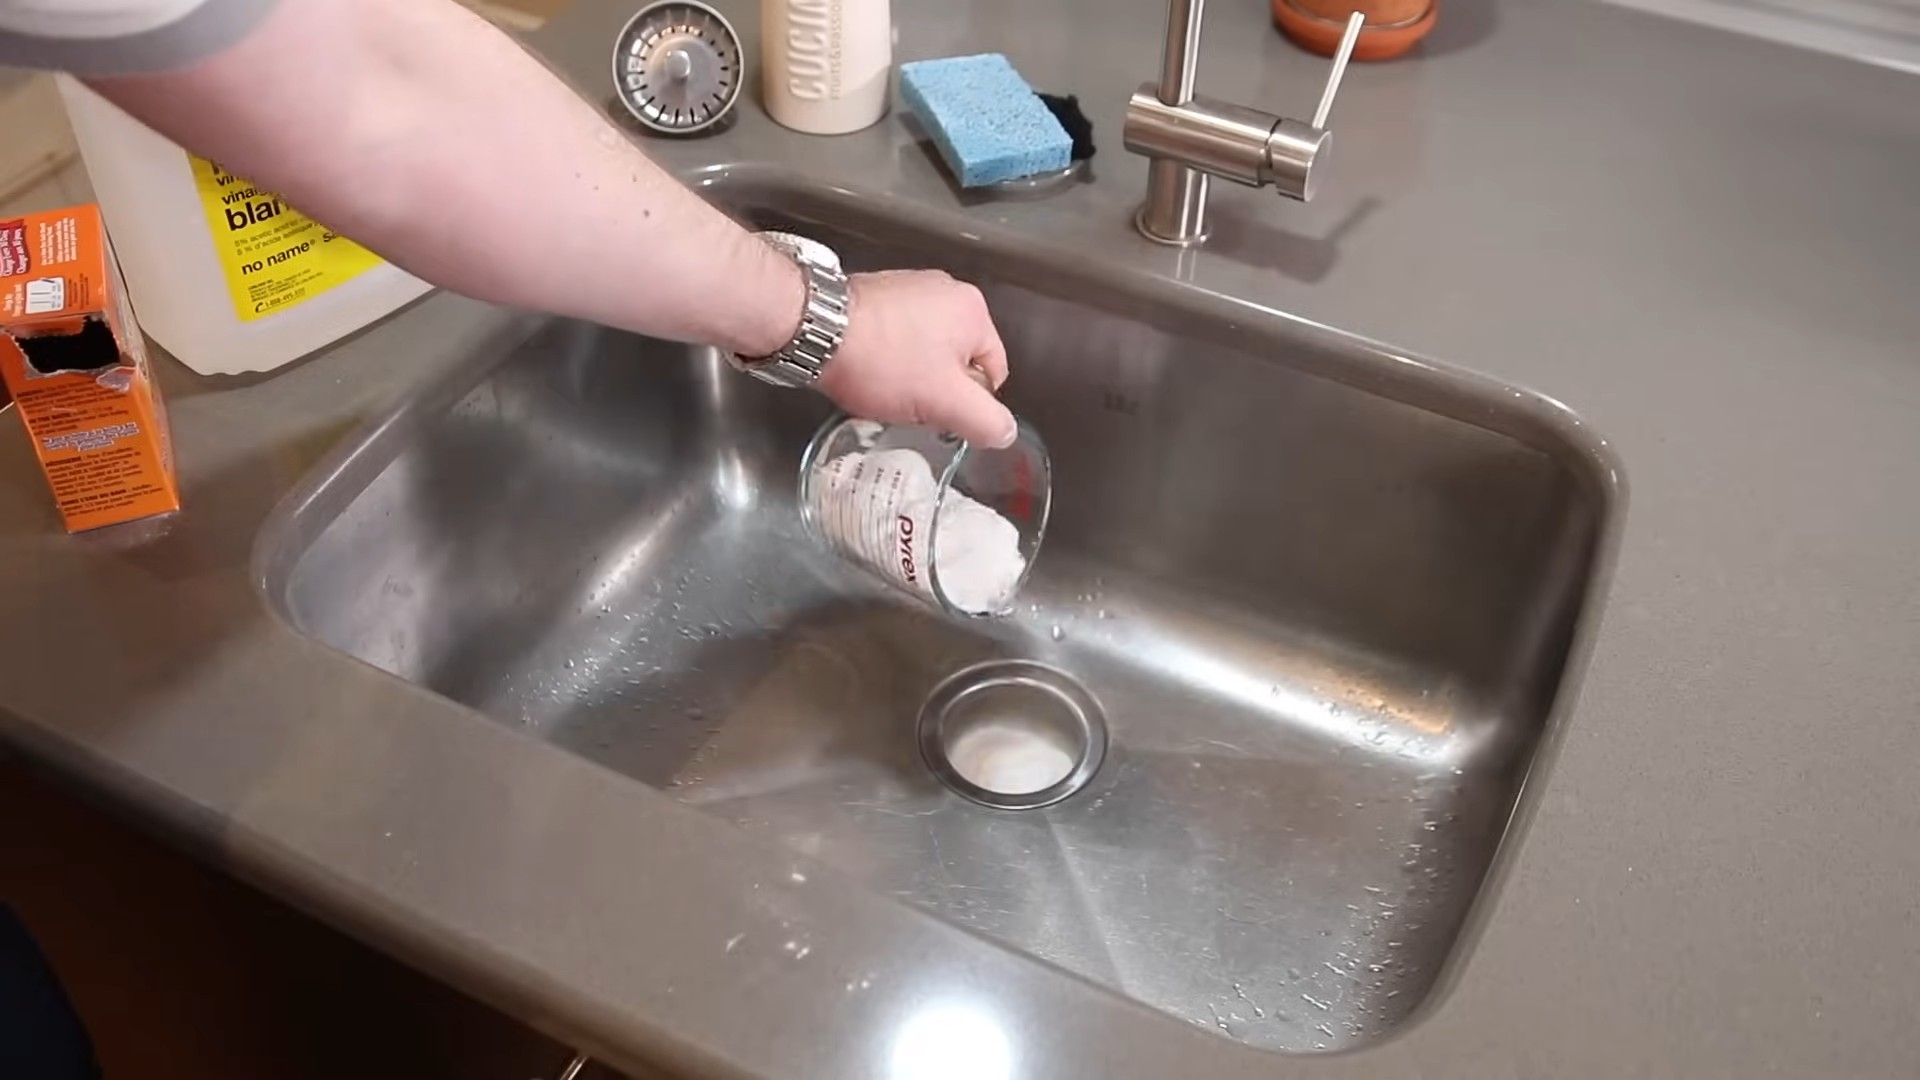
1. Clear the Area: First things first, remove any standing water from the sink or tub. You want the baking soda and vinegar to go directly to the clog, not just sit on top of water. Use a cup or small container to scoop out the water.
2. Pour in the Baking Soda: Carefully pour one cup of baking soda down the drain. Try to get as much of it down the drain as possible. If some sticks to the sides, don’t worry too much.
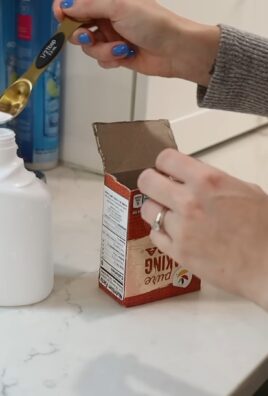
3. The Vinegar Volcano: Now, slowly pour two cups of white vinegar down the drain, right after the baking soda. You’ll immediately see and hear the fizzing action. This is the carbon dioxide doing its thing!
4. Let it Bubble and Brew: Let the baking soda and vinegar mixture work its magic for at least 30 minutes. For really stubborn clogs, you can let it sit for an hour or even overnight. The longer it sits, the more time it has to break down the clog. I usually set a timer so I don’t forget.
5. The Boiling Water Flush: After the waiting period, carefully pour a large pot or kettle of boiling water down the drain. The hot water will help to flush away the loosened debris. Be careful not to splash yourself with the boiling water!
6. Assess the Situation: Turn on the faucet and see if the water drains freely. If it does, congratulations! You’ve successfully unclogged your drain. If the water is still draining slowly, or not at all, move on to the next step.
7. Repeat if Necessary: If the drain is still clogged, repeat steps 2 through 5. Sometimes, it takes a couple of tries to completely clear a stubborn clog.
8. The Plunger Power-Up: If you’ve repeated the baking soda and vinegar treatment a couple of times and the drain is still clogged, it’s time to bring in the big guns: the plunger. Make sure there’s enough water in the sink or tub to cover the cup of the plunger. Create a tight seal around the drain opening with the plunger and plunge vigorously up and down for several minutes.
9. Check Again: After plunging, remove the plunger and check if the water drains freely. If it does, great! If not, you might need to repeat the plunging process or consider other options.
10. Prevention is Key: Once you’ve successfully unclogged your drain, take steps to prevent future clogs. Avoid pouring grease down the drain, and use a drain strainer to catch hair and other debris.
Dealing with Stubborn Clogs: Troubleshooting Tips
Sometimes, even the best DIY methods aren’t enough to tackle a particularly stubborn clog. Here are a few troubleshooting tips to try:
* More Baking Soda: If you suspect the clog is particularly greasy, try using a little more baking soda in the initial step.
* Hotter Water: Make sure the water you’re using is truly boiling. The hotter the water, the better it will dissolve grease and other debris.
* Patience is a Virtue: Don’t rush the process. Give the baking soda and vinegar mixture plenty of time to work its magic.
* Check the P-Trap: The P-trap is the curved pipe under your sink. It’s designed to trap debris and prevent sewer gases from entering your home. Sometimes, the clog is located in the P-trap. You can try removing the P-trap and cleaning it out manually. Be sure to place a bucket underneath to catch any water and debris.
* Consider a Drain Snake: A drain snake (also known as a plumbing snake) is a flexible tool that you can insert into the drain to break up or retrieve clogs. You can find drain snakes at most hardware stores.
Safety First: Important Precautions
While this DIY drain cleaner is generally safer than store-bought chemicals, it’s still important to take precautions:
* Wear Gloves and Eye Protection: Baking soda and vinegar can be irritating to the skin and eyes. Always wear rubber gloves and eye protection when working with them.
* Avoid Mixing with Other Cleaners: Never mix baking soda and vinegar with other drain cleaners, especially those containing bleach. This can create dangerous fumes.
* Ventilate the Area: Make sure the area is well-ventilated when using this DIY drain cleaner.
* Keep Away from Children and Pets: Store baking soda and vinegar out of reach of children and pets.
When to Call a Professional: Knowing Your Limits
If you’ve tried all of these DIY methods and your drain is still clogged, it might be time to call a professional plumber. There could be a more serious problem, such as a collapsed pipe or a blockage deep within the plumbing system. Don’t hesitate to call a plumber if you’re unsure about what to do or if you’re concerned about damaging your pipes. It’s always better to be safe than sorry!
Beyond the Drain: Other Uses for Baking Soda and Vinegar
The dynamic duo of baking soda and vinegar isn’t just for unclogging drains! These versatile ingredients can be used for a variety of cleaning tasks around the house:
* Cleaning the Oven: Make a paste of baking soda and water and spread it inside your oven. Let it sit overnight, then scrub it clean.
* Freshening Carpets: Sprinkle baking soda on your carpets, let it sit for 15 minutes, then vacuum it up.
* Cleaning Grout: Make a paste of baking soda and water and scrub it into the grout with a toothbrush.
* Removing Hard Water Stains: Soak a cloth in vinegar and wipe down hard water stains on faucets and showerheads.
* Deodorizing the Refrigerator: Place an open box of baking soda in your refrigerator to absorb odors.
So, there you have it! A simple, effective, and eco-friendly way to unclog your drains using ingredients you probably already have on hand. Happy unclogging!
Conclusion
So, there you have it! Ditching the harsh chemicals and embracing this simple, effective DIY drain cleaner is a game-changer for your home. Not only will you be saving money and reducing your environmental impact, but you’ll also be protecting your pipes from the corrosive effects of commercial drain cleaners. The beauty of this method lies in its simplicity and the readily available ingredients you likely already have in your pantry.
This isn’t just about unclogging a drain; it’s about adopting a more sustainable and mindful approach to home maintenance. Think about the peace of mind knowing you’re not pouring harmful chemicals down the drain and into our water systems. Think about the satisfaction of solving a common household problem with a natural, homemade solution.
Why is this DIY drain cleaner a must-try? Because it’s effective, affordable, environmentally friendly, and safe for your pipes. It’s a win-win-win-win!
But don’t just take our word for it. We encourage you to experiment and find what works best for your specific needs. Here are a few suggestions and variations to consider:
* Essential Oil Boost: Add a few drops of your favorite essential oil (like tea tree, eucalyptus, or lemon) to the baking soda before pouring it down the drain. This will not only add a pleasant scent but also provide additional antibacterial and antifungal properties.
* Borax Power: For particularly stubborn clogs, you can substitute borax for baking soda. Borax is a natural mineral with stronger cleaning properties. Use the same proportions as the baking soda and vinegar method.
* Preventative Maintenance: Even if your drains are currently clear, using this DIY drain cleaner once a month can help prevent future clogs from forming. It’s a great way to keep your pipes flowing smoothly.
* Hot Water Alternative: If you don’t have boiling water readily available, very hot tap water can also work, although it may not be as effective. Just be sure to let it sit for a longer period of time.
* Salt Addition: Adding 1/2 cup of salt to the baking soda before pouring it down the drain can help to scour the pipes and break down grease.
We’re confident that once you try this DIY drain cleaner, you’ll be amazed by its effectiveness and simplicity. It’s a small change that can make a big difference in your home and the environment.
Now it’s your turn! Give this DIY drain cleaner a try and let us know how it works for you. Share your experiences, variations, and any tips you discover in the comments below. We’re eager to hear your success stories and learn from your experiences. Together, we can create a community of eco-conscious homeowners who are empowered to tackle common household problems with natural, effective solutions. Don’t hesitate – unclog your drains and embrace a greener, cleaner home today!
Frequently Asked Questions (FAQ)
What exactly makes this DIY drain cleaner work?
The magic lies in the chemical reaction between baking soda (a base) and vinegar (an acid). When combined, they create carbon dioxide gas. This fizzing action helps to loosen and break down the gunk and grime that’s clogging your drain. The boiling water then helps to flush everything away. It’s a simple yet powerful combination that effectively tackles many common drain clogs.
Is this DIY drain cleaner safe for all types of pipes?
Generally, yes, this DIY drain cleaner is safe for most types of pipes, including PVC, copper, and older metal pipes. Unlike harsh chemical drain cleaners, it doesn’t contain corrosive ingredients that can damage or weaken your plumbing over time. However, if you have very old or fragile pipes, it’s always a good idea to test a small amount in an inconspicuous area first to ensure there are no adverse reactions. If you are unsure about your pipes, consult a plumber.
How often can I use this DIY drain cleaner?
For preventative maintenance, using this DIY drain cleaner once a month is a great way to keep your drains clear and prevent clogs from forming. If you have a particularly stubborn clog, you can repeat the process several times, waiting at least 30 minutes between each attempt. However, if the clog persists after multiple attempts, it may be necessary to consult a professional plumber.
What if I don’t have vinegar? Can I use something else?
While vinegar is the most commonly used and readily available acid for this DIY drain cleaner, you can try using lemon juice as an alternative. Lemon juice contains citric acid, which will also react with the baking soda to create the fizzing action. However, lemon juice may not be as effective as vinegar for breaking down grease and grime.
The clog is still there after trying this method. What should I do?
If the DIY drain cleaner doesn’t completely clear the clog, there are a few things you can try. First, repeat the process one or two more times, allowing the mixture to sit for a longer period of time (up to an hour) before flushing with boiling water. You can also try using a plunger to help dislodge the clog. If these methods don’t work, you may need to use a drain snake or call a professional plumber to address the issue.
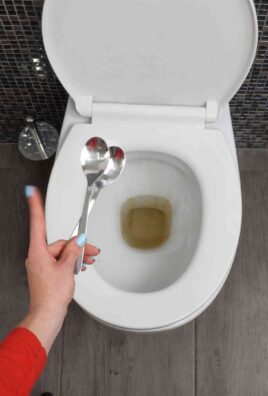
Can I use this DIY drain cleaner in my toilet?
While this DIY drain cleaner can be used in toilets, it may not be as effective as it is in sinks and showers. Toilets often have larger and more complex clogs that may require more aggressive methods. If you choose to use it in your toilet, be sure to use a larger amount of baking soda and vinegar, and allow it to sit for a longer period of time before flushing. If the clog persists, it’s best to use a toilet plunger or call a plumber.
Is there anything I should avoid pouring down my drains to prevent clogs?
Absolutely! There are several things you should avoid pouring down your drains to prevent clogs from forming in the first place. These include:
* Grease and oil: These substances solidify as they cool and can coat the inside of your pipes, leading to clogs.
* Coffee grounds: Coffee grounds don’t dissolve in water and can accumulate in your pipes, causing blockages.
* Hair: Hair is a major culprit when it comes to drain clogs. Use drain screens to catch hair before it goes down the drain.
* Food scraps: Even small food scraps can contribute to clogs over time. Use a sink strainer to catch food particles.
* Chemical drain cleaners: While they may seem like a quick fix, chemical drain cleaners can damage your pipes and are harmful to the environment.
How does this DIY drain cleaner compare to commercial drain cleaners?
Commercial drain cleaners often contain harsh chemicals like sodium hydroxide (lye) or sulfuric acid, which can be very effective at dissolving clogs. However, these chemicals can also be corrosive and damaging to your pipes, especially if used frequently. They are also harmful to the environment and can pose a risk to your health if not handled properly. This DIY drain cleaner, on the other hand, is a natural and non-toxic alternative that is safe for your pipes and the environment. While it may not be as powerful as some commercial drain cleaners, it is often effective for clearing common clogs and is a much safer and more sustainable option.
Can I store the baking soda and vinegar mixture for later use?
No, you should not store the baking soda and vinegar mixture for later use. The chemical reaction between the two ingredients occurs immediately, and the carbon dioxide gas that is produced will dissipate over time, rendering the mixture ineffective. It’s best to mix the baking soda and vinegar right before you’re ready to use it.
What are some other natural ways to prevent drain clogs?
Besides using this DIY drain cleaner regularly, there are several other natural ways to prevent drain clogs:
* Flush drains with hot water regularly: Running hot water down your drains for a few minutes each week can help to flush away grease and other debris before they have a chance to build up.
* Use drain screens: Drain screens are inexpensive and effective at catching hair, food scraps, and other debris before they go down the drain.
* Clean your drain stoppers regularly: Drain stoppers can accumulate hair, soap scum, and other gunk over time. Clean them regularly to prevent clogs from forming.
* Avoid pouring grease down the drain: As mentioned earlier, grease is a major cause of drain clogs. Instead of pouring it down the drain, collect it in a container and dispose of it properly.
By following these tips, you can keep your drains clear and prevent clogs from forming in the first place.

Leave a Comment