

DIY Drain Cleaner: Are you tired of slow-draining sinks and the pungent smell of commercial drain cleaners filling your home? I know I am! There’s something incredibly satisfying about tackling household problems with your own two hands, and when it comes to unclogging drains, you don’t need harsh chemicals or expensive plumbers.
For generations, resourceful homeowners have relied on simple, natural solutions to keep their pipes flowing freely. Think about it – before the age of mass-produced cleaners, people used readily available ingredients like vinegar and baking soda to combat clogs. This tradition of resourcefulness is not only cost-effective but also kinder to our environment.
Let’s face it, clogged drains are a common nuisance. Hair, grease, and soap scum build up over time, leading to frustratingly slow drainage and, eventually, complete blockages. Instead of reaching for a potentially harmful chemical concoction, I’m going to show you how to create your own powerful and effective DIY drain cleaner using ingredients you probably already have in your pantry. This simple trick will save you money, protect your pipes, and keep your home smelling fresh. Ready to ditch the chemicals and embrace a natural solution? Let’s get started!
DIY Drain Cleaner: Banish Clogs Naturally!
Okay, let’s face it, dealing with a clogged drain is never fun. Store-bought drain cleaners can be harsh, expensive, and not always effective. Plus, they’re often packed with chemicals I’d rather not pour down my pipes. That’s why I’m sharing my go-to DIY drain cleaner recipe – it’s simple, uses ingredients you probably already have, and it’s surprisingly powerful!
What You’ll Need:
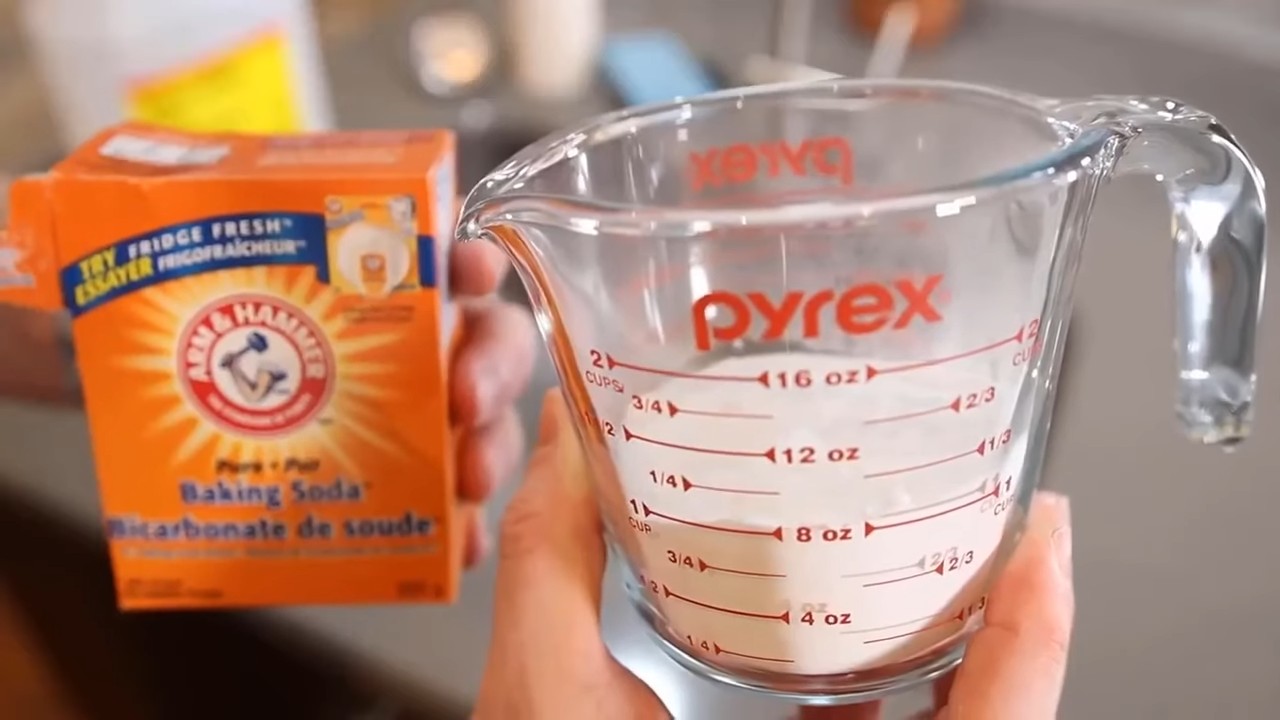
* 1 cup baking soda
* 2 cups white vinegar
* Boiling water
* Optional: A few drops of your favorite essential oil (like lemon or tea tree for a fresh scent!)
* A kettle or pot for boiling water
* A measuring cup
* A spoon or spatula
* Eye protection (safety first!)
* Gloves (optional, but recommended)
Why This Works: The Science Behind the Fizz
The magic here lies in the chemical reaction between baking soda (a base) and vinegar (an acid). When they mix, they create carbon dioxide gas. This fizzing action helps to loosen and break down the gunk that’s causing the clog. The boiling water then helps to flush everything away. It’s a simple but effective combination!
Step-by-Step Instructions: Unclogging Your Drain
Here’s how I tackle a clogged drain using this method:
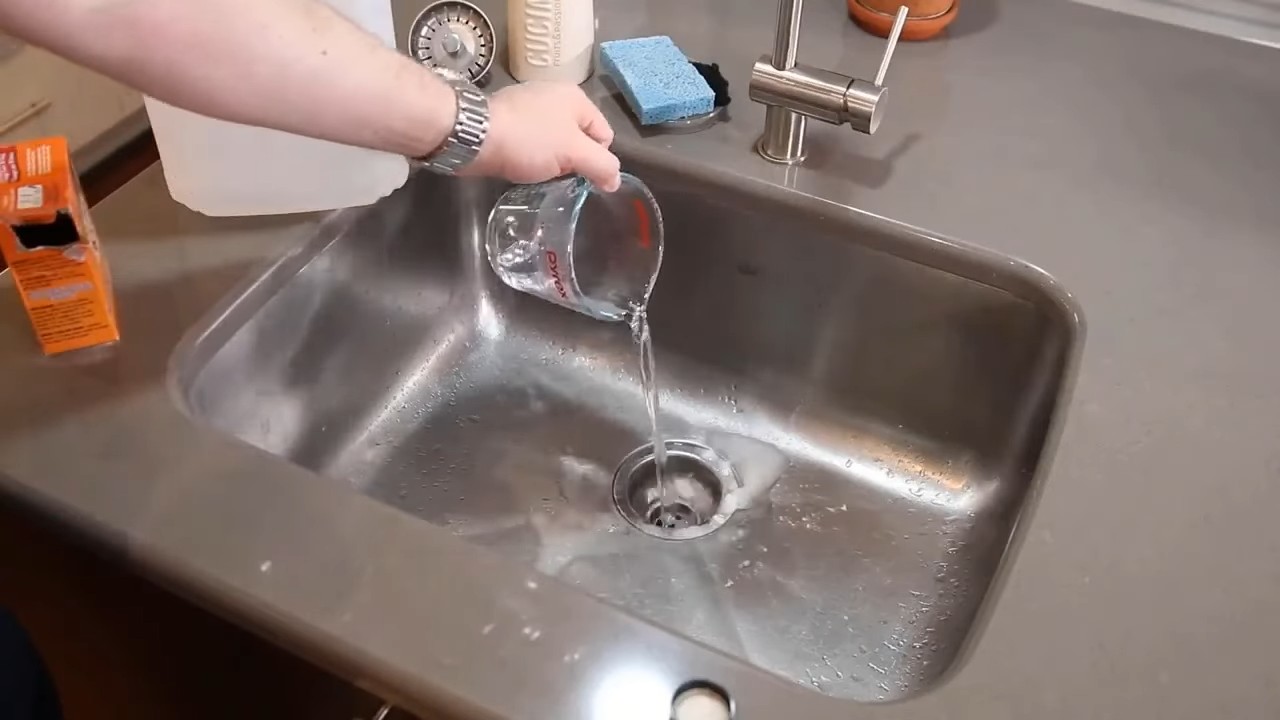
1. Clear the Area: Before you start, remove any standing water from the sink or tub. This will allow the baking soda and vinegar to directly target the clog. I usually use a small cup or container to scoop out the water.
2. Pour in the Baking Soda: Carefully pour one cup of baking soda down the drain. Try to get as much of it down the drain as possible, rather than letting it sit on the surface. I sometimes use a spoon or spatula to help push it down.
3. Add the Vinegar: Now, slowly pour two cups of white vinegar down the drain, right after the baking soda. You’ll immediately hear the fizzing and bubbling – that’s the reaction doing its work!
4. Let it Fizz: Let the mixture sit and fizz for at least 30 minutes. For tougher clogs, I sometimes let it sit for an hour or even overnight. The longer it sits, the more time it has to break down the clog. This is a crucial step, so don’t rush it!
5. Flush with Boiling Water: After the waiting period, carefully pour a kettle or pot of boiling water down the drain. The hot water will help to flush away the loosened debris. Be careful not to splash yourself with the boiling water.
6. Repeat if Necessary: If the drain is still clogged after the first attempt, repeat the process. Sometimes, a particularly stubborn clog requires a second or even third treatment.
7. Optional: Add Essential Oils: If you want to add a fresh scent, you can add a few drops of your favorite essential oil (like lemon or tea tree) after you’ve flushed the drain with boiling water. This isn’t necessary, but it can help to eliminate any lingering odors.
Dealing with Stubborn Clogs: Troubleshooting Tips
Sometimes, the baking soda and vinegar method isn’t enough to clear a really stubborn clog. Here are a few things I try if the first attempt doesn’t work:
* Plunger Power: After flushing with boiling water, try using a plunger to create suction and dislodge the clog. Make sure there’s enough water in the sink or tub to cover the cup of the plunger.
* The Bent Wire Hanger Trick: Straighten a wire coat hanger and bend one end into a small hook. Carefully insert the hooked end into the drain and try to pull out any hair or debris that might be causing the clog. Be gentle to avoid damaging your pipes. This is often my first line of defense against hair clogs!
* Check the P-Trap: The P-trap is the curved pipe under your sink. It’s designed to trap debris and prevent sewer gases from entering your home. Sometimes, the clog is located in the P-trap itself. To clean it, place a bucket under the P-trap to catch any water, then loosen the slip nuts that connect the P-trap to the drain pipes. Carefully remove the P-trap and clean out any debris. Reassemble the P-trap and tighten the slip nuts.
* Enzyme Drain Cleaners: If you’re still having trouble, you might consider using an enzyme drain cleaner. These cleaners use enzymes to break down organic matter, like hair and grease. They’re generally safer than chemical drain cleaners, but they can take longer to work.
Preventing Future Clogs: A Proactive Approach
The best way to deal with clogs is to prevent them from happening in the first place. Here are a few things I do to keep my drains clear:
* Use Drain Screens: Install drain screens in your sinks and tubs to catch hair and other debris before they go down the drain. These are inexpensive and easy to install.
* Avoid Pouring Grease Down the Drain: Grease is a major culprit when it comes to clogged drains. Never pour grease down the drain. Instead, let it cool and solidify, then scrape it into the trash.
* Flush Regularly with Hot Water: Once a week, flush your drains with hot water to help prevent buildup.
* Baking Soda and Vinegar Maintenance: Every month or so, I’ll do a preventative baking soda and vinegar treatment to keep my drains clear.
* Be Mindful of What Goes Down the Drain: Avoid flushing anything down the toilet that shouldn’t be there, such as feminine hygiene products, wipes, and cotton balls.
Safety First! Important Considerations
While this DIY drain cleaner is generally safe, it’s important to take a few precautions:
* Wear Eye Protection: Baking soda and vinegar can irritate your eyes, so it’s a good idea to wear eye protection when working with them.
* Wear Gloves: Gloves are optional, but they can help to protect your skin from irritation.
* Avoid Mixing with Chemical Drain Cleaners: Never mix baking soda and vinegar with chemical drain cleaners. This can create dangerous fumes.
* Ventilation: Make sure the area is well-ventilated when working with baking soda and vinegar.
* Supervise Children and Pets: Keep children and pets away from the area while you’re working.
Why I Prefer This Method Over Store-Bought Cleaners
I’ve tried my fair share of store-bought drain cleaners, and honestly, I’m not a fan. They’re often harsh, corrosive, and can damage your pipes. Plus, they’re expensive! This DIY method is a much gentler and more environmentally friendly alternative. It’s also incredibly affordable, since you probably already have the ingredients on hand.
Cost-Effective and Eco-Friendly
This DIY drain cleaner is not only effective but also a budget-friendly and environmentally conscious choice. By using common household ingredients, you can avoid the harsh chemicals found in many commercial drain cleaners, reducing your impact on the environment and saving money in the process.
Gentle on Pipes
Unlike some commercial drain cleaners that can corrode pipes over time, the baking soda and vinegar method is gentle and safe for most plumbing systems. This makes it a great option for regular maintenance and preventing clogs without risking damage to your pipes.
Easy to Customize
You can easily customize this DIY drain cleaner to suit your needs and preferences. Adding essential oils not only provides a pleasant scent but can also offer additional benefits, such as antibacterial properties. Experiment with different oils to find your favorite combination.
Final Thoughts: A Simple Solution for a Common Problem
Clogged drains are a common household problem, but they don’t have to be a major headache. This DIY drain cleaner is a simple, effective, and affordable solution that you can easily whip up with ingredients you probably already have in your pantry. So, the next time you’re faced with a clogged drain, give this method a try – you might be surprised at how well it works! And remember, prevention is key, so follow the tips above to keep your drains clear and flowing smoothly. Happy unclogging!
Conclusion
So, there you have it! Ditching the harsh chemicals and embracing this simple, effective DIY drain cleaner is more than just a trend; it’s a smart choice for your home, your wallet, and the environment. We’ve walked you through the process, highlighting just how easy it is to whip up a powerful drain-clearing solution using ingredients you likely already have in your pantry.
But why is this a must-try? Beyond the cost savings and eco-friendliness, this DIY approach gives you control. You know exactly what’s going down your drain, avoiding the corrosive chemicals that can damage pipes over time. Plus, the satisfaction of fixing a problem yourself is undeniably rewarding.
Think of this as your base recipe. Feel free to experiment! For a particularly stubborn clog, you can increase the amount of baking soda and vinegar. Some people swear by adding a cup of boiling water after the initial fizzing, while others prefer to let the mixture sit overnight for maximum impact. If you’re dealing with a greasy clog, a squirt of dish soap can help break things down.
And don’t forget the preventative aspect! Regularly flushing your drains with this DIY solution can help keep clogs at bay, saving you from future headaches and plumbing bills. Make it a part of your monthly cleaning routine, and you’ll be amazed at the difference it makes.
We truly believe this DIY drain cleaner will become your go-to solution. It’s simple, effective, and empowering. So, ditch the store-bought chemicals and give it a try! We’re confident you’ll be impressed with the results.
Now, we want to hear from you! Did you try this DIY drain cleaner? What were your results? Did you experiment with any variations? Share your experiences and tips in the comments below. Let’s build a community of DIY drain-cleaning experts! Your feedback will not only help others but also inspire us to continue sharing valuable and effective DIY solutions. Let’s keep our drains clear and our planet a little greener, one baking soda and vinegar fizz at a time!
Frequently Asked Questions (FAQ)
What exactly makes this DIY drain cleaner effective?
The magic lies in the chemical reaction between baking soda (a base) and vinegar (an acid). When combined, they create carbon dioxide gas. This fizzing action helps to loosen and dislodge the gunk and grime that’s causing the clog. The boiling water then helps to flush everything away. It’s a simple yet surprisingly powerful combination.
Is this DIY drain cleaner safe for all types of pipes?
Generally, yes, this DIY drain cleaner is safe for most types of pipes, including PVC, copper, and older metal pipes. Unlike harsh chemical drain cleaners, it’s less likely to corrode or damage your plumbing system. However, if you have very old or fragile pipes, it’s always a good idea to test a small amount in an inconspicuous area first. If you are unsure about your pipes, consult a plumber.
How often can I use this DIY drain cleaner?
For preventative maintenance, you can use this DIY drain cleaner once a month. If you have a slow-draining sink, you can use it more frequently, perhaps once a week, until the drain clears. However, avoid using it excessively, as even natural ingredients can have a cumulative effect over time.
What if the DIY drain cleaner doesn’t work the first time?
Don’t give up! Sometimes, a particularly stubborn clog requires a bit more effort. You can repeat the process, using a larger amount of baking soda and vinegar. You can also let the mixture sit overnight before flushing with boiling water. If that still doesn’t work, you might need to resort to a drain snake or call a professional plumber. This DIY method is best for minor to moderate clogs.
Can I use this DIY drain cleaner in my toilet?
While you can technically use this DIY drain cleaner in your toilet, it’s generally not recommended. Toilets often have more complex plumbing systems, and the baking soda and vinegar mixture might not be as effective in clearing clogs in the toilet bowl or trap. A plunger is usually the best first step for a clogged toilet.
What kind of vinegar should I use?
White vinegar is the most commonly used and recommended type of vinegar for this DIY drain cleaner. It’s inexpensive, readily available, and effective at reacting with baking soda. You can use other types of vinegar, such as apple cider vinegar, but white vinegar is generally the most effective and economical choice.
Is there anything I should avoid pouring down the drain?
Yes! To prevent clogs in the first place, avoid pouring grease, oil, coffee grounds, hair, and food scraps down the drain. These materials can accumulate over time and create stubborn blockages. Use drain strainers to catch hair and food particles, and dispose of grease and oil properly.
Can I add essential oils to this DIY drain cleaner?
While adding essential oils won’t necessarily enhance the cleaning power of the DIY drain cleaner, they can add a pleasant scent. Tea tree oil and eucalyptus oil are popular choices for their antibacterial properties. However, use essential oils sparingly, as some can be harmful to aquatic life if they enter the water system in large quantities. A few drops are all you need.
What if I don’t have baking soda? Can I use something else?
Baking soda is a key ingredient in this DIY drain cleaner because of its alkaline properties and its ability to react with vinegar. While there aren’t any direct substitutes that will produce the same fizzing action, you could try using washing soda (sodium carbonate) in a pinch. However, washing soda is more caustic than baking soda, so use it with caution and wear gloves.
How do I prevent future drain clogs?
Prevention is key! Here are a few tips to help prevent future drain clogs:
* Use drain strainers in all your sinks and showers.
* Flush your drains with hot water regularly.
* Avoid pouring grease, oil, and coffee grounds down the drain.
* Periodically use this DIY drain cleaner as a preventative measure.
* Consider installing a lint trap on your washing machine drain.
Is this DIY drain cleaner safe for septic systems?
Yes, this DIY drain cleaner is generally considered safe for septic systems. The ingredients are natural and biodegradable, and they won’t harm the beneficial bacteria that are essential for a healthy septic system. However, as with any drain cleaner, use it in moderation.
What if I have a garbage disposal? Can I use this DIY drain cleaner?
Yes, you can use this DIY drain cleaner in a garbage disposal. In fact, it can help to freshen the disposal and break down any lingering food particles. Just be sure to run the disposal with plenty of water after using the DIY drain cleaner.
Can I store the mixed DIY drain cleaner for later use?
No, it’s best to use the DIY drain cleaner immediately after mixing the baking soda and vinegar. The fizzing action is what makes it effective, and that action diminishes over time. If you try to store the mixture, it will lose its potency.


Leave a Comment