

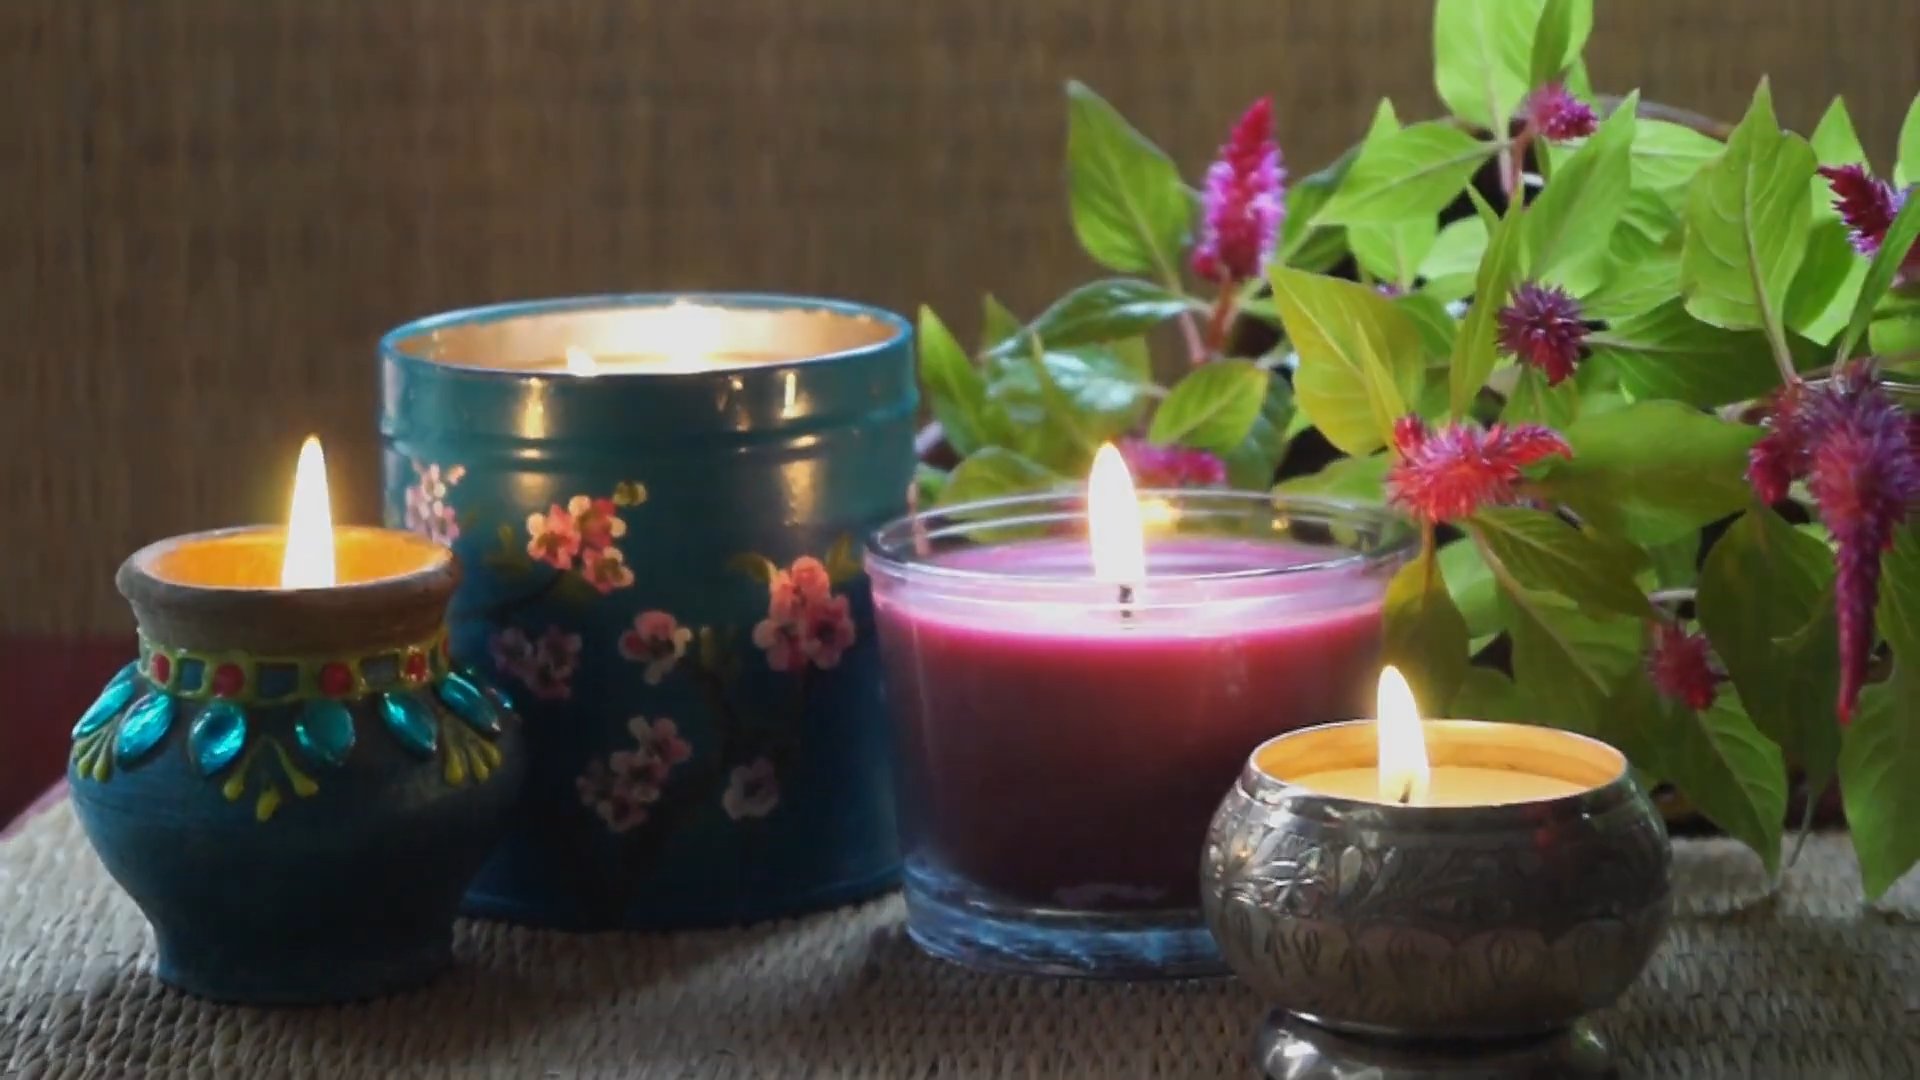
DIY Candle Making for Beginners – ever dreamt of filling your home with the warm glow and comforting scents of your own handcrafted candles? I know I have! There’s something incredibly satisfying about creating something beautiful and functional with your own two hands, and candle making is surprisingly accessible, even for complete newbies.
Candles have a rich history, dating back thousands of years. From ancient Egyptians using rushlights dipped in tallow to the sophisticated beeswax candles of the Middle Ages, they’ve been a source of light, warmth, and even spiritual significance across cultures. Now, we can tap into that history and create our own modern versions!
But why bother with DIY candle making for beginners when you can just buy them at the store? Well, for starters, it’s a fantastic way to personalize your space. You get to choose the scents, colors, and even the containers, ensuring your candles perfectly match your style. Plus, it’s a budget-friendly way to enjoy luxurious candles without breaking the bank. And let’s be honest, who doesn’t love the feeling of accomplishment that comes with a successful DIY project? So, grab your apron, and let’s dive into the wonderful world of candle making!
DIY Candle Making for Beginners: Light Up Your Life!
Hey there, fellow crafters! Ever wanted to fill your home with the warm glow and delightful scent of your own handmade candles? Well, you’ve come to the right place! Candle making is surprisingly easy, incredibly rewarding, and a fantastic way to personalize your living space. Plus, it makes for amazing gifts! I’m going to walk you through the entire process, step-by-step, so you can create beautiful candles that you’ll be proud of. Let’s get started!
Gathering Your Supplies: The Candle Maker’s Toolkit
Before we dive into the melting and pouring, let’s make sure we have everything we need. This is crucial for a smooth and enjoyable candle-making experience. Trust me, you don’t want to be scrambling for a thermometer halfway through!
* **Wax:** This is the heart of your candle! For beginners, I highly recommend soy wax. It’s natural, burns cleanly, and holds fragrance well. Paraffin wax is another option, but it’s not as eco-friendly. Beeswax is a natural option too, but it can be a bit trickier to work with initially.
* **Wicks:** Choosing the right wick is essential for a proper burn. The size of the wick depends on the diameter of your container. Too small, and your candle will tunnel (burn down the center, leaving wax on the sides). Too large, and you’ll get a huge flame and excessive smoke. Most wax suppliers have wick guides based on container size. Pre-tabbed wicks are super convenient!
* **Fragrance Oils:** This is where you get to personalize your candles! Choose scents that you love. Candle-specific fragrance oils are designed to withstand the heat of the wax. Essential oils can also be used, but they might not be as strong or long-lasting.
* **Containers:** Get creative! You can use mason jars, teacups, tins, or any heat-safe container. Just make sure it’s clean and dry.
* **Double Boiler or Heat-Safe Bowl and Saucepan:** We’ll use this to melt the wax safely. A double boiler is ideal, but a heat-safe bowl set over a saucepan of simmering water works just as well.
* **Thermometer:** A candy thermometer or digital thermometer is essential for monitoring the wax temperature.
* **Pouring Pot:** A pouring pot with a spout makes it much easier to pour the wax into your containers without making a mess.
* **Wick Stickers or Glue Dots:** These will help secure the wicks to the bottom of your containers.
* **Clothes Pins or Wick Holders:** These will keep the wicks centered while the wax cools.
* **Scale:** For measuring wax and fragrance oil accurately.
* **Stirring Utensil:** A heat-resistant spatula or spoon.
* **Paper Towels:** For easy cleanup!
* **Optional: Dye Chips or Liquid Dye:** If you want to add color to your candles.
Step-by-Step Candle Making Instructions
Okay, now for the fun part! Follow these steps carefully, and you’ll be enjoying your homemade candles in no time.
1. **Prepare Your Containers:** Clean your containers thoroughly with soap and water, and dry them completely. This will ensure that the wax adheres properly.
2. **Attach the Wicks:** Center a wick in each container and secure it to the bottom using a wick sticker or a small dab of hot glue. Press firmly to ensure it’s securely attached. This is a crucial step, as a crooked wick can lead to an uneven burn.
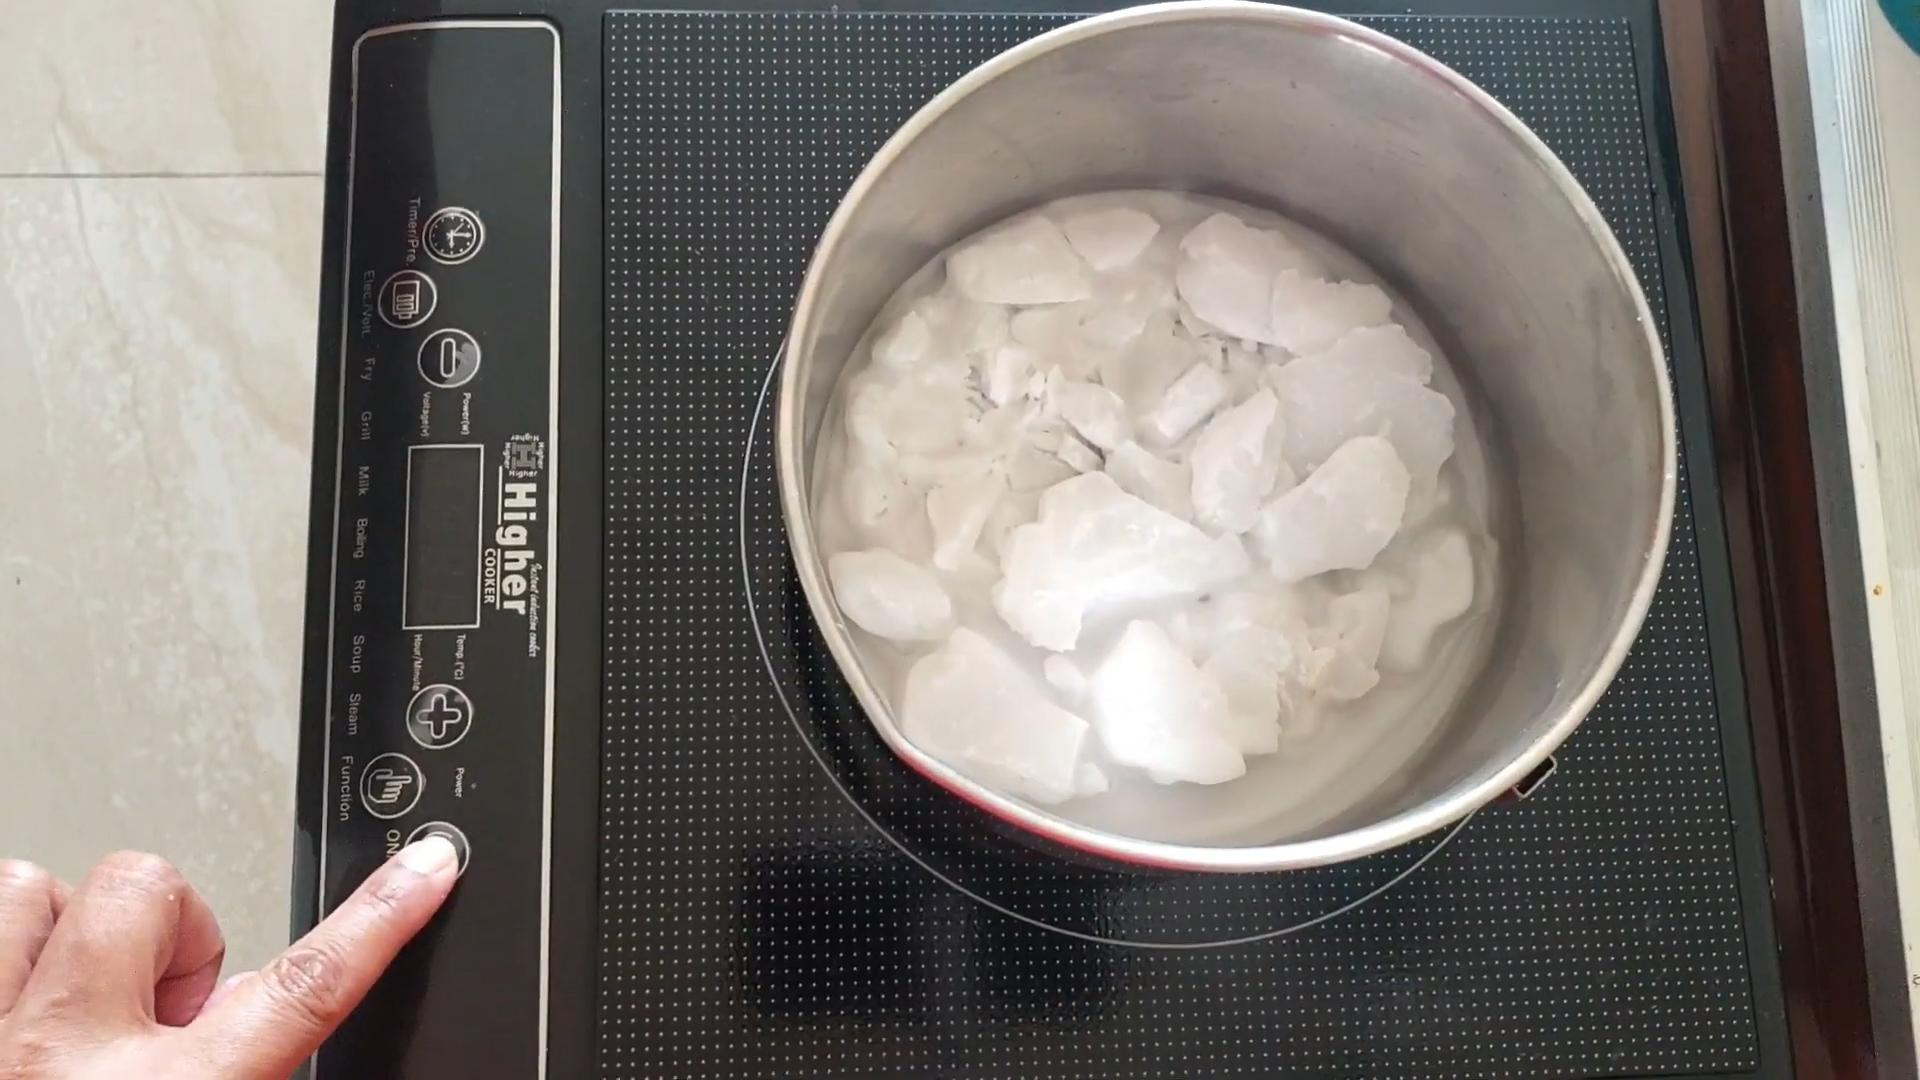
3. **Melt the Wax:** Fill your saucepan with a few inches of water and bring it to a simmer. Place your heat-safe bowl or double boiler on top. Add the wax to the bowl and let it melt slowly, stirring occasionally. Use your thermometer to monitor the temperature. For soy wax, you want to heat it to around 180-185°F (82-85°C). Avoid overheating the wax, as this can affect its scent throw and burning properties.
4. **Add Fragrance Oil:** Once the wax is fully melted and at the correct temperature, remove it from the heat. Let it cool slightly, to around 170-175°F (77-79°C), before adding your fragrance oil. This prevents the fragrance from burning off. The general rule of thumb is to use about 6-10% fragrance oil by weight. So, for every pound of wax, you’d add about 1-1.6 ounces of fragrance oil. Use your scale to measure the fragrance oil accurately.
5. **Stir Thoroughly:** Gently stir the fragrance oil into the wax for about two minutes to ensure it’s fully incorporated. Don’t stir too vigorously, as this can create air bubbles.
6. **Add Dye (Optional):** If you’re using dye, add it now and stir until it’s completely dissolved. Remember, a little dye goes a long way! Start with a small amount and add more until you achieve your desired color.
7. **Pour the Wax:** Carefully pour the wax into your prepared containers, leaving about half an inch of space at the top. Try to pour slowly and steadily to avoid creating air bubbles.
8. **Center the Wicks:** Use clothespins or wick holders to keep the wicks centered while the wax cools. This is important for an even burn.
9. **Let the Candles Cool:** Allow the candles to cool completely and harden undisturbed. This can take several hours, or even overnight. Avoid moving the candles while they’re cooling, as this can cause cracks or sinkholes.
10. **Second Pour (Optional):** Sometimes, as the wax cools, it can shrink and create a sinkhole around the wick. If this happens, you can do a second pour. Simply reheat the remaining wax (if any) or melt a small amount of fresh wax, add a little fragrance oil (if needed), and pour it into the sinkhole to fill it in.
11. **Trim the Wicks:** Once the candles are completely cool and hardened, trim the wicks to about ¼ inch. This will help prevent smoking and ensure a clean burn.
12. **Cure Your Candles (Optional but Recommended):** This is a crucial step for maximizing the scent throw of your candles. Let your candles sit for at least a week before burning them. This allows the fragrance oil to fully bind with the wax, resulting in a stronger and more consistent scent.
Troubleshooting Common Candle Making Problems
Even with the best instructions, sometimes things don’t go exactly as planned. Here are some common problems and how to fix them:
* **Tunneling:** This happens when the candle burns down the center, leaving wax on the sides. This is usually caused by using a wick that’s too small for the container. To fix it, try wrapping the candle in foil (leaving the top open) and burning it for a few hours. This will help melt the wax on the sides. In the future, use a larger wick.
* **Sinkholes:** These are depressions that form around the wick as the wax cools. You can fix them by doing a second pour, as described above. To prevent them, try pouring the wax at a slightly cooler temperature.
* **Wet Spots:** These are dark, oily-looking spots on the surface of the candle. They’re caused by the wax contracting as it cools and separating from the container. They don’t affect the candle’s performance, but if you find them unsightly, you can try warming the container slightly before pouring the wax.
* **Frosting:** This is a white, crystalline coating that can form on the surface of soy wax candles. It’s a natural characteristic of soy wax and doesn’t affect the candle’s performance. Some people find it aesthetically pleasing, while others don’t. To minimize frosting, try pouring the wax at a cooler temperature and avoiding rapid temperature changes.
* **Weak Scent Throw:** This can be caused by several factors, including using too little fragrance oil, overheating the wax, or not curing the candles properly. Make sure you’re using the correct amount of fragrance oil (6-10% by weight), avoiding overheating the wax, and allowing the candles to cure for at least a week.
Safety First! Important Candle Making Tips
Candle making involves working with hot wax, so it’s important to take safety precautions.
* **Never leave melting wax unattended.**
* **Use a thermometer to monitor the wax temperature.**
* **Work in a well-ventilated area.**
* **Keep a fire extinguisher nearby.**
* **Wear safety glasses to protect your eyes.**
* **Keep children and pets away from the work area.**
* **Never pour wax down the drain.** It will solidify and clog your pipes.
Experiment and Have Fun!
Now that you know the basics of candle making, it’s time to experiment and have fun! Try different waxes, fragrances, dyes, and containers to create your own unique candles. Don’t be afraid to get creative and personalize your creations. Happy candle making!
Conclusion
So, there you have it! Embarking on the journey of DIY candle making for beginners is not only surprisingly simple, but also incredibly rewarding. Forget those mass-produced, generic candles from the store. With just a few readily available supplies and a dash of creativity, you can craft personalized candles that perfectly reflect your style and scent preferences. This isn’t just about saving money (although that’s a definite perk!); it’s about creating something beautiful and functional with your own two hands.
Why is this DIY trick a must-try? Because it empowers you to control every aspect of your candle. You choose the wax, ensuring it’s natural and sustainable if you prefer. You select the fragrance, creating custom blends that evoke specific moods or memories. You even decide on the container, transforming ordinary jars into charming decorative pieces. The possibilities are truly endless.
Consider these exciting variations to further personalize your candle creations:
* Herbal Infusions: Add dried herbs like lavender, rosemary, or chamomile to your melted wax for a subtle, natural fragrance and visual appeal. Just be sure to use dried herbs to avoid mold growth.
* Color Play: Experiment with different candle dyes to create vibrant, colorful candles that match your décor. Start with small amounts of dye and gradually add more until you achieve your desired shade.
* Layered Scents: Create candles with distinct scent layers by pouring different wax mixtures with varying fragrances at different stages. Imagine a candle that starts with a refreshing citrus scent and transitions to a warm vanilla base.
* Embeds and Decorations: Get creative with embeds! Small crystals, dried flowers, or even coffee beans can be carefully placed in the wax as it cools to add a unique touch.
* Soy Wax Melts: Use the same techniques to create wax melts for your favorite warmer. These are great for smaller spaces or for sampling different scents before committing to a full candle.
Don’t be intimidated by the process. Even if your first attempt isn’t perfect, you’ll learn something valuable. Candle making is a forgiving craft, and with a little practice, you’ll be creating stunning candles that rival anything you can buy in stores.
We wholeheartedly encourage you to give this DIY candle making for beginners guide a try. Gather your supplies, set aside some time, and let your creativity flow. The satisfaction of lighting a candle you made yourself is truly unmatched.
And most importantly, we want to hear about your experience! Share your photos, tips, and any variations you’ve tried in the comments below. Let’s build a community of candle-making enthusiasts and inspire each other with our creations. Happy crafting!
Frequently Asked Questions (FAQ)
What type of wax is best for beginner candle makers?
Soy wax is generally considered the best option for beginners. It’s natural, burns cleanly, and is relatively easy to work with. Paraffin wax is another option, but it’s a petroleum byproduct and doesn’t burn as cleanly as soy wax. Beeswax is a natural option as well, but it has a higher melting point and can be more challenging to work with for beginners. Coconut wax is also a good option, known for its excellent scent throw. Ultimately, the best wax depends on your personal preferences and priorities.
What kind of wicks should I use?
The type of wick you need depends on the diameter of your candle container and the type of wax you’re using. Wick manufacturers typically provide charts that recommend wick sizes based on these factors. As a general rule, thinner wicks are suitable for smaller diameter candles, while thicker wicks are needed for larger diameter candles to ensure a proper melt pool. Cotton wicks are a popular choice, but you can also find wicks made from paper or wood. Experimenting with different wick sizes is often necessary to find the perfect fit for your candle.
How much fragrance oil should I add to my candles?
A common guideline is to use 6-10% fragrance oil by weight. This means that for every pound of wax, you would add approximately 0.96 to 1.6 ounces of fragrance oil. However, the optimal amount can vary depending on the specific fragrance oil and the type of wax you’re using. Some fragrance oils are stronger than others, and some waxes can hold more fragrance oil than others. It’s always best to consult the fragrance oil manufacturer’s recommendations and start with a lower percentage, gradually increasing it until you achieve your desired scent throw.
What temperature should I melt the wax to?
The ideal melting temperature depends on the type of wax you’re using. Soy wax typically melts between 170-185°F (77-85°C), while paraffin wax melts between 120-140°F (49-60°C). Beeswax has a higher melting point, around 140-150°F (60-66°C). It’s crucial to use a thermometer to monitor the wax temperature and avoid overheating it, as this can damage the wax and affect the candle’s performance. Always follow the manufacturer’s recommendations for the specific wax you’re using.
How long should I let the candles cure before burning them?
Allowing your candles to cure properly is essential for optimal scent throw and burn performance. A general recommendation is to let soy wax candles cure for at least 1-2 weeks before burning them. This allows the fragrance oil to fully bind with the wax, resulting in a stronger and more consistent scent. Paraffin wax candles may require a shorter curing time, around 3-5 days. While it might be tempting to burn your candles immediately, patience is key to achieving the best results.
What are some common candle-making mistakes to avoid?
Several common mistakes can affect the quality of your homemade candles. These include:
* Overheating the wax: This can cause the wax to discolor, burn, or release harmful fumes.
* Adding fragrance oil at the wrong temperature: Adding fragrance oil when the wax is too hot can cause it to evaporate, resulting in a weak scent throw.
* Using the wrong wick size: This can lead to tunneling, smoking, or a weak flame.
* Not centering the wick properly: An off-center wick can cause uneven burning and wasted wax.
* Pouring the wax too quickly: This can create air bubbles in the candle.
* Not allowing the candles to cure properly: This can result in a weak scent throw and poor burn performance.
By being aware of these common mistakes, you can avoid them and create high-quality candles.
How do I clean up spilled wax?
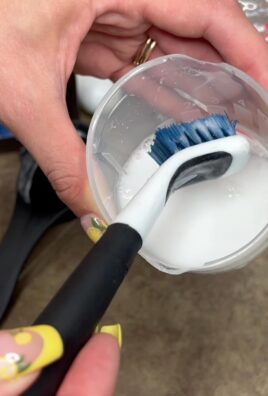
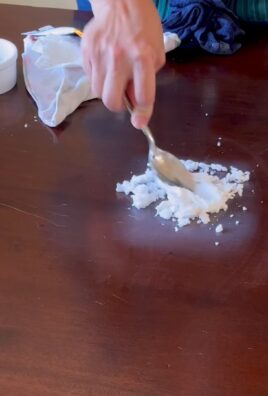
Cleaning up spilled wax can be tricky, but it’s manageable with the right approach. First, let the wax cool and harden completely. Once hardened, you can try gently scraping it off the surface with a plastic scraper or spatula. If the wax is stuck to fabric, you can try placing a piece of paper towel or brown paper bag over the wax and ironing it on low heat. The heat will melt the wax, which will then be absorbed by the paper. Repeat this process until all the wax is removed. For stubborn wax residue, you can try using a solvent like rubbing alcohol or mineral spirits, but be sure to test it in an inconspicuous area first to ensure it doesn’t damage the surface.

Leave a Comment