

Deep Clean Your Kitchen: Is your kitchen feeling less like a culinary haven and more like a chaotic battleground? I get it! Between splattered sauces, lingering odors, and the constant stream of crumbs, keeping this high-traffic area sparkling can feel like a never-ending chore. But fear not, fellow home cooks! This isn’t just another cleaning guide; it’s your secret weapon to reclaiming your kitchen and transforming it into a space you actually enjoy spending time in.
For generations, a clean kitchen has been synonymous with a healthy home. In many cultures, the kitchen is considered the heart of the house, a place where families gather, meals are shared, and memories are made. A deep clean isn’t just about aesthetics; it’s about creating a safe and hygienic environment for preparing food and nourishing your loved ones. Think of it as a ritual, a way to honor the space that nourishes you.
Let’s be honest, life is busy! Who has time for an all-day scrubbing marathon? That’s why I’m sharing my favorite DIY tricks and hacks to deep clean your kitchen efficiently and effectively. From tackling stubborn grease stains to banishing hidden grime, these simple solutions will save you time, money, and a whole lot of elbow grease. Ready to say goodbye to kitchen chaos and hello to a sparkling, inviting space? Let’s dive in!
Deep Clean Your Kitchen: A DIY Guide to Sparkling Surfaces
Okay, let’s face it, the kitchen is the heart of the home, but it’s also a magnet for grime, spills, and, let’s be honest, forgotten leftovers. A quick wipe-down here and there just doesn’t cut it sometimes. That’s where a deep clean comes in! I’m going to walk you through my tried-and-true method for getting your kitchen sparkling from top to bottom. Get ready to roll up your sleeves – it’s time to transform your kitchen!
What You’ll Need: Your Arsenal of Cleaning Supplies
Before we dive in, let’s gather our supplies. Having everything ready will make the process so much smoother. Here’s my go-to list:
* Microfiber cloths (lots of them!)
* Sponges (both abrasive and non-abrasive)
* Dish soap
* Baking soda
* White vinegar
* All-purpose cleaner (I prefer a natural one)
* Glass cleaner
* Oven cleaner (choose one that suits your oven type)
* Degreaser
* Toothbrush (an old one, of course!)
* Scrub brush
* Rubber gloves (protect those hands!)
* Trash bags
* Vacuum cleaner with attachments
* Mop and bucket
* Cleaning caddy (to carry everything around)
* Optional: Lemon essential oil (for a fresh scent!)
Phase 1: Tackling the Appliances
Appliances are often the biggest culprits when it comes to kitchen grime. Let’s start with these heavy hitters.
1. The Oven: From Grimy to Gleaming
This is probably the most dreaded task, but trust me, it’s worth it!
1. Safety First: Unplug your oven. This is crucial!
2. Remove the Racks: Take out all the oven racks, broiler pan, and any other removable parts. Soak them in hot, soapy water in your sink or bathtub. If they’re really caked with grime, sprinkle baking soda on them and let them soak for a few hours or even overnight.
3. Apply Oven Cleaner: Follow the instructions on your oven cleaner. Some require you to wear gloves and a mask, so be sure to read the label carefully. I usually spray the entire interior of the oven, avoiding the heating elements.
4. Let it Sit: Allow the oven cleaner to sit for the recommended time (usually a few hours or overnight). This is where patience comes in!
5. Scrub and Wipe: After the waiting period, put on your gloves and use a damp sponge or cloth to wipe away the oven cleaner and loosened grime. You might need to scrub a bit, especially in stubborn areas. Rinse your sponge frequently.
6. Baking Soda Paste (for stubborn spots): For any remaining stubborn spots, make a paste of baking soda and water. Apply it to the spots, let it sit for a few minutes, and then scrub.
7. Rinse Thoroughly: Rinse the oven interior thoroughly with clean water to remove any residue from the oven cleaner or baking soda paste.
8. Clean the Racks: Scrub the soaked oven racks with a scrub brush to remove any remaining grime. Rinse them thoroughly and let them dry completely before putting them back in the oven.
9. Final Wipe Down: Give the oven interior one last wipe down with a clean, damp cloth.
10. Reassemble: Replace the racks and other removable parts.
2. The Refrigerator: Clearing Out the Cold Chaos
A clean fridge is a happy fridge (and a healthier one!).
1. Unplug and Empty: Unplug your refrigerator and remove all the food. This is a great opportunity to toss out expired items and leftovers that have seen better days.
2. Remove Shelves and Drawers: Take out all the removable shelves, drawers, and bins. Wash them in hot, soapy water. For stubborn stains, use a baking soda paste.
3. Wipe Down the Interior: Use a solution of warm water and dish soap or an all-purpose cleaner to wipe down the interior walls, ceiling, and floor of the refrigerator. Pay attention to spills and sticky spots.
4. Clean the Door Seals: Don’t forget the door seals! These can accumulate dirt and mildew. Use a damp cloth or toothbrush to clean them thoroughly.
5. Baking Soda Deodorizer: Place an open box of baking soda in the refrigerator to absorb odors.
6. Clean the Exterior: Wipe down the exterior of the refrigerator with a damp cloth and all-purpose cleaner. Pay attention to the handles, which can get grimy.
7. Dry and Reassemble: Dry all the shelves, drawers, and bins thoroughly before putting them back in the refrigerator.
8. Restock: Put the food back in the refrigerator, organizing it as you go. Consider using clear containers to keep things organized and prevent spills.
9. Plug it Back In: Plug the refrigerator back in.
3. The Dishwasher: Maintaining the Cleaning Machine
It might seem counterintuitive, but your dishwasher needs cleaning too!
1. Empty the Dishwasher: Make sure the dishwasher is completely empty.
2. Clean the Filter: Locate the filter (usually at the bottom of the dishwasher) and remove it. Rinse it thoroughly under running water to remove any food particles or debris.
3. Vinegar Rinse: Place a dishwasher-safe cup filled with white vinegar on the top rack of the dishwasher.
4. Run a Hot Cycle: Run the dishwasher on a hot cycle without any detergent. The vinegar will help to dissolve grease and mineral buildup.
5. Baking Soda Refresh: After the cycle is complete, sprinkle a cup of baking soda on the bottom of the dishwasher.
6. Run a Short Cycle: Run a short, hot cycle to freshen the dishwasher.
7. Wipe Down the Exterior: Wipe down the exterior of the dishwasher with a damp cloth and all-purpose cleaner.
4. The Microwave: Zapping Away Splatters
Microwaves are notorious for splatters and spills.
1. Steam Clean: Place a microwave-safe bowl filled with water and a few slices of lemon or a tablespoon of vinegar in the microwave.
2. Microwave for a Few Minutes: Microwave on high for 3-5 minutes, or until the water boils and the microwave is filled with steam.
3. Let it Sit: Let the bowl sit in the microwave for a few minutes to allow the steam to loosen the grime.
4. Wipe Clean: Carefully remove the bowl (it will be hot!) and wipe down the interior of the microwave with a damp cloth. The grime should come off easily.
5. Clean the Turntable: Remove the turntable and wash it in hot, soapy water.
6. Wipe Down the Exterior: Wipe down the exterior of the microwave with a damp cloth and all-purpose cleaner.
Phase 2: Conquering Countertops and Cabinets
Now that the appliances are sparkling, let’s move on to the countertops and cabinets.
1. Countertops: Wiping Away the Daily Grind
The cleaning method will depend on your countertop material.
1. Clear the Countertops: Remove everything from the countertops.
2. Choose the Right Cleaner:
* Granite/Marble: Use a pH-neutral cleaner specifically designed for granite or marble. Avoid acidic cleaners like vinegar or lemon juice, as they can damage the stone.
* Quartz: Use a mild dish soap and water or a quartz cleaner.
* Laminate: Use a mild dish soap and water or an all-purpose cleaner.
3. Wipe Down the Countertops: Apply the cleaner to the countertops and wipe them down with a damp cloth.
4. Rinse Thoroughly: Rinse the countertops with clean water to remove any cleaner residue.
5. Dry: Dry the countertops with a clean, dry cloth.
2. Cabinets: Banishing Grease and Grime
Cabinets can accumulate grease, fingerprints, and food splatters.
1. Dust: Dust the cabinets with a microfiber cloth to remove any loose dirt or debris.
2. Grease Removal: Mix warm water with a few drops of dish soap or use a degreaser.
3. Wipe Down the Cabinets: Dip a clean cloth into the soapy water or degreaser and wring it out well. Wipe down the cabinets, paying attention to areas around the handles and hinges.
4. Rinse: Rinse the cabinets with a clean, damp cloth to remove any soap residue.
5. Dry: Dry the cabinets with a clean, dry cloth.
6. Hardware: Clean the cabinet hardware (knobs and pulls) with a
Conclusion
So, there you have it! Deep cleaning your kitchen might seem like a daunting task, but with these simple, effective DIY tricks, you can transform your cooking space into a sparkling, hygienic haven. We’ve covered everything from tackling stubborn grease on your stovetop to banishing grime from your grout, all using ingredients you likely already have in your pantry.
But why is this deep clean so crucial? Beyond the obvious aesthetic benefits of a gleaming kitchen, a thorough clean significantly improves your overall health and well-being. A clean kitchen reduces the risk of foodborne illnesses, eliminates unpleasant odors, and creates a more enjoyable and inspiring environment for cooking and creating delicious meals. It’s an investment in your health, your happiness, and the longevity of your kitchen appliances.
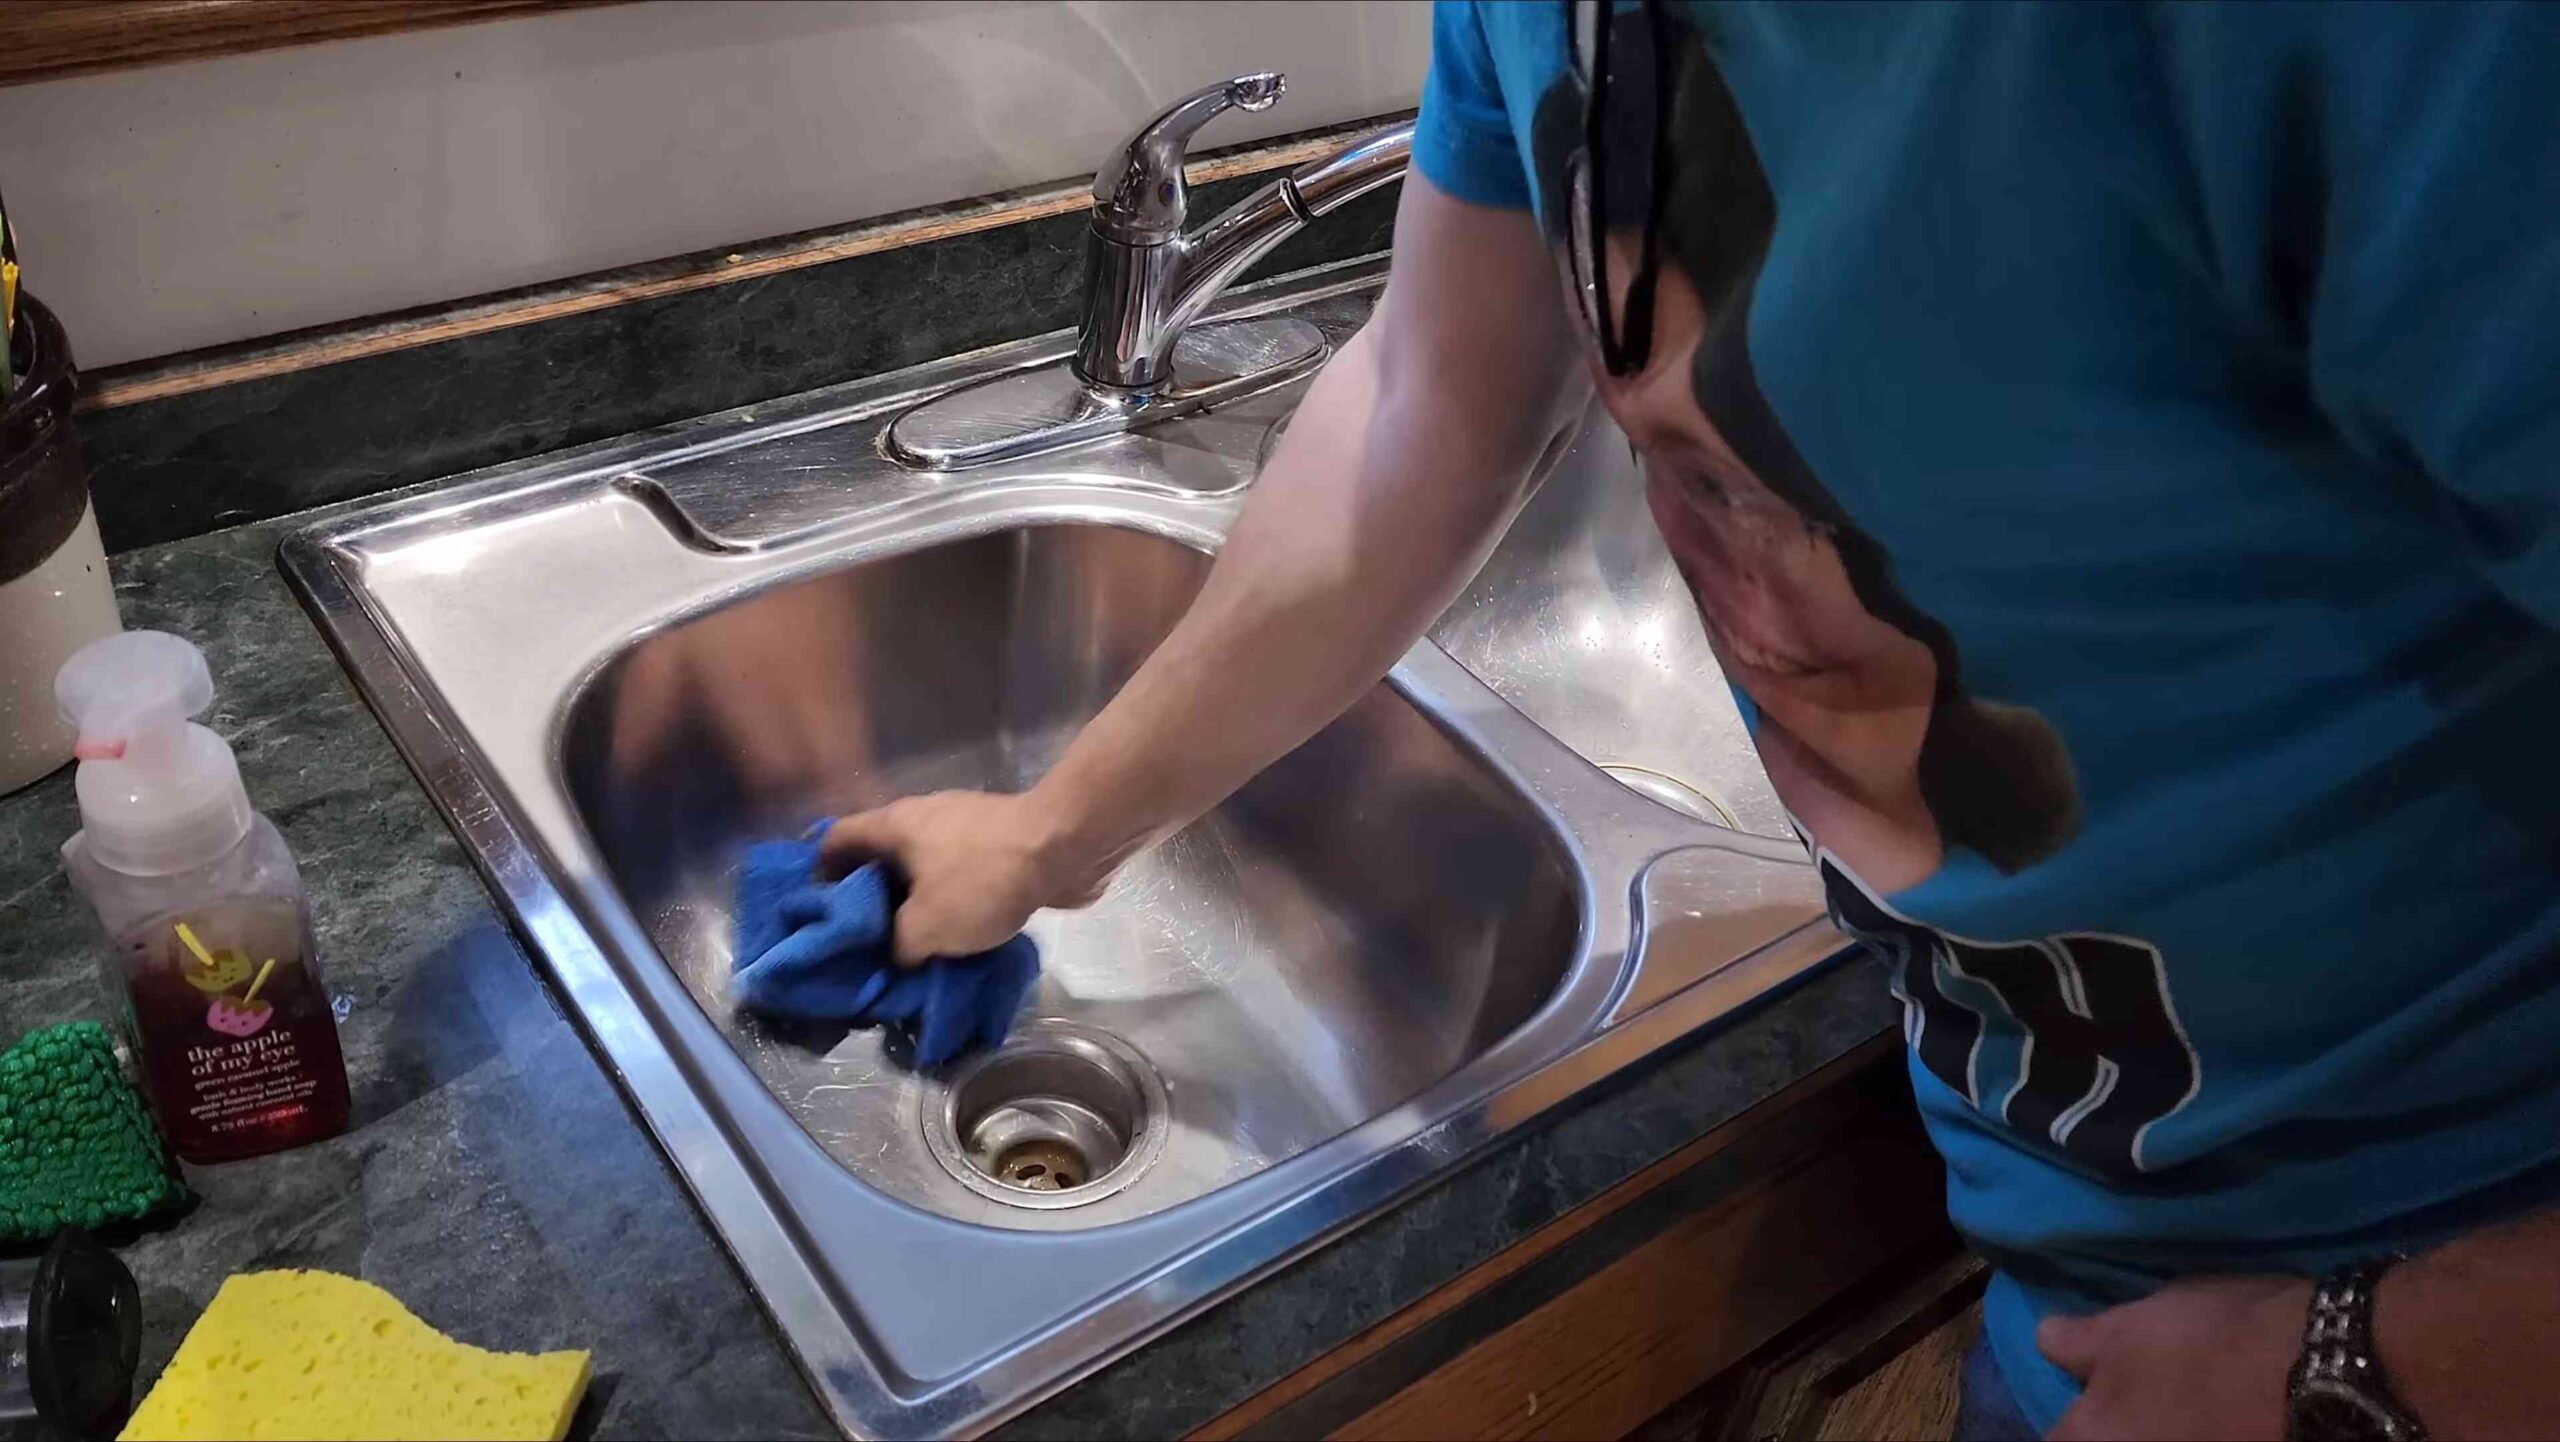
This isn’t just about surface cleaning; it’s about getting into the nitty-gritty, the places where dirt and bacteria love to hide. Think about the inside of your dishwasher, the crevices around your sink, or the forgotten corners of your refrigerator. These are the areas that often get overlooked but can harbor harmful germs and contribute to unpleasant smells.
This DIY approach to deep cleaning your kitchen is a game-changer. It’s cost-effective, environmentally friendly, and surprisingly satisfying. You’ll be amazed at the difference a little elbow grease and some natural cleaning solutions can make.
Looking for variations? Absolutely! For extra stubborn stains on your stovetop, try making a paste of baking soda and hydrogen peroxide. Let it sit for a few minutes before scrubbing. To freshen up your garbage disposal, toss in some citrus peels and run it with cold water. And for a truly deep clean of your refrigerator, remove all the shelves and drawers and wash them in warm, soapy water.
Don’t be afraid to experiment with different combinations of ingredients to find what works best for you and your kitchen. The beauty of DIY cleaning is that you can customize it to your specific needs and preferences.
We understand that embarking on a deep clean can feel overwhelming, but we encourage you to break it down into manageable tasks. Focus on one area at a time, and don’t be afraid to take breaks. Put on some music, enlist the help of a family member, and turn it into a fun and rewarding experience.
Now it’s your turn! We challenge you to try these DIY tricks and experience the transformative power of a deep cleaned kitchen. We’re confident that you’ll be amazed by the results.
Most importantly, we want to hear about your experience! Share your before-and-after photos, your favorite cleaning tips, and any variations you’ve discovered in the comments below. Let’s create a community of clean kitchen enthusiasts and inspire each other to maintain healthy and happy homes. So, go ahead, grab your cleaning supplies, and get ready to transform your kitchen into a sparkling masterpiece! We can’t wait to see your results!
Frequently Asked Questions (FAQ)
What exactly does “deep cleaning” my kitchen entail?
Deep cleaning goes beyond your regular daily or weekly cleaning routine. It involves tackling areas that are often overlooked, such as cleaning inside appliances (oven, refrigerator, dishwasher), scrubbing grout, degreasing range hoods, and sanitizing surfaces. It’s about removing built-up grime, dirt, and bacteria to create a healthier and more hygienic cooking environment. Think of it as a comprehensive overhaul for your kitchen.
How often should I deep clean my kitchen?
The frequency of deep cleaning depends on how often you cook and the overall usage of your kitchen. As a general guideline, aim for a deep clean every 3-6 months. However, if you cook frequently or have pets, you might want to deep clean more often. Regular maintenance cleaning in between deep cleans will help keep your kitchen in good shape and prevent the build-up of grime.
What are the essential supplies I need for deep cleaning?
You’ll need a variety of cleaning supplies, including:
* Baking soda
* White vinegar
* Dish soap
* Hydrogen peroxide
* Microfiber cloths
* Scrub brushes (various sizes)
* Spray bottles
* Rubber gloves
* Old toothbrush (for grout)
* Sponge
* Bucket
* Optional: Lemon juice, essential oils (for fragrance)
Are these DIY cleaning solutions safe for all kitchen surfaces?
While most of these DIY solutions are safe for common kitchen surfaces like stainless steel, tile, and laminate, it’s always a good idea to test them on a small, inconspicuous area first. Avoid using abrasive cleaners on delicate surfaces like marble or granite. For wooden surfaces, use a gentle cleaner and avoid excessive moisture. Always read the manufacturer’s instructions for your appliances and surfaces before using any cleaning product.
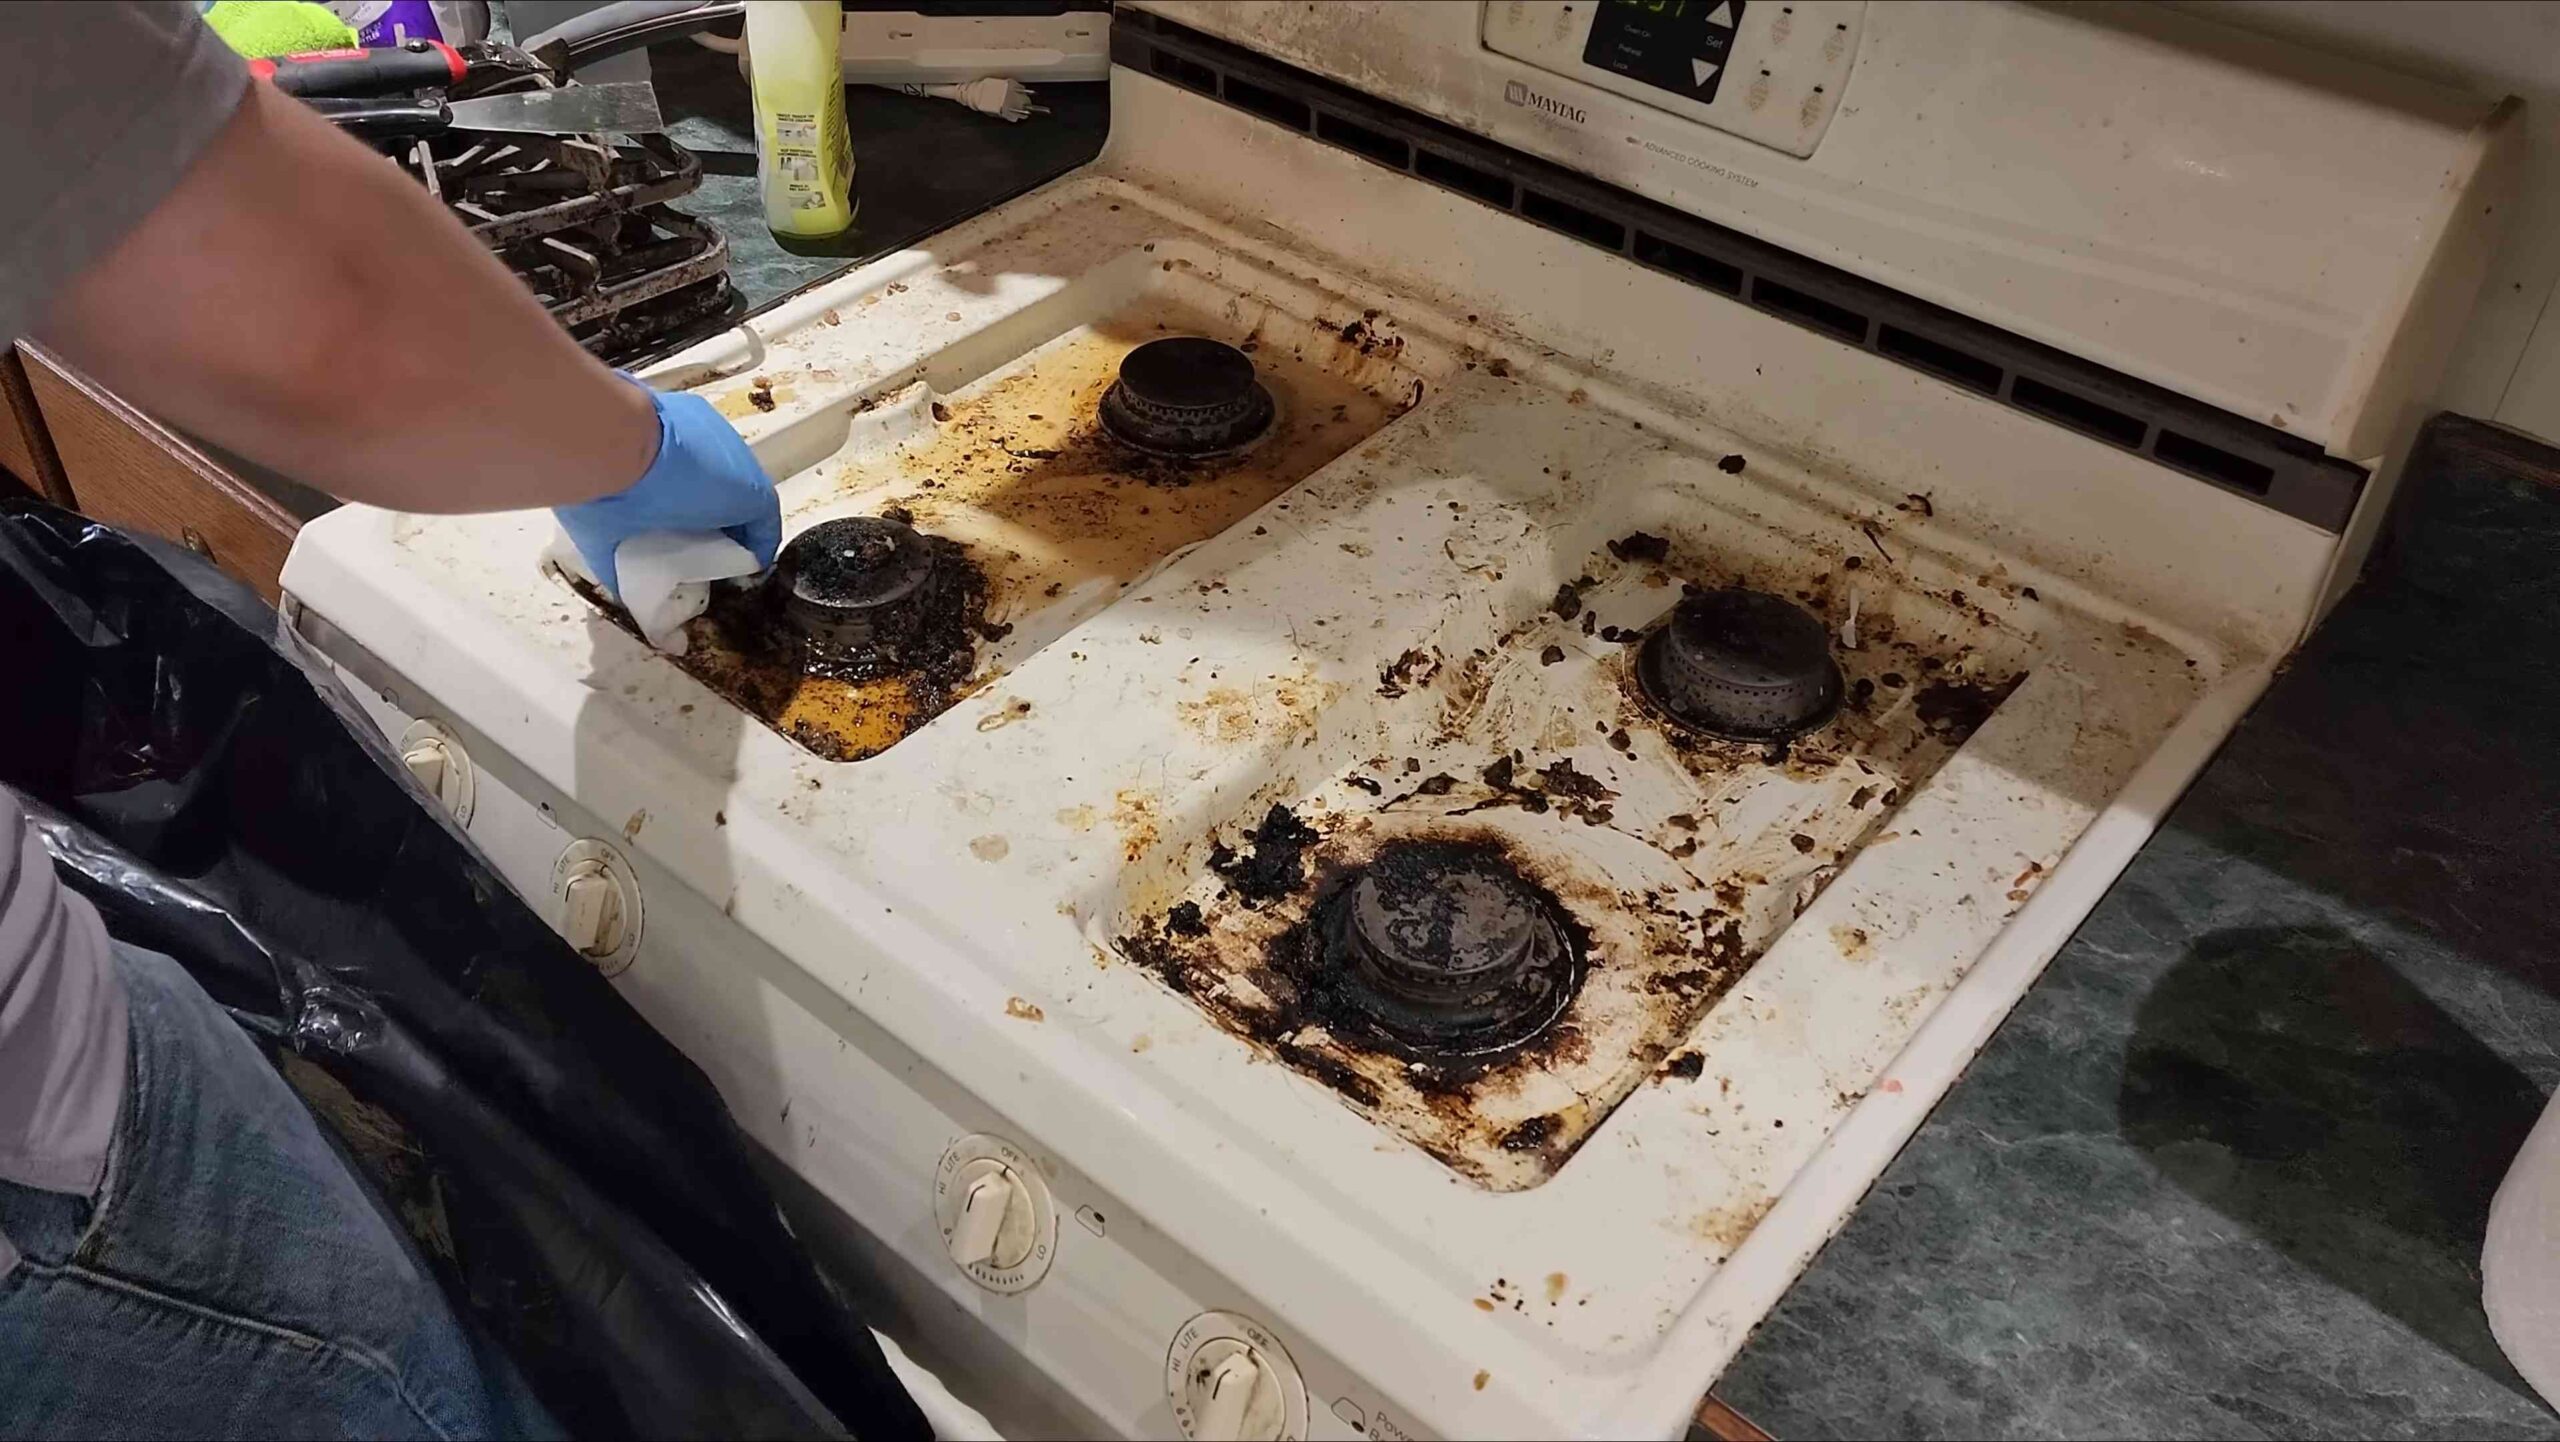
How do I get rid of stubborn grease stains on my stovetop?
Stubborn grease stains can be a challenge, but here are a few effective methods:
* Baking Soda Paste: Mix baking soda with water to form a thick paste. Apply it to the grease stains, let it sit for 15-20 minutes, and then scrub with a sponge or brush.
* Vinegar and Baking Soda: Sprinkle baking soda on the grease stains, then spray with white vinegar. Let it fizz for a few minutes, then scrub.
* Dish Soap and Hot Water: Soak a cloth in hot, soapy water and place it over the grease stains for a few minutes to loosen them. Then, scrub with a sponge.
How do I clean my oven without harsh chemicals?
A baking soda paste is your best friend for a chemical-free oven clean. Mix 1/2 cup of baking soda with enough water to form a spreadable paste. Coat the entire interior of your oven (avoiding the heating elements), and let it sit overnight. The next day, wipe away the paste with a damp cloth. For stubborn spots, use a scrub brush. You can also place a bowl of water in the oven and bake at 250°F for 30 minutes to loosen grime before cleaning.
How do I clean my refrigerator effectively?
Start by removing all the food items and discarding anything expired or spoiled. Take out the shelves and drawers and wash them in warm, soapy water. Wipe down the interior of the refrigerator with a solution of baking soda and water (1 tablespoon baking soda per quart of water). Pay attention to spills and stains. To eliminate odors, place an open box of baking soda in the refrigerator.
How do I clean my dishwasher?
To clean your dishwasher, start by removing any food debris from the filter. Then, place a dishwasher-safe cup filled with white vinegar on the top rack and run a normal cycle. You can also sprinkle baking soda on the bottom of the dishwasher before running the cycle. To clean the exterior, wipe it down with a damp cloth and dish soap.
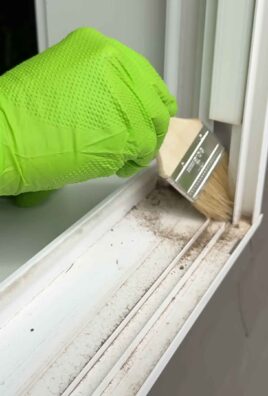
How do I clean grout effectively?
Grout can be a breeding ground for mold and mildew. Here are a few methods for cleaning grout:
* Baking Soda and Vinegar: Make a paste of baking soda and water, apply it to the grout, and then spray with white vinegar. Let it fizz, then scrub with an old toothbrush.
* Hydrogen Peroxide: Spray hydrogen peroxide on the grout and let it sit for 10-15 minutes before scrubbing.
* Commercial Grout Cleaner: If DIY methods don’t work, you can use a commercial grout cleaner, but be sure to follow the manufacturer’s instructions carefully.
What are some tips for maintaining a clean kitchen after a deep clean?
* Wipe down countertops and stovetop after each use.
* Wash dishes promptly to prevent food from drying and hardening.
* Sweep or vacuum the floor regularly.
* Empty the trash can frequently.
* Address spills immediately.
* Do a quick clean of the refrigerator once a week.
* Run the garbage disposal with citrus peels to freshen it up.
By following these tips, you can maintain a clean and hygienic kitchen and avoid the need for frequent deep cleans. Remember, a little bit of maintenance goes a long way!


Leave a Comment