

Cleaning shortcuts – who doesn’t crave them? Let’s be honest, spending hours scrubbing and tidying isn’t exactly anyone’s idea of a fun weekend. For centuries, people have sought clever ways to maintain a clean and comfortable living space. From ancient Roman bathhouses meticulously maintained by slaves to the Victorian era’s obsession with spotless homes, the desire for cleanliness is deeply ingrained in our history.
But in today’s fast-paced world, we need cleaning shortcuts more than ever. Juggling work, family, and social life leaves little time for extensive cleaning routines. That’s where these DIY cleaning hacks come in! I’m going to share some of my favorite time-saving tricks that will leave your home sparkling without sacrificing your precious free time. Think less elbow grease, more relaxation!
This article is packed with easy-to-implement DIY solutions that tackle common household messes. You’ll discover how to use everyday items to achieve professional-level results, saving you money and effort. Get ready to transform your cleaning routine from a dreaded chore into a quick and satisfying task. Let’s dive in and unlock the secrets to a cleaner, happier home!
DIY Cleaning Shortcuts: Making Your Life Easier!
Hey everyone! Let’s face it, cleaning isn’t exactly anyone’s favorite pastime. But a clean home is a happy home, right? So, I’ve compiled some of my absolute favorite DIY cleaning shortcuts that will save you time, money, and a whole lot of elbow grease. Get ready to transform your cleaning routine!
Cleaning Your Microwave Like a Pro
This is one of those tasks we all dread, but it doesn’t have to be a nightmare. This method uses the power of steam to loosen up all that splattered food.
What You’ll Need:
* 1 cup water
* 1/4 cup white vinegar
* Microwave-safe bowl
* Sponge or cloth
Step-by-Step Instructions:
1. Mix it up: In your microwave-safe bowl, combine the water and white vinegar. The vinegar helps to break down grease and odors.
2. Microwave Magic: Place the bowl in the microwave and heat on high for 5-7 minutes. You want the mixture to boil and create steam inside the microwave.
3. Steam Clean: Leave the microwave door closed for another 2-3 minutes after it stops. This allows the steam to really work its magic.
4. Wipe Away: Carefully remove the bowl (it will be hot!). Use your sponge or cloth to easily wipe away the loosened food particles. You’ll be amazed at how easily everything comes off!
5. Final Touches: For any stubborn spots, you can dip your sponge in the remaining vinegar solution and scrub gently.
De-Gunking Your Showerhead
Hard water can wreak havoc on your showerhead, leading to reduced water pressure and unsightly buildup. Here’s how to restore it to its former glory.
What You’ll Need:
* White vinegar
* Plastic bag (gallon-sized works best)
* Rubber band or twist tie
* Old toothbrush
Step-by-Step Instructions:
1. Vinegar Bath: Fill the plastic bag with enough white vinegar to completely submerge the showerhead.
2. Secure the Bag: Carefully attach the bag to the showerhead using the rubber band or twist tie. Make sure it’s secure so the vinegar doesn’t leak.
3. Soak Overnight: Let the showerhead soak in the vinegar overnight (or for at least a few hours). This allows the vinegar to dissolve the mineral deposits.
4. Scrub-a-Dub-Dub: Remove the bag and use the old toothbrush to scrub away any remaining residue. Pay close attention to the nozzles.
5. Rinse and Shine: Turn on the shower and let the water run for a few minutes to flush out any remaining vinegar and debris. Your showerhead should now be sparkling clean and delivering a much better shower experience!
Cleaning Your Blender Like a Pro
Blenders can be tricky to clean, especially after making smoothies or sauces. This method is quick, easy, and effective.
What You’ll Need:
* Water
* Dish soap
Step-by-Step Instructions:
1. Fill ‘Er Up: Fill your blender halfway with warm water.
2. Soap It Up: Add a drop or two of dish soap. Don’t overdo it, or you’ll have a soapy mess!
3. Blend Away: Secure the lid and blend on high speed for about 30-60 seconds.
4. Rinse Thoroughly: Pour out the soapy water and rinse the blender thoroughly with clean water.
5. Air Dry: Let the blender air dry completely before storing it.
Freshening Up Your Mattress
We spend a lot of time on our mattresses, so it’s important to keep them clean and fresh. This simple method will help eliminate odors and absorb moisture.
What You’ll Need:
* Baking soda
* Essential oil (optional, for fragrance)
* Vacuum cleaner with upholstery attachment
* Sifter or strainer
Step-by-Step Instructions:
1. Prep the Mattress: Remove all bedding from the mattress.
2. Baking Soda Power: In a bowl, mix baking soda with a few drops of your favorite essential oil (lavender, tea tree, or eucalyptus are great choices). The essential oil is optional, but it adds a nice, fresh scent.
3. Sprinkle Away: Use a sifter or strainer to evenly sprinkle the baking soda mixture over the entire surface of the mattress.
4. Wait and Absorb: Let the baking soda sit on the mattress for at least 30 minutes, or even better, a few hours. This allows it to absorb odors and moisture.
5. Vacuum It Up: Use the upholstery attachment on your vacuum cleaner to thoroughly vacuum up all the baking soda. Make sure to get into all the nooks and crannies.
6. Flip and Repeat: Flip the mattress and repeat the process on the other side.
Cleaning Grout with Baking Soda and Vinegar
Dirty grout can make your entire bathroom or kitchen look dingy. This natural cleaning solution is effective and affordable.
What You’ll Need:
* Baking soda
* White vinegar
* Old toothbrush or grout brush
* Spray bottle
* Water
Step-by-Step Instructions:
1. Baking Soda Paste: Make a paste of baking soda and water. The consistency should be thick enough to stick to the grout.
2. Apply the Paste: Apply the baking soda paste to the grout lines.
3. Vinegar Power: Pour white vinegar into a spray bottle.
4. Spray and Fizz: Spray the vinegar onto the baking soda paste. It will fizz, which is a good sign that it’s working!
5. Scrub-a-Dub: Let the mixture sit for a few minutes, then scrub the grout lines with an old toothbrush or grout brush.
6. Rinse and Repeat: Rinse the area thoroughly with water. If the grout is still dirty, repeat the process.
Unclogging Drains Naturally
Chemical drain cleaners can be harsh and harmful to the environment. This natural method is a safer and more eco-friendly alternative.
What You’ll Need:
* 1 cup baking soda
* 2 cups white vinegar
* Boiling water
Step-by-Step Instructions:
1. Baking Soda First: Pour 1 cup of baking soda down the drain.
2. Vinegar Chaser: Follow with 2 cups of white vinegar.
3. Fizzing Action: Let the mixture fizz for about 30 minutes.
4. Boiling Water Flush: Pour a pot of boiling water down the drain to flush everything out.
5. Repeat if Necessary: If the drain is still clogged, repeat the process.
Cleaning Your Dishwasher
Your dishwasher cleans your dishes, but it needs cleaning too! This simple method will remove buildup and keep it running smoothly.
What You’ll Need:
* White vinegar
* Baking soda
Step-by-Step Instructions:
1. Vinegar Power: Place a dishwasher-safe cup filled with 1 cup of white vinegar on the top rack of the empty dishwasher.
2. Run a Cycle: Run the dishwasher on the hottest cycle.
3. Baking Soda Boost: After the cycle is complete, sprinkle 1 cup of baking soda on the bottom of the dishwasher.
4. Short Cycle: Run a short cycle to freshen the dishwasher.
Cleaning Stainless Steel Appliances
Stainless steel appliances can be beautiful, but they’re also prone to fingerprints and smudges. Here’s how to keep them looking their best.
What You’ll Need:
* White vinegar
* Microfiber cloth
* Olive oil (optional)
Step-by-Step Instructions:
1. Vinegar Wipe: Lightly dampen a microfiber cloth with white vinegar.
2. Wipe with the Grain: Wipe the stainless steel appliance in the direction of the grain.
3. Dry and Buff: Use a clean, dry microfiber cloth to dry and buff the surface.
4. Olive Oil Shine (Optional): For extra shine, you can apply a small amount of olive oil to a clean microfiber cloth and buff the surface.
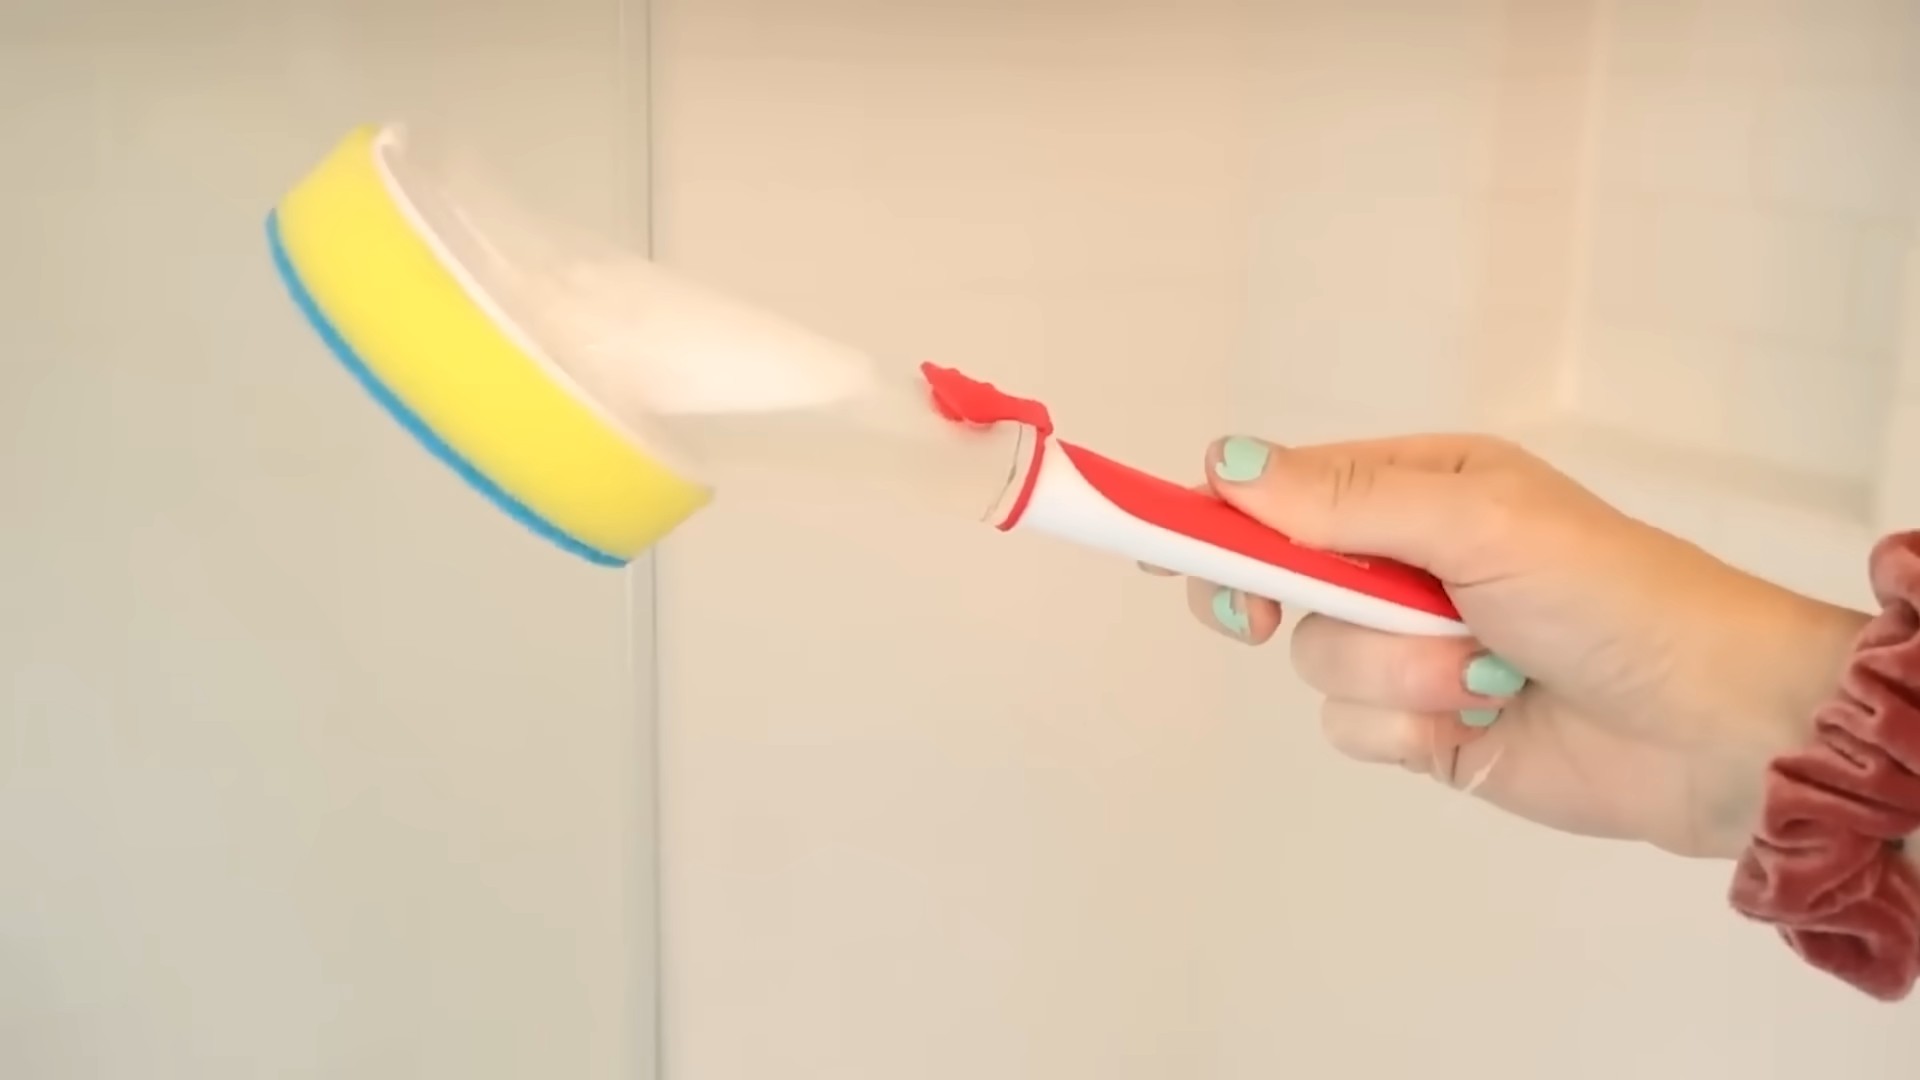
Removing Hard Water Stains from Faucets and Shower Doors
Hard water stains can be stubborn, but this simple trick will help you get rid of them.
What You’ll Need:
* White vinegar
* Paper towels
Step-by-Step Instructions:
1. Vinegar Soak: Soak paper towels in white vinegar.
2. Apply to Stains:
Conclusion
So, there you have it! This simple yet incredibly effective DIY cleaning shortcut is a game-changer for anyone looking to streamline their cleaning routine and reclaim precious time. We’ve all been there, staring down a mountain of chores, feeling overwhelmed and dreading the hours it will take to conquer them. But with this clever trick, you can significantly reduce the effort and time required to keep your home sparkling.
Why is this a must-try? Because it’s not just about cleaning; it’s about efficiency. It’s about working smarter, not harder. It’s about freeing up your weekends to enjoy the things you truly love, whether that’s spending time with family, pursuing hobbies, or simply relaxing and recharging. This DIY cleaning shortcut empowers you to take control of your cleaning schedule and make it work for you, not against you.
Beyond the basic method, there are countless ways to customize this cleaning shortcut to suit your specific needs and preferences. For instance, if you’re dealing with particularly stubborn grime, consider adding a tablespoon of baking soda to your cleaning solution for extra scrubbing power. If you prefer a more natural scent, experiment with different essential oils like lemon, lavender, or eucalyptus. You can even create separate spray bottles for different areas of your home, each tailored to the specific cleaning challenges you face. For example, a bathroom-specific spray might include a bit of tea tree oil for its antibacterial properties, while a kitchen spray could incorporate orange essential oil for its degreasing abilities.
Another variation involves pre-soaking heavily soiled items. Before tossing them into the washing machine, give them a quick soak in a solution of warm water and your DIY cleaning mixture. This will help loosen dirt and stains, making them easier to remove during the wash cycle. You can also use this pre-soaking method for cleaning oven racks or stovetop burners.
Don’t be afraid to experiment and find what works best for you. The beauty of this DIY approach is its flexibility and adaptability. You can adjust the ingredients and techniques to create a cleaning solution that perfectly meets your needs and preferences.
We are confident that once you try this DIY cleaning shortcut, you’ll wonder how you ever lived without it. It’s a simple, effective, and affordable way to keep your home clean and tidy without spending hours scrubbing and scrubbing.
So, what are you waiting for? Gather your supplies, mix up your cleaning solution, and get ready to experience the joy of effortless cleaning. We encourage you to try this DIY cleaning shortcut and share your experiences with us. Let us know what variations you tried, what worked best for you, and any tips or tricks you discovered along the way. Your feedback will help us refine this method and make it even more effective for everyone. Share your stories and photos on our social media channels using #DIYCleaningShortcut – we can’t wait to see your sparkling results! Let’s revolutionize the way we clean, one shortcut at a time!
Frequently Asked Questions (FAQ)
What exactly *is* this DIY cleaning shortcut, and how does it differ from regular cleaning?
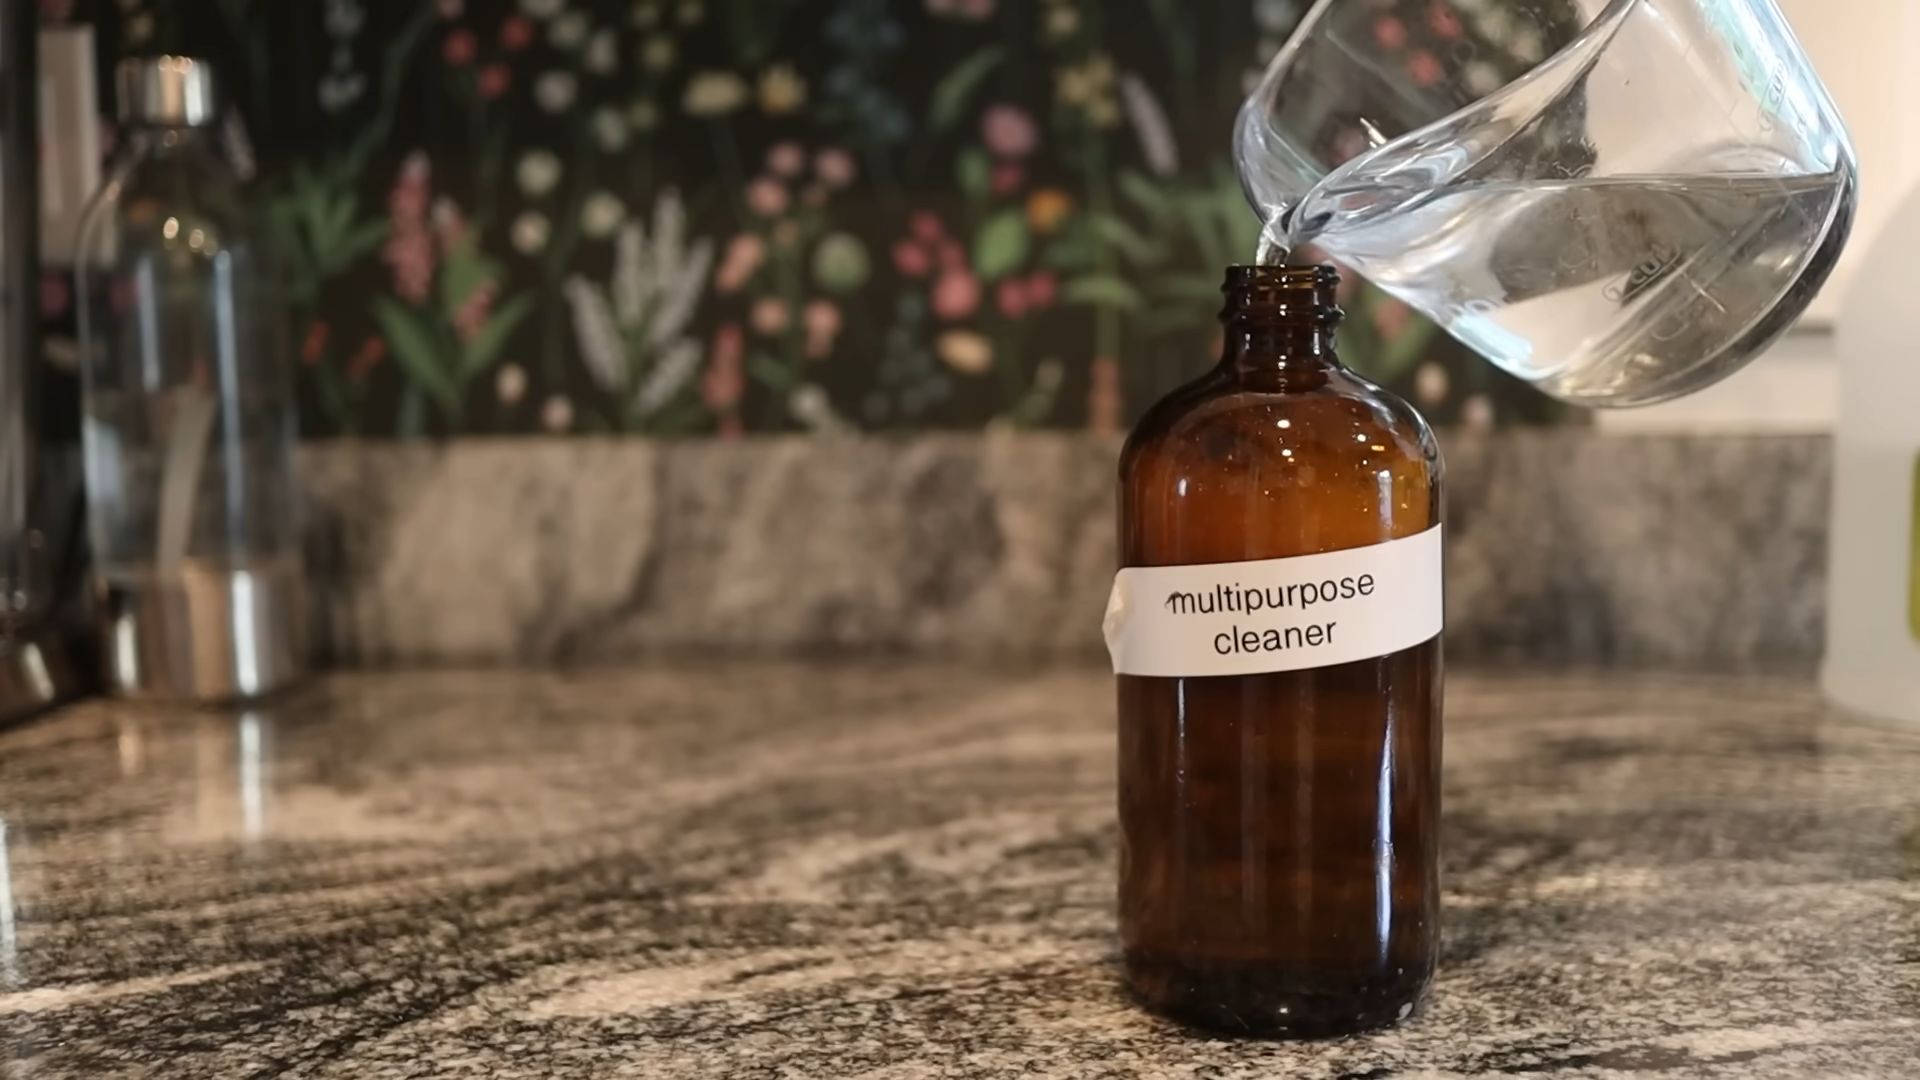
This DIY cleaning shortcut isn’t about skipping steps; it’s about optimizing them. It typically involves creating a multi-purpose cleaning solution using readily available ingredients like vinegar, baking soda, dish soap, and water. The key difference is that this solution is designed to be effective on a wide range of surfaces and messes, reducing the need for multiple specialized cleaners. It streamlines the cleaning process by allowing you to tackle various tasks with a single product, saving you time and effort. It also often focuses on preventative measures, like quick daily wipe-downs, to avoid the build-up of heavy grime that requires more intensive cleaning later.
Is this DIY cleaning solution safe for all surfaces?
While the ingredients are generally safe, it’s always best to test the solution on an inconspicuous area first, especially on delicate surfaces like wood, marble, or granite. Vinegar, in particular, can be acidic and may damage certain materials. For these surfaces, consider using a diluted solution or opting for a different cleaning agent altogether. Always read the manufacturer’s instructions for your surfaces and appliances before using any cleaning product, DIY or otherwise.
Can I use essential oils in this DIY cleaning shortcut, and if so, which ones are best?
Yes, absolutely! Essential oils can add a pleasant scent and even enhance the cleaning power of your DIY solution. Lemon, tea tree, lavender, eucalyptus, and orange essential oils are all popular choices. Lemon and orange oils have degreasing properties, tea tree oil is antibacterial, and lavender and eucalyptus offer calming and refreshing scents. When adding essential oils, start with a few drops and adjust to your preference. Be mindful of pets, as some essential oils can be harmful to them. Always research the safety of essential oils before using them around animals.
How long does this DIY cleaning solution last?
Generally, a DIY cleaning solution made with vinegar and water will last for several weeks when stored in a cool, dark place. However, if you’ve added fresh ingredients like lemon peels or herbs, it’s best to use the solution within a week to prevent spoilage. Always label your spray bottles with the date you made the solution so you can keep track of its freshness.
What are some common mistakes to avoid when using this DIY cleaning shortcut?
One common mistake is using too much of a particular ingredient, especially vinegar. Too much vinegar can leave a strong odor and may damage certain surfaces. Another mistake is not testing the solution on an inconspicuous area before applying it to a larger surface. It’s also important to avoid mixing certain cleaning agents, such as bleach and vinegar, as this can create toxic fumes. Always use caution and common sense when cleaning, and never mix chemicals unless you are absolutely certain they are safe to combine.
How can I adapt this DIY cleaning shortcut for specific cleaning tasks, like cleaning the oven or bathroom?
For oven cleaning, create a paste of baking soda and water and apply it to the interior surfaces. Let it sit overnight, then scrub and wipe clean. For bathroom cleaning, add a few drops of tea tree oil to your DIY cleaning solution for its antibacterial properties. You can also use a separate spray bottle with a stronger concentration of vinegar for tackling soap scum and hard water stains. Remember to always ventilate the area well when cleaning, especially in enclosed spaces like bathrooms.
What if I don’t have all the ingredients listed for the DIY cleaning shortcut? Can I substitute anything?
While the recommended ingredients are ideal, you can often make substitutions based on what you have on hand. For example, if you don’t have white vinegar, you can use apple cider vinegar, although it may have a slightly different scent. If you don’t have dish soap, you can use a small amount of laundry detergent. The key is to experiment and find what works best for you, but always be mindful of the potential risks of using different ingredients on various surfaces.
Is this DIY cleaning shortcut environmentally friendly?
Yes, one of the major benefits of this DIY cleaning shortcut is that it’s much more environmentally friendly than using commercially produced cleaning products. By using natural ingredients like vinegar, baking soda, and essential oils, you’re reducing your exposure to harsh chemicals and minimizing your impact on the environment. You’re also reducing plastic waste by reusing spray bottles and avoiding the purchase of single-use cleaning products.
How often should I use this DIY cleaning shortcut to maintain a clean home?
The frequency depends on your lifestyle and cleaning habits. However, incorporating this DIY cleaning shortcut into your daily or weekly routine can significantly reduce the amount of time and effort required for deep cleaning. A quick daily wipe-down of kitchen counters and bathroom surfaces can prevent the build-up of grime and make your home easier to maintain. A weekly deep clean using this DIY cleaning shortcut can keep your home sparkling and fresh.
What if I have allergies or sensitivities to certain ingredients in the DIY cleaning shortcut?
If you have allergies or sensitivities, it’s crucial to carefully review the ingredients and avoid using anything that could trigger a reaction. You can also consult with your doctor or an allergist to determine which ingredients are safe for you to use. Consider wearing gloves and a mask when cleaning to minimize your exposure to potential allergens. You can also explore alternative DIY cleaning recipes that use different ingredients that are less likely to cause a reaction.

Leave a Comment